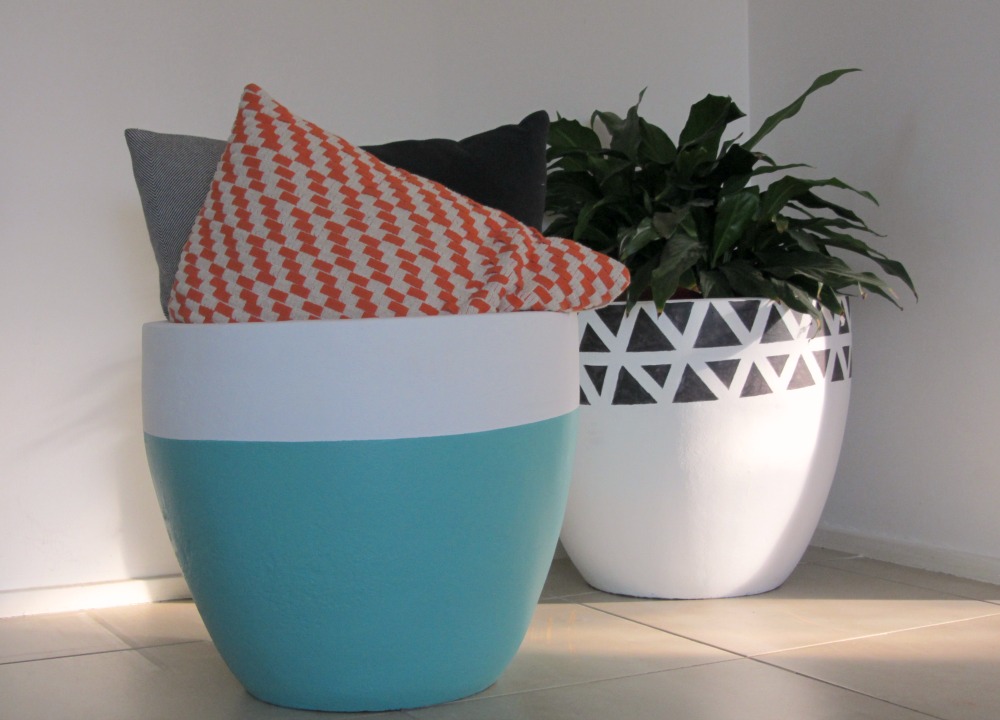
Get designer-look pots minus the price tag with our quick and easy DIY painted pots tutorial, suitable for indoor and outdoor use.
There’s no limit to the colours or patterns you could use to decorate your pots — and it’s incredible what a little masking tape can do to help you paint like a pro!
Related article: Big W hacks to organise or add affordable style to your home
Related article: DIY large concrete planter
Items you will need:
Dip-painted / colour swatch pot:
- Pot plant
- Haymes Ultra Cover (to seal your pot and avoid peeling paint)
- White paint (we used Greyology)
- A brightly coloured paint (we used Evan’s Delight)
- Sugar soap
- Sand paper
- Large paint brush
- Masking tape
Aztec-inspired pot:
- Pot plant
- Haymes Ultra Cover (to seal your pot and avoid peeling paint)
- White paint (we used Greyology)
- A black or grey paint (we used Coal Mine)
- Sugar soap
- Sand paper
- Angle paint brush
- Masking tape
Steps:
Dip-painted / colour swatch pot:
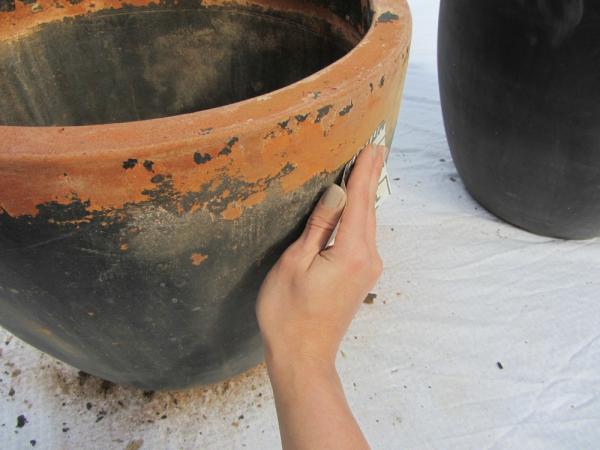
1. If you are making over an old pot plant like we are, sand it back to remove any peeling paint. Then give it a wash with sugar soap.
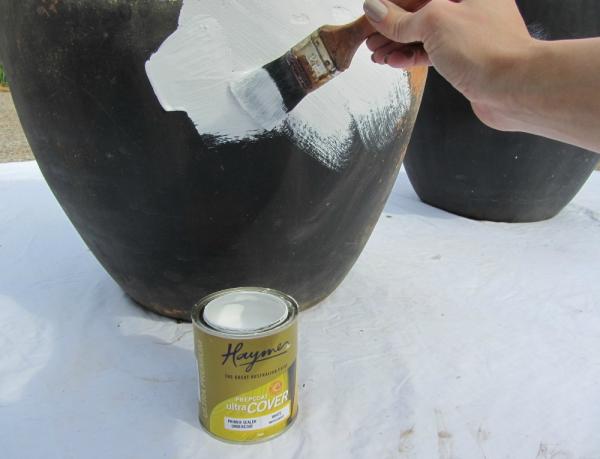
2. Prep the pot with Haymes Ultracover.
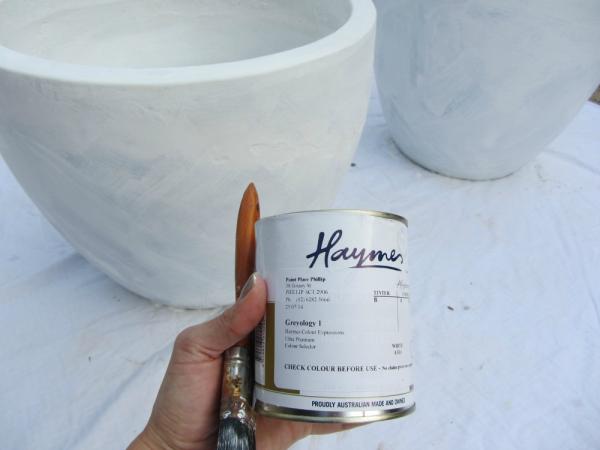
3. Paint 2 coats of your top coat. We used a bright white ‘Greyology 1’ by Haymes.
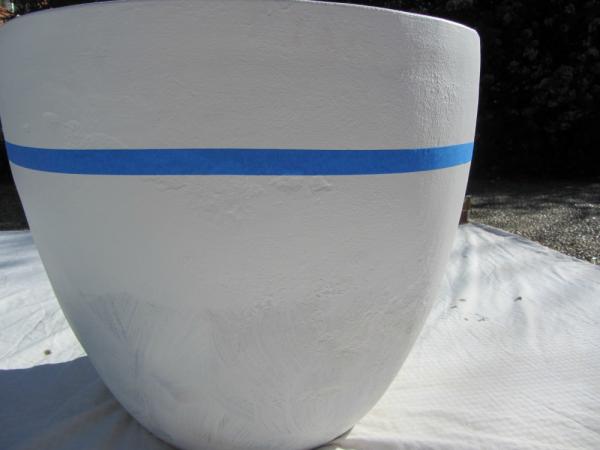
4. For the colour swatch pot, put masking tape around the pot, approximately a third of the way down from the rim. We like the slightly irregular look so don’t feel you have to measure exactly the whole way around, just be sure that the start and end of the masking tape match up.
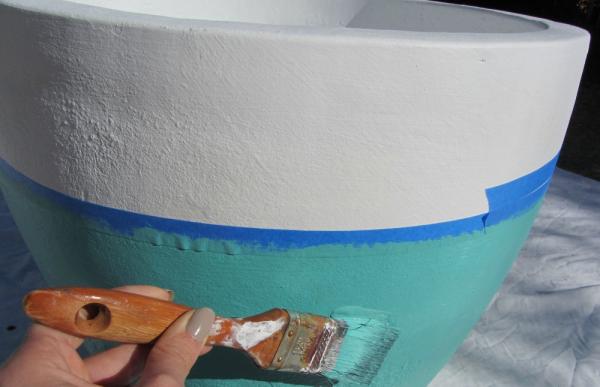
5. Apply 2 coats of your bright colour and remove the masking tape while it’s still wet to avoid peeling.
6. Allow to dry and then pot your plant!
Aztec-inspired pot:
1. Follow the same preparation instructions in steps 1-3 above.
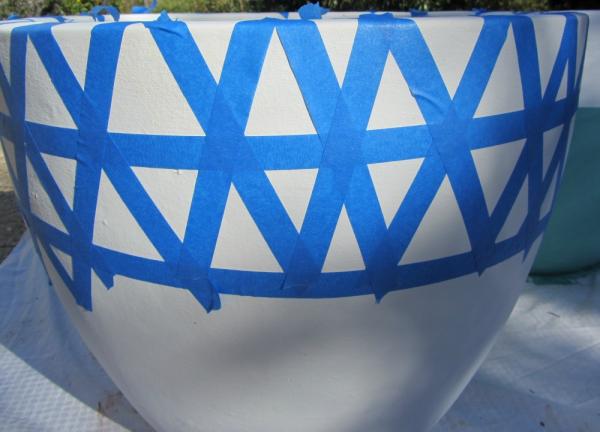
2. Create the pattern you want with masking tape. We chose two rows of irregular triangles. For this, we simply put two rows of masking tape around the pot (about 10cm from the rim and 20cm from the rim) and then applied a criss-cross pattern of masking tape.
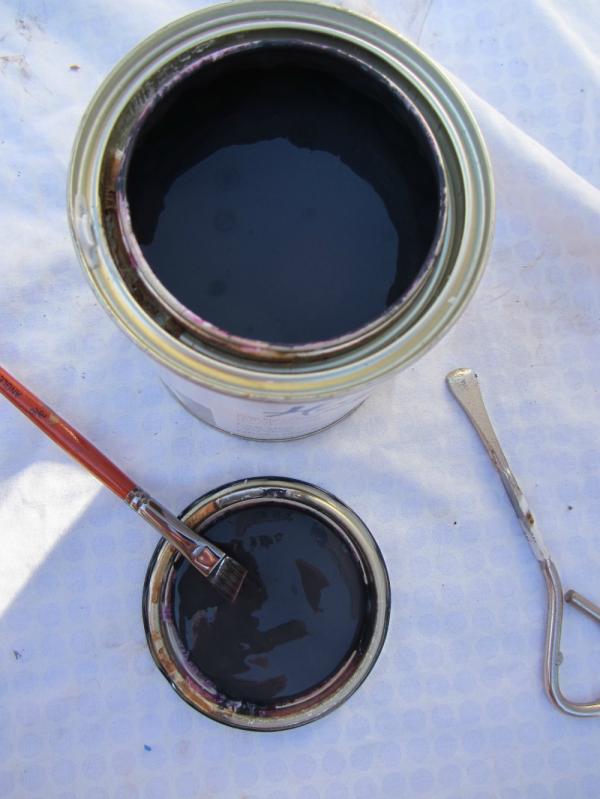
3. Apply 2 coats of your black/grey colour and remove the masking tape while it’s still wet.
4. Tidy up any paint that may have flaked off or seeped where it shouldn’t have using your angle brush.
5. Once dry, pot your plant and style around your home.
Will you try and create your own DIY painted pots? Got any other ideas for a DIY you’d like us to show you? Suggest them to us in the comments below.