


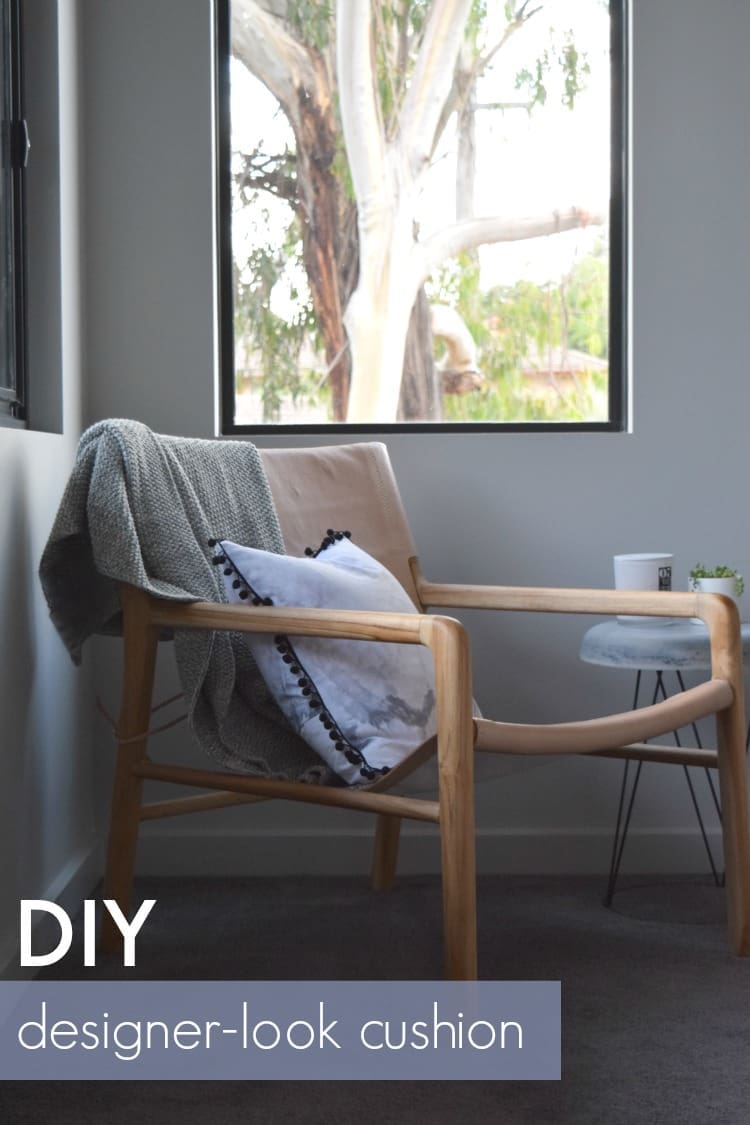
We’re pretty excited to share our first sewing DIY with you!
Upfront disclaimer: we’re amateur sewers which is why this cushion DIY is super simple — no zips or fancy tricks to see here!
Last year we posted an ice dye tutorial showing how you can create cool mottled, water-colour like fabric but we were never truly happy with the results of that DIY and always had it on our list to redo. Today is that day!
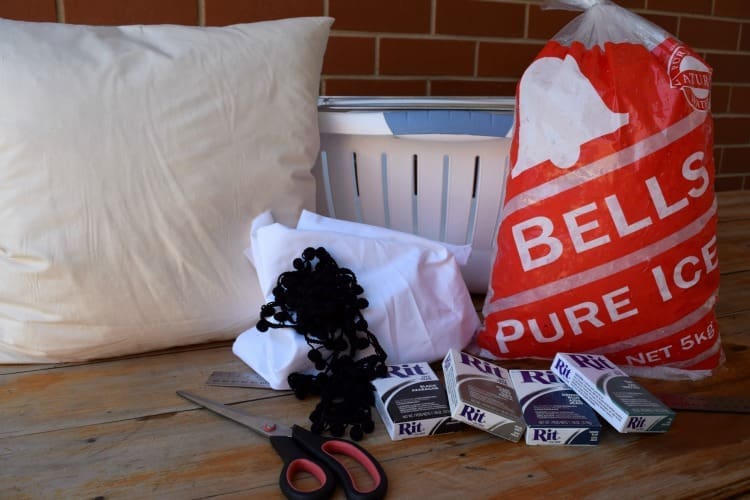
Items you will need:
To ice dye fabric
- Fabric
- Fabric dye
- Bag of ice
- Rack
- Tub or basin to catch run-off water
To make cushion
- Fabric
- Pom pom trim
- Sewing machine
- Pins
- Scissors
- Ruler
- Pen or pencil to mark fabric
Steps:
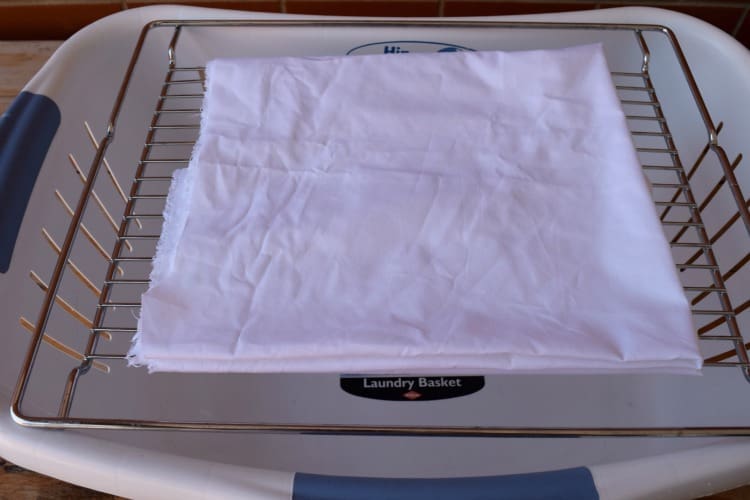
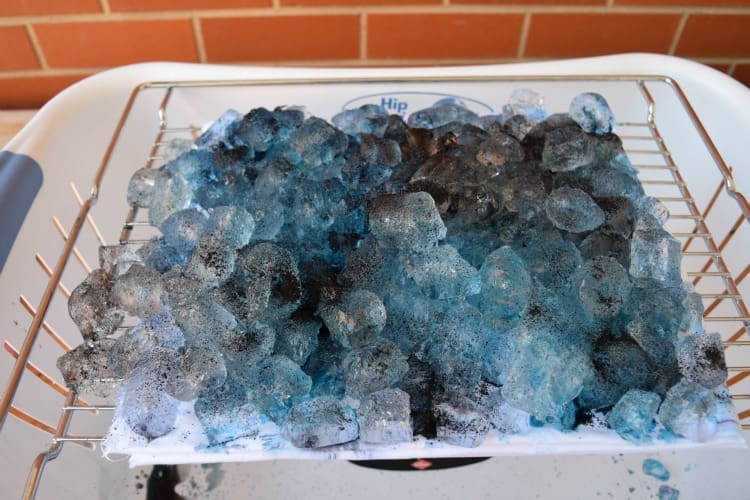
1. Place your washed fabric on a rack over a tub or basin (we used a large laundry basket). For best results, wash the fabric with Lectric soda or washing soda first.
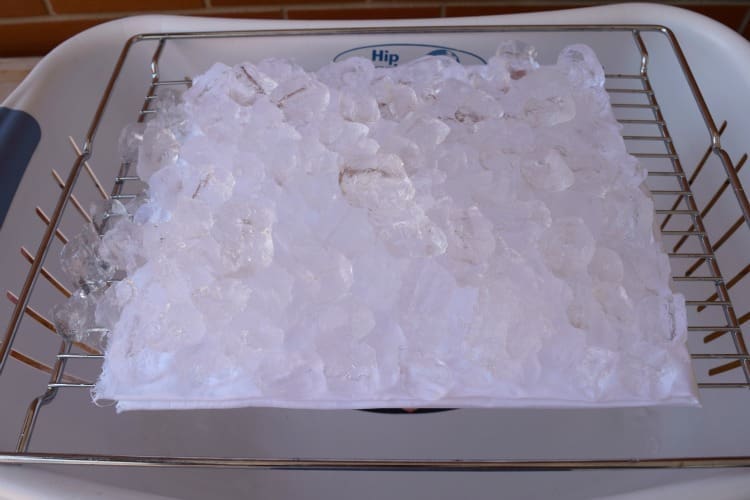
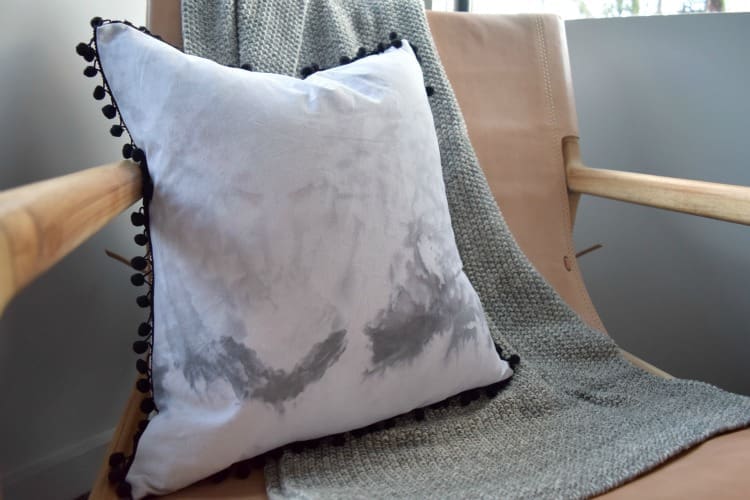
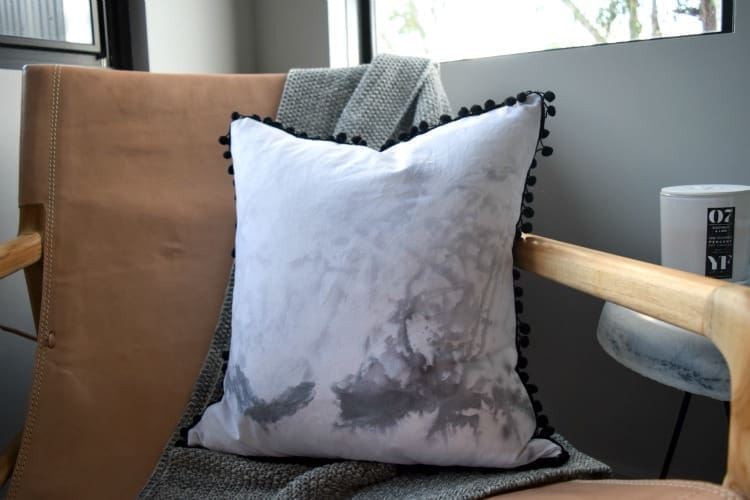
2. Cover the fabric in ice and then sprinkle with fabric dye. We made three batches of fabric — one using black and blue dye, one using black dye and one using grey dye — and liked the grey fabric the best so this is the one we used. Leave the fabric to absorb the dye as the ice melts.
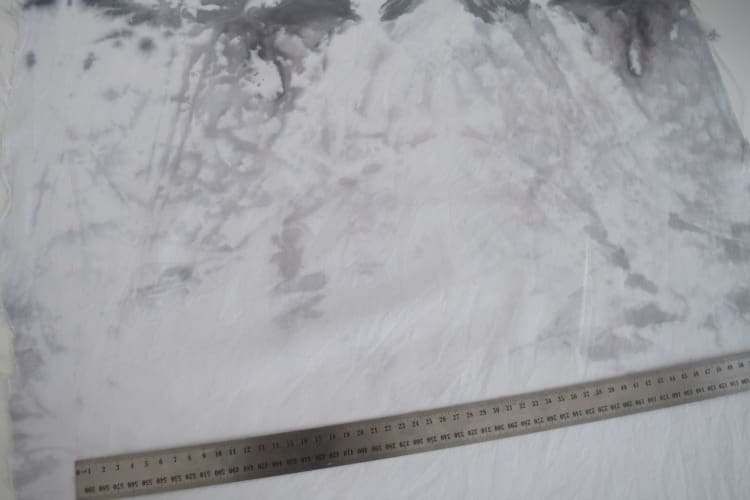
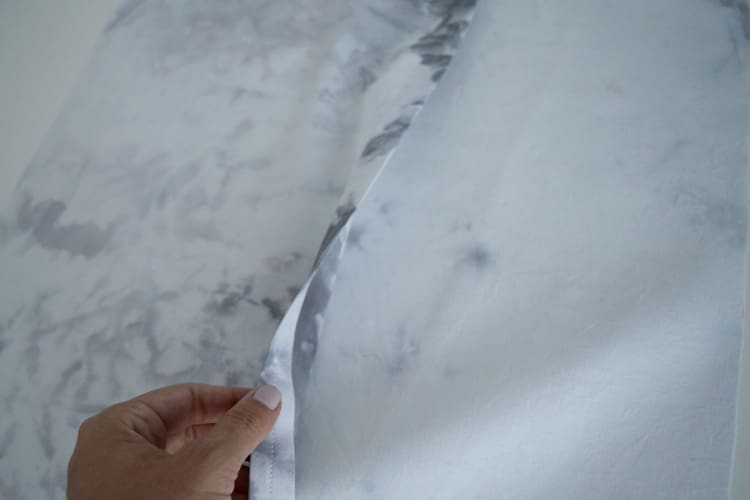
3. Once the ice has completely melted, wash the fabric. Once dry, it’s ready to cut to size.
You will need to cut 3 pieces of fabric:
– face piece: our cushion is 45cm by 45cm so we cut the face piece at 48cm by 48cm, allowing a 1.5cm seam allowance on all sides
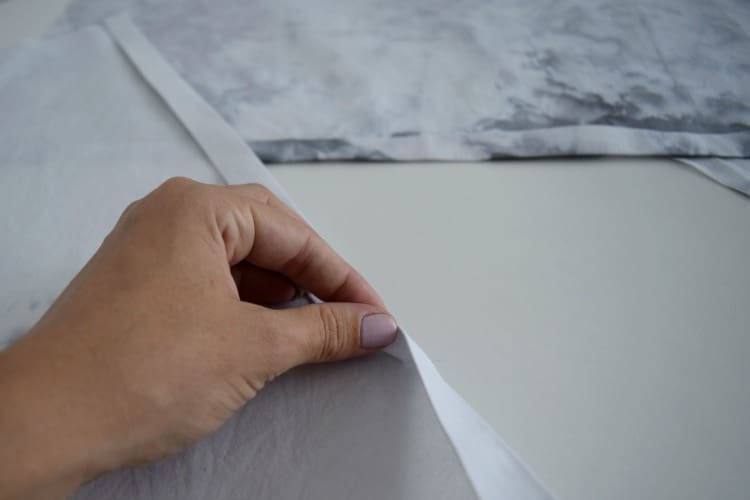
– two back pieces: we cut these at 35cm by 48cm. This creates extra length, allowing the two pieces to overlap and prevents the need for a zip.
4. Along one width (48cm side) of each back piece iron and then sew a seam.
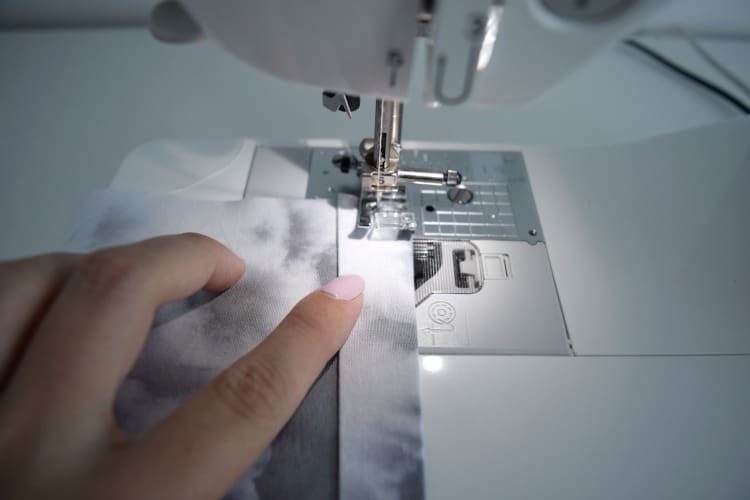
5. Lay your two back pieces the right side up and overlap the seamed sides, pinning them in place when the total length is 48cm (ie the same size as the face piece but it will have an overlapped section in the middle where you will be able to slip your cushion in).
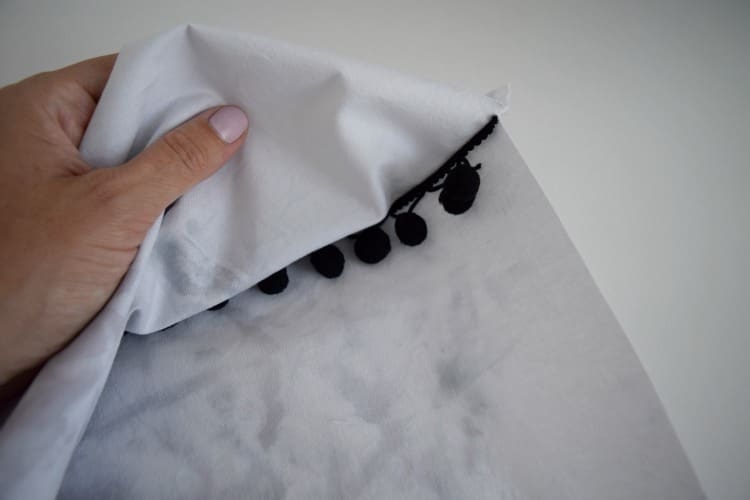
6. Now that you have your front and back pieces, construct the cushion by placing the two good sides together and the trim detail in the centre. Sew around all four edges. Note, you don’t need to leave an opening to turn the cushion inside out because you have the opening for the cushion along the back.
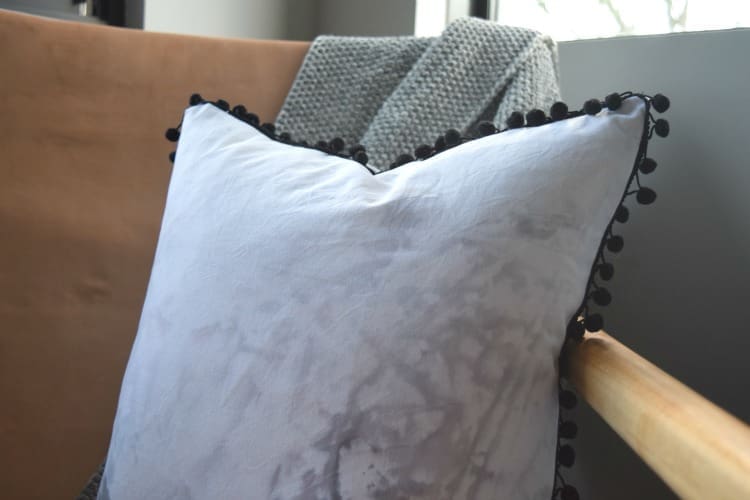
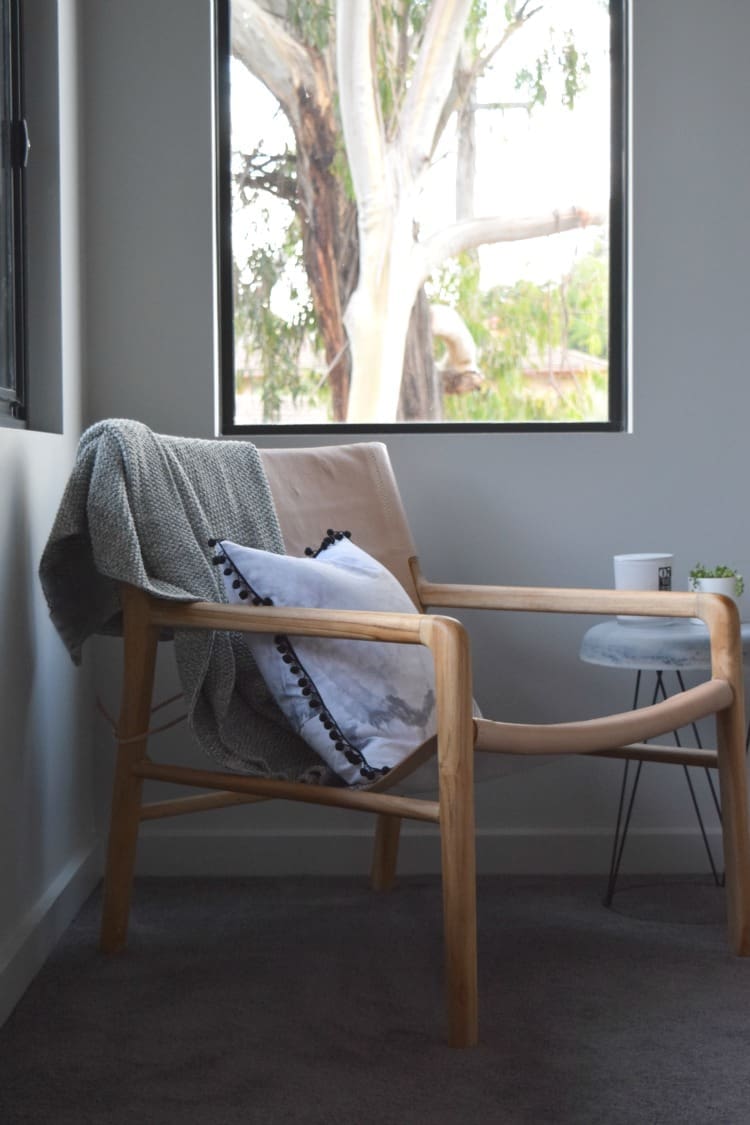
7. Turn inside out and place your cushion inside. Voila! There you have your no-zip, designer look cushion!
What do you think of this DIY? Do you like sewing too and would you like to see more sewing DIYs on the blog? Tell us in the comments below!
Thank you very much for your sharing.I plan to make one according to the method.
It’s so fun to make, Felicity! We’d love to see the pics once you’re done 🙂
Love it! Looks easy enough that even I can do it!
Yay, you should totally do it! One of the best things about ice dying is the unexpected colour and pattern results 🙂
Absolutely love this cushion! Thanks for sharing 🙂
Our pleasure and you should totally give it a go!
So impressed with this! Will have to try it myself 🙂
Thanks Naomi, we love how it turned out 🙂