


Supported by Monsta
A new staple in stylish nurseries and children’s bedrooms are tents.
There is a huge range of tents on the market these days, however many stylish options are priced into the hundreds and can require drilling into your ceiling (for those circus-style fabric tents) or take up a huge amount of floor space (for those teepee style tents).
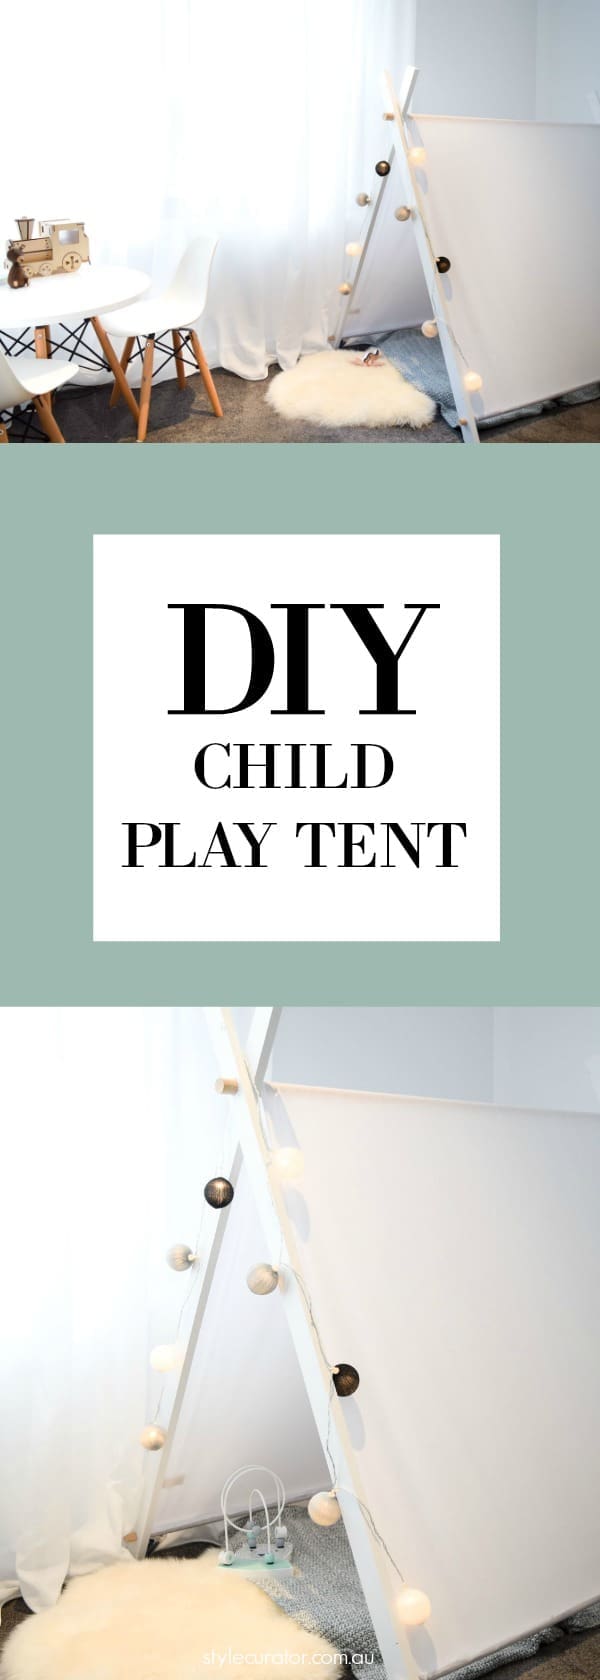
Today we’re going to show you how to make an on-trend tent for your child’s room which is smart on space and doesn’t require any drilling into walls — ideal for renters or those of us who like to change things around often!
This is a ‘no sew’ DIY which will be a relief to many but you will need to be a little bit handy with an electric drill.
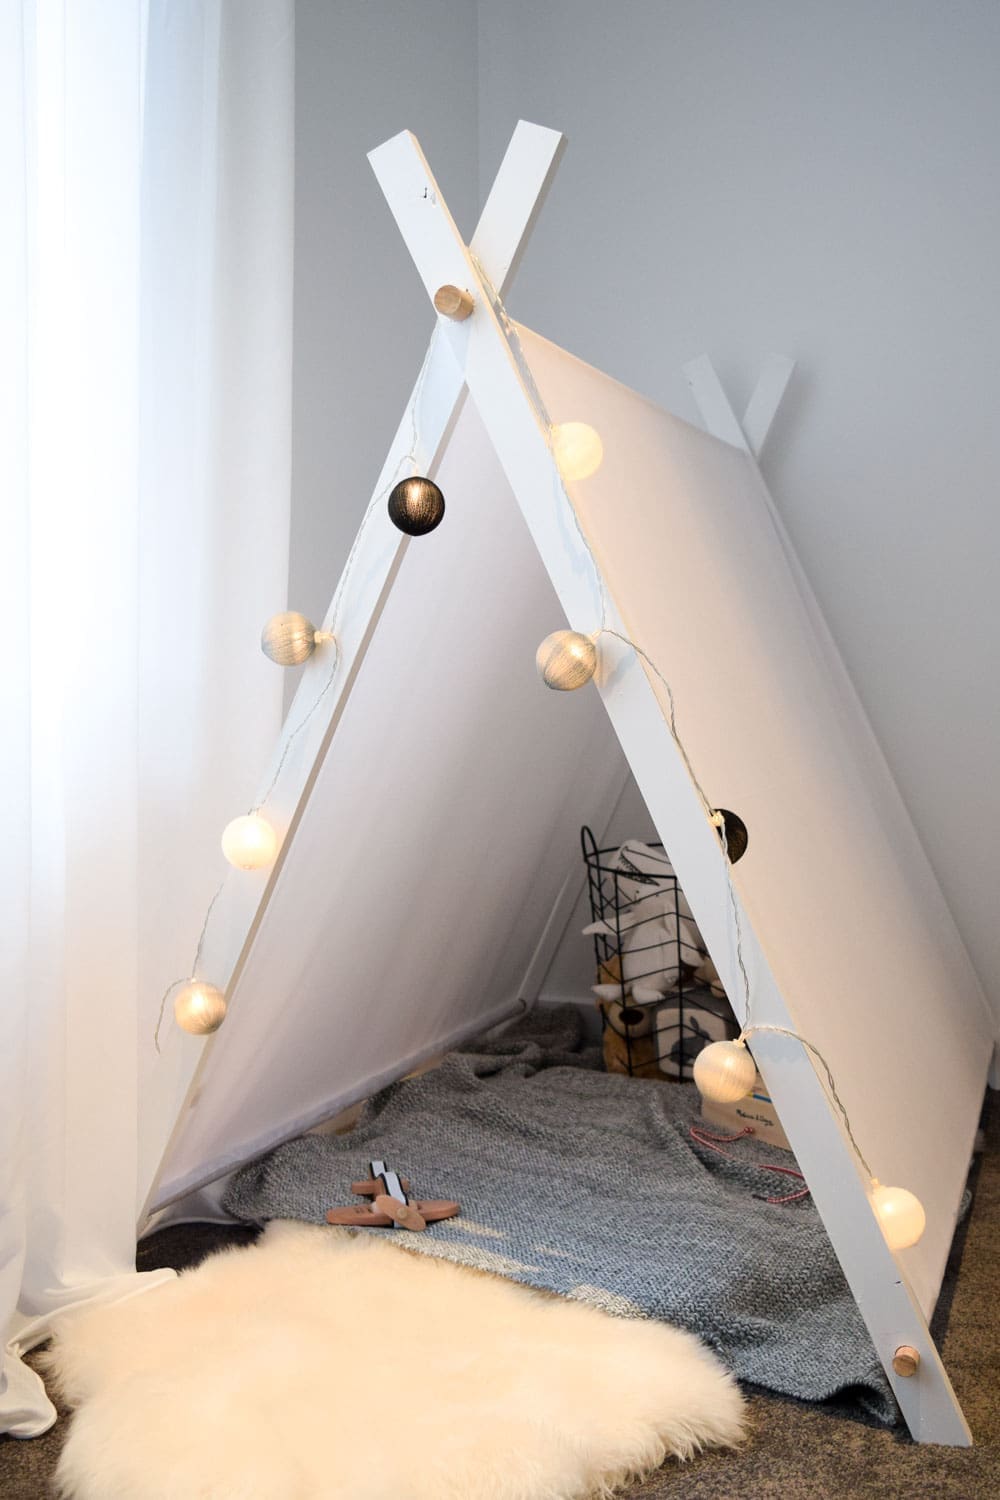
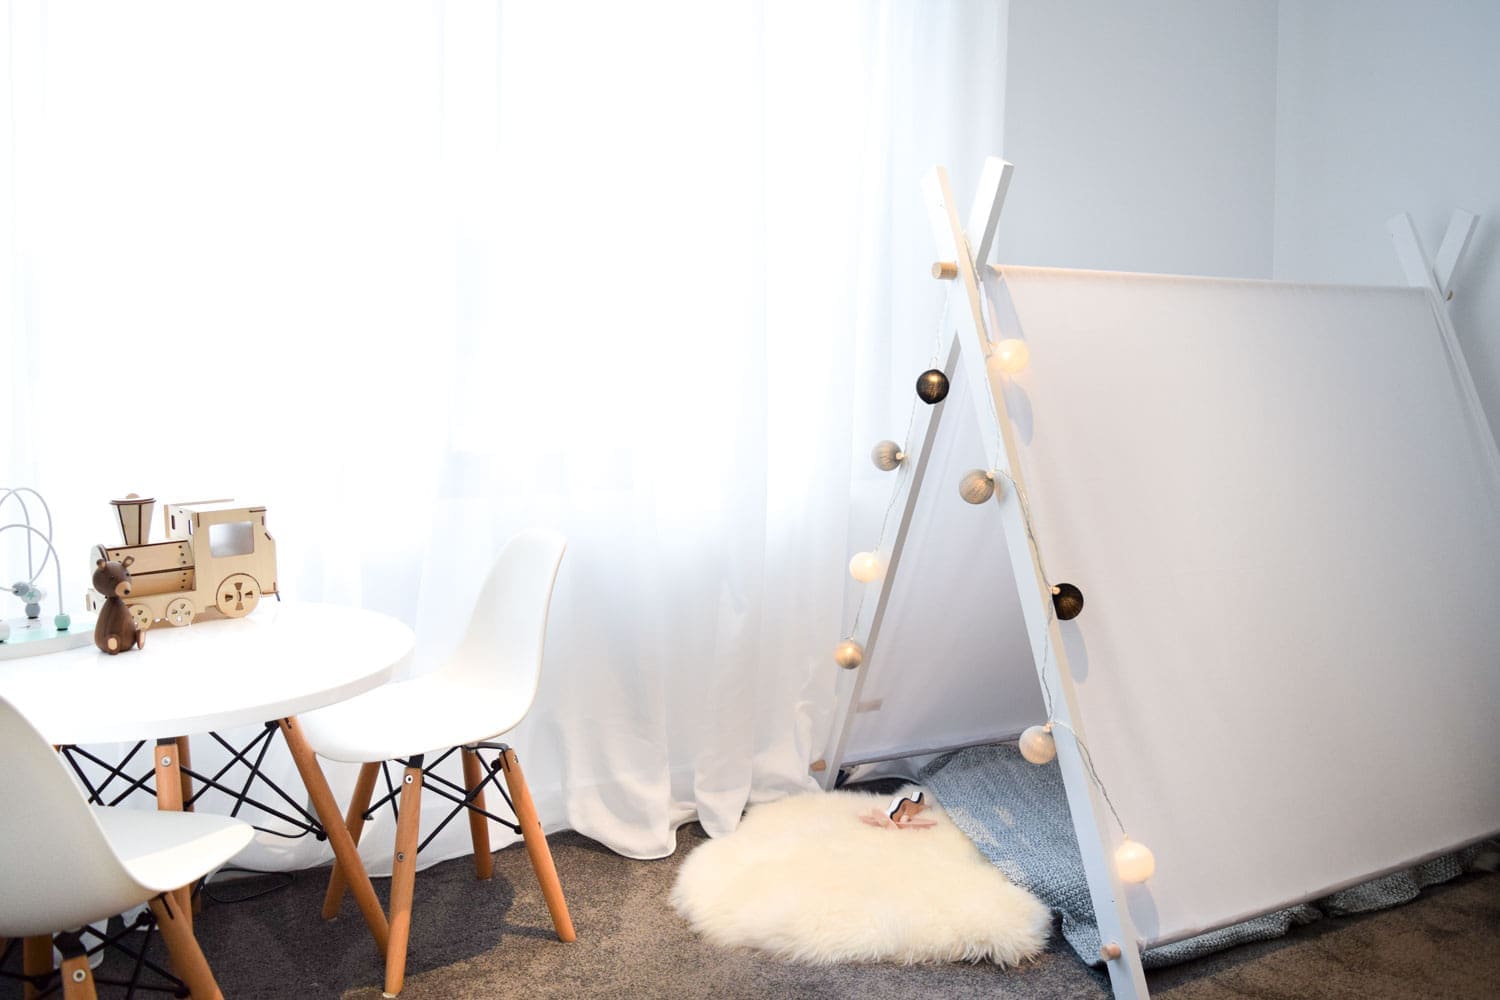
We made this DIY play tent in classic white with natural timber accents and decorated with coloured bauble string lights but you can use any coloured or printed fabric you like to add your own personal style.
Related article: DIY minimalist growth chart, make your own growth chart
Related article: DIY nursery canopy with eucalyptus garland
Items you will need:
- 4 pieces of 42mm wide x 19mm thick x 1.2m long standard grade dressed pine
- 1 piece of 25mm diameter x 1.2m long dowel
- 1 piece of 19mm diameter x 2.5m long dowel
- Drop saw (or have timber cut to size at the hardware store)
- Electric drill
- 25mm spade drill bit
- 19mm spade drill bit
- Paint (we used ‘Absolute White’ from Monsta in semi gloss)
- Paint brush
- Fabric (we used a cotton blend, 1.1m wide by 2.2m long)
- Pencil
- Glue gun
- Scissors
- Ruler
- Pegs
- White ribbon 3cm thick by 2.4m (optional)
Steps:
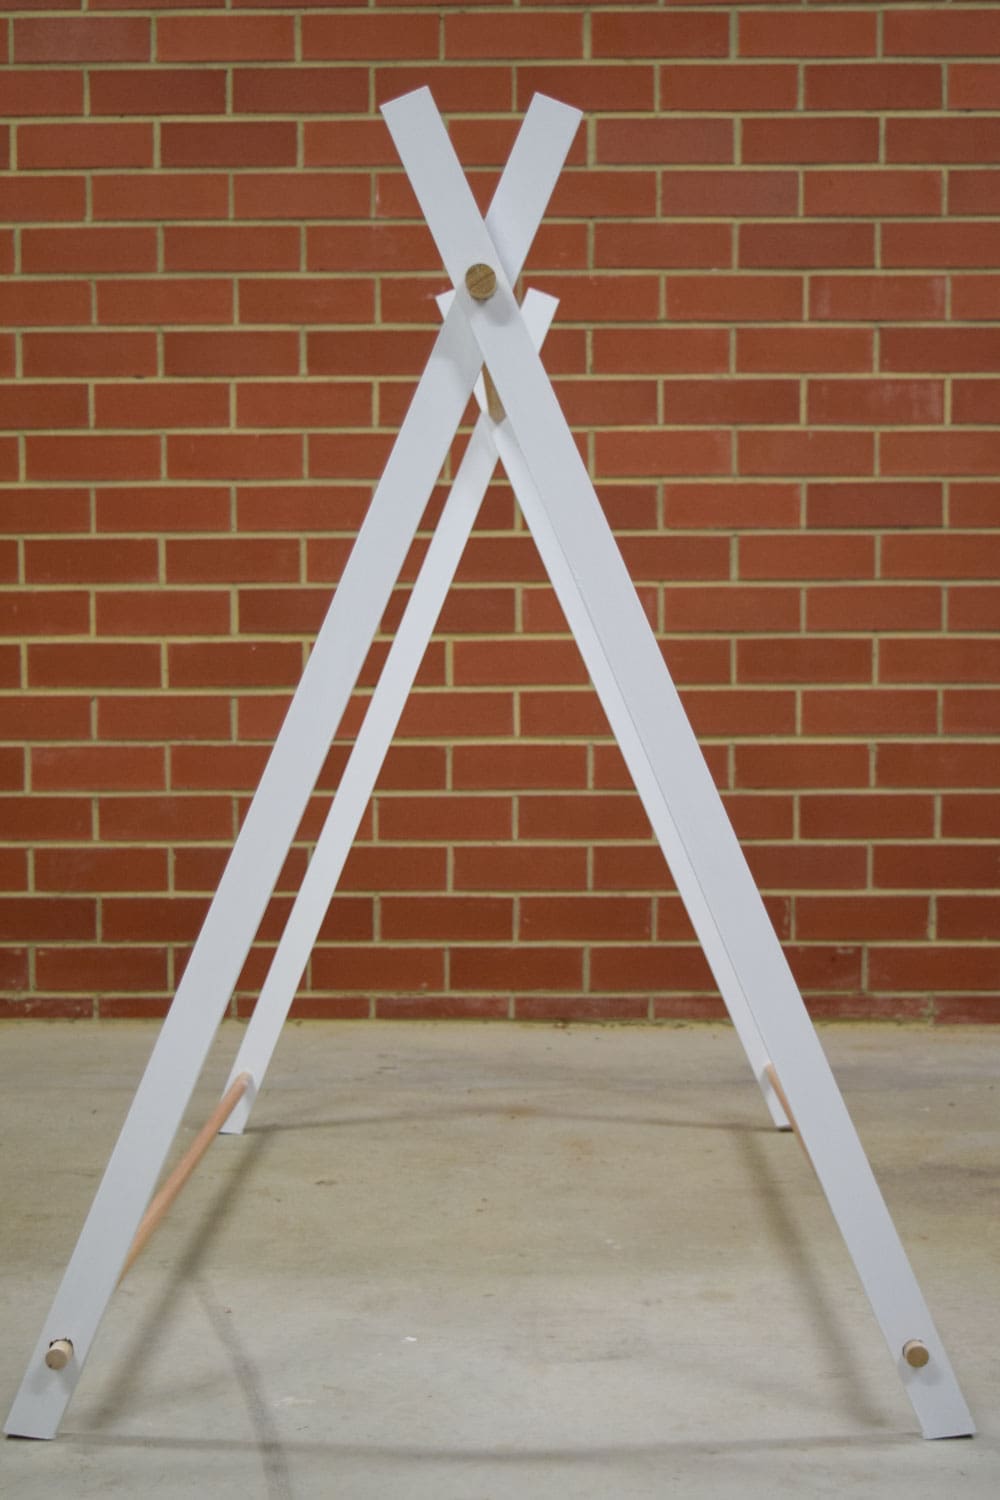
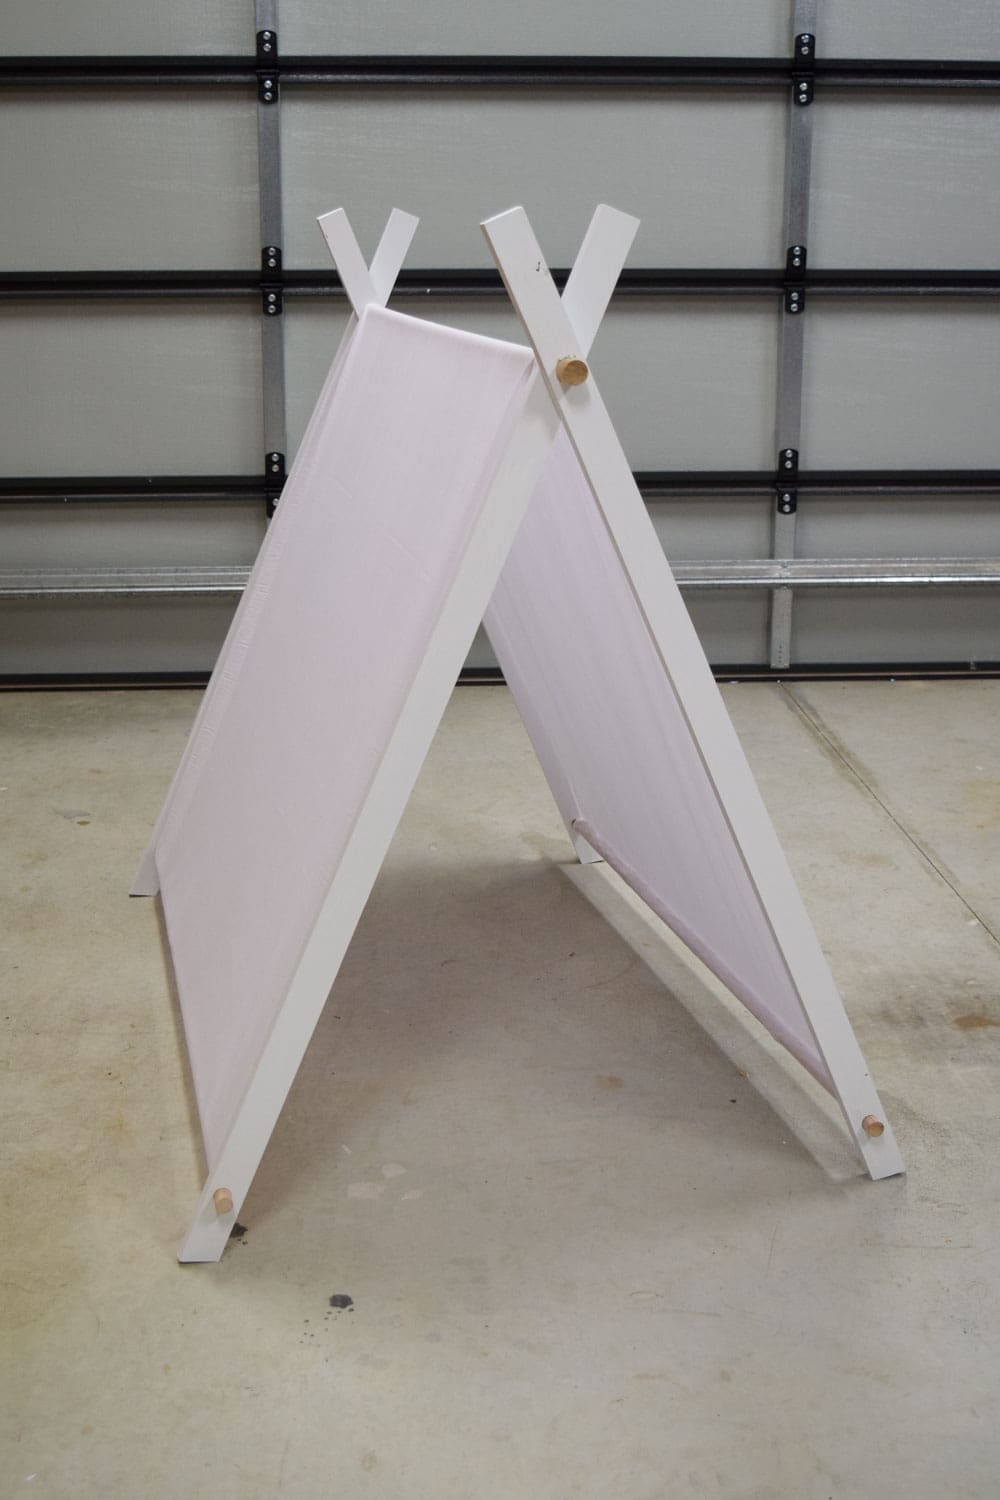
1. Trim the ends of your 4 timber pieces on a 15 degree angle using a drop saw (or have this done at the hardware store) to make them slant, giving you the tent shape.
2. Stand two pieces of timber and cross them at the top, creating the tent shape (as shown in step 4) and use your pencil to mark where the timbers overlap.
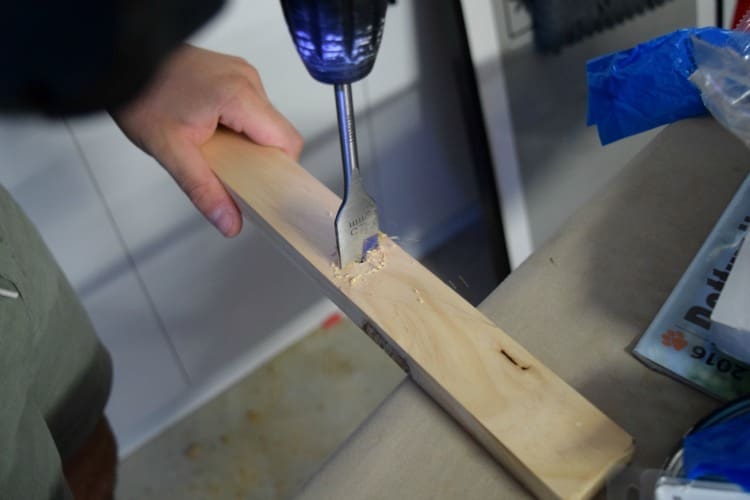
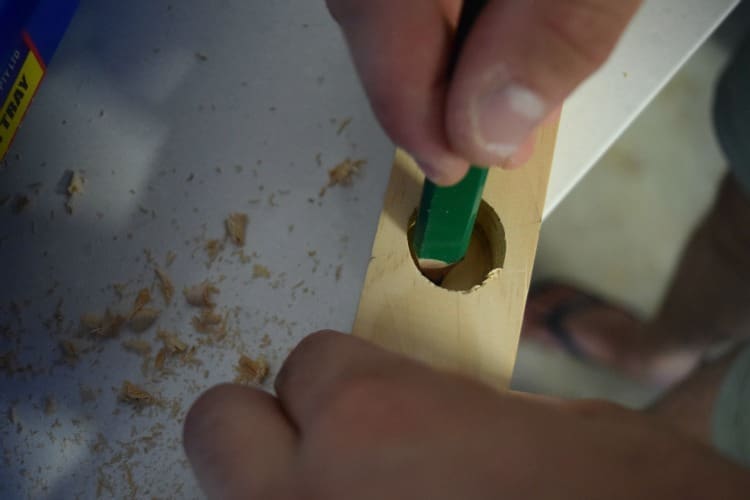
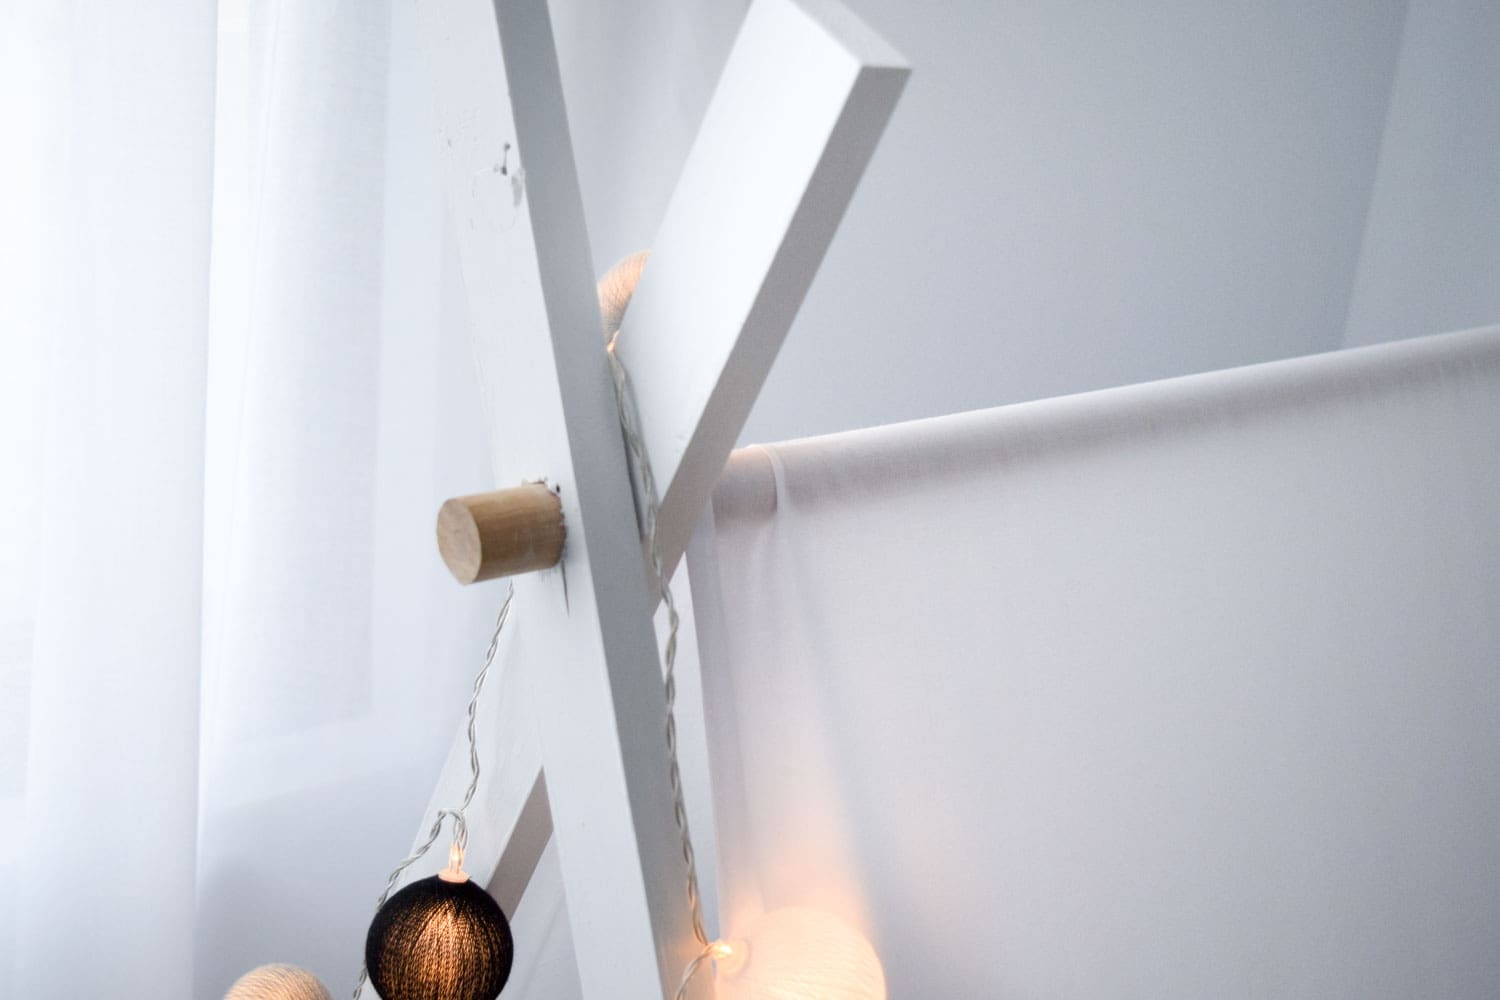
3. Find the centre of the overlapped space and mark with a pencil. Pre-drill a hole and then use the 25mm spade drill bit to drill out the hole where your thicker dowel will feed through.
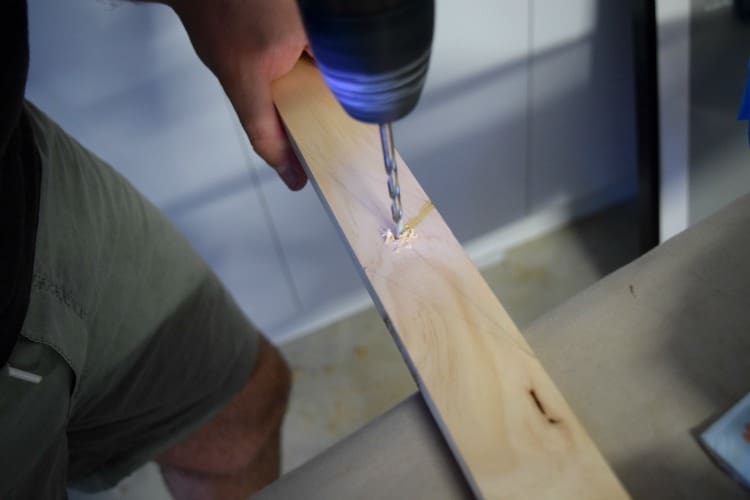
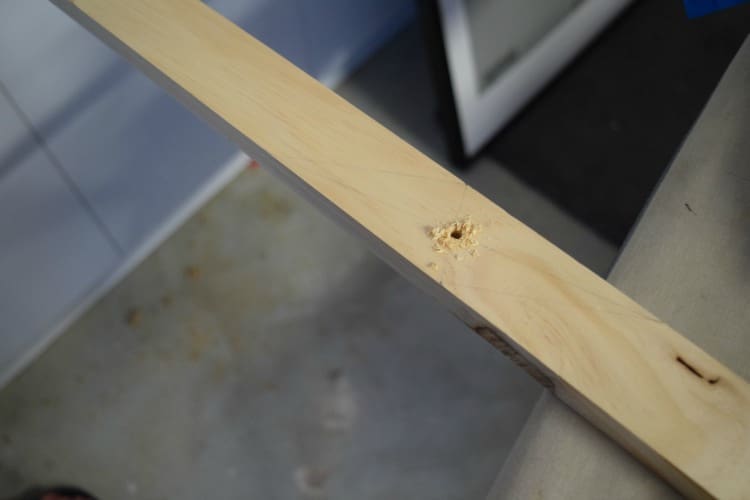
4. Repeat this step on each 4 pieces of timber.
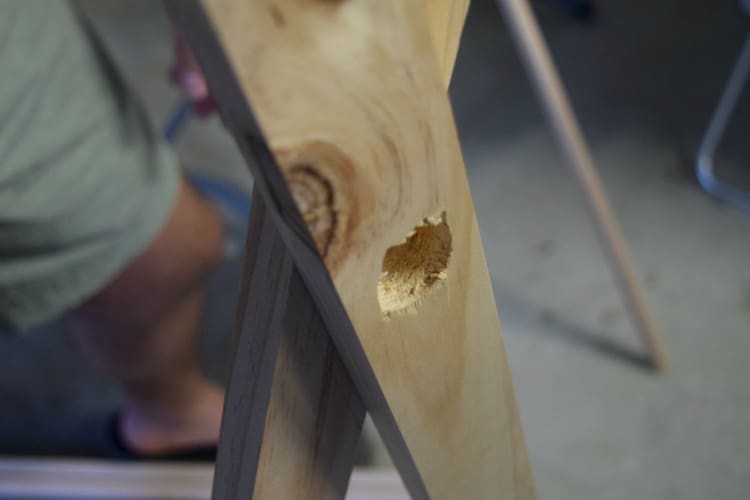
5. Now mark up 8cm from the bottom of each timber piece and use your 19mm spade drill bit to drill smaller holes for the thinner dowel in each of these pieces.
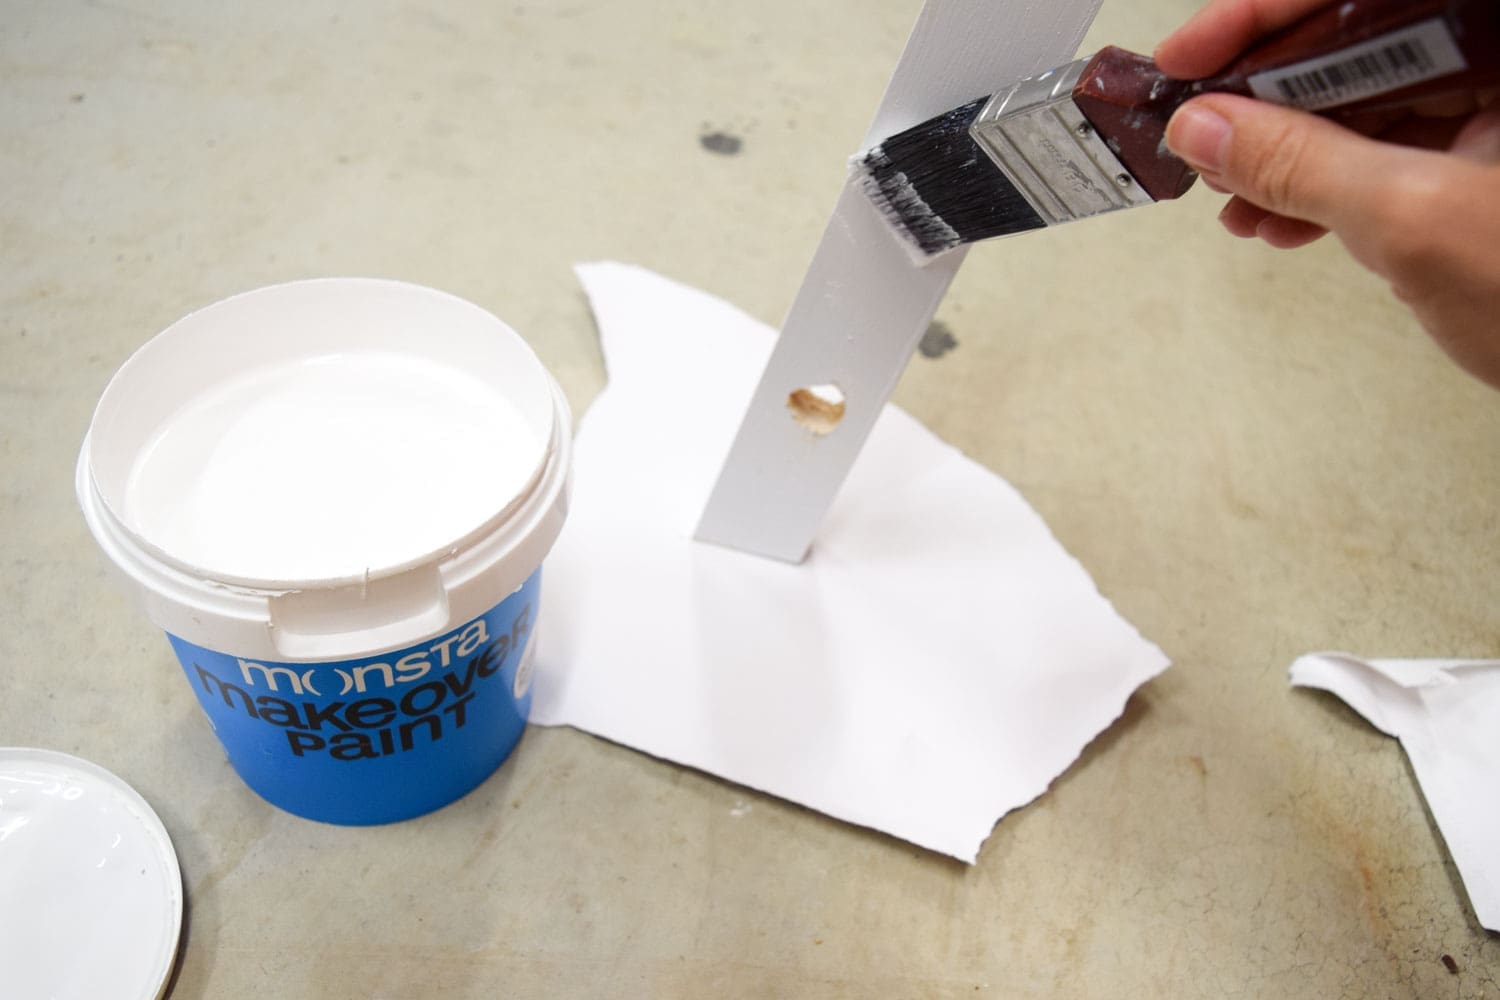
6. Paint your timber legs in 2-4 coats of paint. We used ‘Absolute White’ from Monsta in semi gloss but you could use matte or low sheen if you prefer.
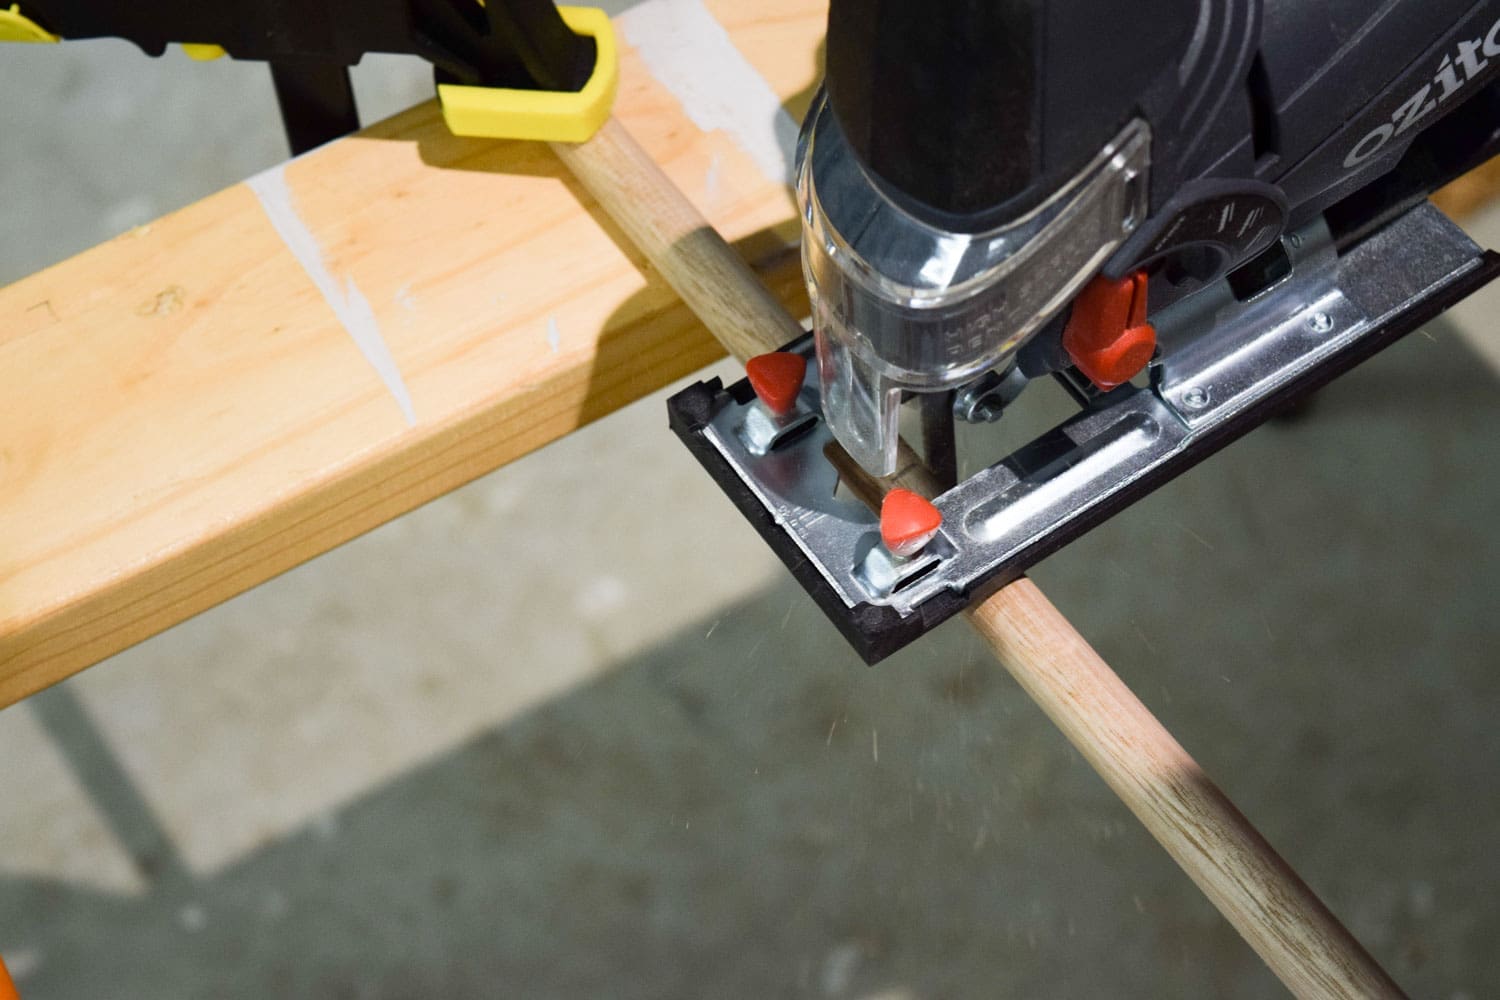
7. Cut the 19mm dowel length down to create two 1.2m lengths (we used a jigsaw for this but you could use your drop saw or have it cut at the hardware store).
8. Once dry, construct your tent by standing two pieces of timber at each end and feeding the thicker dowel through the top and the two thinner dowel pieces through the bottom on each side.
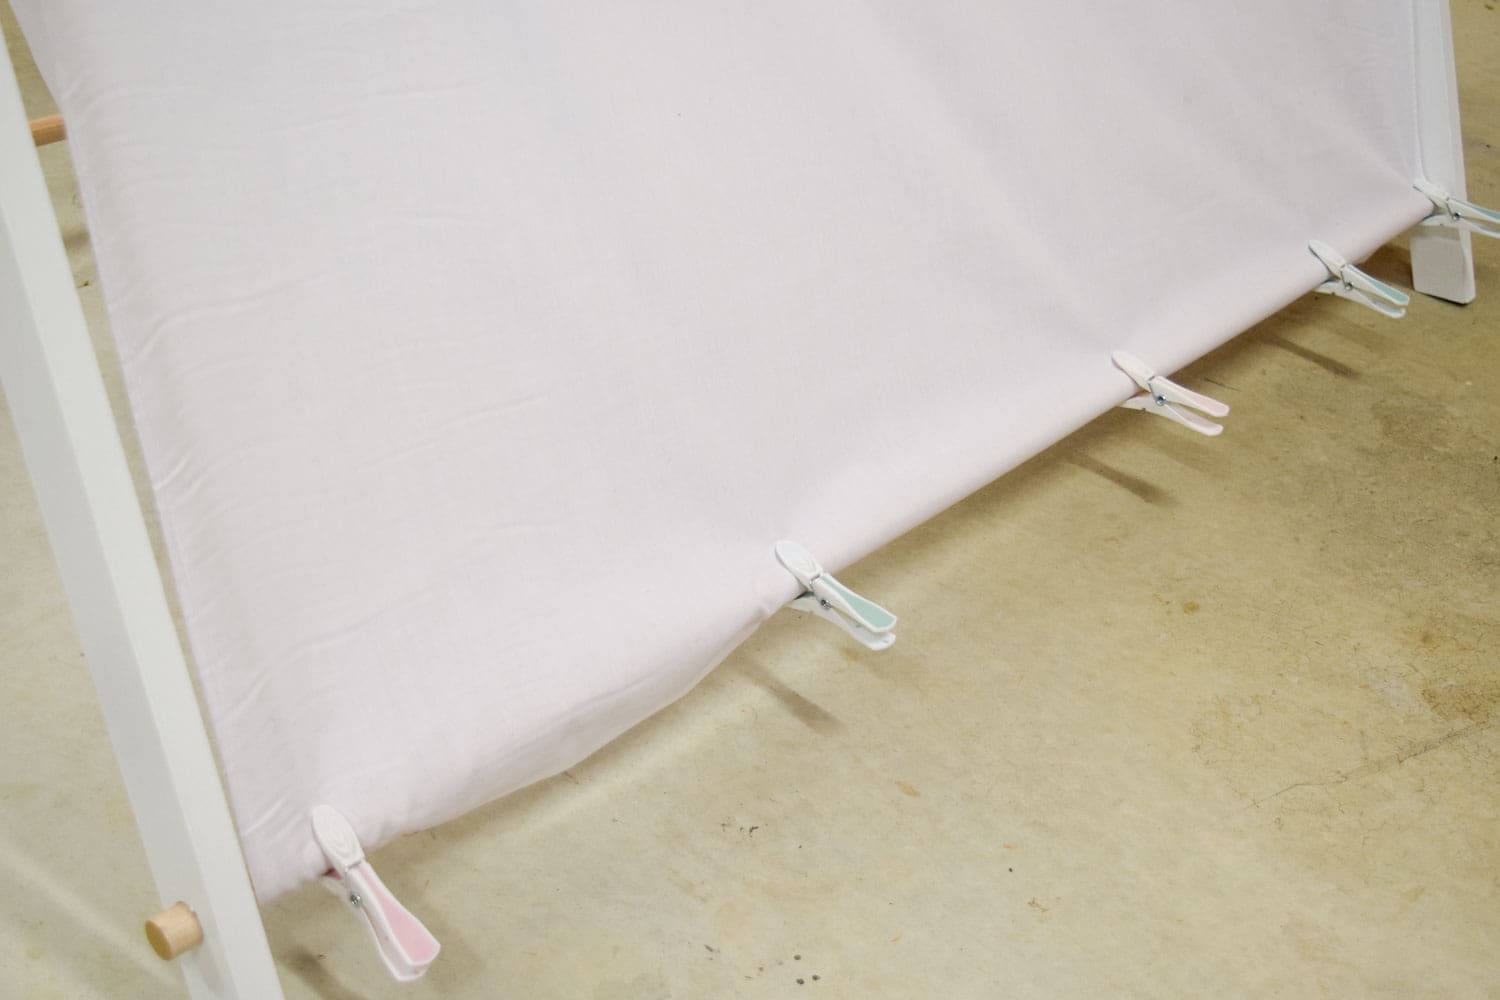
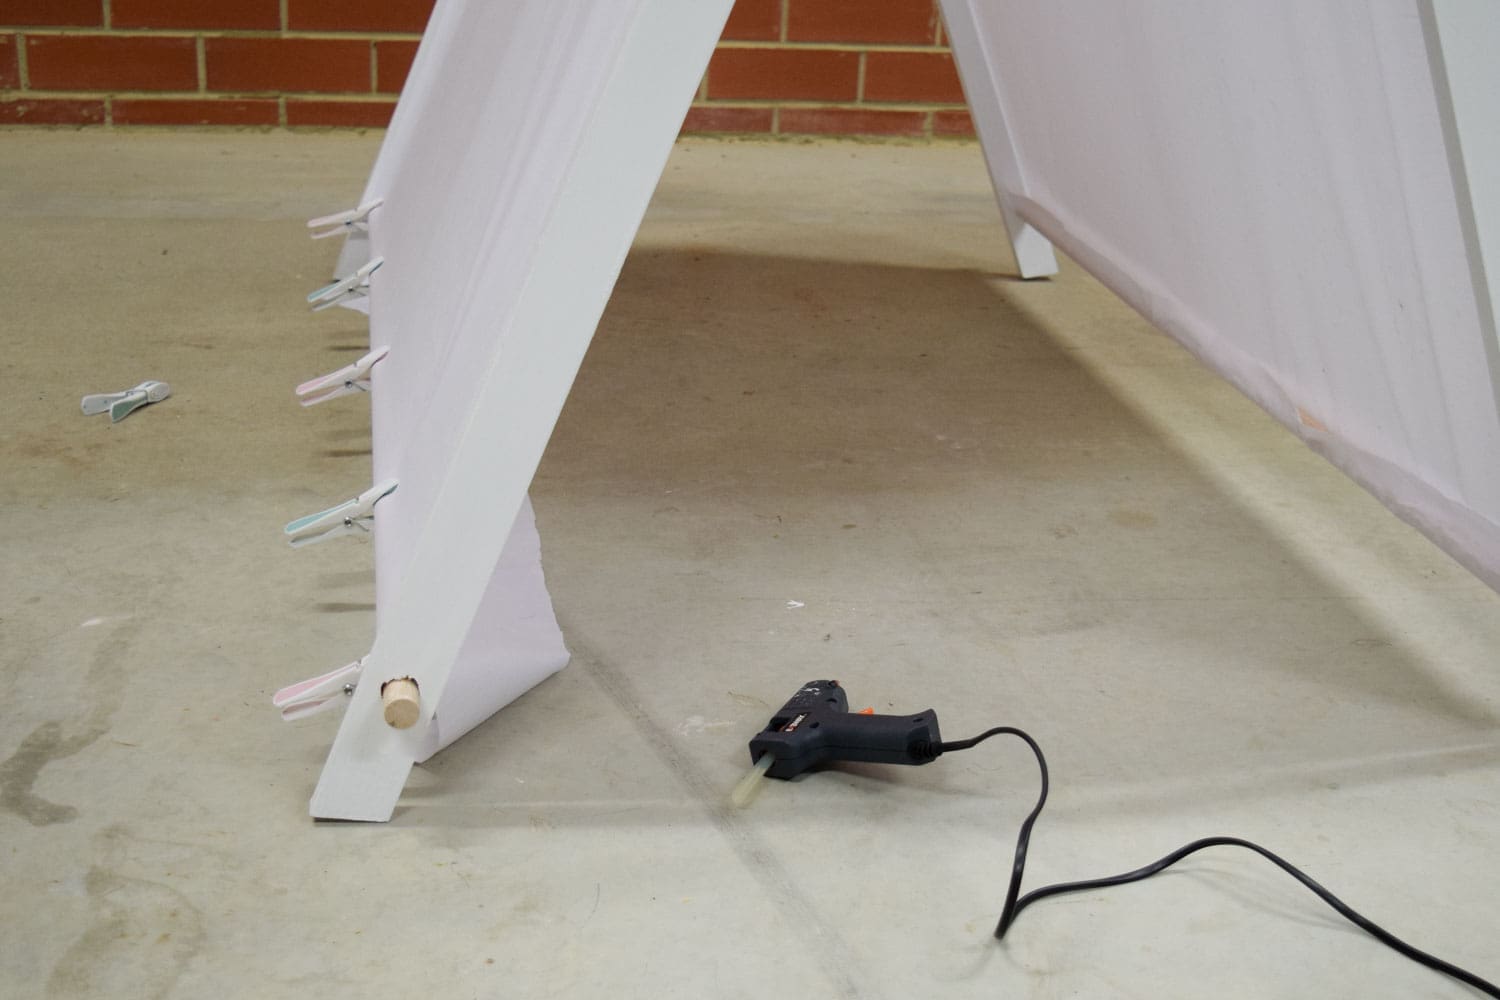
9. Now you can add your tarp. The fabric should fit perfectly along the width so it will just be a matter of gluing the fabric to one dowel piece at the bottom, then pulling the fabric taught before gluing the other side to the other dowel piece.
Tip: Use pegs to secure the fabric in place before you begin gluing. That way you can be sure your fabric won’t shift off centre and you can get a great result.
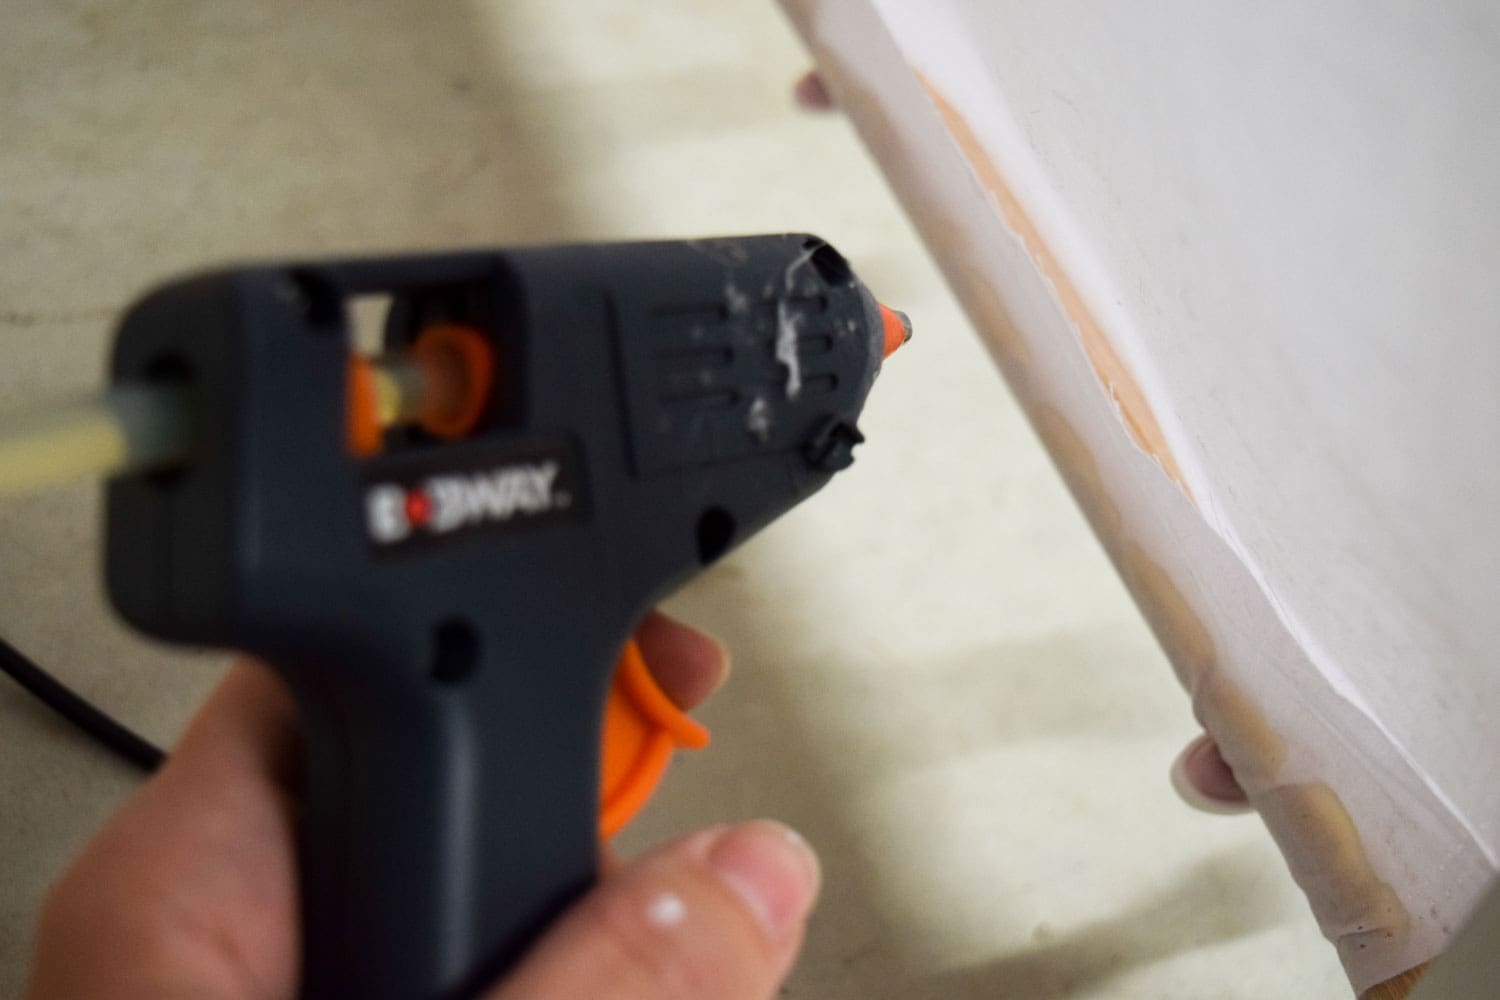
10. Optional step: We wanted to create a perfect finish inside the tent and didn’t like the look of the cut fabric glued to the dowel so bought 3cm thick white ribbon and glued this along the inner dowel to cover this edge.
We felt our tent was secure like this but if you would like to secure it further, you could add small pieces of rope along the top of each tent pitch to give it more structure.
Now your tent is ready to style however you like! Sheepskin furs or chunky knit blankets make a great base while fairy lights or toys can be attached to the inner dowel ‘roof’. Of course, it’s important to be mindful of chocking hazards and always supervise children around lights and batteries.
What do you think of this kids play tent? Tell us in the comments below!
Check out more DIYs
PS – don’t forget Style Curator readers can claim $20 off paints at Monsta Shop using ‘monsta-weekend’ code at checkout!
Styling products:
Bauble lights: Kmart
Sheepskin and grey knit blanket: Adairs
Table and chairs: Matt Blatt
Wooden bear: Ubaani
Train night light: Little Lola Boutique
Mini activity toy: Leo and Bella

I love that it folds flat (I’m assuming it does?) so you can store it away when the kids are done playing with it. I’ve gotten play tents for my kids before, but they’re always a pain – either you have to have this giant tent taking up space all the time, or you have to go through the trouble of constructing it and deconstructing it every time they want to play with it. This is way easier than that!
Thanks for your lovely comment Tiffany and yes, this tent does fold away easily 🙂
This is so sweet Gina and I love that no sewing is involved. Might need to make one for my play room 🙂
Thanks lovely! I’m really happy with how his new nursery is coming along and can’t wait to share the full space on the blog soon. This play tent is actually super easy to make and he just loves it. I’d love to see pics of your tent if you make one too by either tagging us when you post online or sending pics to hello@stylecurator.com.au <3