

People say you need to allow a 20% budget buffer when renovating older houses because there are always unforeseen issues and we certainly had more than one or two of these when renovating Bonnie’s bathroom!
Because we want to help you be better prepared for your next bathroom reno, or perhaps avoid some of our mistakes, we’re sharing our top lessons learnt.
Related article: 10 breathtaking powder rooms: Luxe powder room ideas!
Related article: A fresh take on subway tiles: 5 of the most popular ways to lay subway tiles
Demolition
There was nothing worth salvaging in Bonnie’s original bathroom — particularly given the walls were asbestos and filled with rot. The ceilings had also fallen off the batons and required replastering as well as new architraves.
We didn’t anticipate this level of damage when we began renovating or the cost of a professional to safely remove the asbestos which set our budget off to a rough start.
Given we then decided to strip the whole bathroom out, we thought it would be a good idea to create a level floor rather than keep the step up in the shower. To keep costs down, this is something we did ourselves and a hammer drill worked well here.
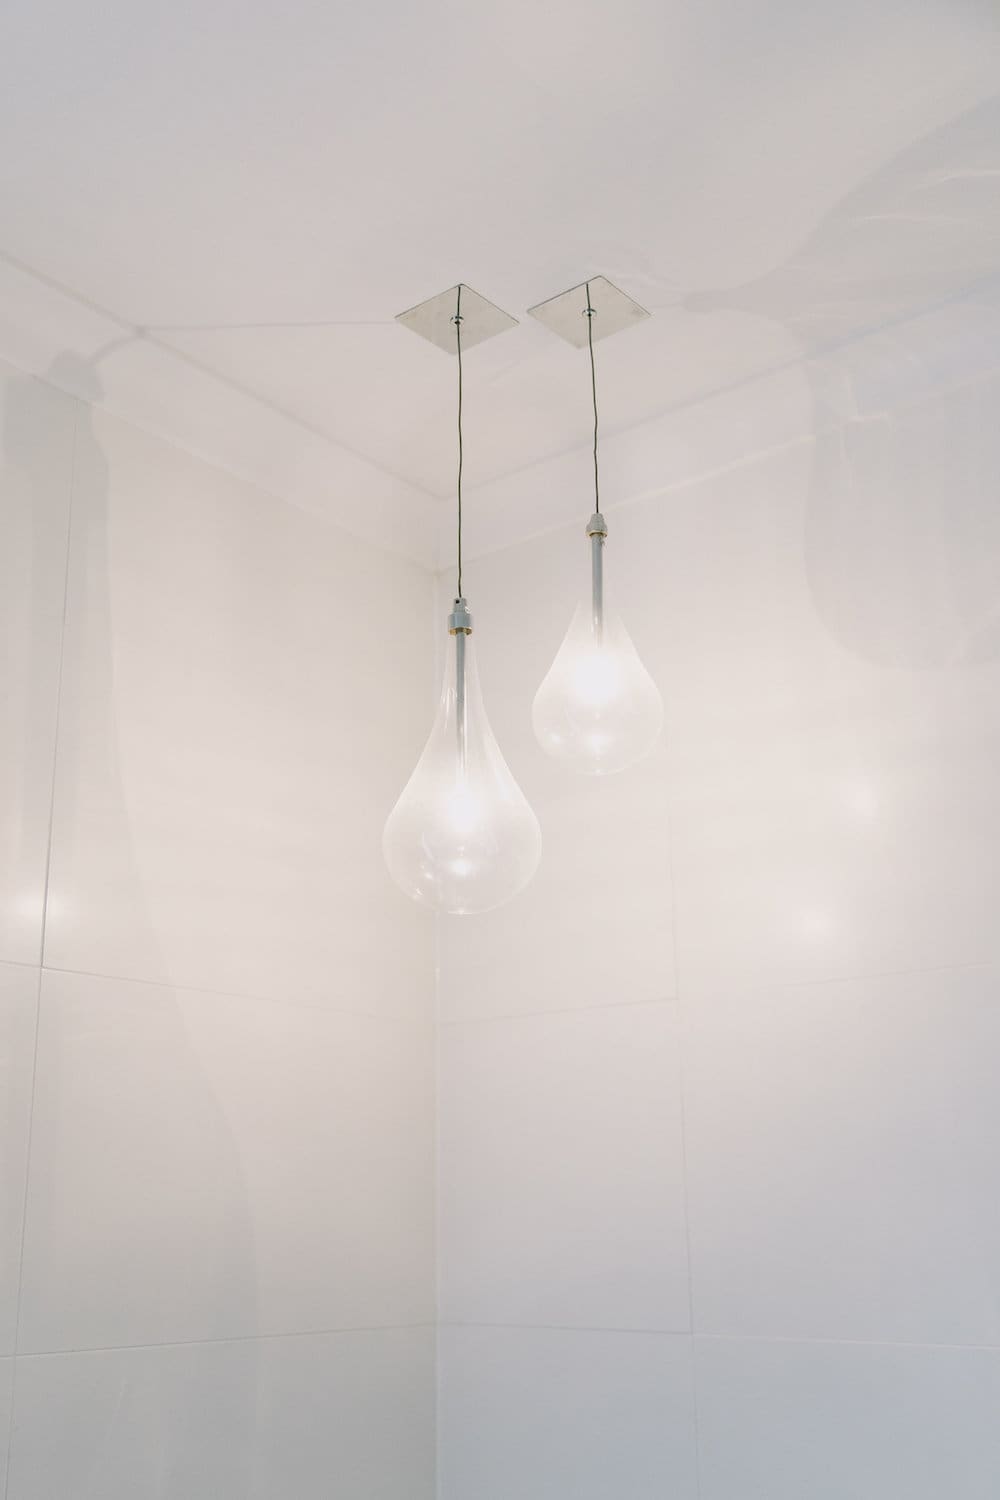
Pendant lights above bath
We often see luxury bathrooms with low hanging pendant lights above the bathtub and this is a look Bonnie wanted to recreate in her home. One thing we didn’t know is that these pendant lights must only be 12v and need to be high enough that people can’t touch them when bathing.
It was quite tricky to find pendant lights with this low voltage and after buying one set online that looked nothing like the picture, Bonnie was happy to find these glass droplet lights last minute that fit the space beautifully.
In future, we would research lighting options earlier or if budget allowed, even get pendant lights custom made by a local maker for something bespoke.
Tile grout joins
Bonnie was originally given advice that her floor tiles would need to have 5mm grout joins. That’s a really big join nowadays when 1mm or 3mm are the norm!
The smaller the grout joins, the more luxe your bathroom will look and feel as the floors and walls will appear more seamless.
Grout is also the weakest part of tiling and over time, it’s common for grout to discolour or even crack if there’s movement. With larger grout joins, these issues become more pronounced. So we went for the smallest grout joins possible on the floor and walls. It creates a seamless tile finish.
Tile size
Another mini regret Bonnie has in her bathroom is the size of the floor tile. She was also given advice that the floor tiles should be 450×450. This is a rather small size given 600×600 is the most common size used in bathrooms these days. You can even find larger 900×900, 600×1200, 1200×1200 and larger panel porcelain tiles!
Unless you’re going for a feature tile that’s known for its small size, such as encaustic tiles that are usually 200×200, larger is generally the way to go!
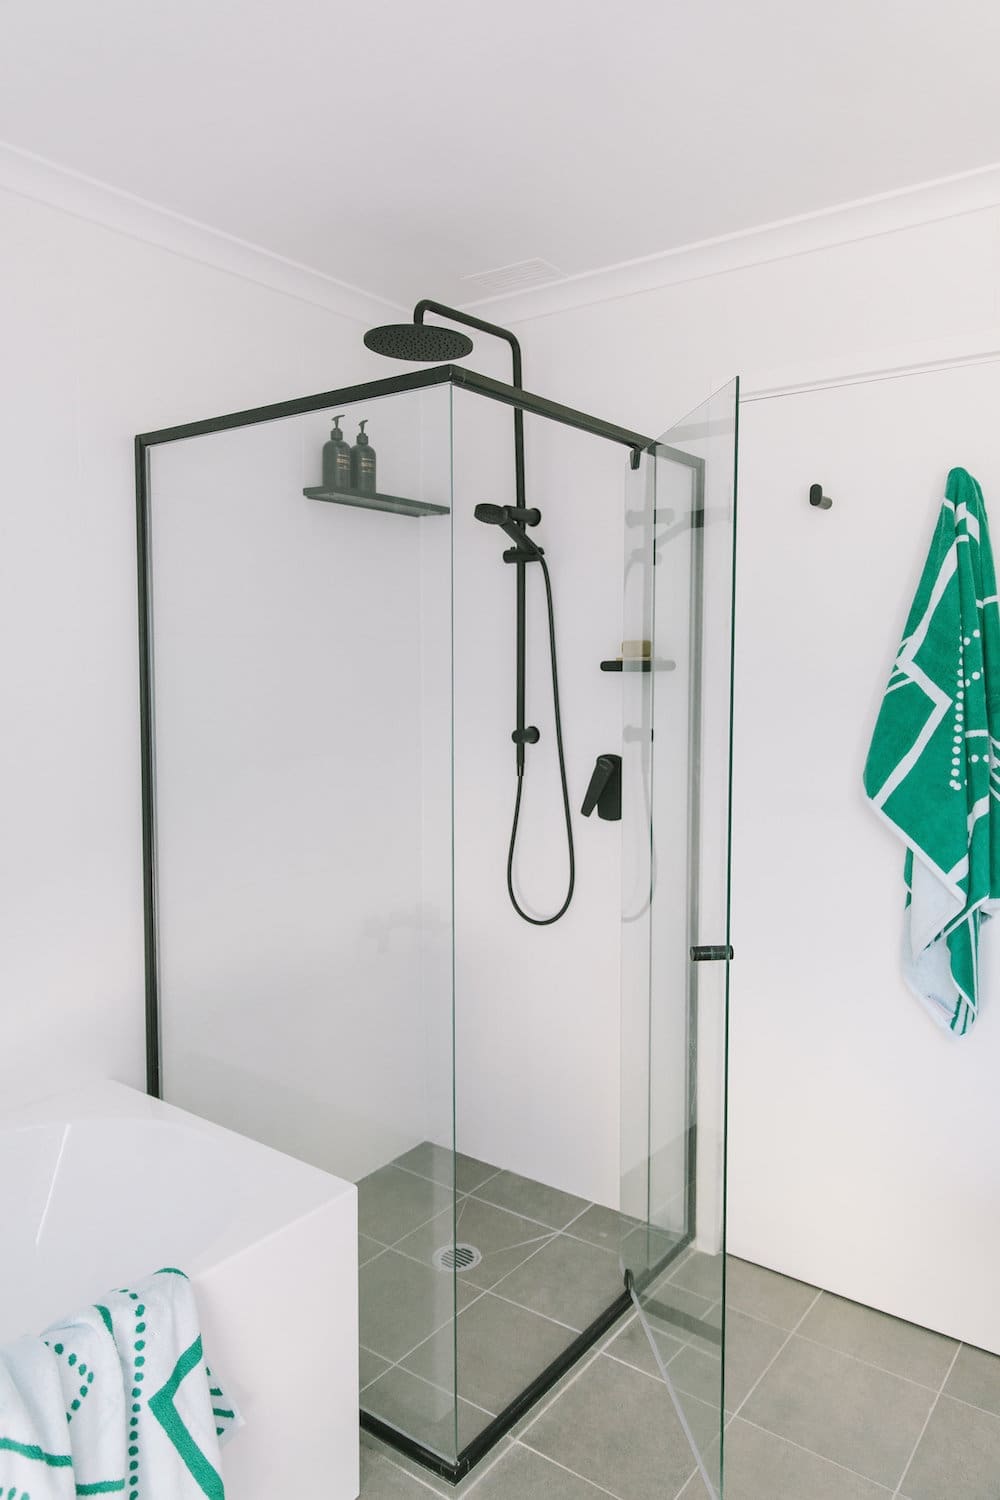
Tile finish
Last tip on selecting the right tiles for your bathroom renovation is to think about the finish.
Gloss tiles used to be the most popular wall tile finish, particularly as they are said to be easier to clean. While it may be easier to clean gloss tiles, water marks can also be more visible. Satin or matte tiles are now gaining popularity. They reflect less light, do not show water marks as visibly and are also easy to clean. Tip: just avoid anything too textured or with too many tile joins in the shower. Another finish that’s very beautiful is lappato which is a semi-polished or honed tile. It feels mid-way between satin and gloss. Not all tiles are available in this finish but it’s worth looking out for.
In Bonnie’s bathroom, we used satin finish on the walls as it creates the contemporary and calm look we wanted.
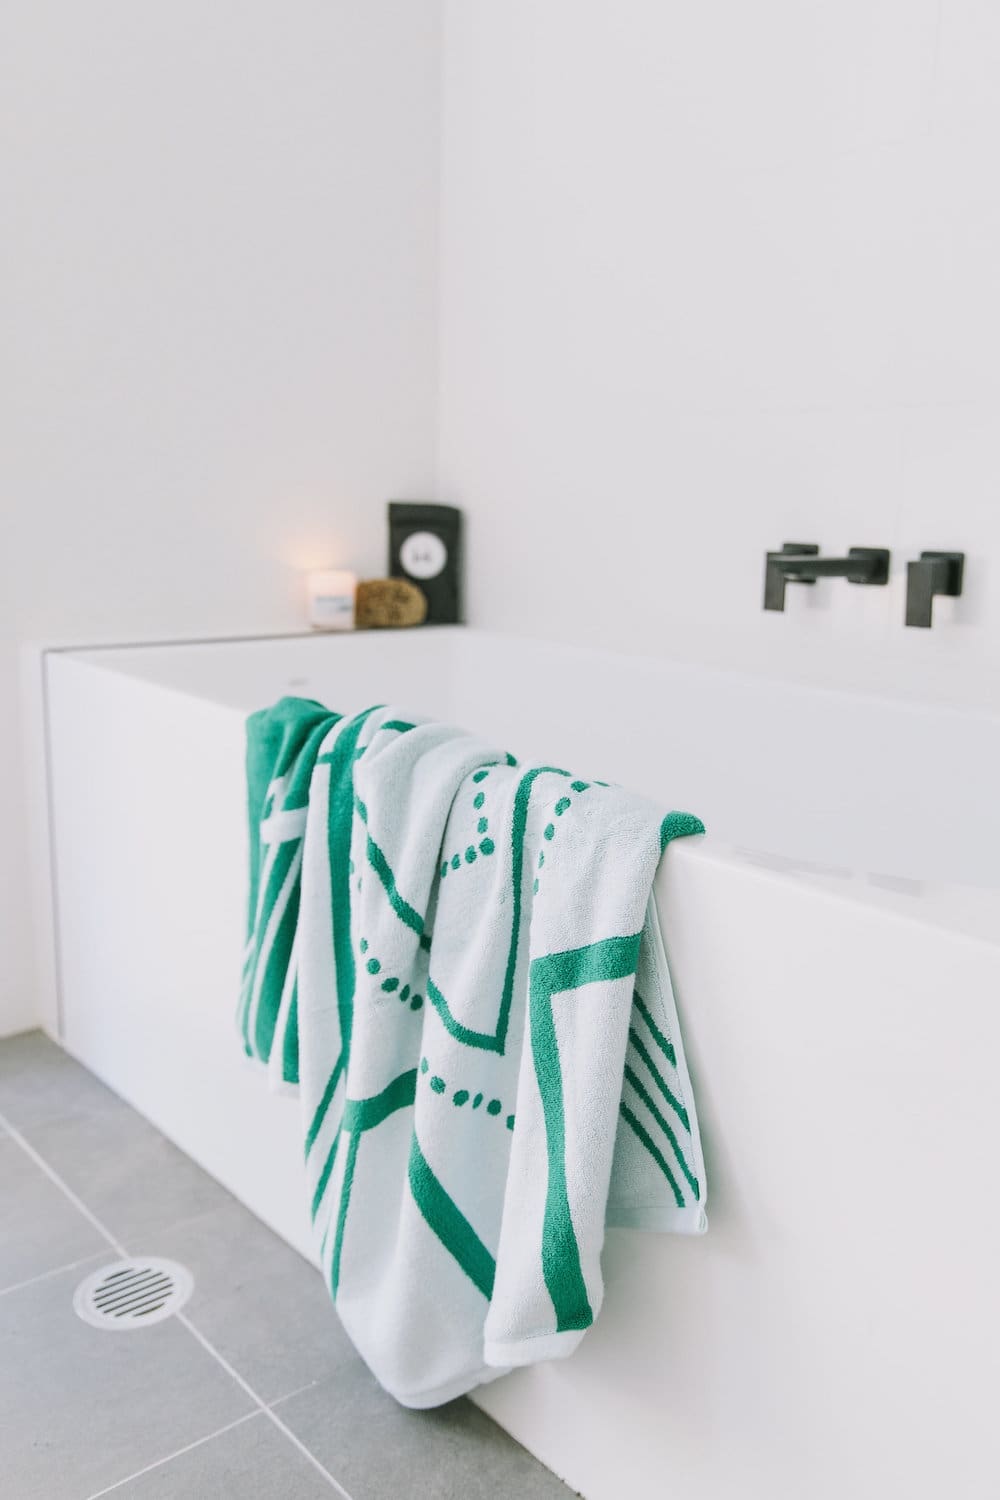
Try to make the most of a bad situation
Another unexpected issue we faced was finding plumbing sitting out of the wall next to the old in-built bath. The plumber advised it would not be possible to reconfigure the plumbing to make it fit inside the wall. So Bonnie was left wondering if she could still use the free-standing bath she purchased?
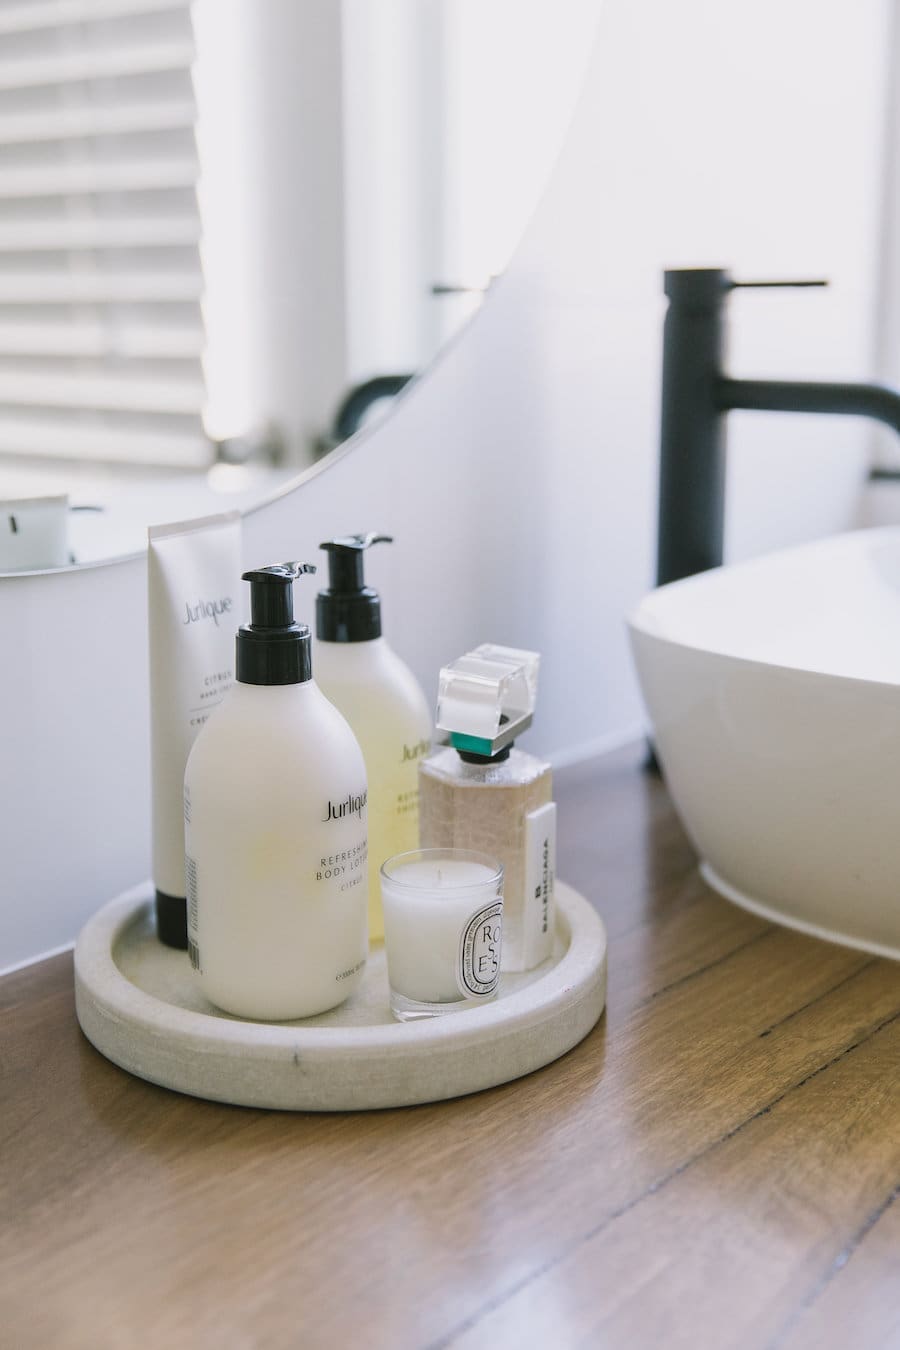
Their builder came up with a clever idea to build a small shelf next to the bath. This hides the plumbing while achieving a flush look. Now it’s one of her favourite things that they didn’t plan — the perfect spot for some bathroom styling or to rest a drink.
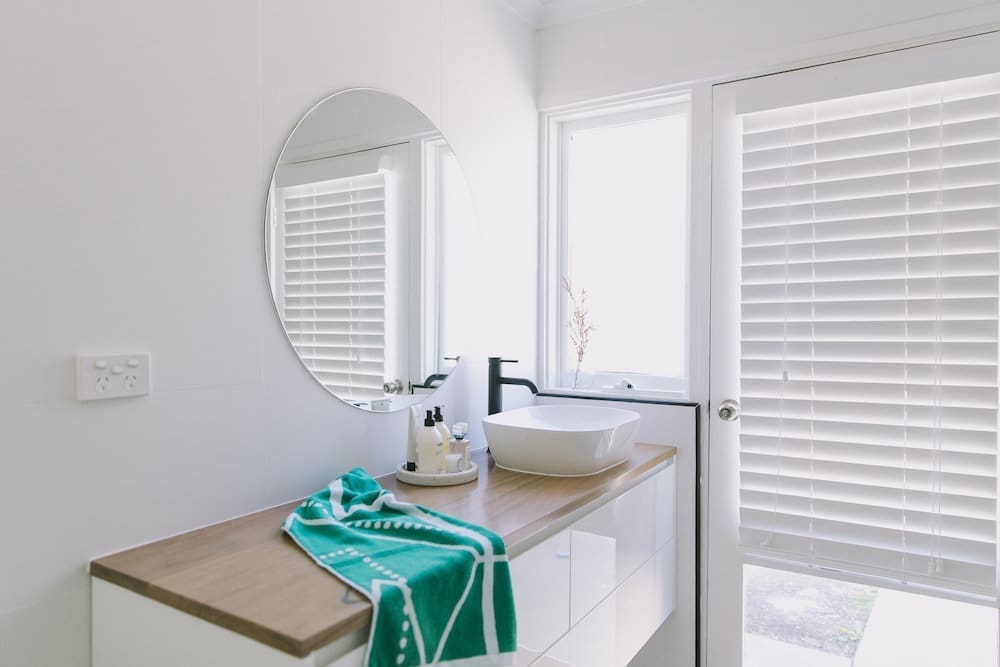
Storage
One of the best luxuries you can add to the bathroom (and that’s great for resale) is storage. That doesn’t mean you need the largest vanity possible. But consider finding one that has deep pull out drawers rather than cupboards as they are more functional.
Do what you can
We mentioned above that much of the demotion was done ourselves and this was to keep costs down. Bonnie’s husband and father-in-law also made the solid Spotted Gum vanity top. It’s a beautiful feature that saved them hundreds!
While we don’t all have wood workers in the family, perhaps you could do some of the painting, demo or other labour keep within budget.
Timeframe
The final tip is to plan well! Bonnie’s house has just one toilet and during the bathroom renovation, she didn’t have access to it.
She says of all the things she’d do differently next time, it would be to line up all the tradies. She project managed the bathroom and experienced difficulty getting all the trades to come when they were needed. It caused delays so next time she says she would plan the better to achieve a quicker, more seamless renovation.
Hopefully these bathroom renovating lessons will help you avoid some of our same mistakes. Or at least be a little better prepared for what’s to come!
More bathroom inspo
Photography by Thorson Photography


So many lessons learnt! Couldn’t have done it without your wonderful help Gina!
Awww thanks lovely, your new bathroom is stunning!