


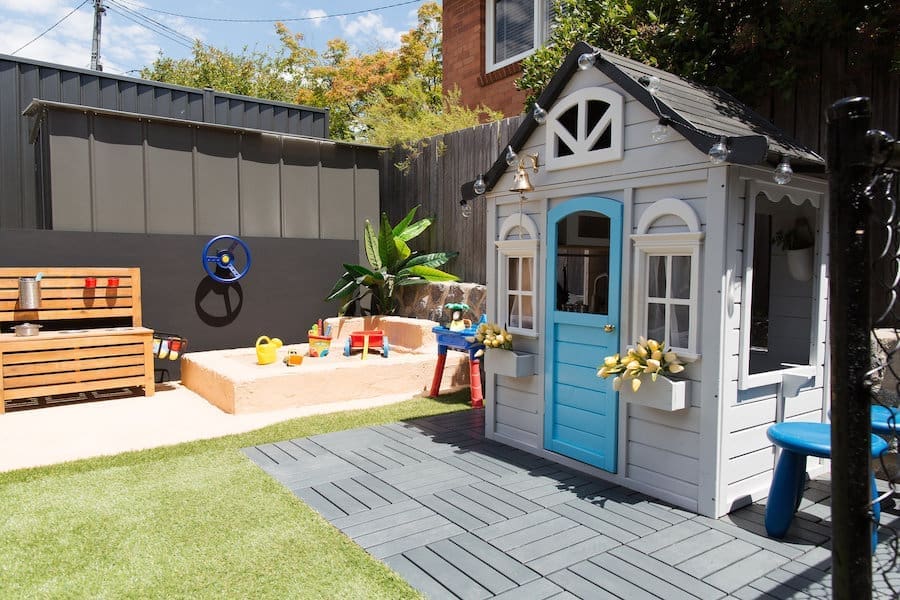
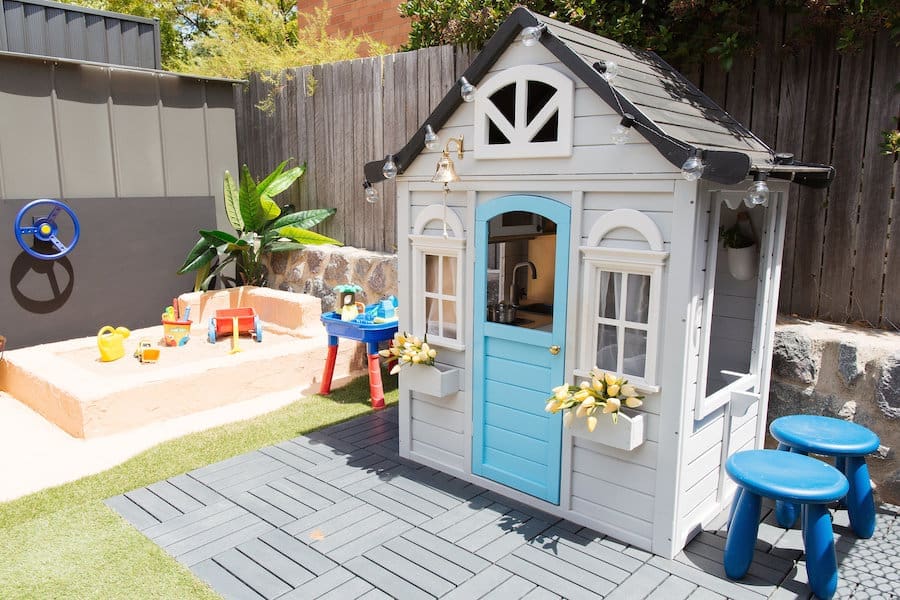
I recently shared Patrick’s Kmart hack cubby and mentioned that it was part of a larger play area I was making him. Today, I’m so excited to share the whole play area with you!
I’m really proud of this playground which I did 99% on my own — I learnt to use lots of new power tools/building materials and most importantly, Patrick absolutely loves it.
Related article: DIY play tent: Make this on-trend tent for your child
Related article: 20 of the best-ever Kmart hacks for kids
Designing the space
I did a lot of research (if you can call trolling Pinterest and Instagram research, haha) to get ideas on the different ‘zones’ I could create in the play area and had a long list of ideas, including:
- sandpit
- slide
- mud kitchen
- logs to hop along
- cubby
- trampoline
- hopscotch
- water play table
- pool
- dirt tracks/roads for toy cars or trucks
- blackboard
- steering wheel on wall or in a ship
To create the design, I thought about what things Patrick would enjoy the most. I knew the sandpit and cubby were a must but wasn’t sure what else I could squeeze in so I measured up the space and played around with a few ideas.
I didn’t want everything to be ‘fixed’ like the sandpit as I know how quickly children can bore of things and how quickly Patrick is developing at the moment so I loved the idea of the mini outdoor mud kitchen and water play table — they could be moved easily and were also really affordable. For a long time I considered adding an in-built mini pool but felt nervous about having any deep water in the area, and thought I could always put an inflatable pool on the grass on those hot days.
Constructing the play area
This play area was a surprise Christmas present for Patrick so I had to work on it during day naps or after he went to bed at night… so it took a few weeks to do it all! But I think it’s achievable to do in one weekend if you can have both your hands free.
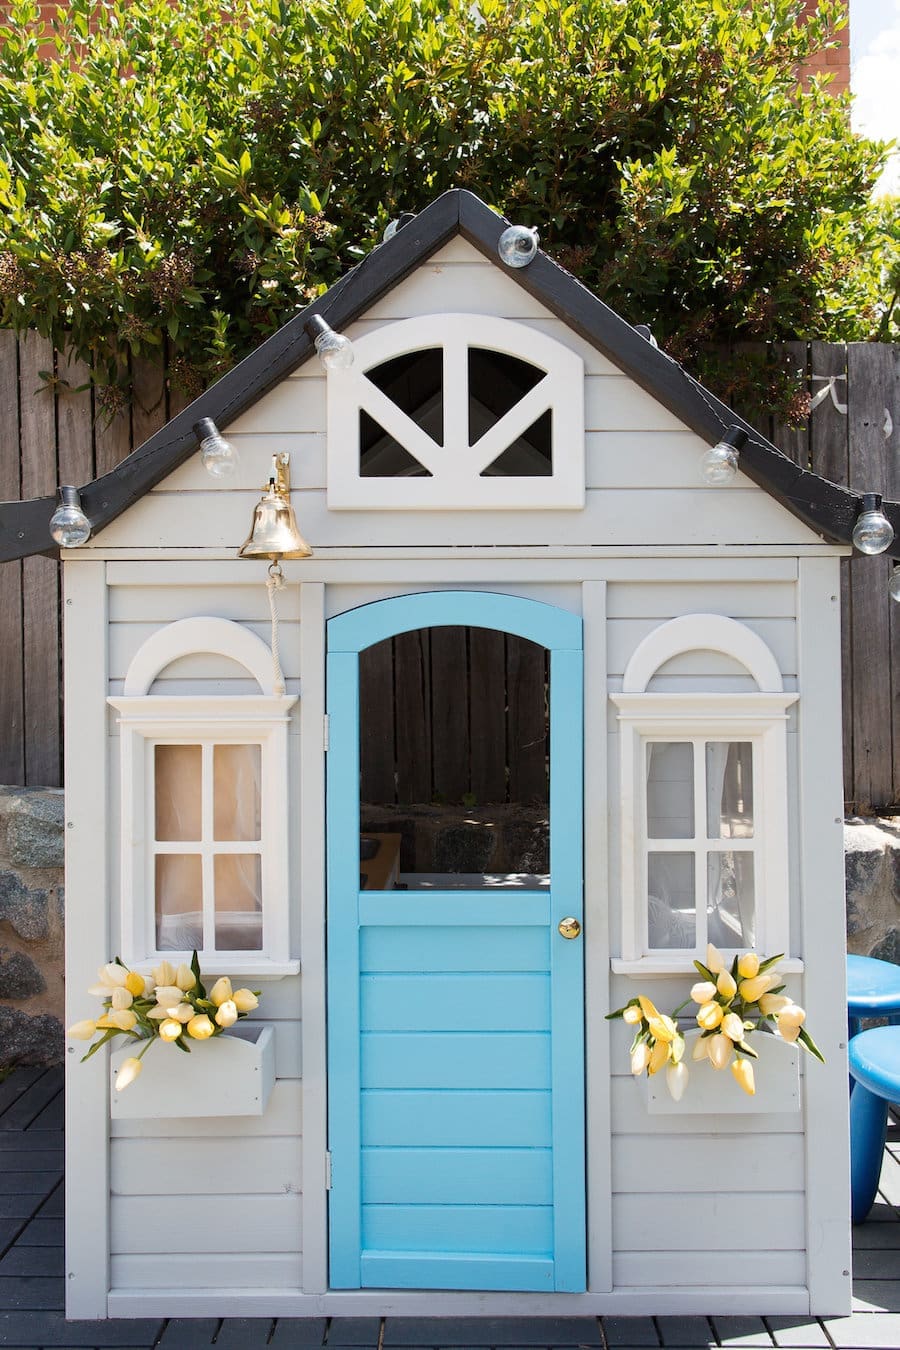
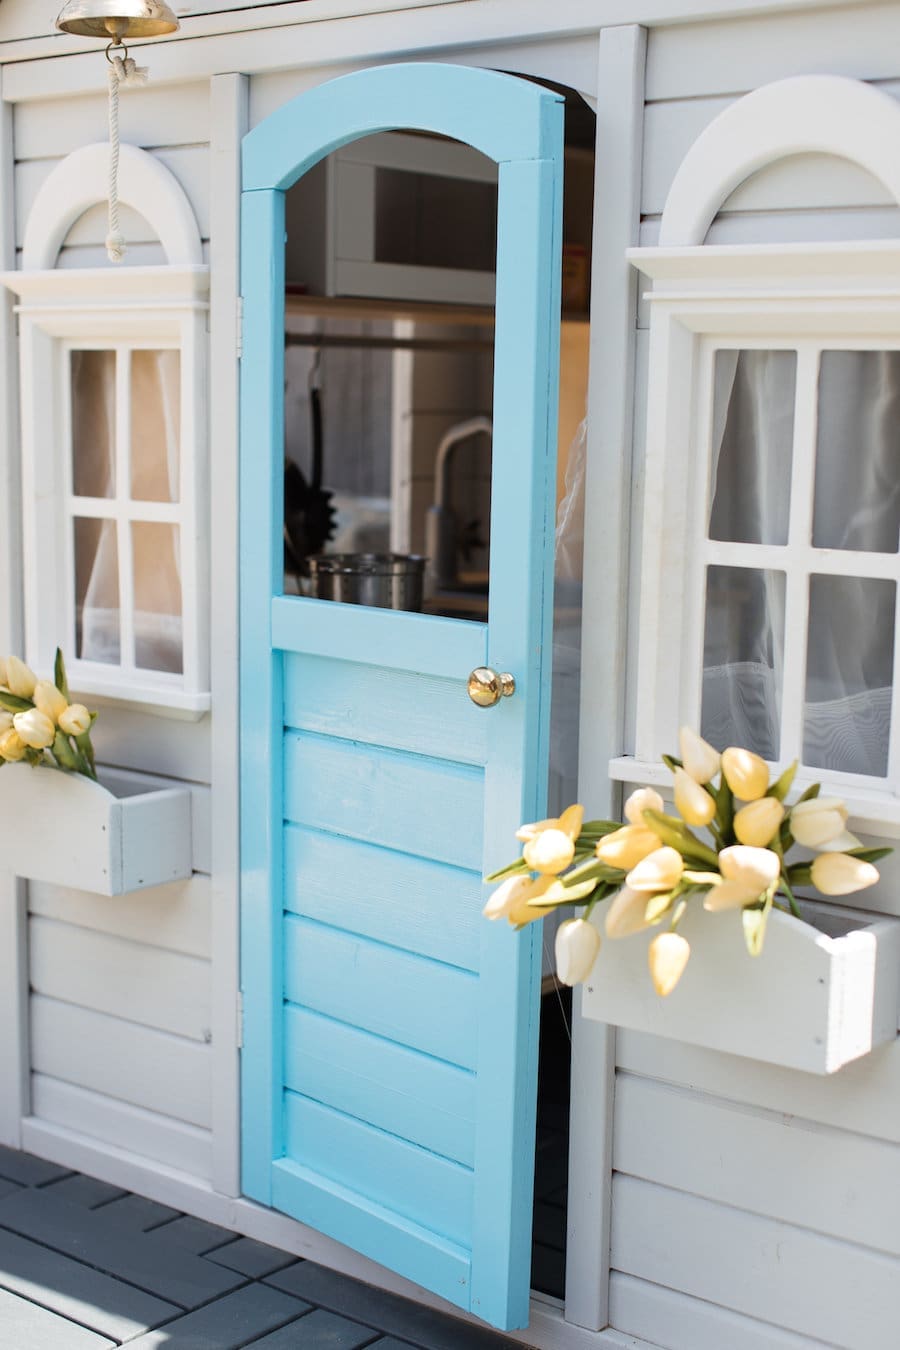
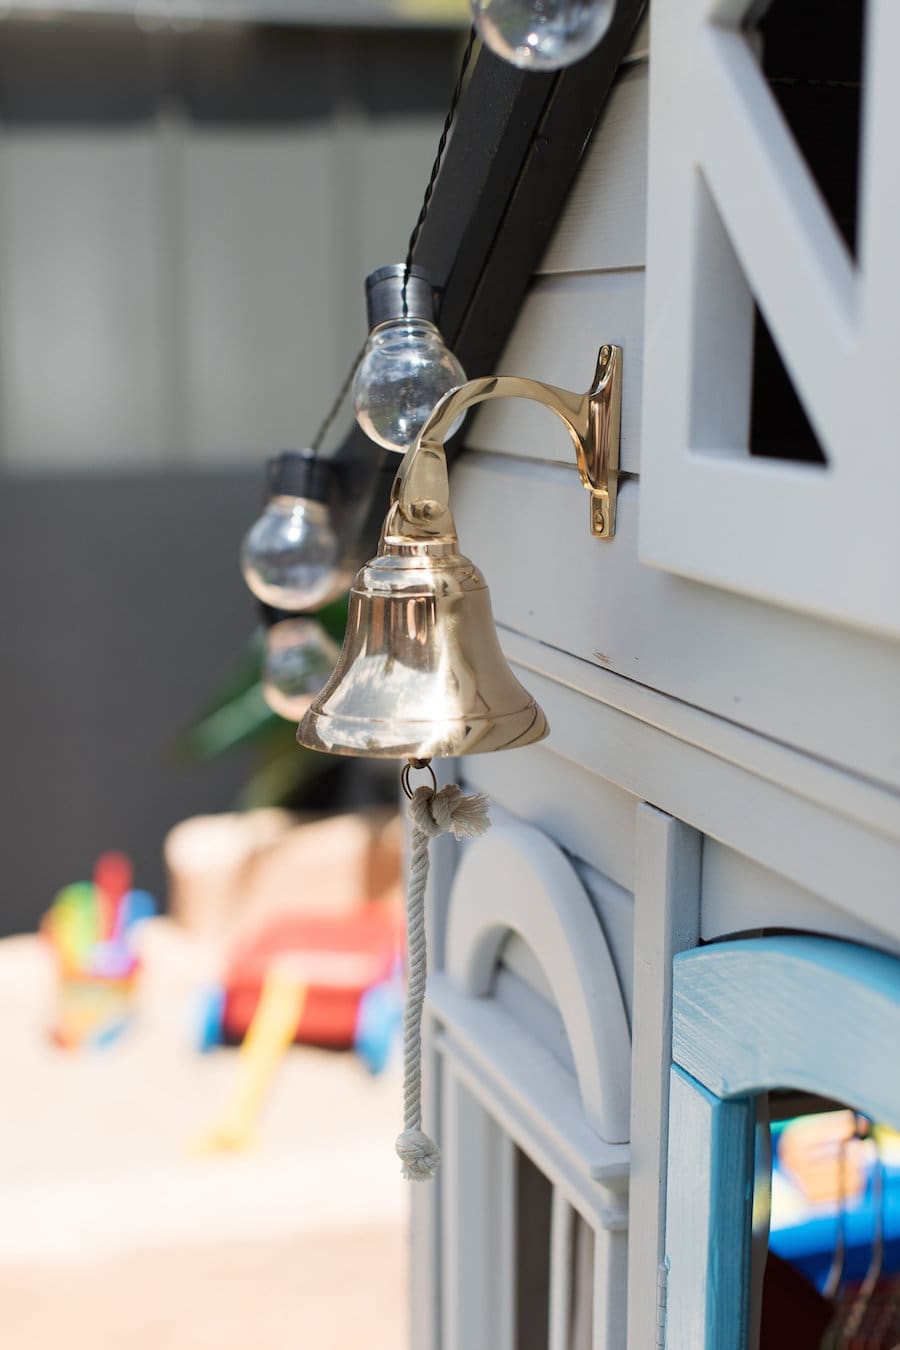
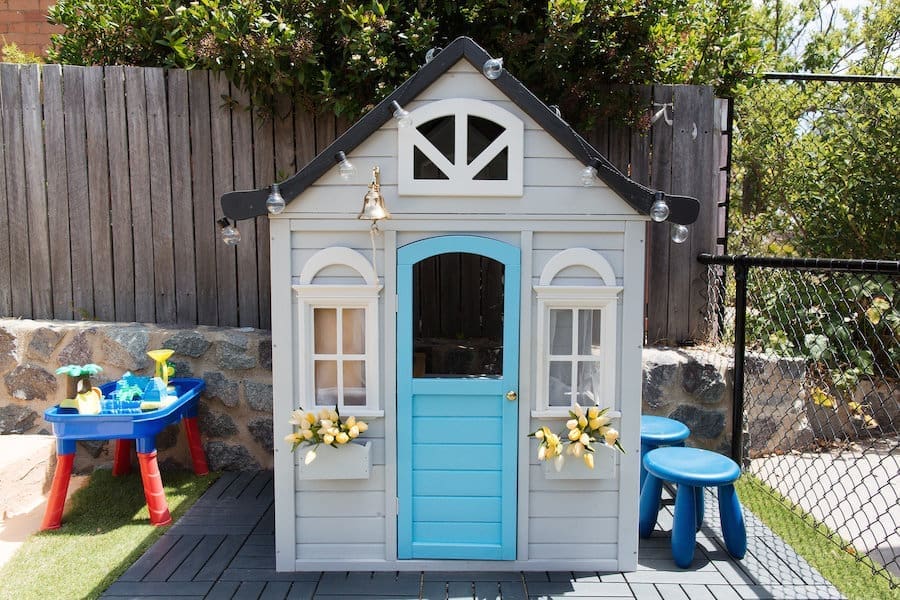
Cubby
The first part of the play area I made was the cubby. You can read all about the Kmart cubby hack here.
Patrick absolutely loves this cubby and if you can get your hands on one, I think it’s a great buy for children aged anywhere between 1-6 years.
Since sharing the hack, I haven’t changed much other than hanging a sweet pot with succulents.
If I were making the cubby area again though, I would think twice about the IKEA click together outdoor floor decking. To be honest, I love the look of this product but it does get hotter than I expected (a lighter colour probably wouldn’t have this issue) and it also shows dirt more than I thought too.
Sandpit
The next thing I constructed was the sandpit. I had grand ideas in my head of a sandpit that would resemble sand dunes — very abstract and blending down to the ground.
Unfortunately, I used the wrong kind of blocks to achieve this vision. I used Besser blocks when I should have used the much lighter-weight Hebel blocks, and didn’t discover my mistake until after they were cemented in place. Despite buying a special blade and attempting to use an angle grinder (most frightening power tool ever!), I realised I was never going to carve the blocks so I thought of a Plan B.
To achieve a sand dune look, I tinted tile glue (Ardex 52 if anyone wants to do the same) with ‘Sandstone’ coloured oxide and coated the blocks. I applied two coats and tried to smooth out corners to soften the appearance of the blocks. I also carried the sandstone product onto the floor — to help with the sand dune look and to hide all the sand that I knew Patrick would throw onto the ground.
Overall, I’m really happy with the sandpit and I think it may have been a blessing about using the wrong blocks as there are health warnings around Hebel blocks (causing respiratory issues when carved).

Mud kitchen
A really quick and easy DIY in this space is the mud kitchen. Patrick loves getting messy and was filling his cubby house with sand and mud so I created this easy Kmart hack mud kitchen by slightly changing the configuration of the timber storage bench.
Rather than putting the back panel on the bench, I placed it up higher and used L-shaped corner brackets from the hardware store to secure it. I also used a jigsaw to cut out two holes that can fit the silver bowls. A few hooks hold the stainless steel canister for utensils and I added a black basket on the side for other toys. I’ve seen some people add way more hooks, clocks, hanging pot plants and all sorts of other things so you could get a lot more creative!
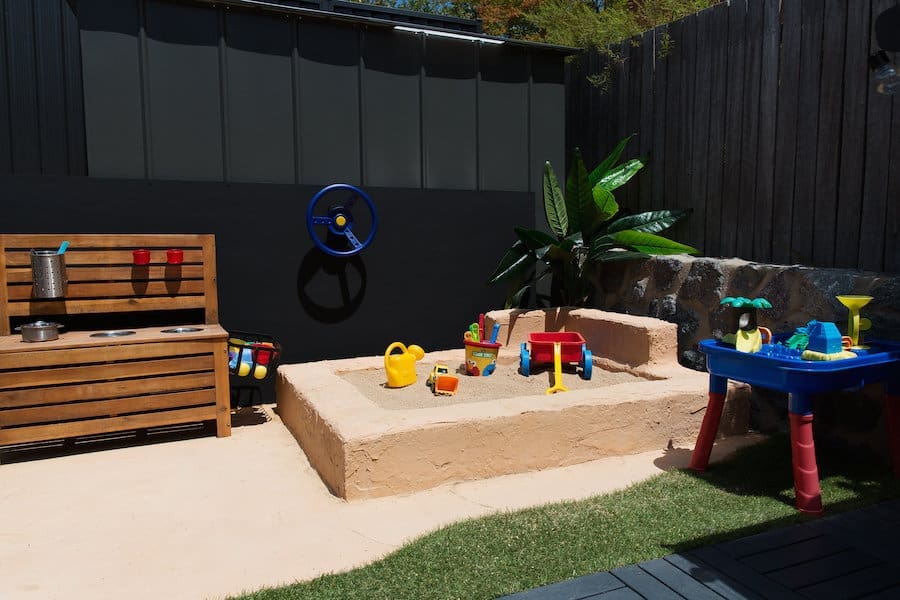
Blackboard and steering wheel
In an attempt to stop Patrick colouring on the walls in the house (and a habit his younger brother has just started!), I created this oversized blackboard, ha ha.
This giant blackboard is just a piece of Marine Plywood that I sealed and coated in two coats of blackboard paint. We screwed it into the side of the shed to secure it in place.
Once it was up, we also added a blue steering wheel. At playgrounds, Patrick always loves pretending to steer so I thought this would be a fun addition.
Water play table
The final thing in this outdoor play area is a bargain sand and water table from Kmart and this (rivalled with the sandpit) is his favourite part of the whole area.
Water tables are great for sensory learning and it comes with a bunch of accessories so he’s always finding something new about it.
If you’re planning on creating an epic outdoor play area for your child, I hope you got some ideas from this one I created for Patrick. I’d love to see photos of your space by tagging @stylecuratorau when you share them online or email them to hello@stylecurator.com.au 🙂
Check out more Kmart hacks
Photography by Thorson Photography. This article was originally published in January 2018 and has been updated for relevance.
Hi. I really wanted to know where you bought that playhouse. Or did you make it yourself. I would really love it for my toddler.
Hi Daisy, thanks for your lovely comment. I bought the cubby in plain timber from Kmart and simply had to construct it and paint it (although it can be left plain). This exact cubby is no longer available but they have similar styles online here or Temple & Webster has a fabulous range of cubbies here.
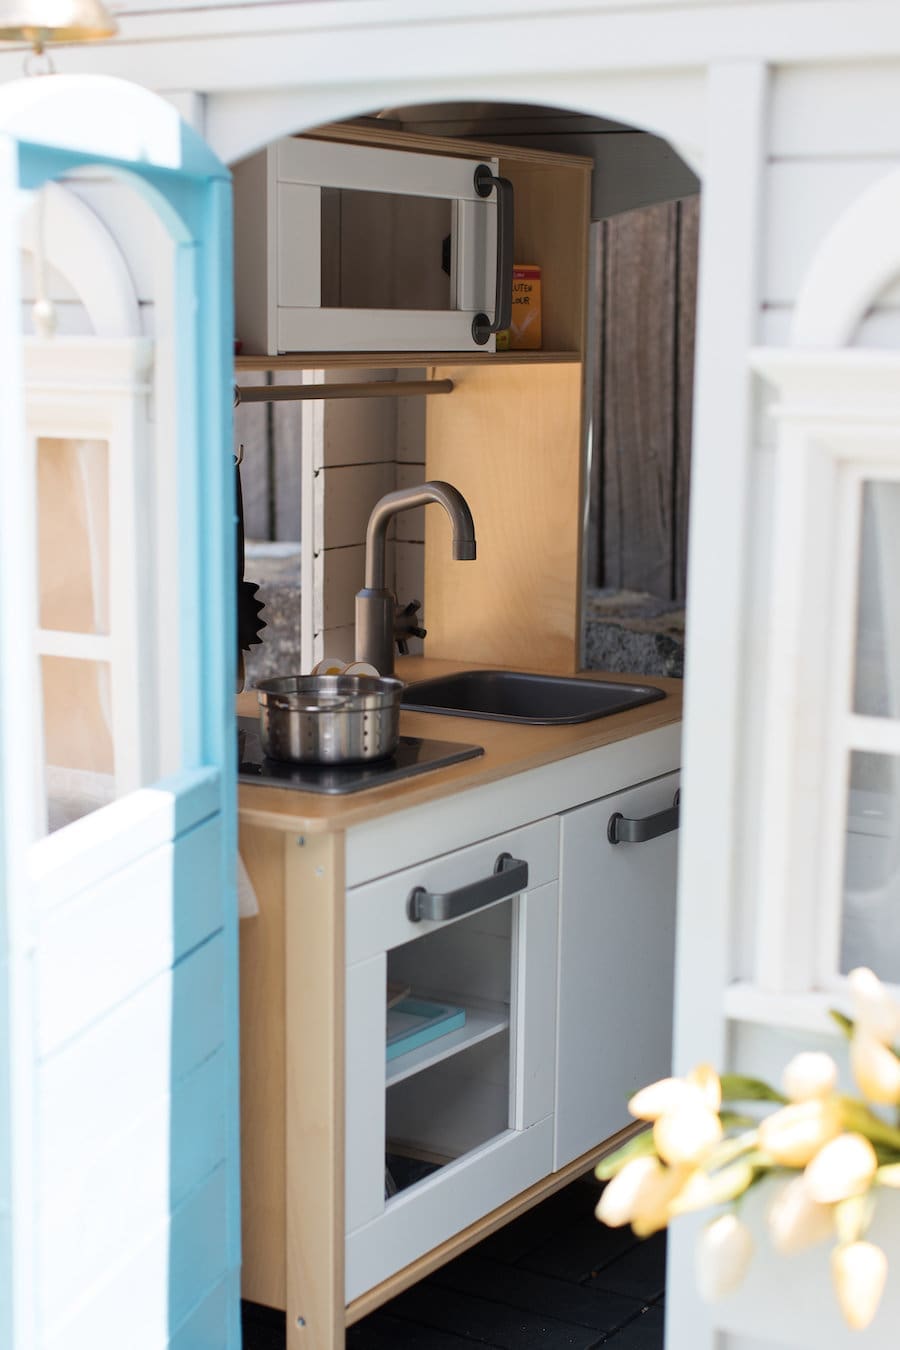
It looks AMAZING! You’re so clever and Patrick is such a lucky boy – LOVE IT!! H has the Ikea kitchen too, he loves it, which makes me so happy!!