


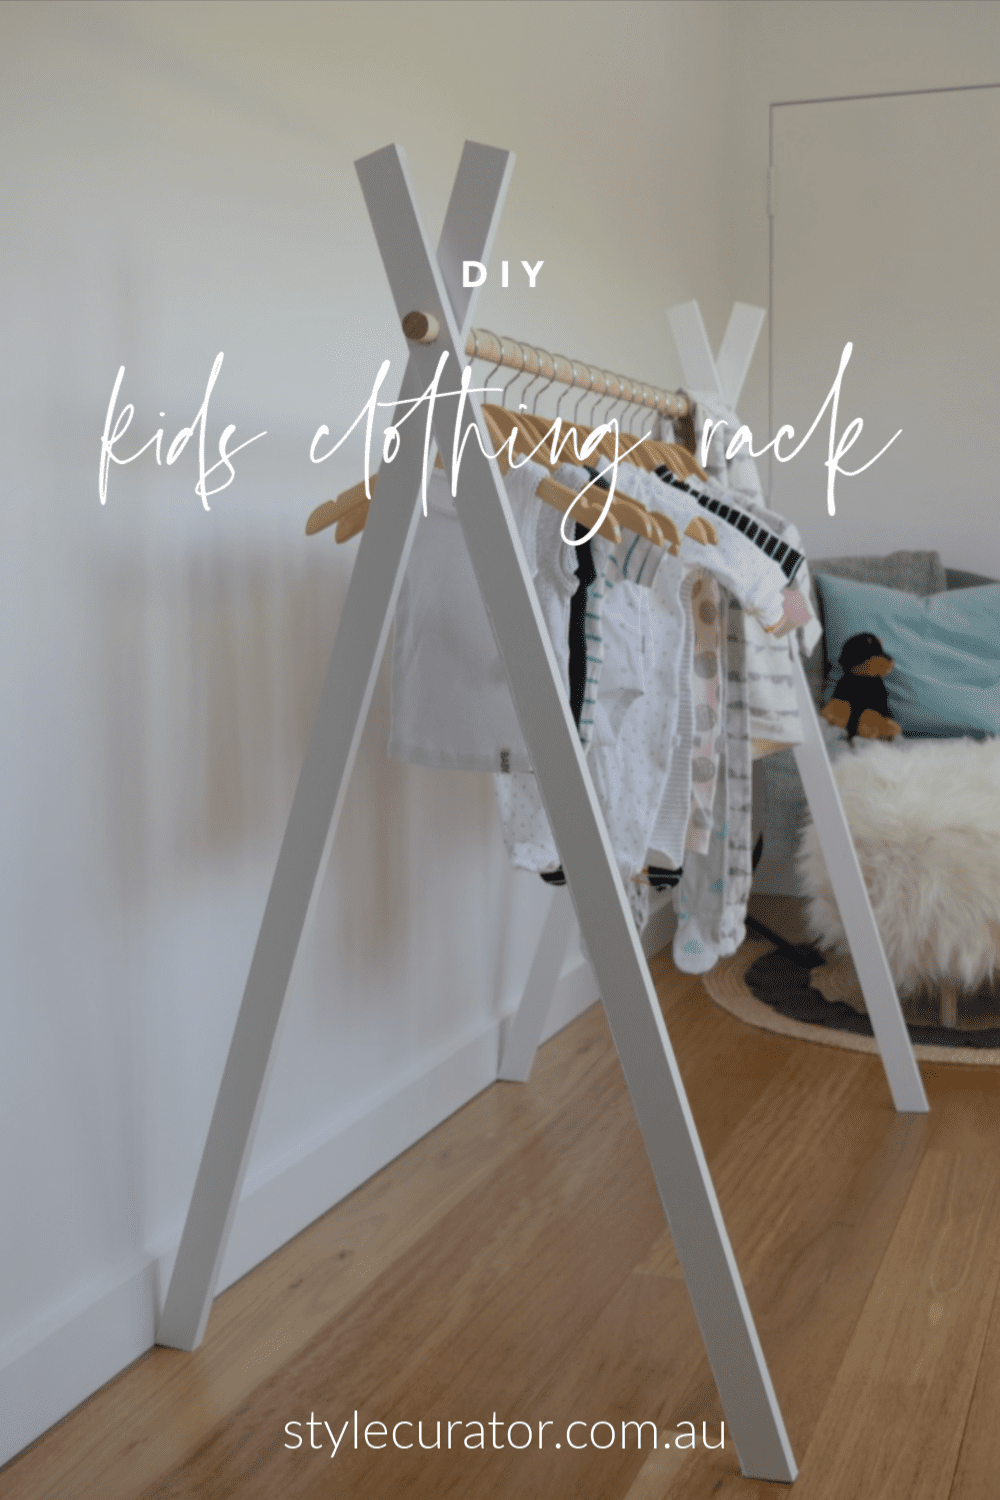
Have you noticed these stylish teepee clothing racks in all the cool kids’ stores?!
We sussed them out and decided it wouldn’t be that hard to make our own and boy do we love it!
You will need to be a little bit handy with electrical tools or employ the help of someone who is to take on this DIY.
Related article: 10 ways to create a stylish and functional nursery
Related article: Alexander’s Australian inspired nursery
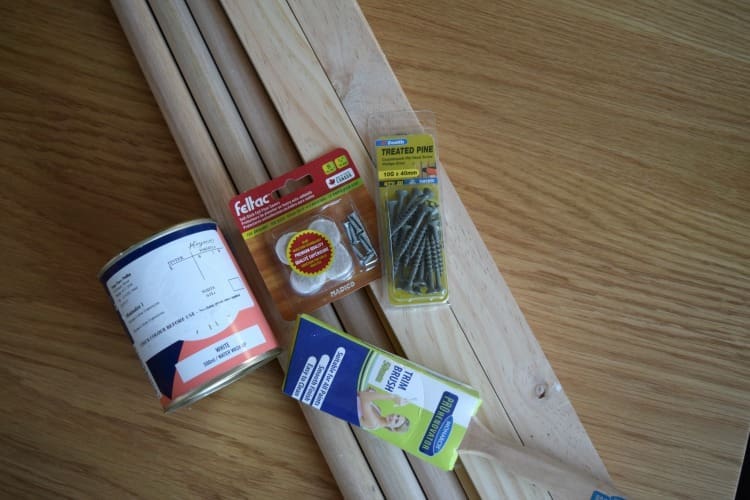
Items you will need:
- 4 pieces of 42mm wide x 19mm thick x 1.2m long standard grade dressed pine
- 1 piece of 25mm diameter x 1.2m long dowel
- Drop saw
- Electric drill
- 25mm spade drill bit
- Paint (we used semi-gloss Greyology 2 from Haymes)
- Paint brush
- Pencil
Steps:
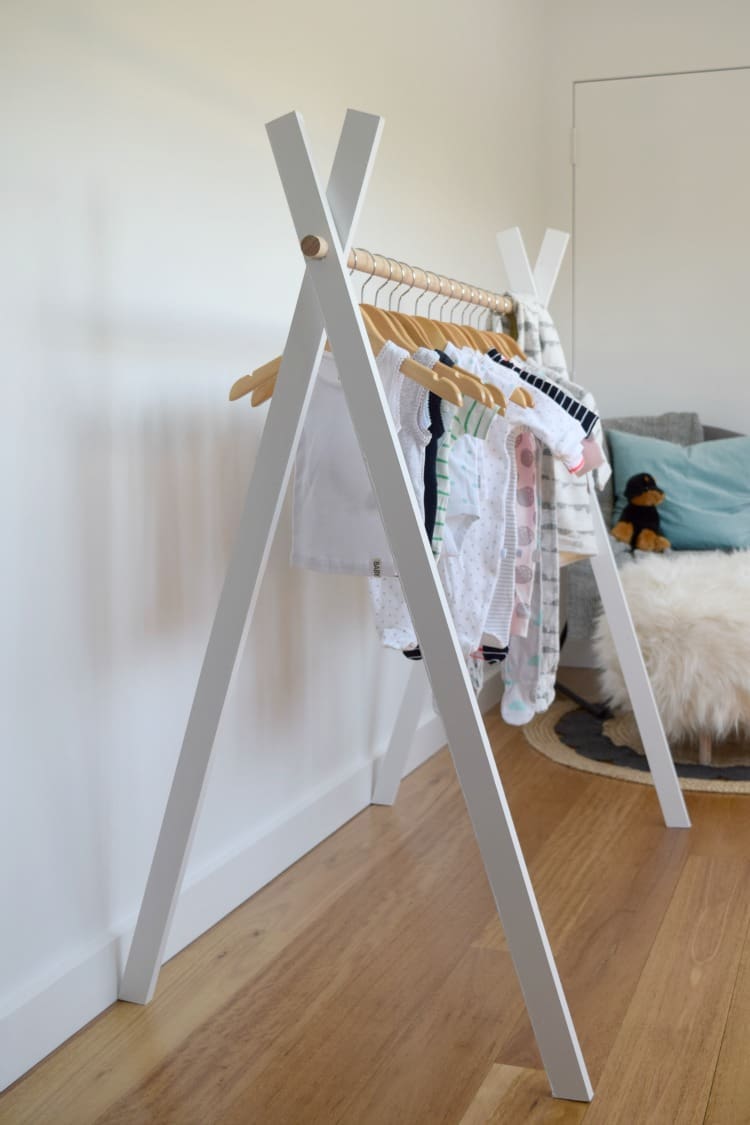
1. Trim the ends of your 4 timber pieces on a 15 degree angle using a drop saw (this will make them slant, giving you the teepee shape).
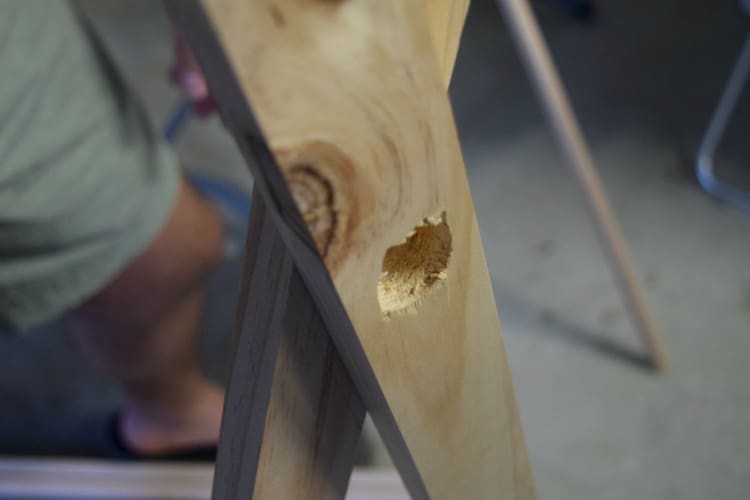
2. Stand two pieces of timber and cross them at the top, creating the teepee shape (as shown in step 4). Using your pencil, mark where the timbers overlap.
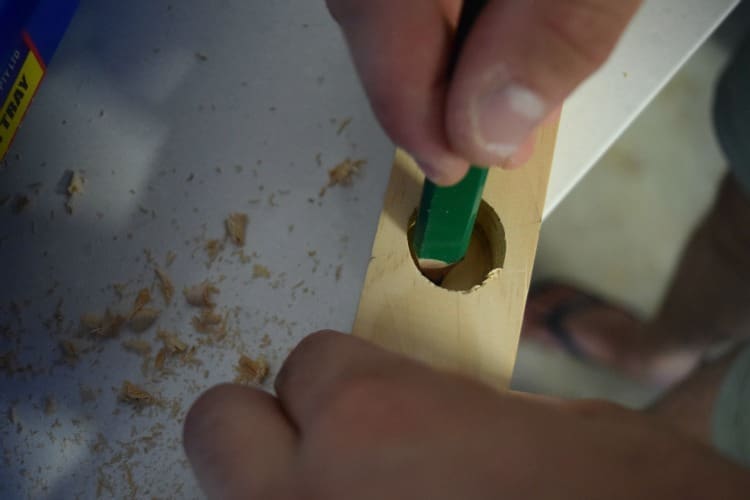
3. Find the centre of the overlapped space and mark with a pencil. Pre-drill a hole and then use the spade drill bit to drill out a 25mm hole where the dowel will feed through.
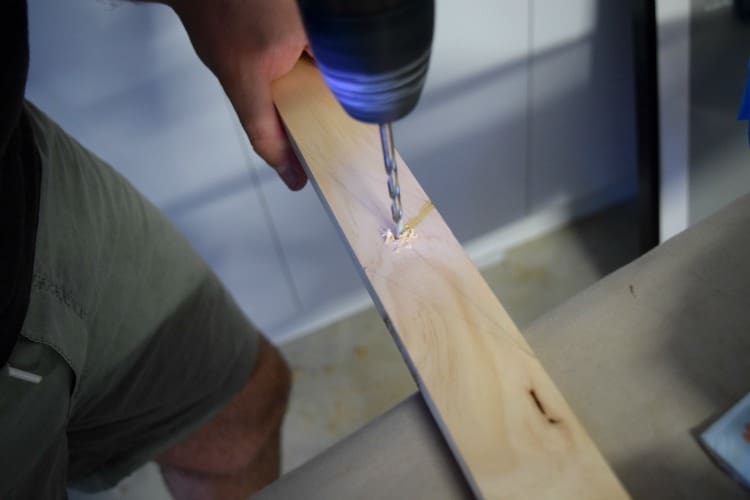
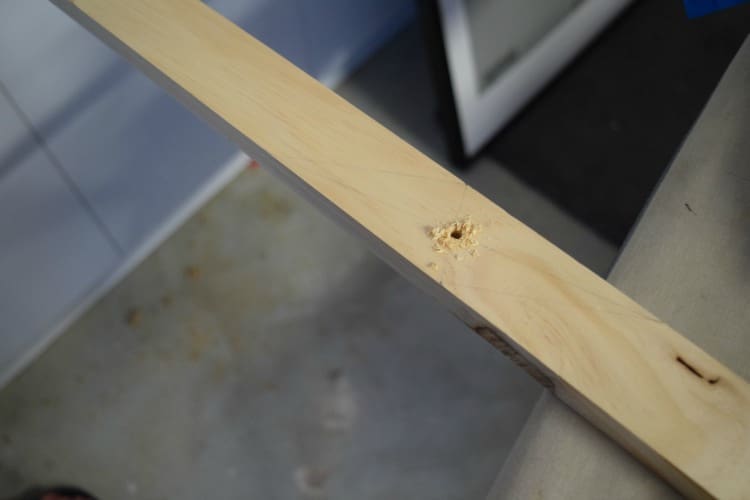
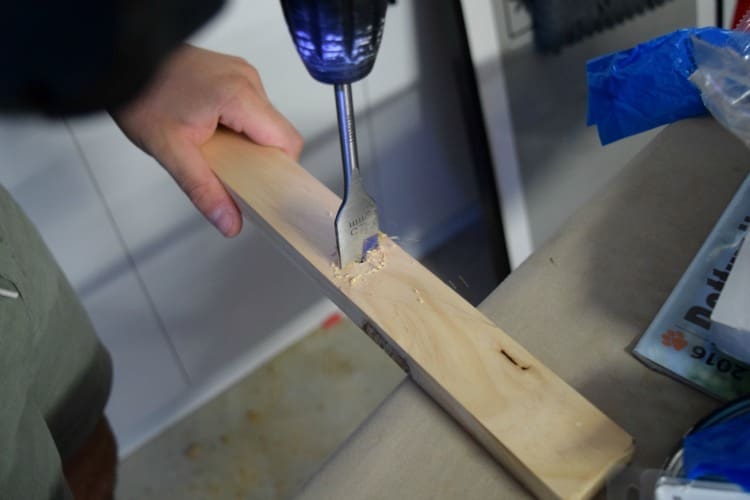
4. Repeat this step on each of the 4 pieces of timber.
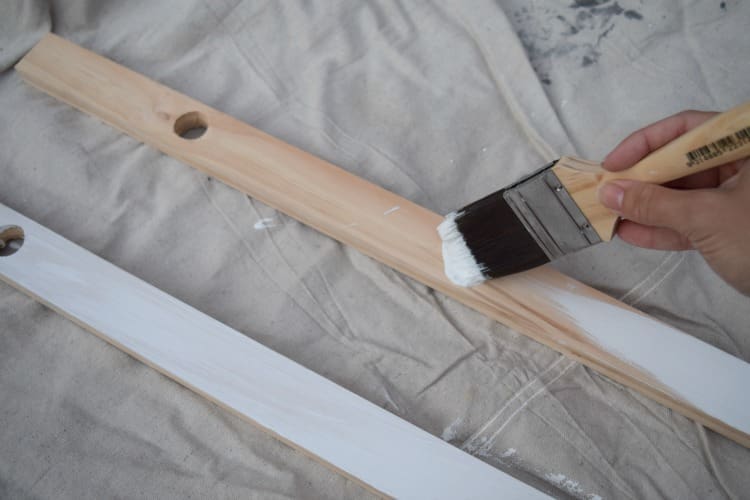
5. Paint your timber pieces in two coats of paint. We used semi-gloss for this DIY to tie in with the finish of the nursery furniture but you could use standard low-sheen acrylic if you prefer a more matte look or leave it natural.
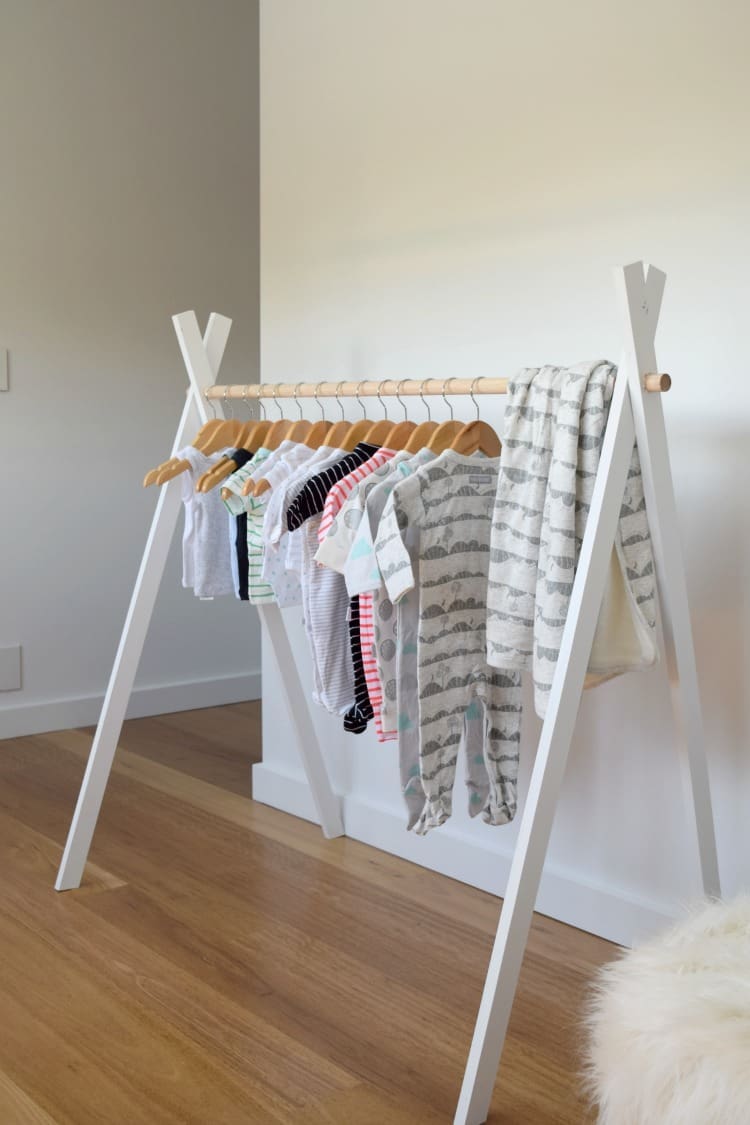
6. Once dry, put your teepee clothing rack together by standing two pieces of timber at each end and feeding your dowel through. We felt our teepee clothing rack was secure like this but if you would like to secure it further, you could add additional dowel pieces along the bottom to give the rack more structure.
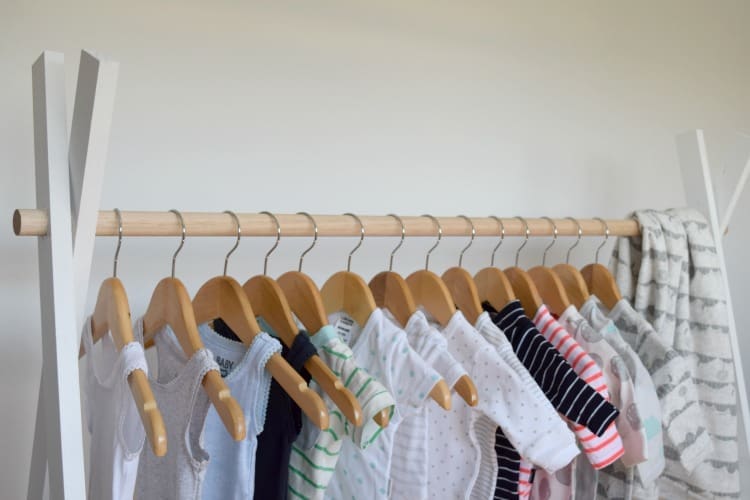
Now that your rack is complete, hang your clothes and style 🙂
What do you think of this kids teepee clothing rack? Tell us in the comments below!
More nursery and kids inspo here
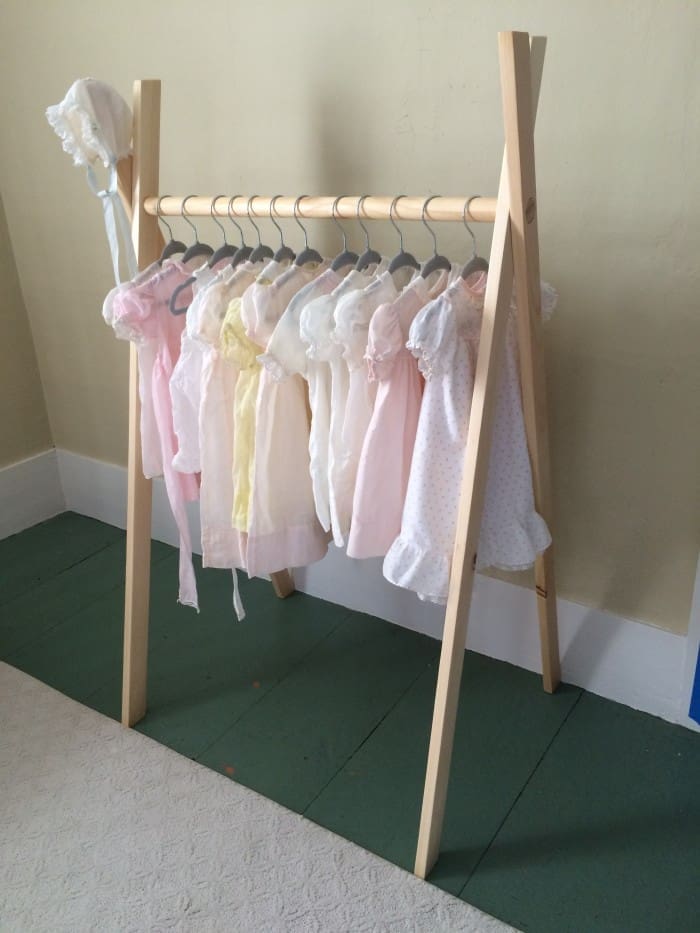
Made by a reader!
We love it when you try our DIYs at home and share the results with us!
Tracey recently sent in her version of our teepee clothing rack and we think she’s done a better job of it than us! Awesome work ♥
Thanks for the beautiful design, do you have the overall measurements of the rack so I can see if it fits in my babies room?
Hi Angie
This rack is 1m high by 1.2m long and approximately 50cm wide but you can adjust the dimensions to suit your space. For example, you can use a shorter piece of dowel if you don’t want it to be as long 🙂
Can you send me a video how to make it.
Hi Angie, unfortunately I didn’t take a video of me making this clothing rack but I did make one of this play gym which uses a very similar design https://www.youtube.com/watch?v=nZwF6I-6bzE&t=3s Hope this helps 🙂
Hi we made this rack but it is not sturdy & it’s quite wobbly ‚ I’m using it for indoor & outdoor markets…any idea how to stabilize the sides better ? Thx so much ?
Hi Thameen, sorry to hear that. A few ideas on how you could stabilise it better are:
– add rubber furniture leg stickers to the base so the timber legs can grip better to the ground
– adding extra dowel along the length of the stand at the foot of the legs like with this kids play tent https://stylecurator.com.au/diy-play-tent-make-this-on-trend-tent-for-your-child/
– adding a small rope across the pitch of the stand to prevent it from opening too far like with this baby play gym https://stylecurator.com.au/diy-baby-play-gym/ (where we used black twine)
We hope these ideas help you 🙂
I have not had a chance to make this yet. Can you confirm, is it able to stand on its own or must be up against a wall? I need them to be totally free standing. Thank you – Jodie
Hi Jodie
Yes, this rack does stand on it’s own. Because the dowel fits so snuggly, it holds the whole frame in place. But you can reinforce it further if you like by adding a small rope along the top. To do this, simply drill a small hole in the timber legs about 15cm below the dowel, run a rope through these holes and tie at each end so it doesn’t slip away and repeat this on the other side. You can see this concept over here http://themerrythought.com/diy/diy-wooden-baby-gym/ 🙂
This tutorial was the best I found! My husband made one for our kids and I filled the rack with home made costumes. I shared the project on my blog with a link to you. Thanks so much for your project!
Hi Cecelia, thanks for your comment and linking through to the rack you made – it looks terrific and I love the darker stain you applied to the timber. Those costumes you made also look terrific, especially the tassel hat! Thanks for sharing 🙂
Thanks for stopping by my blog 🙂 This is awesome you did a great job I just love it. Off to stalk the rest of your home and nursery ideas now x
Thanks lovely! Nursery styling is so fun but it can add up quickly so I’m all for the DIYs and hacks to create a space that’s stylish and personalised. You can find a lot of nursery posts here http://stylecurator.com.au/category/interiors/bedroom/nursery/ 🙂 x
Love this! My husband just made it for me! I have a clothing business, CampThreads, that I am getting started up & my logo is a teepee with flowers at the top so I’m going to get it painted and add wreaths with flowers and hang them on the top of each side! I’m going to use it for pics of products & a few shows I’m going to do. I will send completed pics!! Thanks for the awesome & easy idea!!!
Yay, so glad you loved the DIY, sounds like a perfect fit for your business! Can’t wait to see the photos x
I made the rack according to your specs and it worked great! The rack is sturdy enough to stand on it’s own without a screw, rope or brace. Love it! I clear coated mine with 2 coated of sanding sealer. Would love to post a pic, it looks so cute with all the baby dresses for my granddaughter!
Hi Tracey, we love hearing back from readers who try our DIYs and yay that you love it so much! Please do send us a pic, the best email address is hello@stylecurator.com.au 🙂
Very sweet! Nice job 🙂
Thanks lovely 🙂
What a fun idea, Anthea 🙂 Thanks for the lovely comment!
That’s adorable Gina! A great DIY. I don’t need it for my boys rooms but it would be very cute in their playroom with a few dress ups hanging on it.