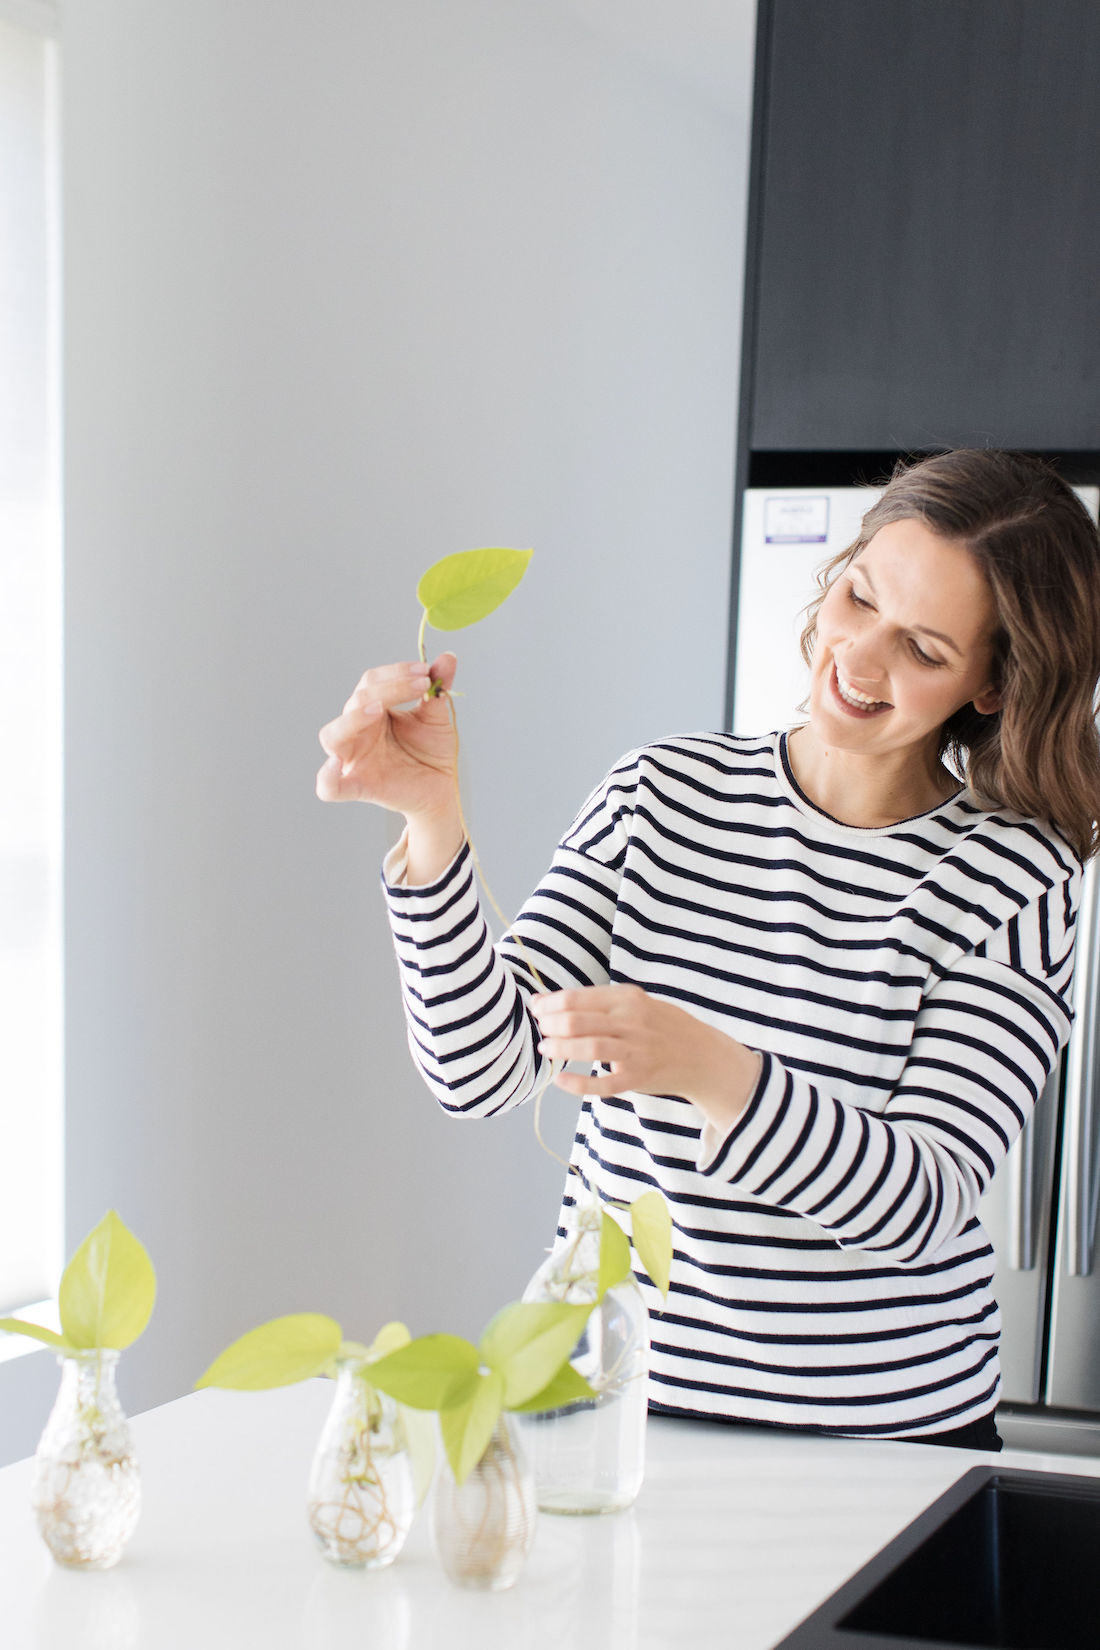
You know we love indoor plants and one of our absolute favourites is Devil’s Ivy — it’s rich glossy leaves, the way it drips down and most of all, how easy it is to grow!
Believe it or not, we seriously suck at keeping plants alive. It’s what led us to write this blog post on the top 20 hard to kill indoor plants. But, we’ve had great success growing Devil’s Ivy (or Pothos plant as it’s also known) which is why we’ve created a quick guide on how you can propagate and care for this plant like a pro.
Watch our video or continue reading to find out how easy it is to propagate this trailing vine plant and get our top care tips.
Related article: Everything you need to know about keeping a Pilea Peperomiodes alive
Related article: Top 10 trending indoor plants and where to use them


Items you need to propagate Devil’s Ivy:
- Devil’s Ivy plant or section of vine (so you can take cuttings)
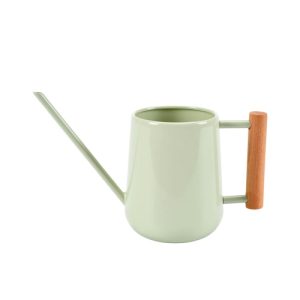
- Vases or bottles with at least a 2cm diameter opening (there are also special propagation kits available)
- Scissors
- Plastic pots with drainage holes (like those from the nursery)
- Quality soil (for best results, mix in some ‘perlite’ and ‘peat moss’)
How to propagate Devil’s Ivy:
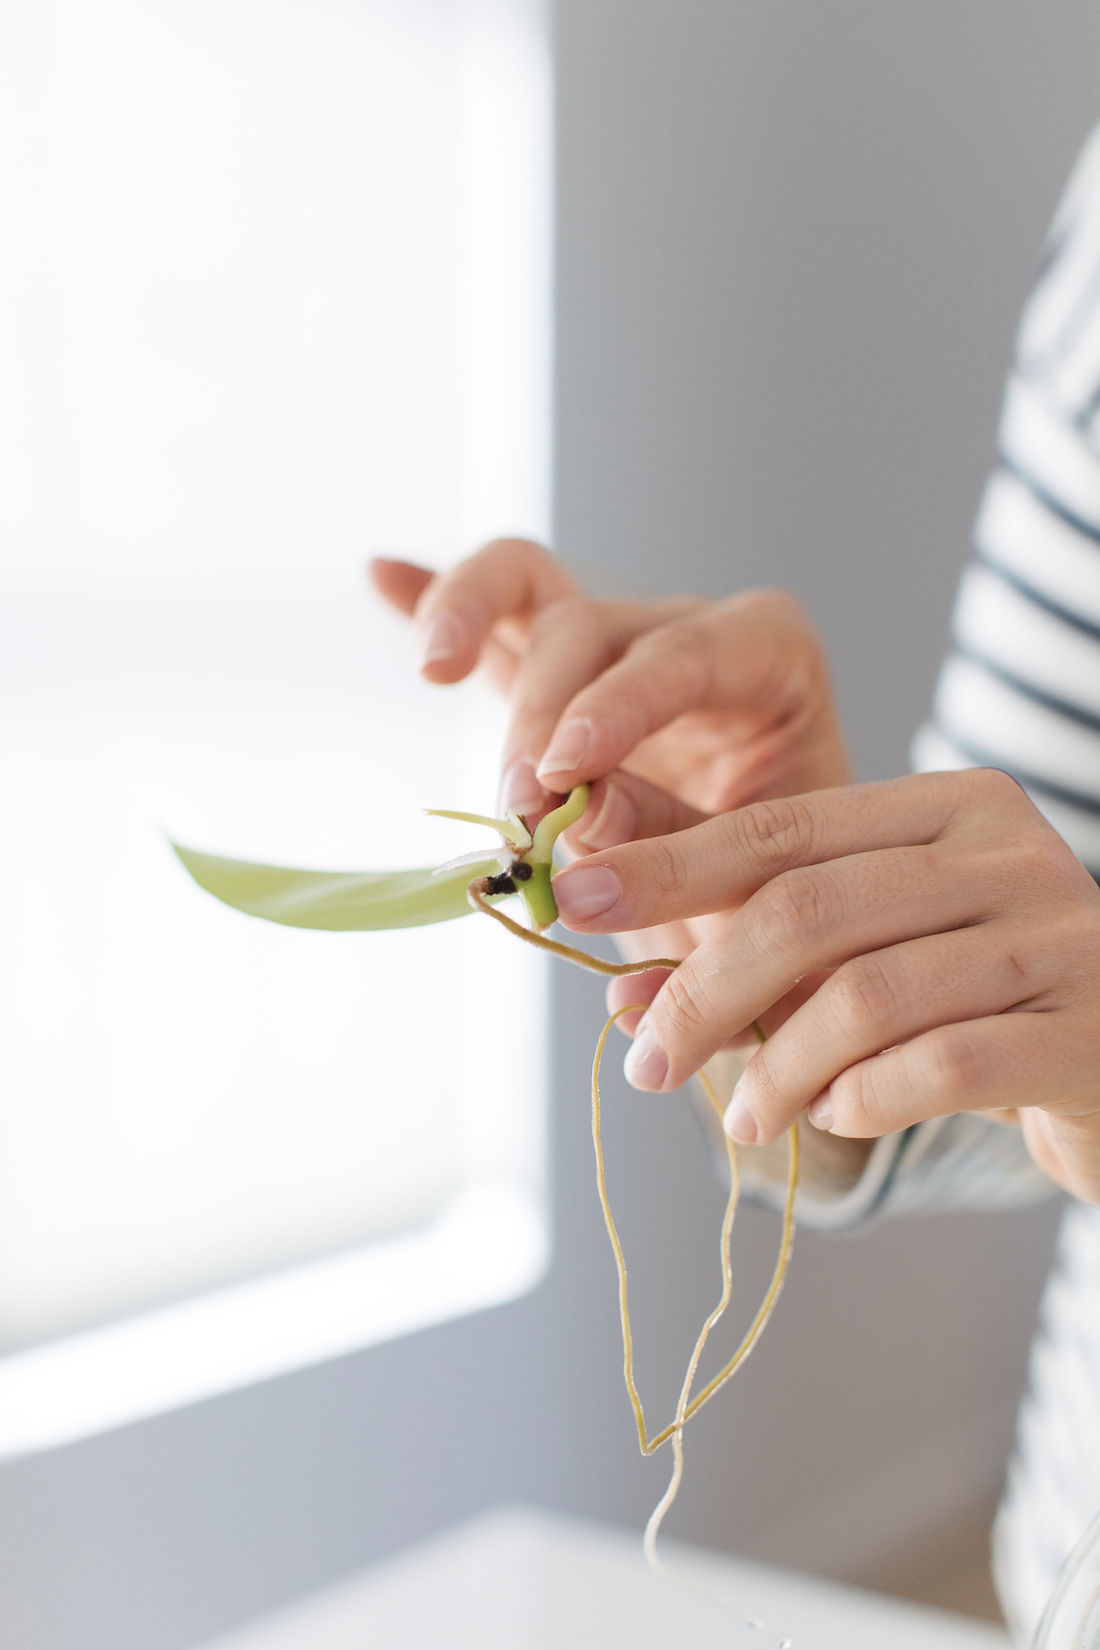
1. Looking at the plant, you’ll see how leaves shoot off from the vine. The trick to taking a good cutting is to cut 1cm either side of where a leaf meets the vine — this will allow your cutting to draw in as much water and nutrients as possible.
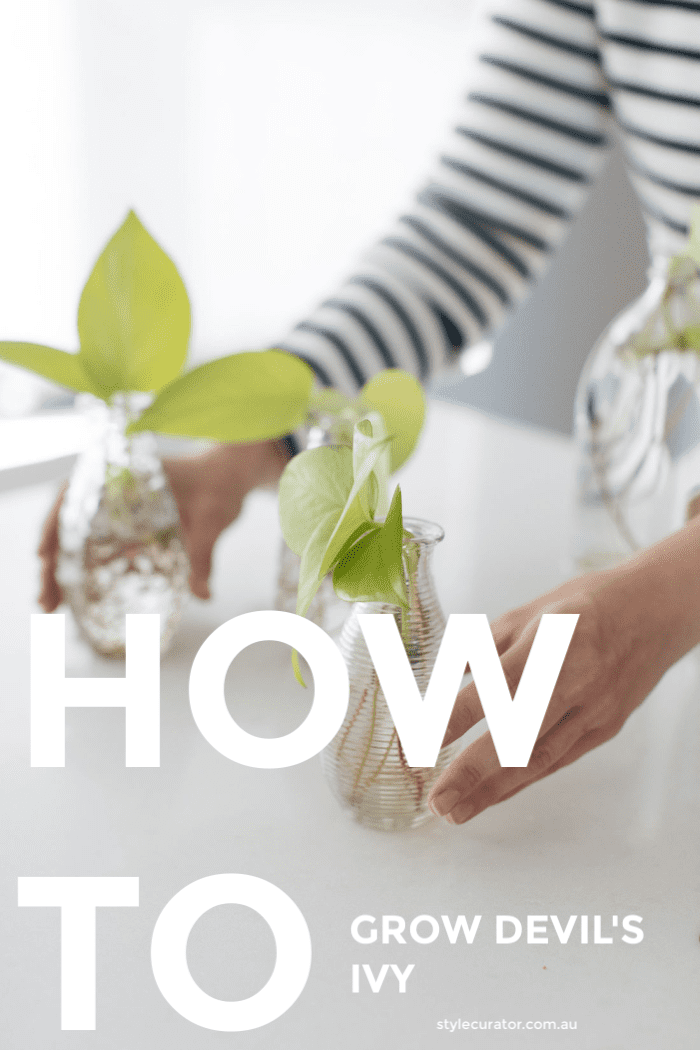
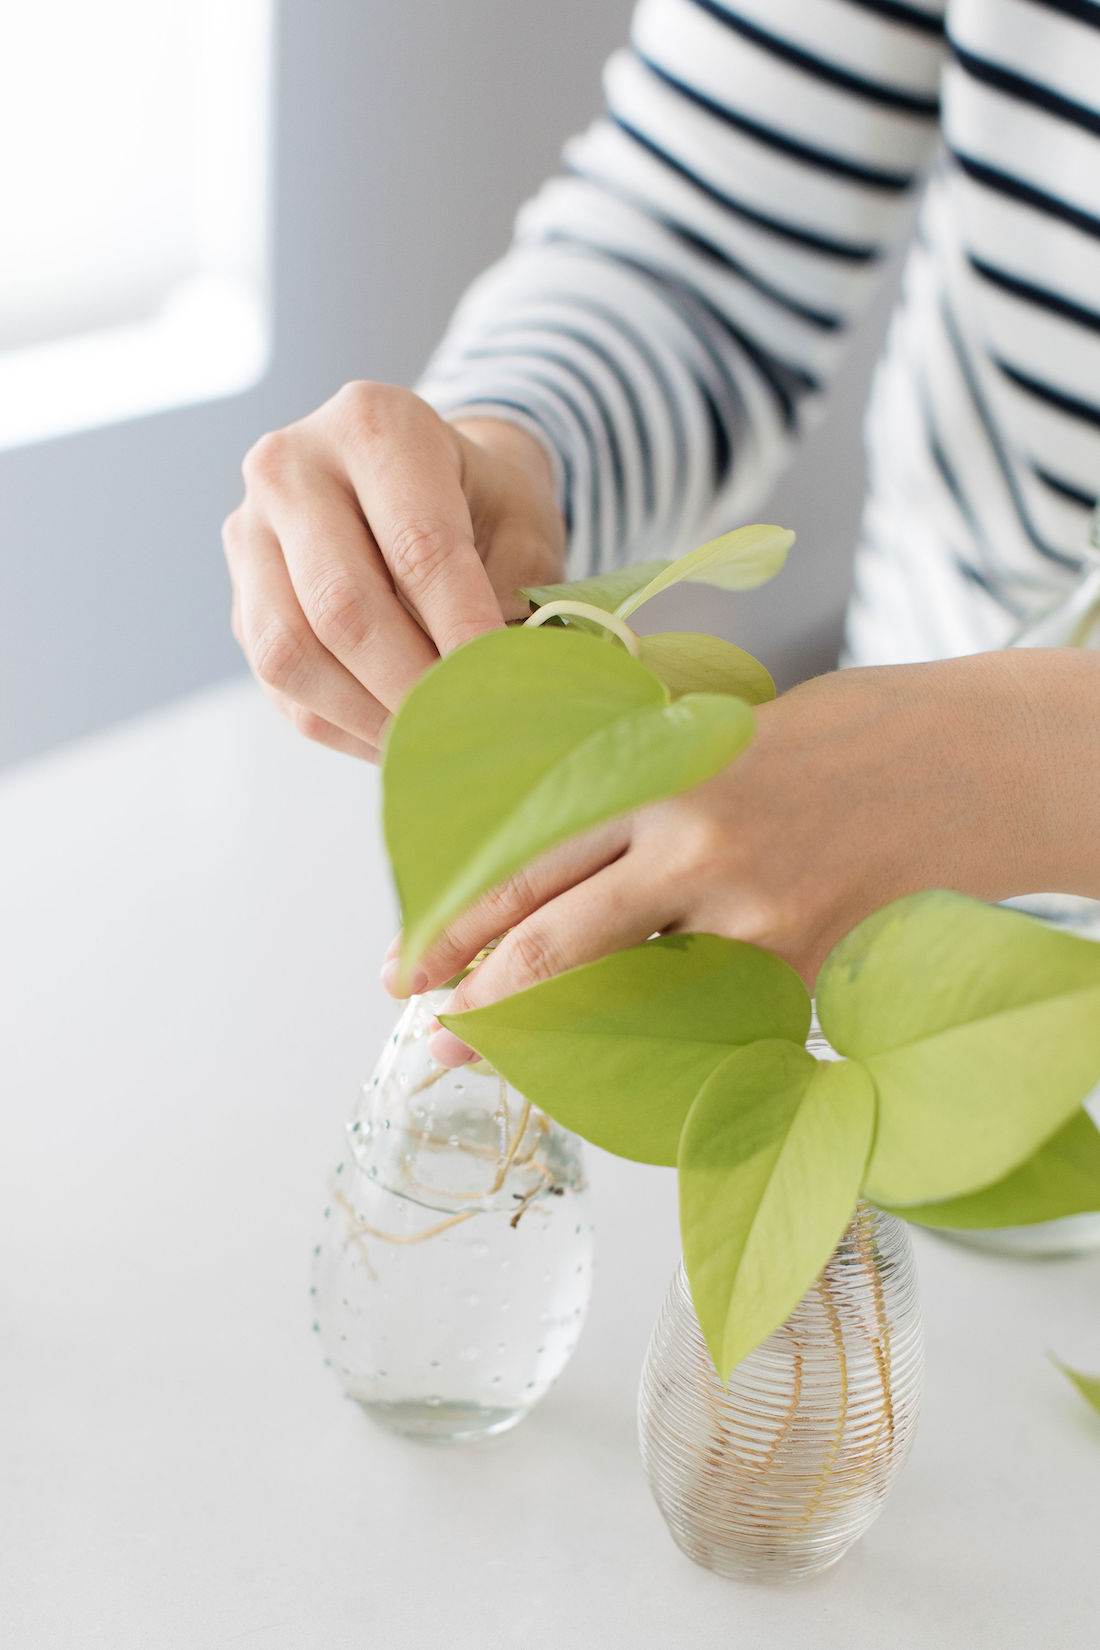
2. Place the cuttings in a bottle as shown below. You could use any kind of jar or bottle that has an opening large enough for the cutting to easily fit down, but not too large that the leaf will also drop into the water. For example, jam jars are probably too large but a water bottle would be ideal. (There are also propagation kits available like these ones here but it isn’t necessary to spend the money when you most likely have something suitable at home.)
3. Fill with enough water to cover the cutting and replace the water each week. Within 1-2 weeks roots will begin to grow.
4. Once the roots are at least 10-20cm long, they are ready to plant. Find a pot with good drainage holes, such as the plastic pots available at nurseries. It’s important to pick a size that’s appropriate for the size of your cutting — 8-15cm diameter is ideal — as if you go too large, your plant could go into shock. Fill the pot 2/3 with soil and place the roots of the cutting into the pot while supporting the leaf growth. Fill the rest of the pot with soil and gently press down to secure the new plant. For best results, mix some perlite and peat moss in with your potting mix. We share our go-to potting mix formula here.
5. Water weekly and watch your plants grow.
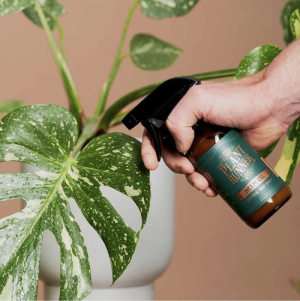
Shop our plant care essentials


Top easy care tips:
- Cuttings. Contrary to popular belief, the best cuttings aren’t long sections of vine rather 1cm to the left and right of where a leaf meets the vine. The problem with large cuttings is that all the water and nutrients to feed the plant will be coming from one small opening (aka where you cut the vine) and the plant will be working overtime to keep itself alive rather than putting its energy into new growth. By taking smaller cuttings you create a larger surface area for water and nutrients to feed your plant, giving it more energy to grow.
- Water. In the first few weeks, water will be the only source of nutrients your cuttings will get. Change the water at least weekly to feed your plant and promote growth.
- Soil. When it comes time to potting, these plants like well-drained soil which is why we recommend adding in some perlite and peat moss and you can check out the ratio we use here. You can also add a small amount of fertiliser.
We’d love to hear from you if our tips to growing Devil’s Ivy has been useful — or better yet, share a pic with us of your plant by tagging @stylecuratorau when you post it online or email it to us!
Check out more plant inspo
This article was originally published in April 2019 but was updated to include an instructional video and more information.
Disclaimer: This post contains some affiliate links. This means that when you click on a link and purchase something from that site, we may make a small commission at no extra cost to you.
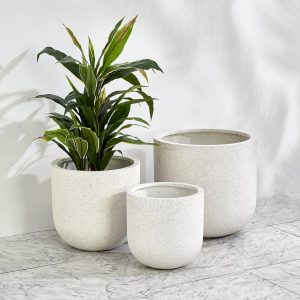
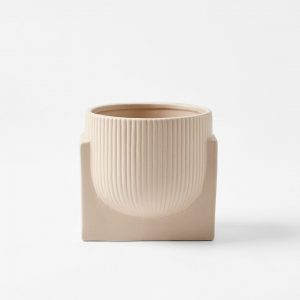
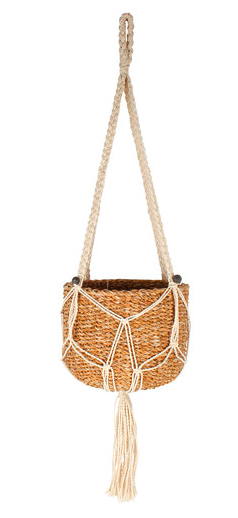
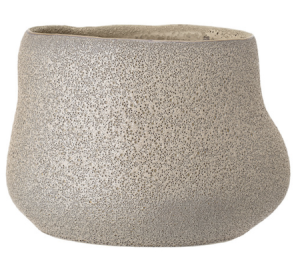
Shop our favourite indoor pots