


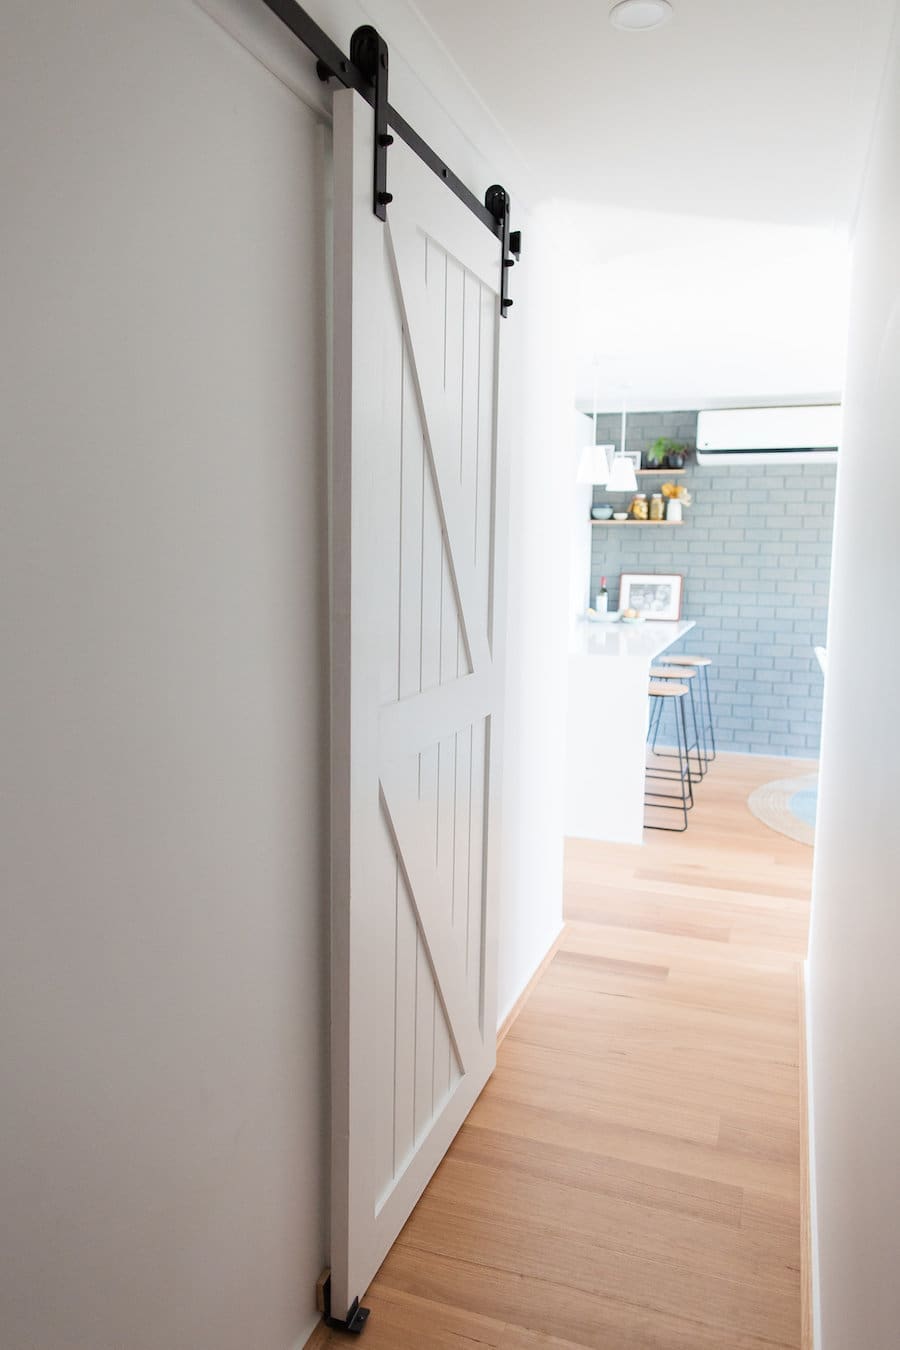
We are finally on the home stretch of renovations for Style Curator team member Bonnie’s house (stay tuned for the full house reveal soon). In her hallway is the entrance to the laundry/bathroom area and we wanted to change the regular door to a sliding door. A sliding door would save much-needed space in the laundry while still offering privacy to this zone.
This was the perfect opportunity to install the door of Bonnie’s dreams — a barn door! We knew it would be functional while also adding a design feature to her hallway.
Keep reading for all the details on what door we selected and how we installed it!
Related article: DIY wall panel bedhead
Related article: Small but stylish laundry with herringbone floor, wall panelling, barn door… and more!
The door we used
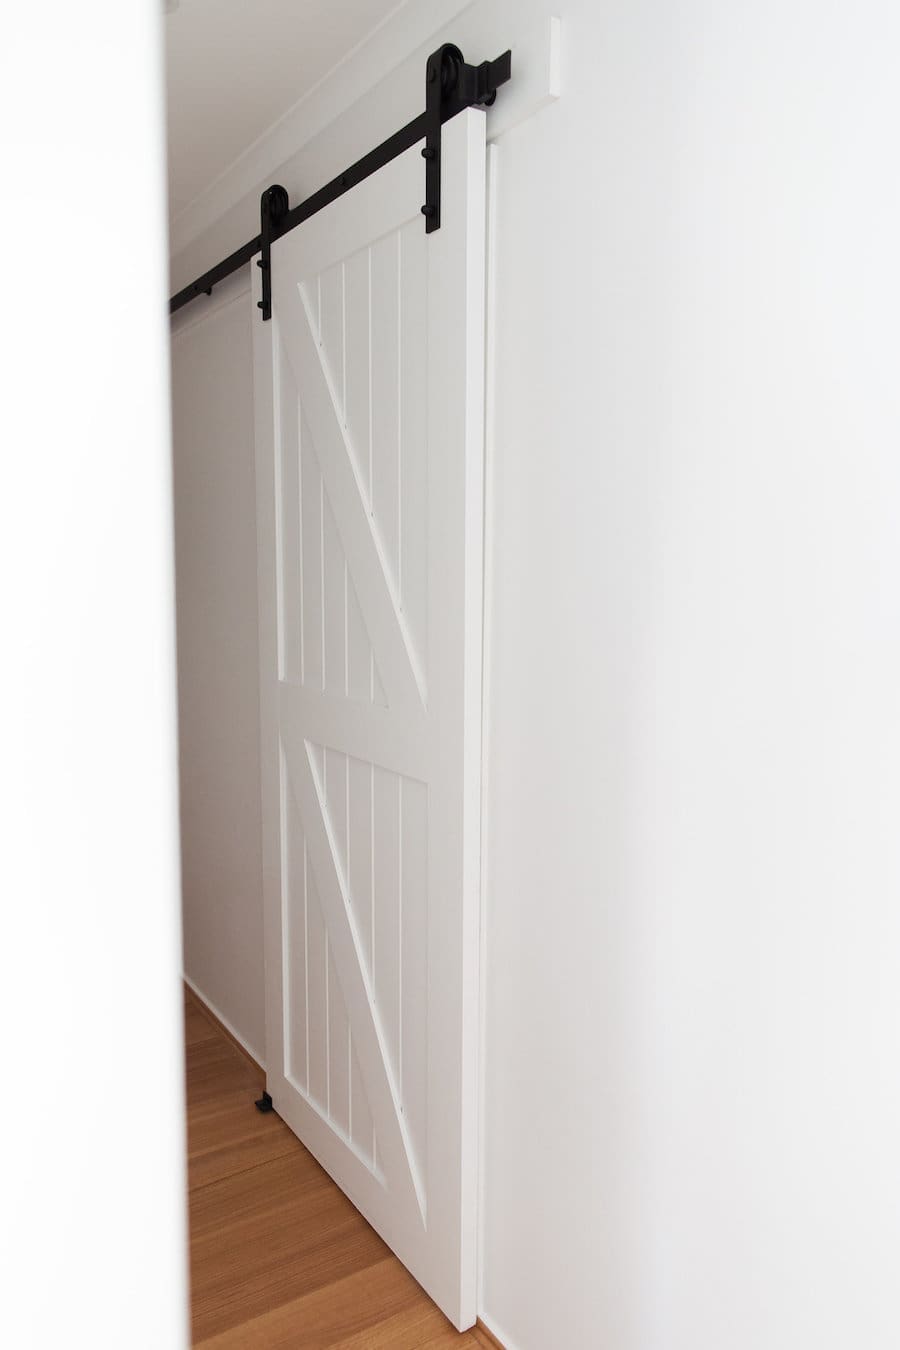
We got a 100% Pacific Ash Solid Timber ‘Z’ barn door from the Glengary™ Barn Door range, exclusive to Doors Plus. They offer 11 rail designs, four door designs and three finish options so you’ll be sure to find a barn door to suit your interior style.
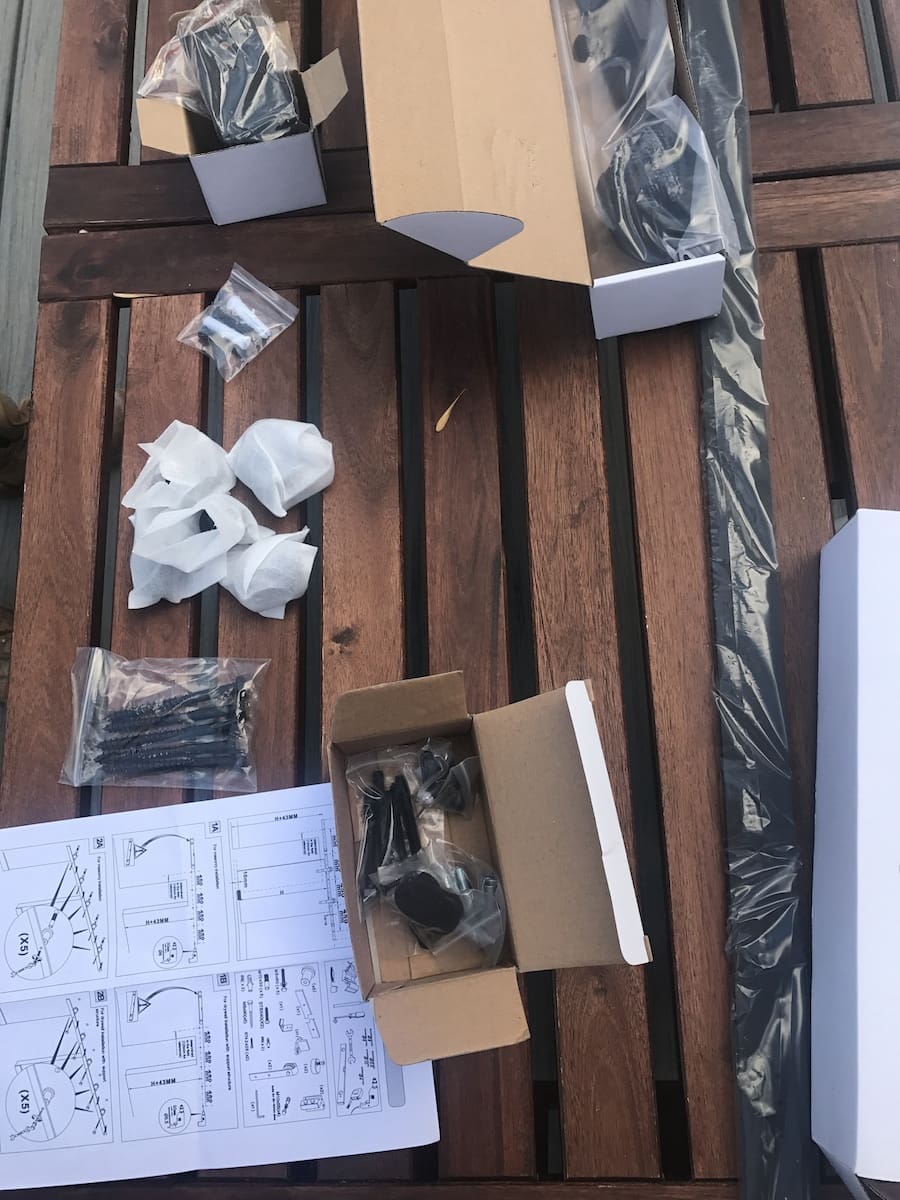
Doors Plus have a complete fit, stain (in light or dark maple stain) and deliver service, which takes all the hassle out of installing a barn door. You’ll see in this guide that there are a few steps involved and you will require several power tools. It’s definitely doable for a DIYer with some experience but we know sometimes it’s easier to just get the professionals in!
We received Bonnie’s door untouched as we wanted to paint it to match her internal paint colour and here’s exactly how we did it.
Step 1: Apply sealer and primer
Doors need to be sealed on all edges and both faces to ensure that no moisture can infiltrate the door — ensure that no bare timber is exposed. You can buy timber sealer and primer from any good paint store. If you’re staining the timber (rather than painting it) you will need to apply a tinted stain first and then a top coat of an approved varnish to ensure moisture can’t affect it.
Step 2: Paint the door
You can spray, roll or brush your timber door with paint (we chose to use a medium-sized paintbrush and a smaller-sized one for the edges and corners of the barn door). We did four coats of paint on these doors and used an oil based semi-gloss paint which is consistent with all other doors in Bonnie’s home.
We chose the colour Greyology 2 by Haymes.
Note that you will be sent a block of wood (DAR block) that also needs to be sealed and painted — this is what the door rail sits on if you’re installing the door over a frame (architrave).
Step 3: Centre railing and pre-drill holes
Take your sealed and painted DAR block and centre the door railing on top of it. We did this outside where it was easier to place the two parts together on a table. Once the door railing is centered over the DAR block, predrill holes into the DAR block using the existing holes in the railing as your guide. This makes it easier to install the DAR block and railing above the door later.
Step 4: Locate studs
Due to the weight of the door, you will need to screw the DAR block and railing into wall studs. You can use a stud finder to locate the studs in your walls. Once you’ve located the studs, check the instructions sent to you for the height and floor clearance required for your door.
Step 5: Measure and mark
Put your DAR block at the right height and centre over the doorframe.
Using the pre-drilled holes you made earlier in the DAR block to mark on the wall where you need to pre-drill into the studs. Use the spirit level to ensure the DAR block is straight before marking.
Step 6: Add your doorstops
Decide where you want your doorstops to be at either end of the door railing (so it doesn’t run off the end of the track) and place the supplied stoppers on the railing. You can adjust them later if needed, but we recommend putting them on at this step.
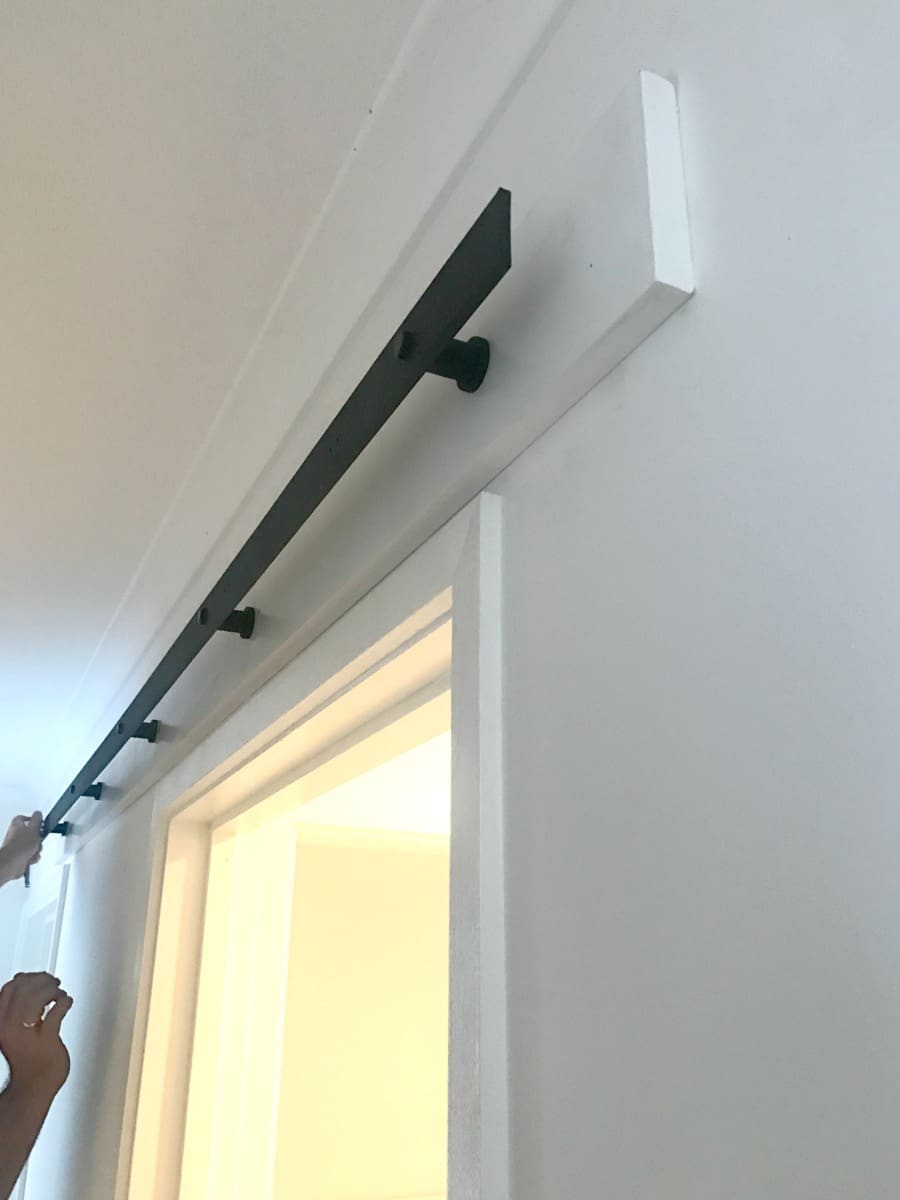
Step 7: Drill time
Using your markings, pre-drill into the wall. You may not be able to get all five screws into studs, but a minimum of one at each end and in the middle will ensure that it can handle the weight of the door. The pre-drilled metal holes are 450mm width apart — this isn’t always the standard distance between wall studs. If that’s not possible, you’ll need to place extra bugal screws into the backing board and stud. You can hide these screws later.
Take the DAR block, railing and spacers that are supplied with your door kit and screw into the pre-drilled holes. All screws are supplied with your kit.
Step 8: Roller time
Attach the supplied rollers to the door — these simply need to be placed 100mm from the edge across the top of the door and bolted in (follow the instructions provided with your kit).
Step 9: Hang the door
Your door is ready to be placed on the railing! We had two people help but if you’re strong you might be able to do it on your own. Simply place the rollers on the railing.
Step 10: Install floor guides
Install a floor guide at the base of the door by screwing them to the wall. This will hold the door in place and stop it from wobbling around. Make sure you consider the finished height of your door and any floor coverings. Doors Plus have two different types of floor guides so you can find the right option based on your floor type, skirting boards or personal preference.
Note that if you select a grooved floor guide, you will need to cut a groove into your door (the Doors Plus team can do it all for you, so you may want to consider their complete package offering that includes delivery and installation).
That’s how simple it is to add a stylish and on-trend barn door to your home! It’s an easy weekend project and a great way to add interest to an otherwise plain door. Check out the full range of barn doors on the Doors Plus website here.
More reno and building ideas
*Disclaimer: This door was supplied.
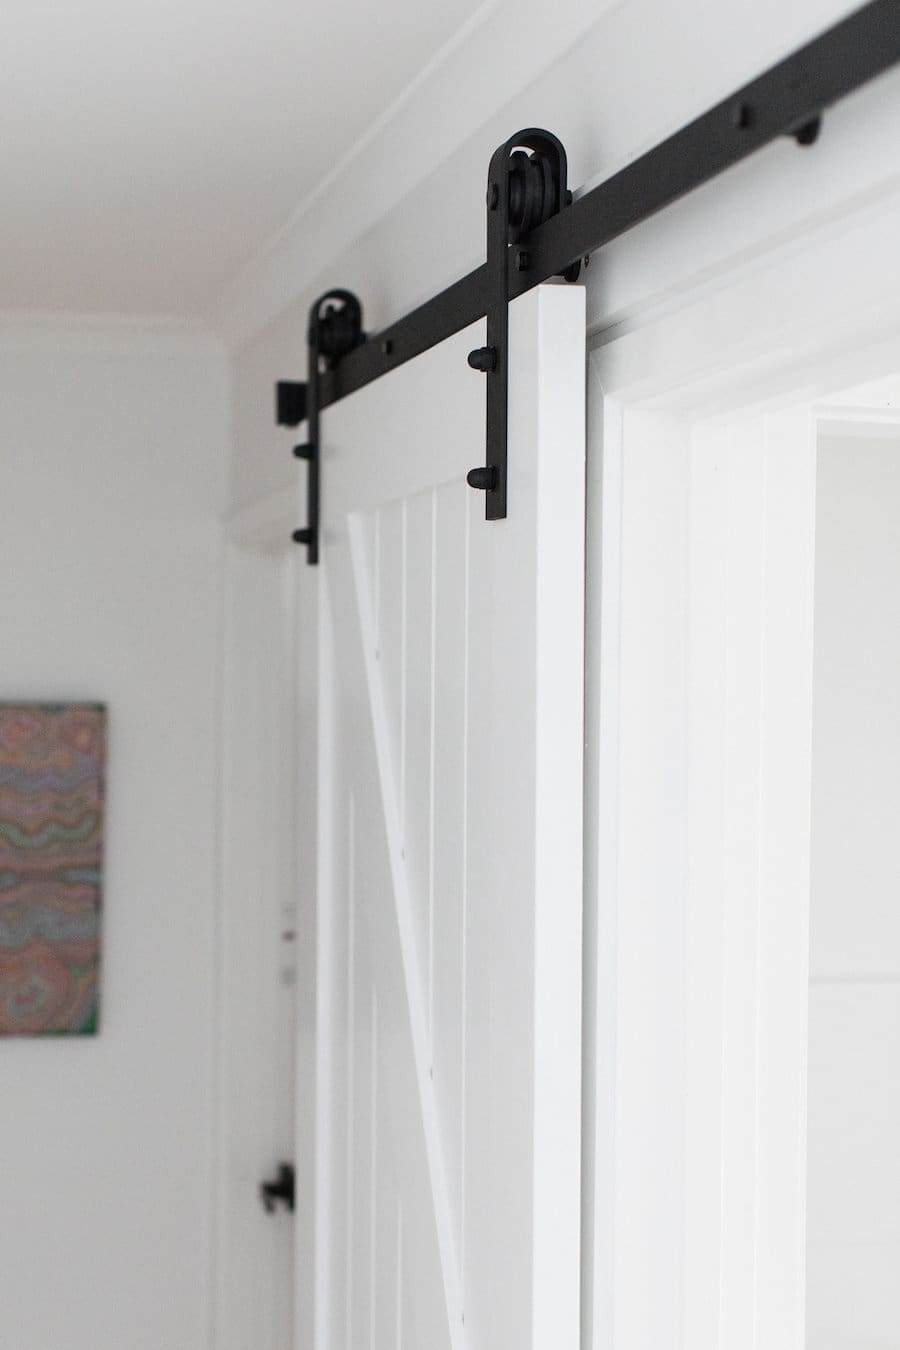
Where is the barn door rail from please? I haven’t been able to find one with that bottom guide
Thanks
Christie
Hi Christie
Bonnie got the rail and block to guide the door from Doors Plus when she ordered the door 😉
That’s so cool! Christiana
Where you bought it from?
Is it ideal barn door? I saw their website, the price is good.
Hi Linda, yes we’re so thrilled with the door and that it is solid timber so it offers good sound barrier for added privacy (ideal for a bathroom). It’s one of the features of Bonnie’s home she gets the most compliments about ☺️
I absolutley love it! You have made this project look so achievable, and now I know where to get a door kit like this one from!
Thank you Christiana! The quality of these doors are so beautiful. Be sure to share photos with us if/when you do it 🙂