


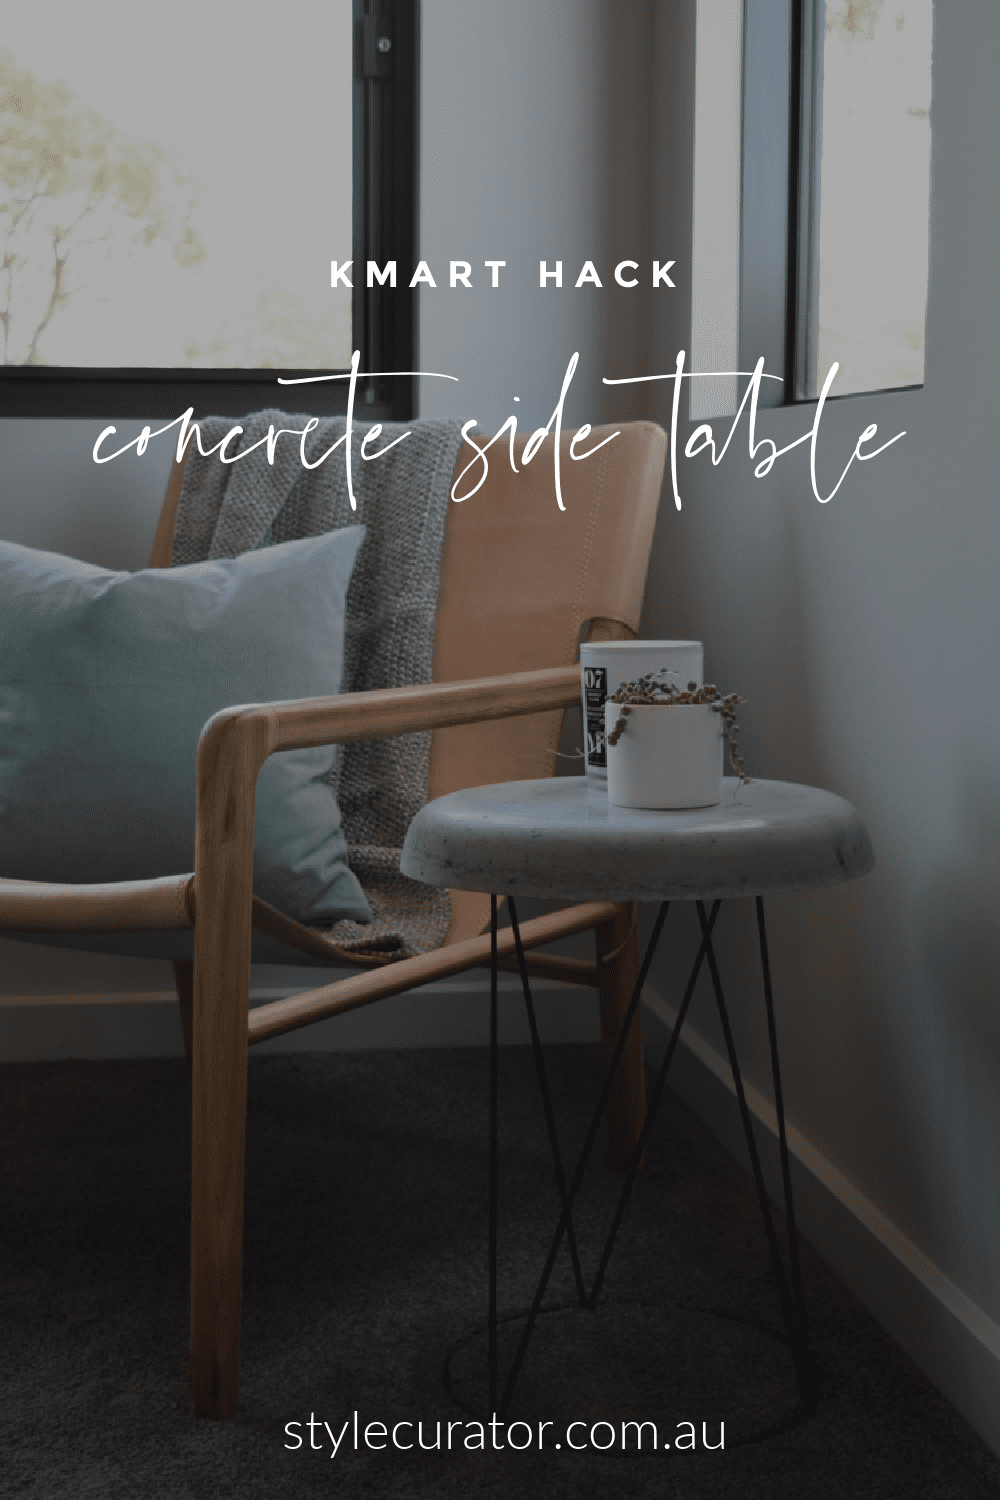
Our love of concrete and Kmart hacks continues this year!
This DIY concrete side table is so easy to make and cheap as chips! Here’s how we did it…
Related article: 20 of the coolest Kmart hacks EVER!
Related article: Kmart hack coffee table: Cheap veneer to luxe concrete top industrial coffee table
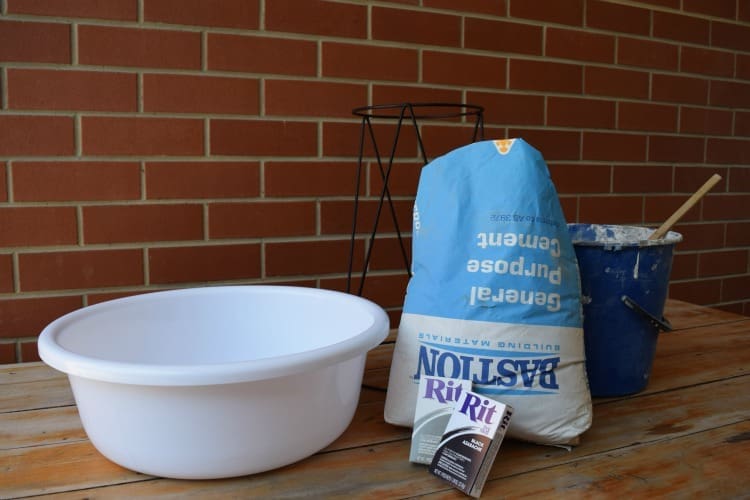
Items you will need for the DIY concrete side table:
- Kmart pot plant stand (we spray painted ours matte black)
- Cement
- Sand
- Water
- Old bucket to mix concrete
- Wooden spoon
- Plastic container (we used a plastic basin)
- Fabric dye (optional)
Steps:
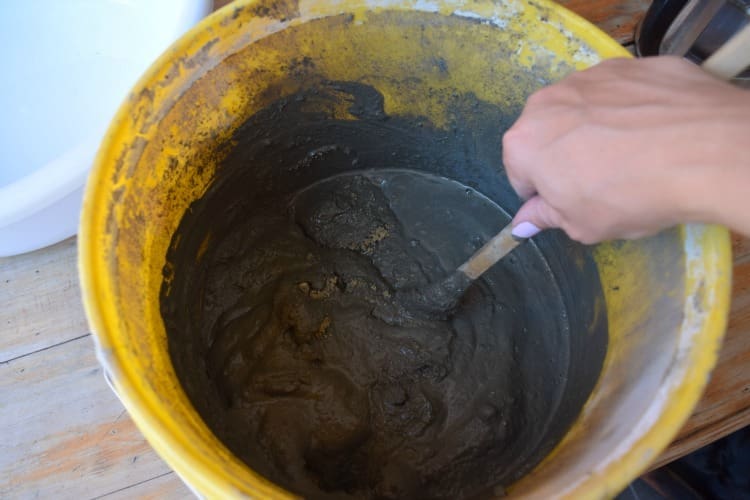
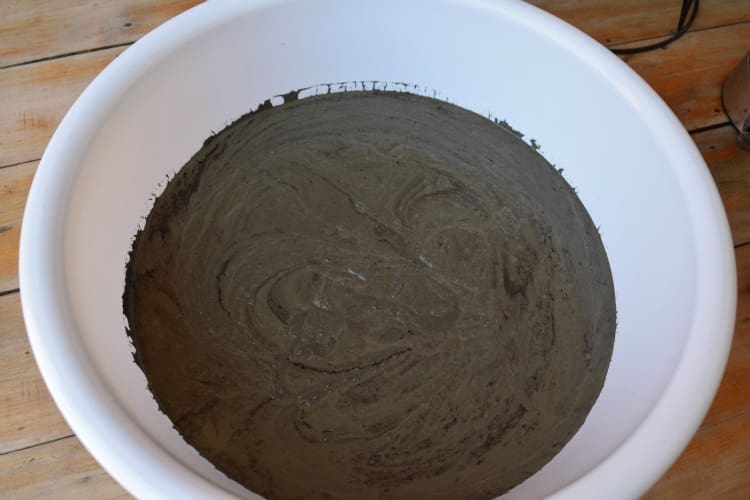
1. Mix enough concrete to create a depth of 6cm in your plastic mould. Our mould has a diameter of 38cm and we used a ratio of 2 parts sand to 1 part cement, using approximately 8 cups of sand and 4 cups of cement. You want to create a smooth, cake-batter-like consistency.
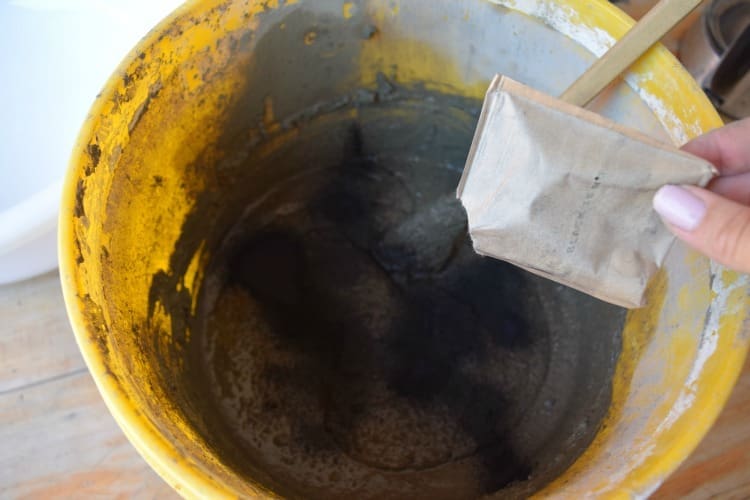
2. Once your concrete is mixed well, sprinkle in half a packet of fabric dye. This is an optional step but we love the mottled colours the black dye created in our table. Gently stir but do not mix well as we want the marbled effect.
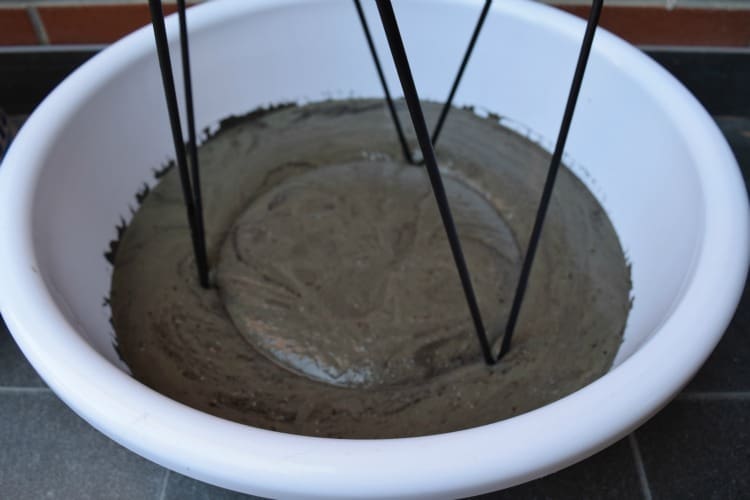
3. Pour the concrete into your plastic mould and gently tap the container several times on a hard surface to release any air bubbles from the concrete.
4. While the concrete is wet, place your pot plant stand in the centre. It should sit 2cm deep in the concrete (be careful not to push it to the bottom or it will poke through the top of your table).
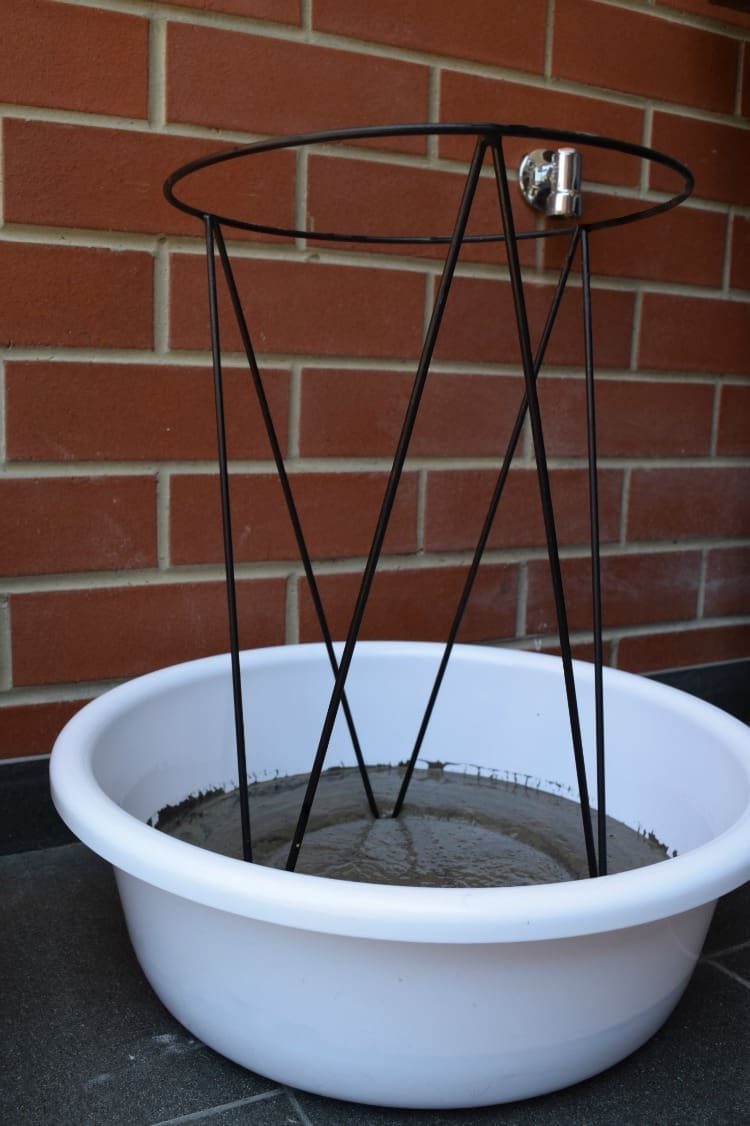
5. Allow to dry for 72 hours. This is by far the hardest step because curiosity can get the better of us, making us want to ‘check’ how it’s going but any movement of the concrete while it’s drying can cause it to crack so STAY AWAY!!
6. Once dry, gently turn upside down and the plastic container should just slip away.
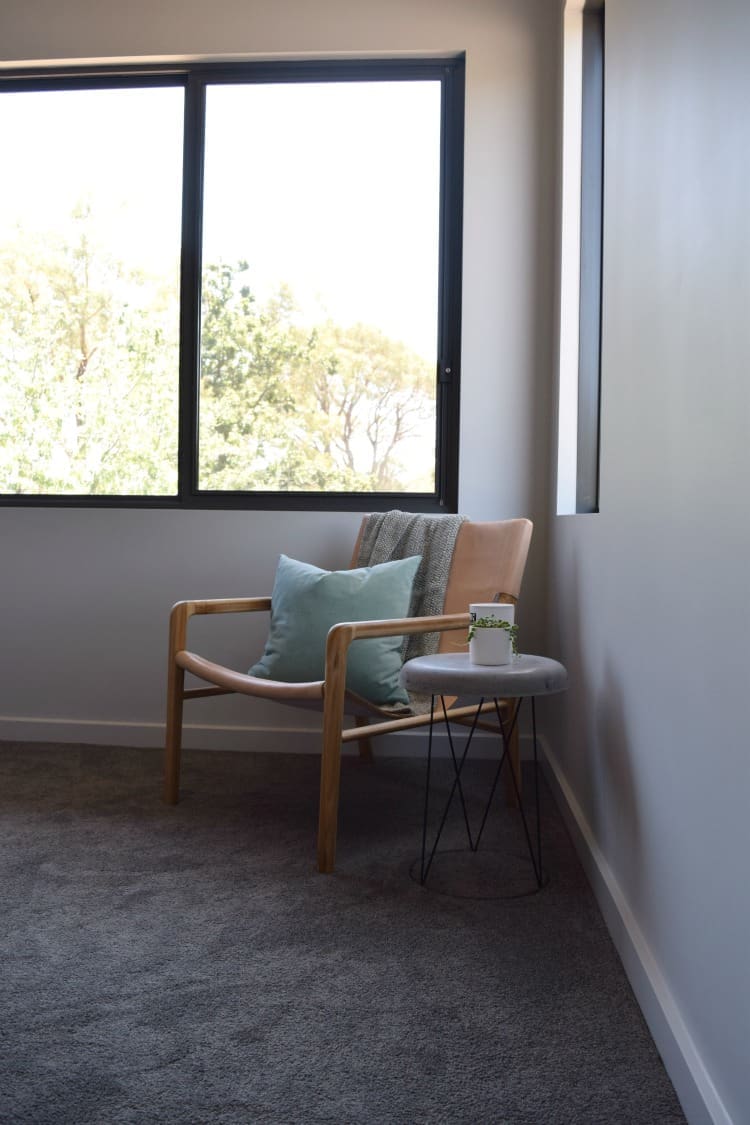
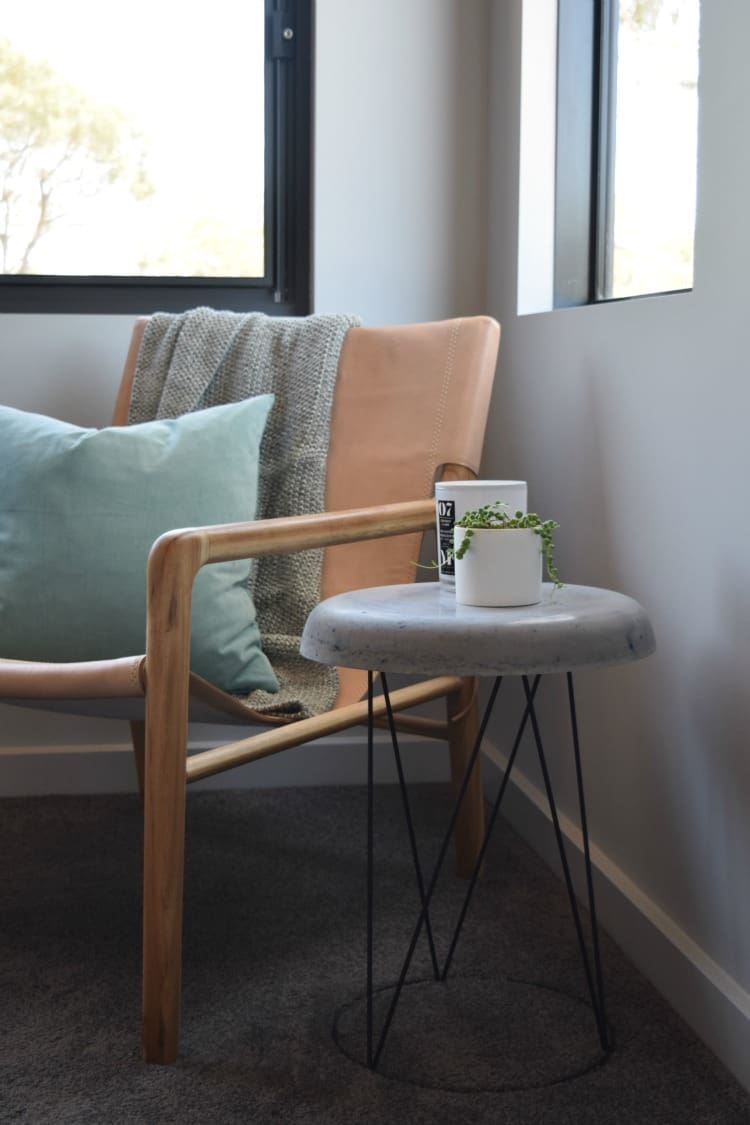
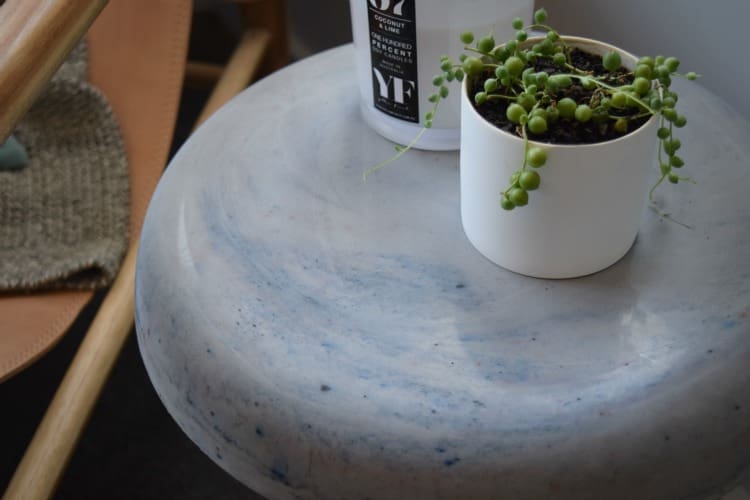
What do you think of our concrete side table? We love the unusual colours and patterns the dye creates and were surprised with how smooth and shiny the top turned out!
Love this!!! What kind of sand did you use?
Thanks Laura 🙂 We just used regular builder’s sand that you can buy from the hardware store.
Hey,
Quick question: Do you find that with cement projects you need to coat the mould (plastic bucket) in something like vaseline? Or does cement just not stick to plastic (or certain types of plastic)?
Thanks!
Hi Kim, no I don’t use anything to coat moulds before… cement doesn’t really hold to anything unless it’s quite textured but you could spray the plastic with cooking oil (in a can) if you like 🙂
Hiya, how did you make sure it was level? I’m interested in trying to make this but i’m worried it would come out to stand on a lean.
Cheers ?
Hi Beth, I simply placed the bucket on a level table and then tapped the concrete several times to release air bubbles. Because the concrete is wet and liquid-like, it naturally will be level. And for the stand, I just used my eye to make it as level as possible in the concrete but you could place a level on top to be sure. Hope that helps 🙂
That is so cool it’s not funny! Ha Ha. The fabric dye is an excellent addition. Try placing wax on the bottom of the container to make sure the table top comes out smoothly every time? Have you tried placing objects in the concrete prior to the pour, ie:sea shells, etc… If so do you think you would have to stick them down first? Thanks Sean
Hi Sean, thanks so much for your comment. I’ve made concrete step stone pavers with river rocks but haven’t tried sea shells before. I made the step stones by pouring concrete into styrofoam boxes and sitting the stones on top… you probably would need to stick them down a little if you did it upside down like this DIY as they would move when you pour the concrete in, or you could try gently scooping the concrete over the top? I’m a bit obsessed with concrete DIYs so you can definitely expect more of them soon 🙂 And you’ve got my brain ticking of ways I could incorporate other materials in the concrete…
I absolutely love this DIY project.
Thanks so much Jason 🙂
Great ! This is so smart and youre right, I told myself it was shiny too ☺
This looks beautiful. Did you use cement mix or concrete mix(the one with aggregate in it)
Thanks Shirley, we used cement mix without aggregate and got such a glossy smooth finish because of the plastic mould ☺️
Definitely going to try this one out as well!! @notamodelhome xx
He he Caitlyn, you might have noticed we’re just a tad obsessed with our concrete DIYs 😉 this one is a fave though. Have fun making it! Xx
Love it! I want to give this one a go for our place 🙂
EeeK! love this! What spray paint did you use?
Thanks lovely 🙂 we used ‘Flat black’ British Paints spray paint, available at Bunnings. Happy making!
This is so hot! Cant wait to try it out!
Yay, glad you love it! Be sure to send us pics or tag us if you post it online 🙂