


If you’re struggling to take high quality photos, this DIY might be just the thing you need! So many of the ohhhhh and ahhhhh photos we see on Pinterest and Instagram have two common elements — beautiful styling and a beautiful backdrop. While the styling element can be a little more tricky to master, we can help you with the backdrop.
Whether you’re doing product photography or just want to take better images of the things you’re making, here’s our tutorial for two DIY photography boards!
Related article: How to improve your product styling and interior photography
Related article: Wavy homewares: Small batch, artisan pieces handmade by TS Makers’
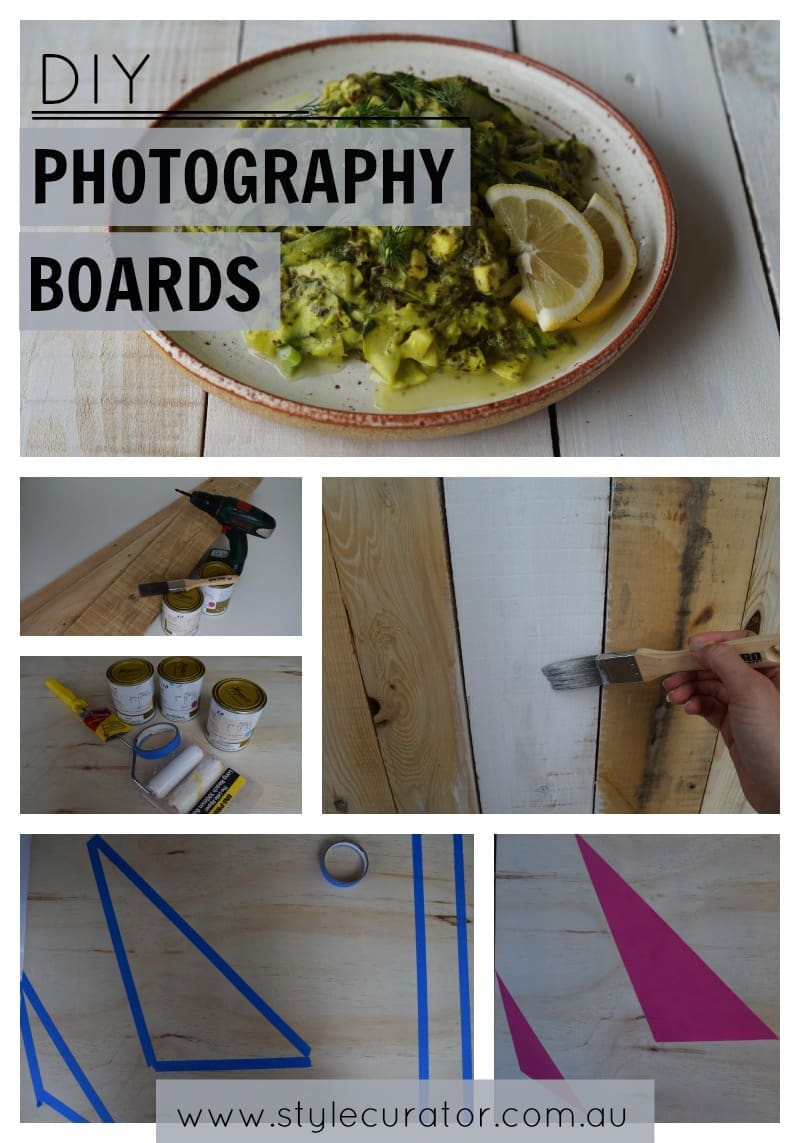
Items you will need
Wood plank board
- Wood pallet (we recommend heat treated)
- Electric drill
- Screws
- Sander or sand paper
- Paint (we used Haymes Minimalist 1)
- Paint brush
- Small plastic container
Plywood board
- Board of plywood
- Masking tape
- Paint (we used Haymes Charlotte)
- Paint brush
Steps:
Wood plank board
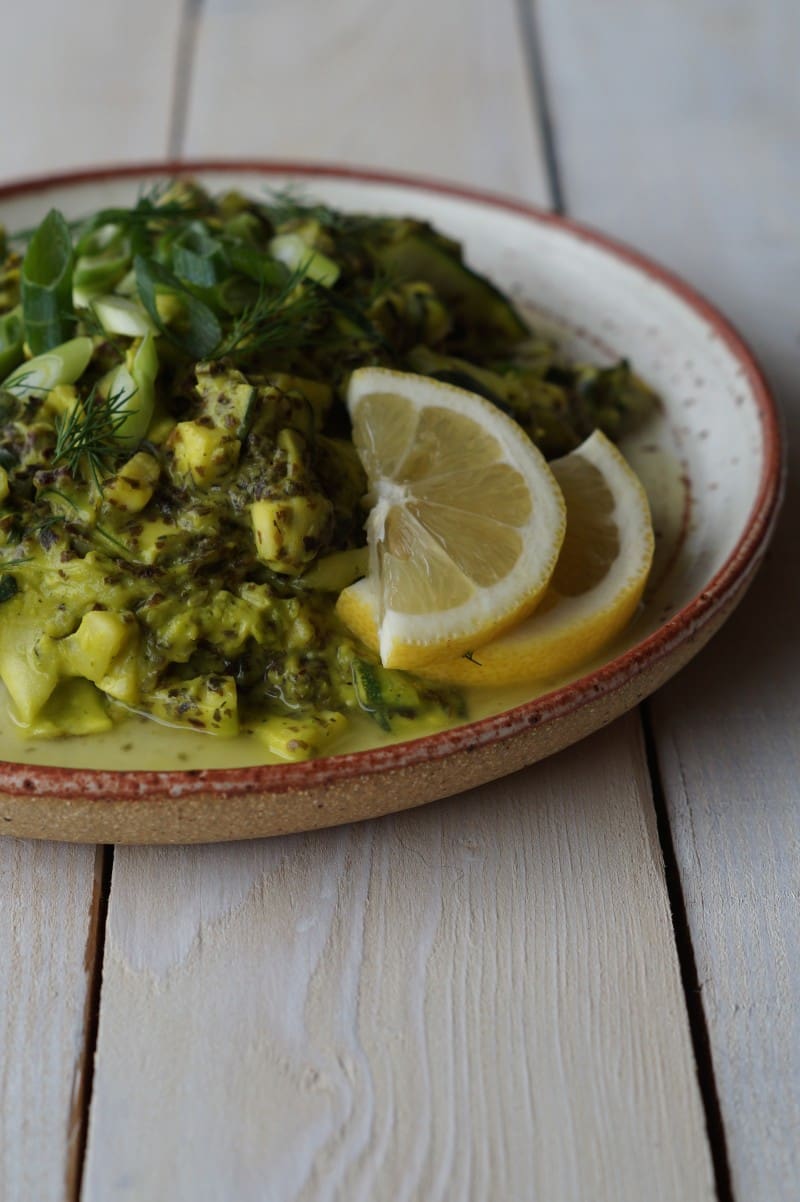
1. Pull apart a wood pallet and sand back each plank until they are smooth and the grain is revealed.
2. Lay out the planks with the smooth side face down. Make sure they are in line and secure two supporting planks across the width, using two screws per plank on the top and bottom.
3. Mix a batch of white wash paint. Do this by combining 2/3 white paint with 1/3 water in a small container. And paint the face of the board generously (just watch out for running paint).
Allow to dry and this white wash plank board is ready for your next photo shoot!
Plywood board
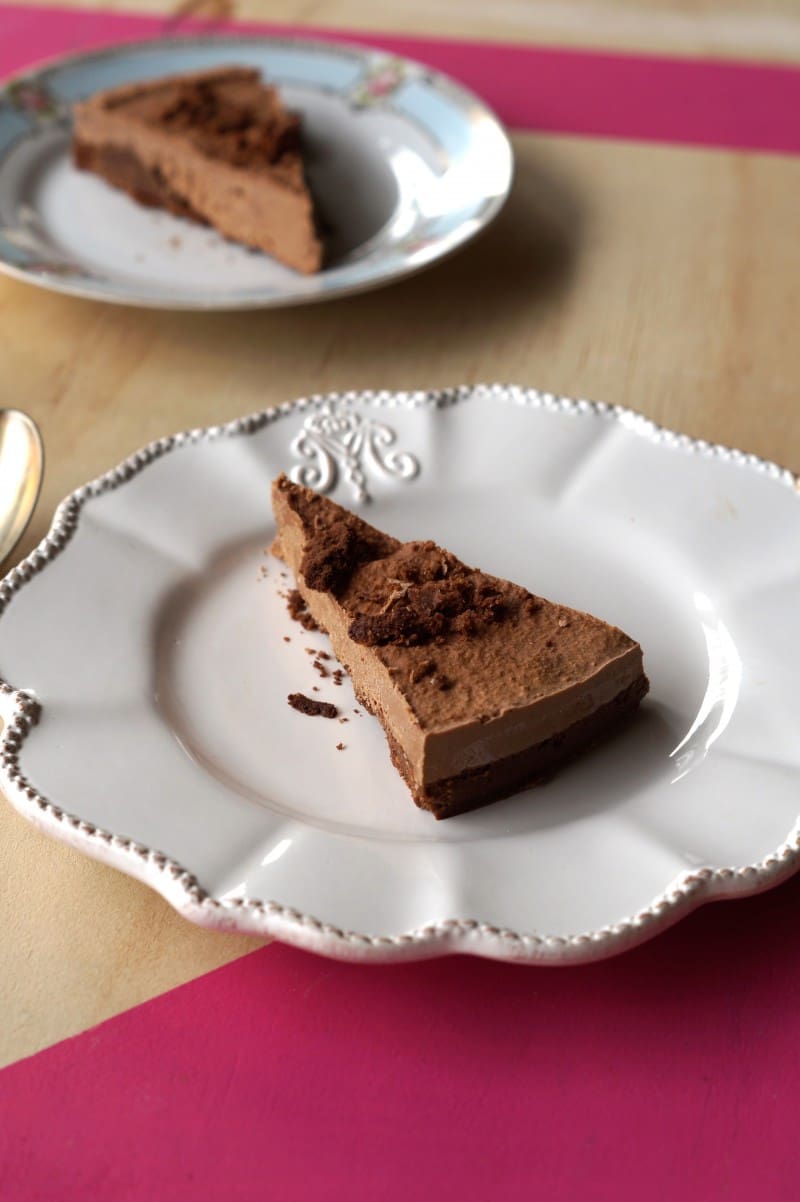
1. This super easy board hardly needs a step by step guide — it’s a simple matter of marking out some geometric shapes using masking tape and painting inside the shapes. We created triangle and rhombus shapes for interest but arches and circles would look equally great.
It’s a good idea to use a bold colour to contrast against the ply. We used pink paint to match the brand colours of The Merrymaker Sisters who will be using the boards for their food photography. But you could use any colour you like.
2. Remove the tape while wet and you’re done!
This board is a little more quirky but makes for a modern backdrop.
What do you think of these two easy photography board tutorials? Do you take product photos or what type of photography do you do that you need a backdrop for? Tell us in the comments below.
Well we LOVE THEM! 🙂 🙂
YAY!! They look fab and we can’t wait until you share that cake recipe on your blog! 🙂