Designing or renovating a home comes with what feels like a thousand decisions and it’s not always easy to picture how everything will come together. A bold marble benchtop that felt perfect in the showroom might clash with your flooring or that deep green wall colour might suddenly feel too heavy in your home’s lighting.
The good news? There’s an easy way to avoid that. Creating a digital 3D version of your space before you build or renovate allows you to experiment with layouts and test materials to see what works and what doesn’t before committing to decisions.
Today we have Anna Evstigneeva, Interior Designer at The Inner Home and 3D visualisation expert, with us to share her advice on how you can use renders to achieve your design vision and avoid reno regret.
Related article: How to plan your dream garden (and avoid costly mistakes!) using smart visualisation tools
Related article: How to update a bathroom using shower screens
Words by Anna Evstigneeva
1. See problems before they happen
Renovation regret often happens when we can’t fully picture the end result before committing to design decisions. A 3D visual or render acts like a dress rehearsal for your home, letting you see how everything fits together as well as a chance to catch issues early, while they are still easy enough to fix.
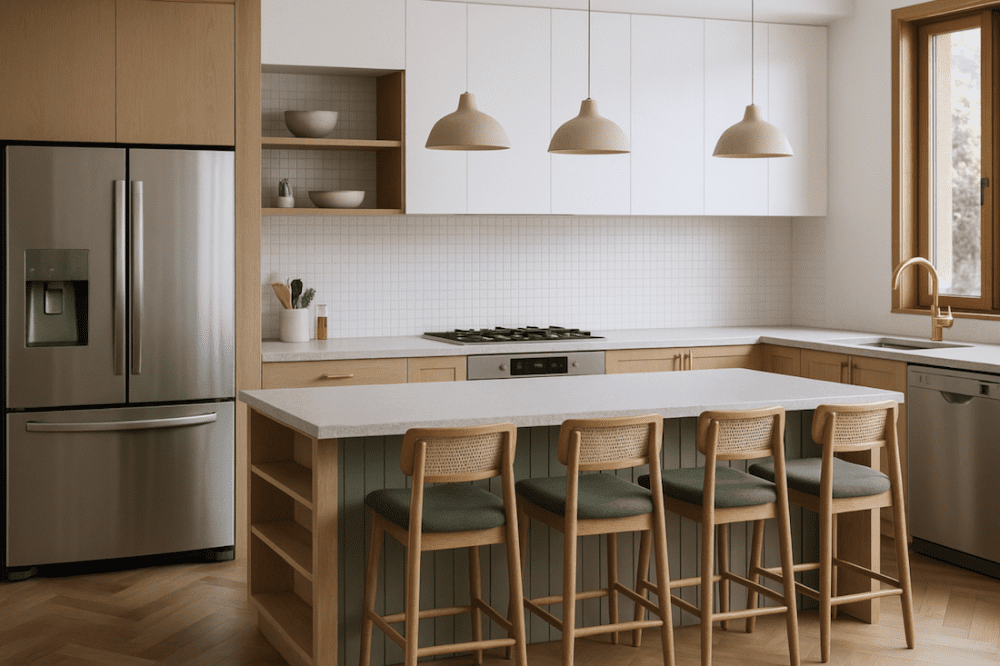
You can double check that your kitchen island isn’t blocking the fridge, that the sofa doesn’t crowd the walkway or that a shower door clears the vanity when it opens. You might even notice that pendant lights hang too low or a hallway feels darker than expected. These are the kinds of details that look fine on paper but if missed, can become daily frustrations once you move in.
That’s the real value of visualisation. Think of it as a safety net that lets you test out ideas before they become permanent, saving you from stress, constant second guessing and costly rework in the future.
2. Test materials, colours and light
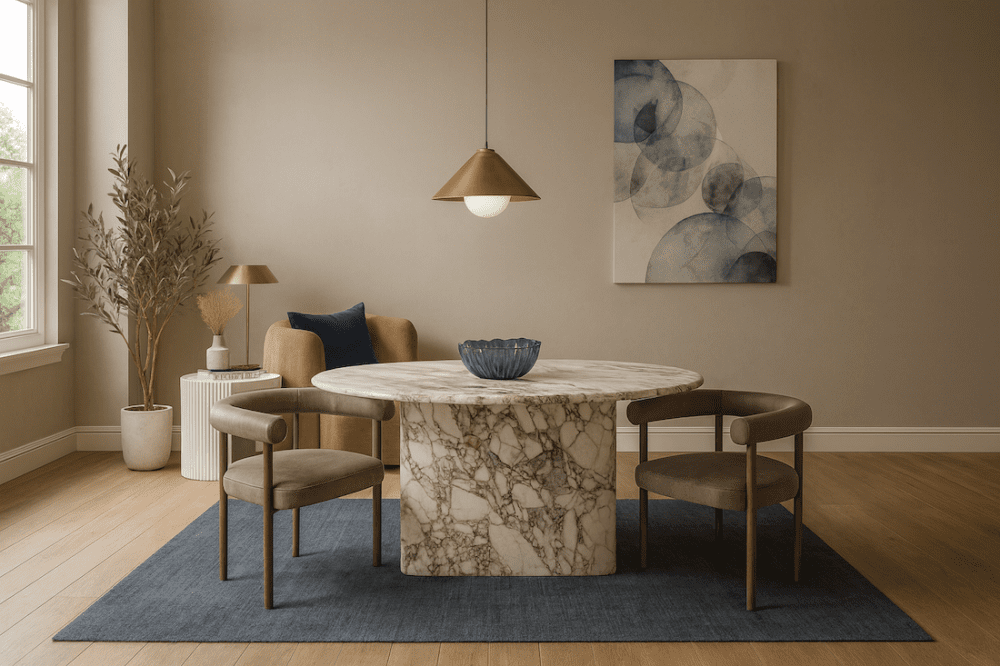
Once your layout feels right, the next step is seeing how your materials and colours work together. This is where the power of rendering really shines.
I’ll often create a few variations of the same space for clients, say one bold, one subtle and one somewhere in between. It’s amazing how quickly you can see what doesn’t work and which one feels right once they’re side by side. Sometimes the version that felt ‘safe’ on paper becomes the standout when you see it in context.
I recently worked with a client who was planning a bathroom renovation. She had dozens of inspiration images saved but couldn’t quite pin down a colour palette or style. Through the 3D modelling process, we tested tiles, vanity options and fixtures side by side. It quickly became clear that the elements she’d pulled from her inspiration images didn’t actually work together. Once she could see it, she was open to a new design direction that felt more cohesive and better suited to her home.
Another couple I worked with had chosen a beautiful patterned floor tile and a bold marble-look benchtop for their laundry. Both were stunning on their own. Seeing them combined in a 3D render helped the client realise that they didn’t actually work together as they overpowered one another. We swapped the benchtop for a soft neutral tone keeping the tile as the hero, making the space feel balanced again.
If you’re doing it yourself, there are some great free tools like Planner 5D, HomeByMe and Roomstyler. You can use these to build rough layouts and explore ideas. They won’t give you perfect lighting or texture but they’re a great way to start visualising your space and easing that early decision fatigue. If you can, upload real materials and paint colours where possible. Brands like Dulux and Haymes offer digital colour swatches you can use. The closer you get to actual tones, the more accurate your result will feel.
On the other hand, a professional render goes a step further adding light, shadow and realistic texture. This allows you to see how materials actually behave together. This deeper level of detail often changes how you see the space and helps you make decisions with confidence.
3. Communicate and plan with confidence
3D visuals aren’t just helpful for homeowners but can also serve as a handy communication tool for everyone involved in your project. Having a clear visual reference means your trades all share the same understanding of the end goal. This will eliminate the “Oh, I thought you meant this” moments that can derail a project.
It’s also a great way to make sure you and your designer are aligned too. What you describe as ‘warm white’ might look completely different in their mind, but seeing it rendered removes all the guesswork.
Detailed 3D visuals can even make the quoting process more accurate. When trades can clearly see what’s intended, there’s less room for assumptions and fewer costly surprises once work begins. It keeps everyone on the same page which means your budget will be as well.
Tip: Once you’ve created a render you love, take a screenshot and save it to your phone. Use it as a reference when shopping or selecting finishes to stay consistent and avoid impulse changes.
4. When to bring in a professional
DIY tools are a great starting point if you are testing ideas or figuring out your initial layout. But professional renderings go far beyond what most of these programs can achieve.
Designers can create realistic, to-scale renders that capture light, texture and proportion. This is what turns a good concept into a cohesive, buildable design.
For homeowners, investing in a few professional renders early in the process can actually save money later. It’s much easier to adjust a layout or palette digitally than to change cabinetry or tiles once they’re installed.
Tip: If you’re working with a designer, ask them to walk you through the 3D model from room to room. This will give you a sense of how the design flows. Ask them to create some 3D renders early in the concept stage to see how the proposed materials and finishes interact with one another. It’s often more affordable than people expect and the confidence it gives you in your decisions is worth every cent.
Renovating doesn’t have to be a guessing game. Taking the time to visualise ideas in 3D today helps you make decisions with confidence instead of crossing your fingers and hoping for the best. A little time spent planning now can save a lot of stress later. It also makes the process of bringing your ideas to life much more enjoyable.
More design and reno tips
About the author

Anna is a Melbourne based interior designer and founder of The Inner Home. She’s passionate about helping homeowners design spaces that reflect their unique lifestyle. See more of her work on her website or Instagram.
Web: www.theinnerhome.com.au
Instagram: @the.inner.home