With the weather heating up and a hotter-than-average Australian summer around the corner, we’re all looking for ways to keep our gardens happy and hydrated. And if you’re anything like me, remembering to water your plants every day isn’t always at the top of your to-do list!
Enter this ridiculously simple DIY drip watering system using an old plastic water bottle. It honestly doesn’t get much easier than this gardening hack. In fact, it’s probably overkill to dedicate an entire article to it, but sometimes the simplest ideas are the most useful!
Whether you’re trying to establish new plants, keep your veggie patch thriving or heading away for a few days, this cheap and easy trick could be just what your garden needs.
Related article: In the garden: Summer gardening guide
Related article: In the garden: How to start a veggie garden
Items you’ll need:
- An empty plastic water bottle with a screw-on lid
- A drill with a small drill bit or another suitable tool for making tiny holes
- Water!
That’s it. No fancy irrigation system or expensive gardening equipment required.
Option 1: Make a single-hole slow-release drip watering system
This is the technique I’ve been testing in my own garden, and it’s ridiculously easy.
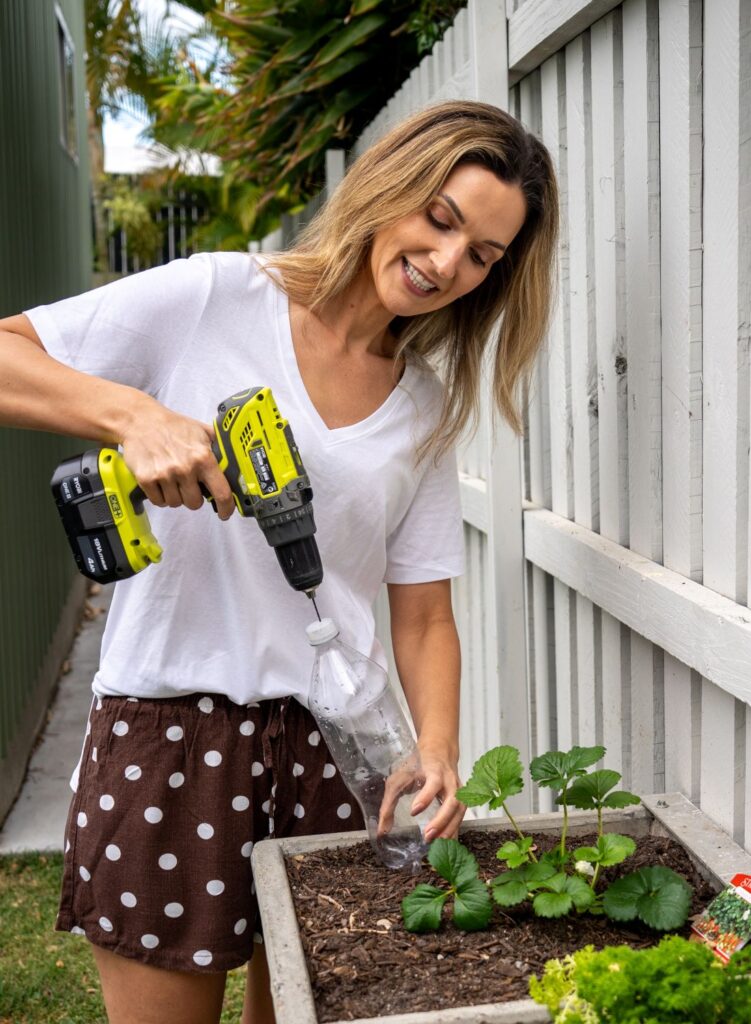
Simply make a tiny hole in the lid of an old plastic water bottle, fill the bottle with water and screw the lid back on.
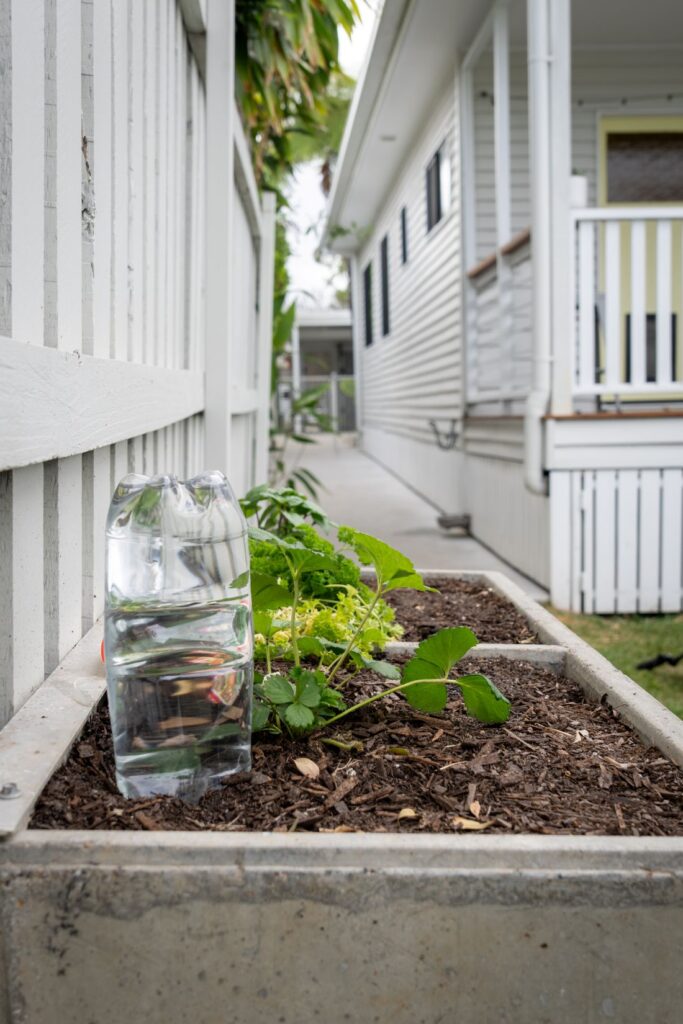
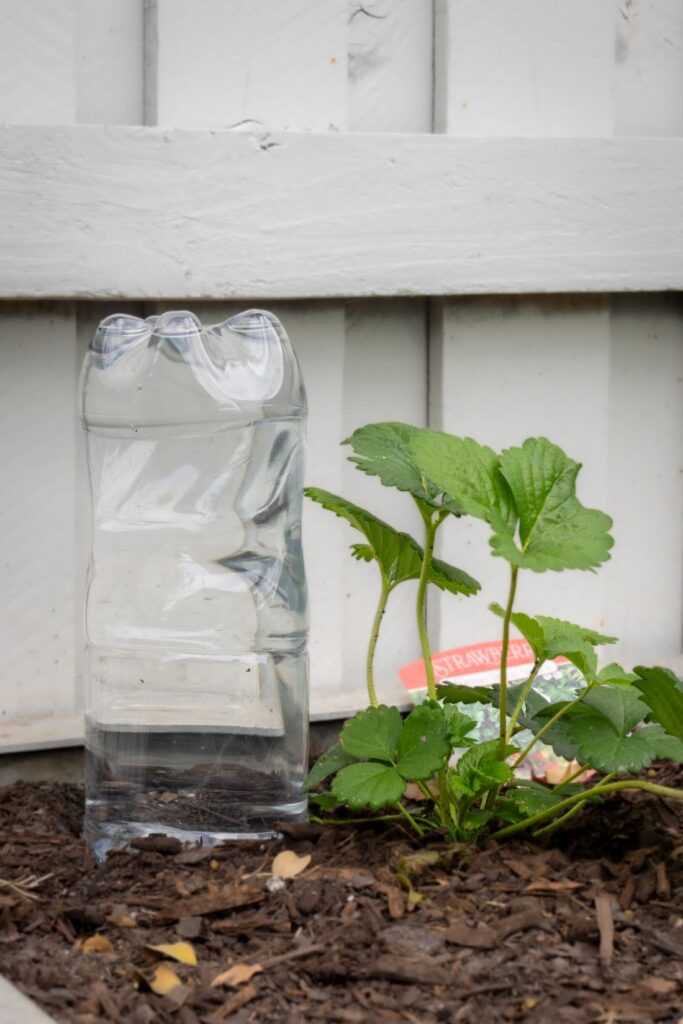
Turn the bottle upside down and position it securely in the soil near the base of your plant, being careful not to damage the roots. The idea is that water gradually seeps out through the small hole, providing moisture to the surrounding soil.
I’ve been using this technique for a couple of weeks in a small garden bed where I’m growing a new strawberry plant and some fresh herbs. They’re still establishing, and the last thing I want is for them to wilt in the heat!
So far, my water bottle has generally lasted around two days before needing a refill. I’ve been topping it up a couple of times a week, depending on the weather and how quickly the water drains.
My tip: Start with the smallest hole possible and test how quickly the water flows. You can always make the hole slightly bigger if needed, but you can’t make it smaller!
Option 2: Make several small holes along one side of the bottle
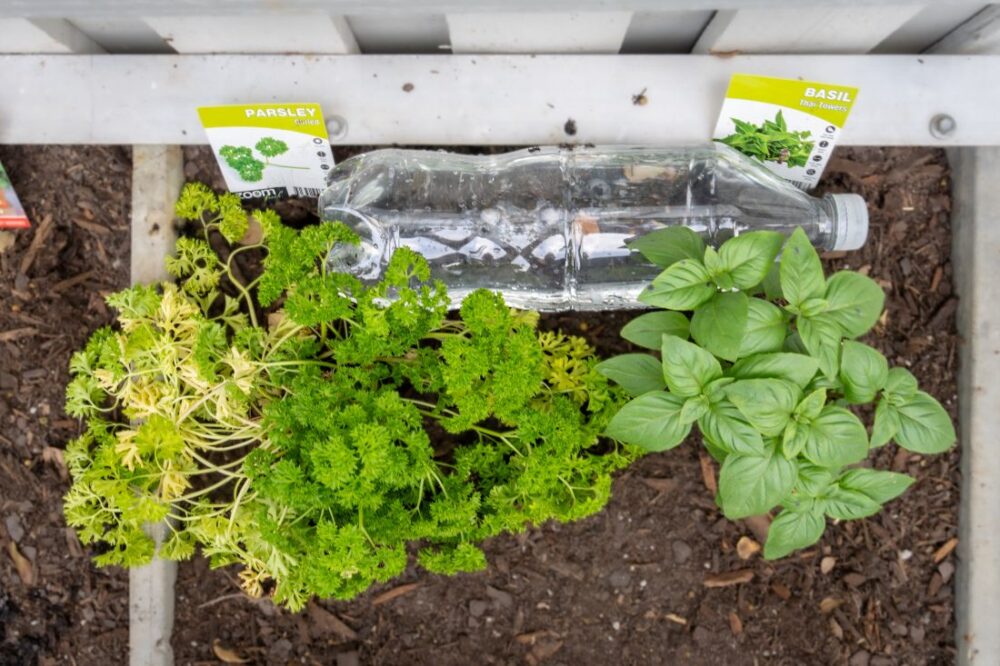
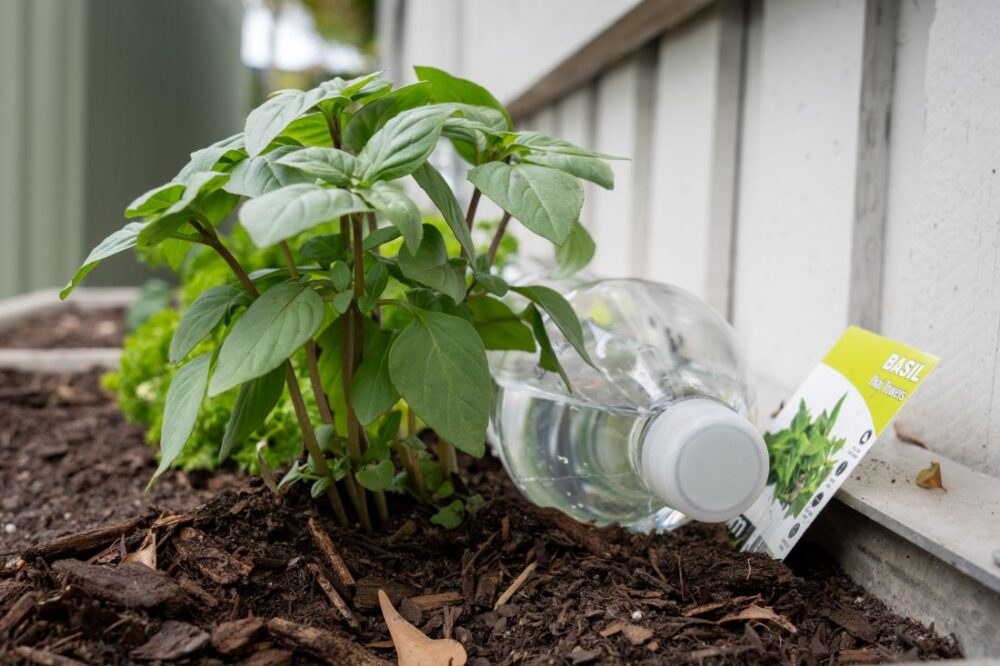
If you’re trying to water a larger area, such as a veggie patch or garden bed with multiple plants, you can also try positioning the bottle horizontally.
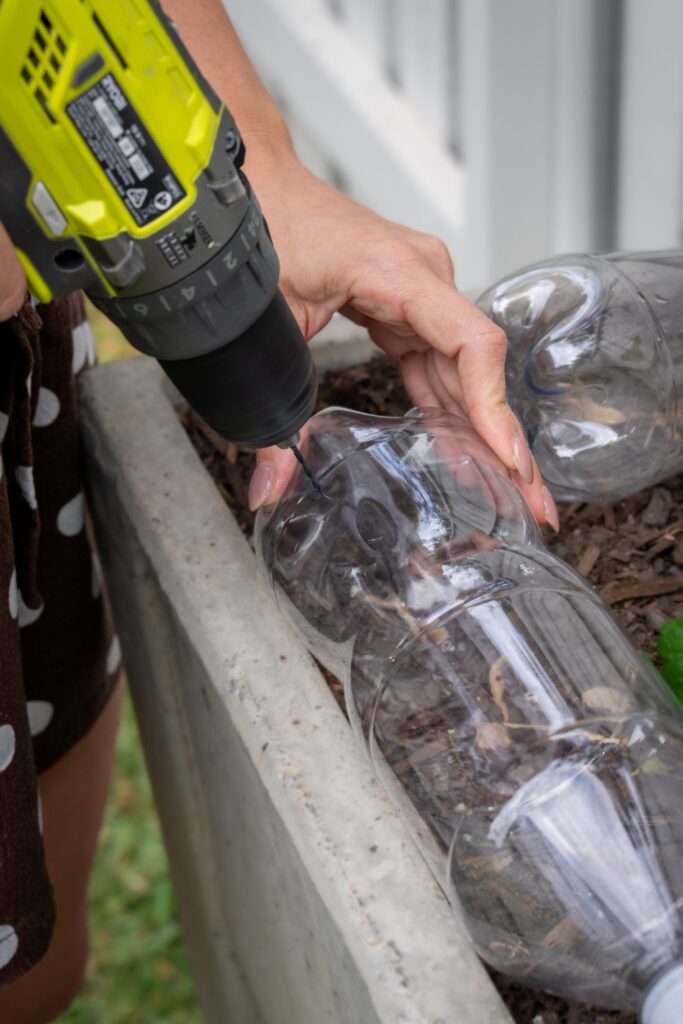
Rather than making a single hole in the lid, create several very small holes along one side of the bottle.
Fill it with water, replace the lid and lay the bottle on its side with the holes facing down towards the soil.
The idea is to distribute water across a wider area rather than concentrating it in one spot.
Again, the trick is to keep the holes tiny so the water doesn’t drain out too quickly. You may need to experiment with the hole size (start with a pin!) and positioning to get a slower, more consistent flow.
A few tips to make this gardening hack work
While this DIY couldn’t be much simpler, there are a few things worth keeping in mind:
- Test it before relying on it: Some bottles empty quickly while others barely drip at all. Check the water level after a few hours to see how your setup is performing.
- Position it carefully: Place the bottle close enough to the plant’s root zone to be useful, without disturbing established roots.
- Keep an eye on soil moisture: The goal is to keep the soil consistently moist, not waterlogged. Too much water can be just as damaging as too little.
- Consider the weather: Hot, windy conditions can dry out soil quickly and blow the bottle away, so your plants may still need additional watering.
- Use it as a helping hand: This DIY is great for supplementing your regular watering routine, but it isn’t a replacement.
The easiest DIY drip watering system?
It might just be! Not only is this gardening hack practically free, it’s also a clever way to reuse an old plastic bottle rather than throwing it straight into the recycling bin.
And while it’s certainly not the most sophisticated or stylish irrigation system you’ll see, sometimes a simple solution is all you need.
Whether you’re a forgetful waterer (guilty!), trying to establish new plants or just looking for an easy way to keep your garden hydrated during the warmer months, this little DIY is worth a try.
Have you tried this water bottle gardening hack? I’d love to hear how it worked for you, or if you’ve got another clever watering trick to share! Email us any time or send us a DM on Instagram.
More gardening tips and tricks