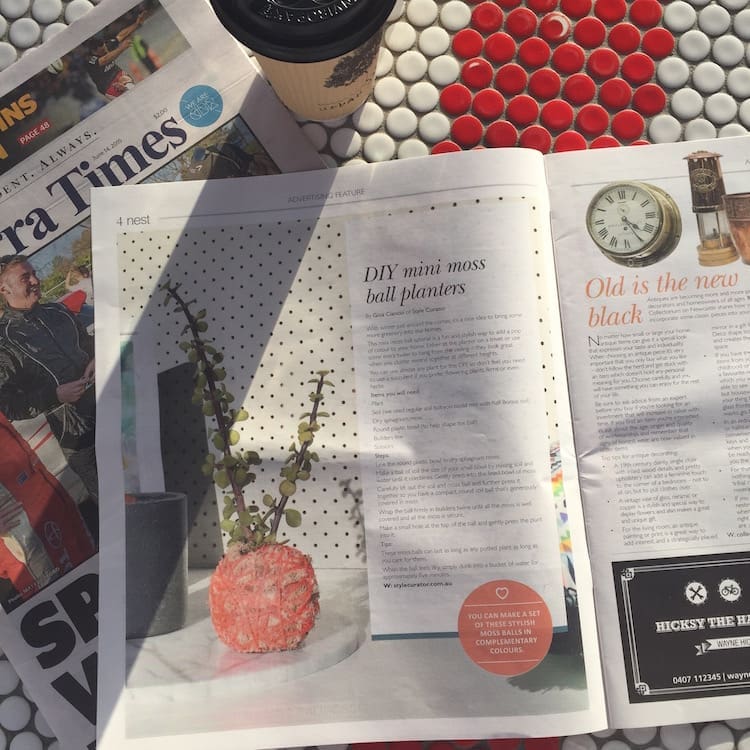
Today our tutorial to make mini moss ball planters is featured in Canberra Times’ nest magazine! We seriously love these little planter balls so if you can’t get your hands on a copy of the magazine, we’re sharing this tutorial below!
Related article: Trend alert: Growing and styling plants in water
Related article: Woven planter cosy tutorial: Make a pot plant weave

With winter just around the corner, it’s a nice idea to bring some more greenery into our homes.
This mini moss ball tutorial is a fun and stylish way to add a pop of colour to your home. Either sit the planter on a trivet or use some extra twine to hang from the ceiling — they look great when you cluster several together at different heights.
You can use almost any plant for this DIY so don’t feel you need to use a succulent if you prefer flowering plants, ferns or even herbs.
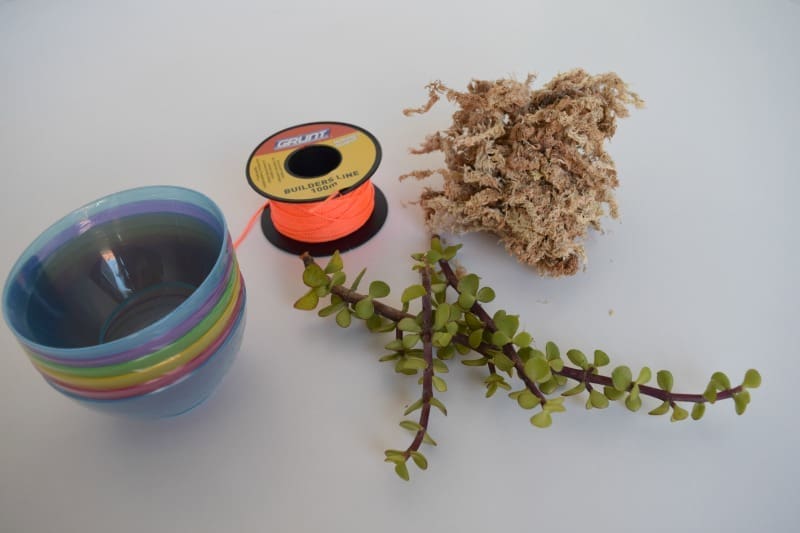
Items you will need
- Plant
- Soil (we used regular soil but you could mix with half Bonsai soil)
- Dry sphagnum moss
- Round plastic bowl (to help shape the ball)
- Builders line
- Scissors

Steps:
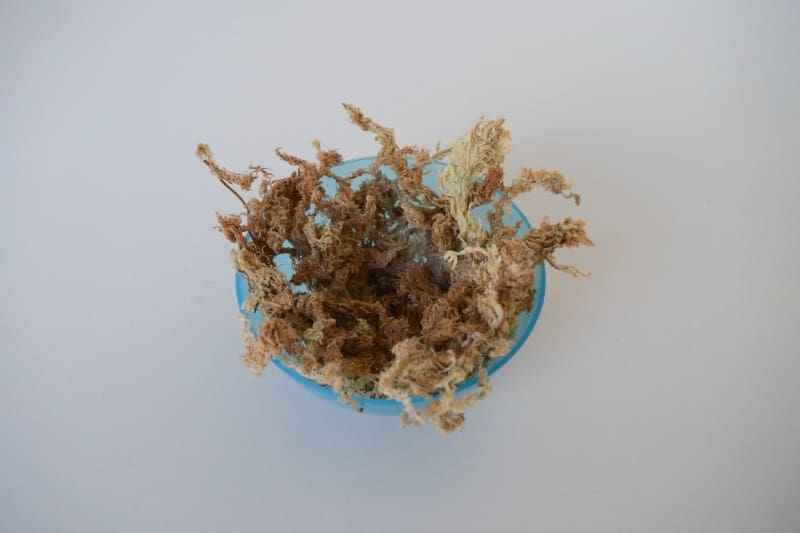
1. Line the round plastic bowl in dry sphagnum moss.

2. Make a ball of soil the size of your small bowl by mixing soil and water until it combines. Gently press into the lined bowl of moss.
3. Carefully lift out the soil and moss ball and further press it together so you have a compact, round soil ball that’s generously covered in moss.
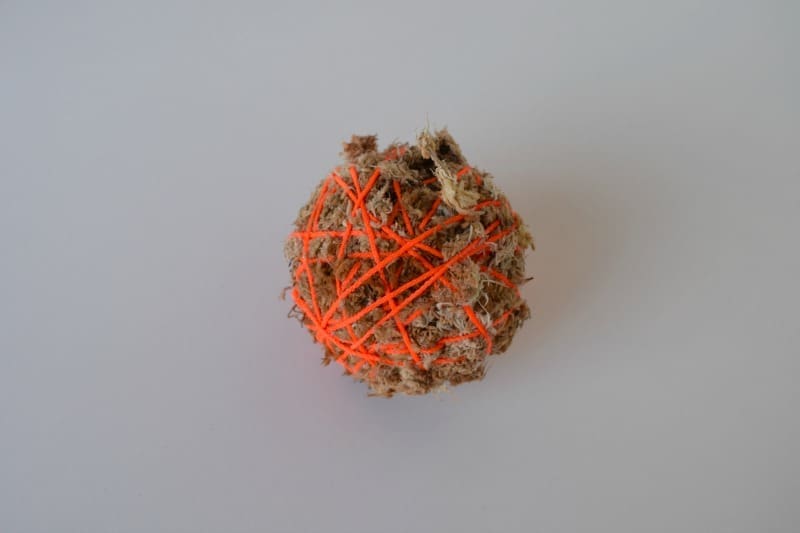
4. Wrap the ball firmly in builders twine until all the moss is well covered and all the moss is secure.

5. Make a small hole at the top of the ball and gently press the plant into it.

Tips:
– These moss balls can last as long as any potted plant so long as you care for them.
– When the ball feels dry, simply dunk into a bucket of water for approximately 5 minutes.
You could create just one of these bright and stylish moss balls or make several in different colours.
Do you like these moss balls? Tell us in the comments below!
Check out more DIYs


These planters look very cool and add a fun feel and colour indoors.
Thanks Julia and you’ll be surprised how easy they are to make too! 😉