Looking for a sweet and personalised DIY idea for a nursery or kids’ bedroom? When we saw this gorgeous (and inexpensive) nursery DIY idea by Chelsea from @joiesdechelsea, we just knew we had to share it.
Using air dry clay, paint and resin, you can give your child’s space a loving, handmade touch. The best part? You don’t need a kiln or any special tools.
Whether you’re styling a nursery, creating a personalised gift or simply looking for a relaxing craft project, this DIY is surprisingly easy to try at home. Watch the reel below or keep reading for all the materials and steps to make your own.
Related article: DIY garland bunting flags for nursery or child’s room
Related article: Make a sweet rainbow wall hanging for your child’s room or nursery
Items you’ll need:
- Air dry clay
- Cutting board or surface to work on
- Acrylic paint
- Craft resin or mod podge
- Paintbrush
- Command velcro picture hanging strips
You may also like to print the name in your preferred font to use as a guide when shaping the letters.
Step 1: Roll out the clay
Start by cutting your block of clay into manageable pieces. Chelsea cut her slab of air dry clay into 6 equal parts. Then knead it until it becomes soft and workable.
Step 2: Create your letters
Next, roll the clay into little sausages so you can shape them into the letters you want to create. You can make these as large or small as you want. Chelsea made hers about the size of her hand but we’ve seen other DIYers make even larger letters (about the size of an A4 piece of paper).
To help you get the shape you want, you can draw the letters onto a piece of paper or use a printed template but we love the organic, free-form look.
Step 3: Smooth the edges
After shaping the letters, gently smooth any rough edges and joins with your fingers. Use a small amount of water to get a smoother finish.
Step 4: Let the clay dry
Place the letters on a flat surface and allow them to dry completely.
Air dry clay typically takes 24–48 hours to fully cure depending on the thickness of the clay and the humidity in your home. Alternatively, you can pop them into a low-heat oven for 15 minutes to speed up the process.
Step 5: Paint
Once they’ve cooled, it’s time for the fun part — adding colour! You can paint each letter a different colour, play with vibrant complementary colours, or use varying tones to create an ombre monochromatic look… the options are endless!
Acrylic paints work well for this project — it’s the most affordable and quickest to dry.
We suggest applying 2 coats of colour for best results.
Step 6: Coat in resin or mod podge
Finally, to add a gorgeous lustre to your clay letters, add a coat of resin or mod podge.
Chelsea used craft resin from Kmart but did admit it was a little fiddly to work with. In the end, she rested the letters on top of glass jars with cling wrap protecting her work surface. Elevating the letters allowed her to paint over the full top and sides at the same time.
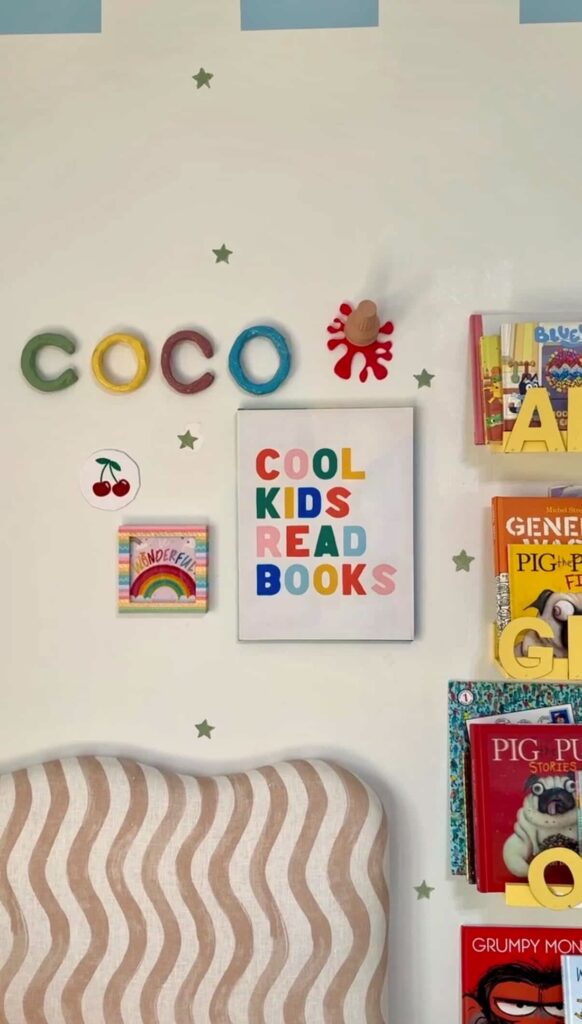
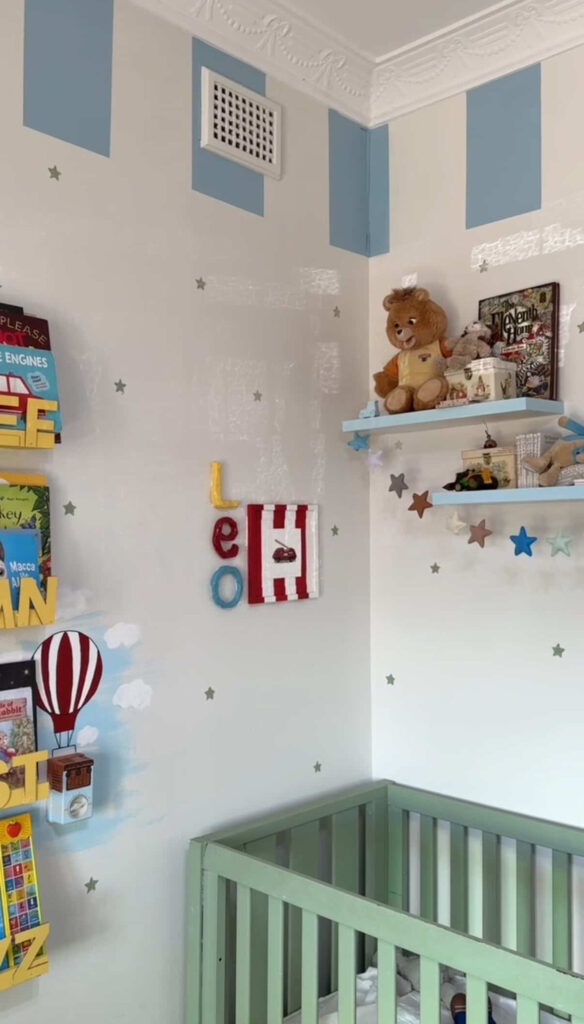
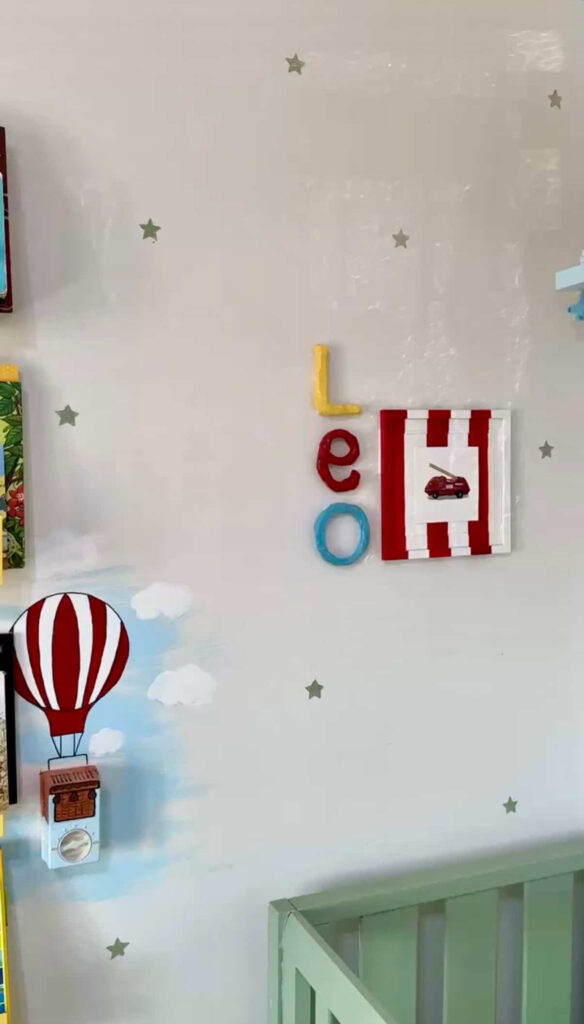
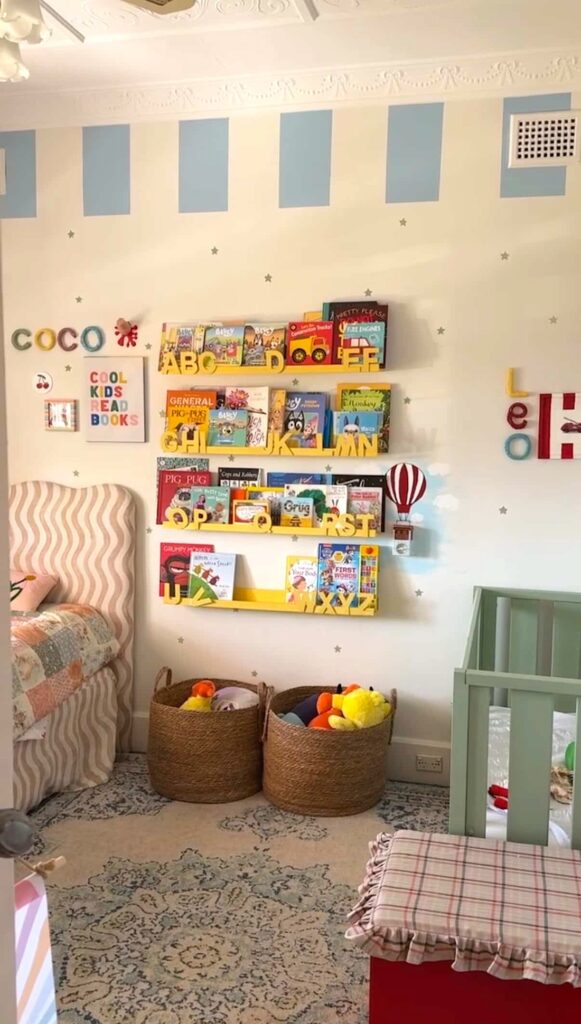
Step 7: Mount your name art
Once everything is dry, simply add Command velcro picture hanging strips to the back and stick them onto your wall. You can place the letters horizontally or vertically, or even in a stepped layout… again, lots of options here to get creative 😉
If you’re renting and worried about sticking them directly onto the wall, you could add them onto a timber board or canvas frame.
Tips:
- Use a minimal amount of water to smooth out the clay. Chelsea says in her first attempt at making these air dry clay letters she used too much water and they cracked
- Paint both the front and back sides of the letters as the Command strips won’t adhere directly onto the unfinished clay.
Thanks Chelsea for letting us to share this sweet DIY project! We hope it inspires you, whether you’re styling a child’s space or looking for a thoughtful handmade gift. You can follow Chelsea on Instagram to see all her latest projects. Love creative home projects like this? Subscribe to the Style Curator newsletter for more DIY ideas, styling tips and home inspiration.
More nursery DIY ideas