It’s hard to miss those trending rainbow wall hangings that are popping up in kid’s rooms and nurseries all over! While you can buy these online (Etsy has a particularly fabulous range of handmade rainbow wall hangings), it’s also super simple to make your own. And a benefit of making one yourself, is you can find yarn to perfectly match in with your colour scheme.
Here’s how I made a rainbow wall hanging for my brother and sister-in-law who are expecting their first child in a couple of months!
Related article: DIY nursery canopy with eucalyptus garland
Related article: DIY baby play gym: Make a stylish timber play gym for your baby
Items you will need:
- Rope (I bought this rope from Spotlight)
- 4 x balls of yarn in your preferred colours (look for yarn with natural fibres for a more beautiful result)
- Scissors
- Glue gun
Steps:
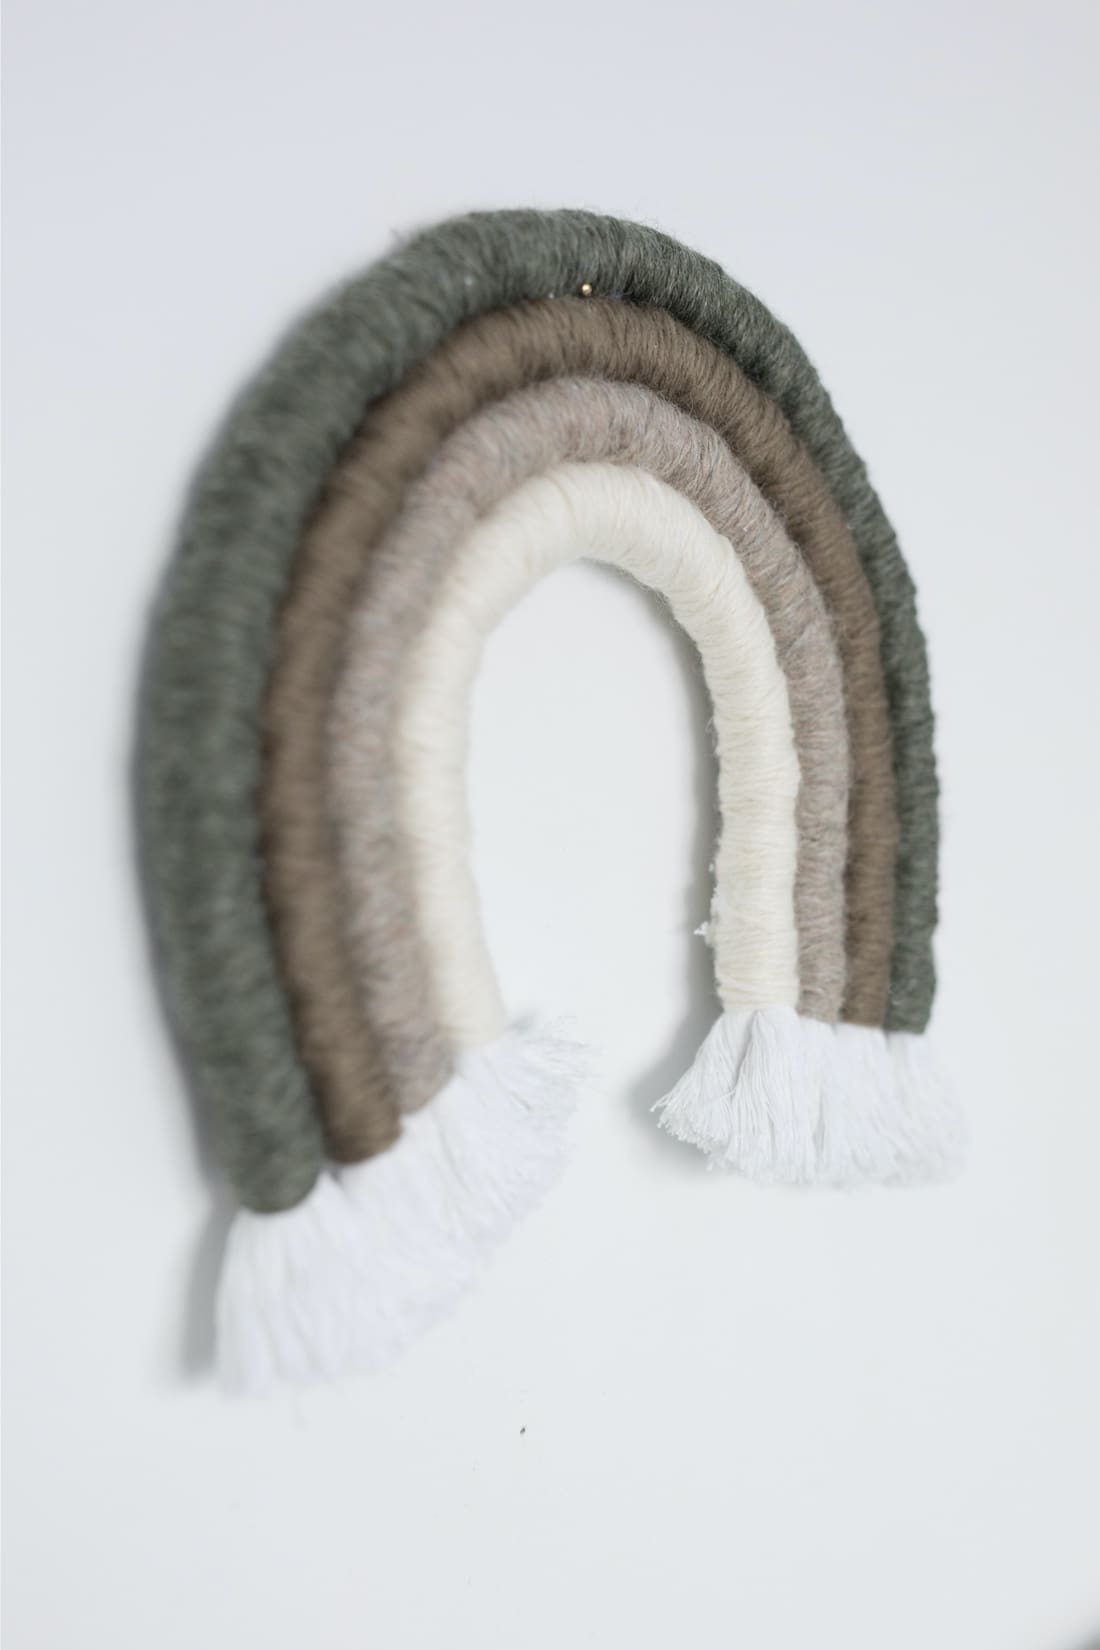
1. Cut your rope into 4 pieces. Each piece will be a different length so that you can achieve the rainbow shape. The lengths will vary depending on the thickness of your rope but a good tip is to start with the smallest length, around 25cm is a good size, and work upwards to ensure you don’t run short.
2. Begin wrapping each piece of rope in your preferred yarn colour. Start 4-5 cm from the end of the rope as you want to keep some of the rope visible to achieve those frayed edges. And remember, the idea of the rainbow is to create a beautiful gradient of colours so plan ahead what colour each of your arches should be.
3. Continue wrapping each piece of rope until you reach 4-5cm from the other end and secure with your hot glue gun.
4. Once you have wrapped each piece of rope in yarn, it’s time to glue them together using your glue gun. Tip: run the glue along the inside edge so it isn’t visible.
5. The last step is to brush out the rope ends to achieve that frayed finish. You may also need to trim the ends to achieve an even edge.
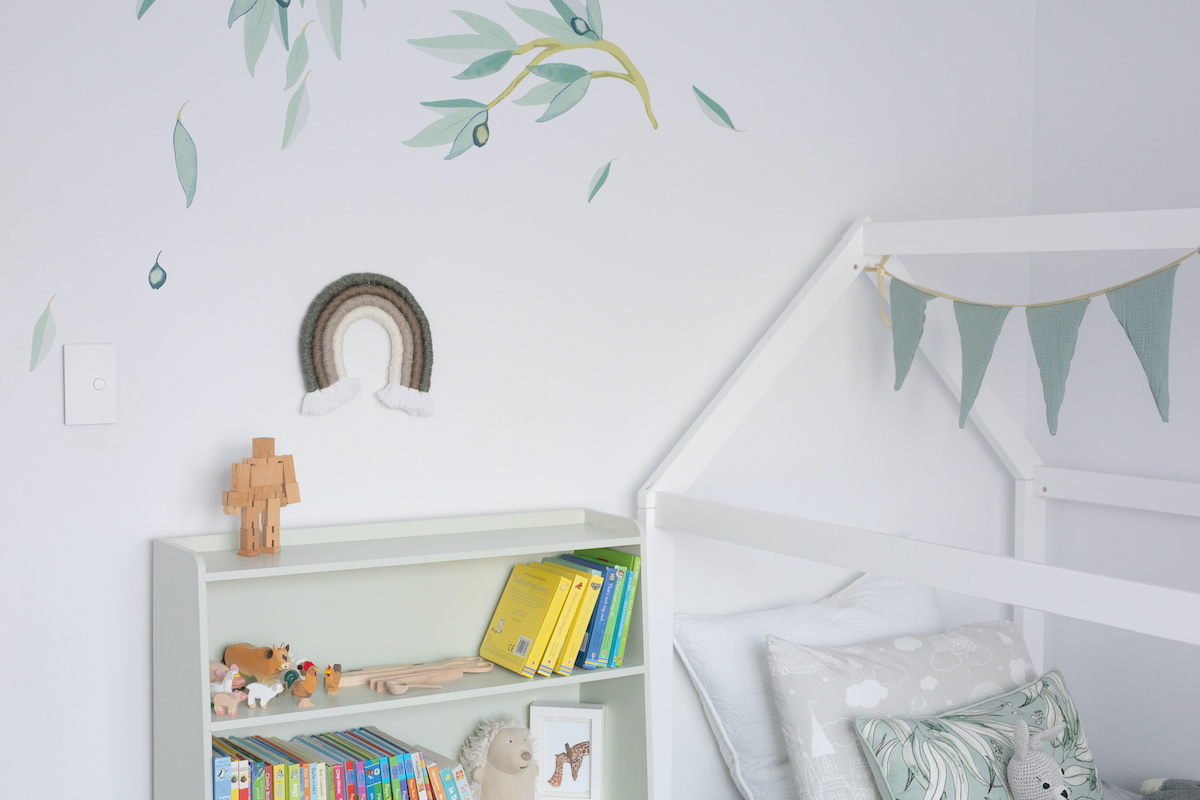
It’s easy to display this lightweight rainbow wall hanging in your child’s room or nursery. I simply used a fine nail from a picture hook set.
I’d love to see your take on this DIY if you make one for your child! Be sure to tag me when you share pics online @stylecuratorau or email them to hello@stylecurator.com.au!
More kids and nursery inspo here

Reader DIY
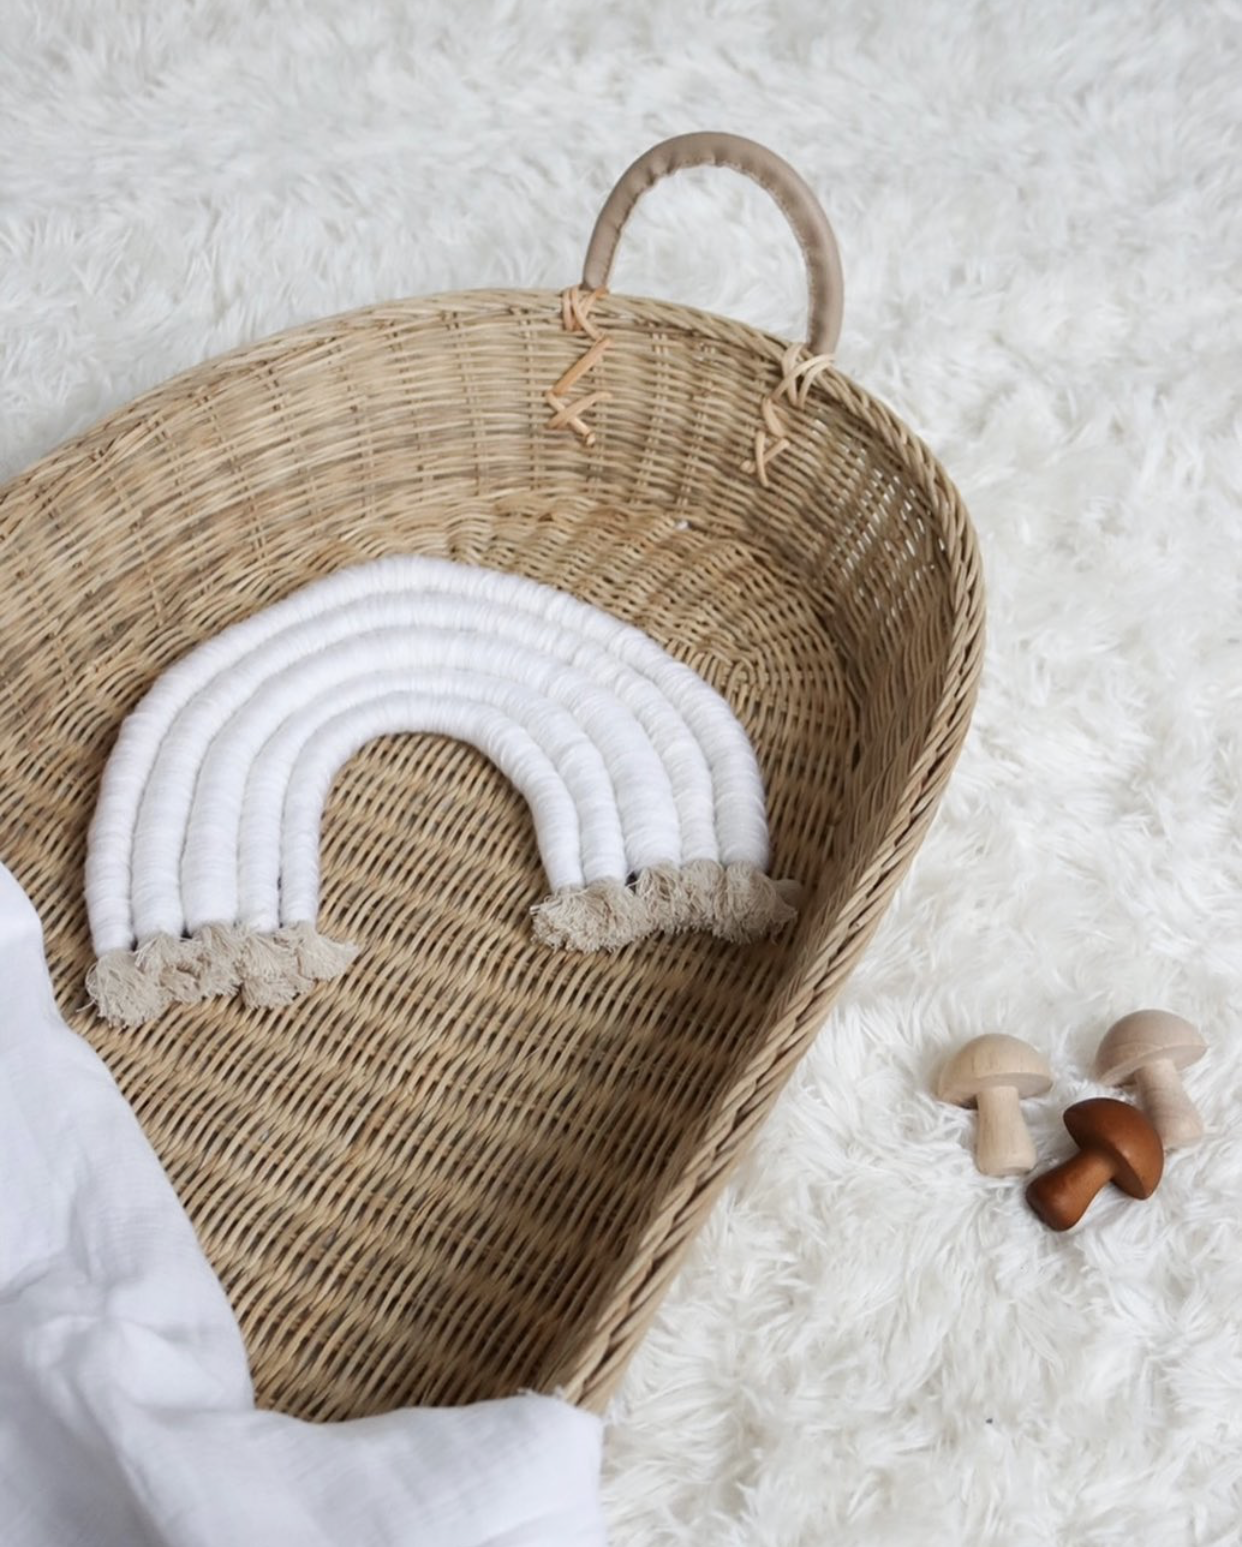
We love seeing your versions of our DIYs and May created an all-white rainbow wall hanging, suiting her minimalist style to a T! It’s the perfect addition to her newborn’s nursery!