
If the phrase ‘cross-stitch’ makes you think of daggy, ancient frames on your grandma’s wall, prepare to change your opinion with this quirky, cute DIY. This project is an affordable, thoughtful and easily personalised gift that is perfect for just about anyone!
Related article: DIY heart wall light: Make a sweet wall light for your child
Related article: Fun and affordable felt: DIY ideas to make with felt
Words by SC reader Naomi H
Cross stitch is X-shaped stitches on fabric with an even and open weave, such as Aida. There are thousands of patterns available both for free and for purchase online. And there’s free software like Stitch Fiddle available where you can convert images into your own patterns!
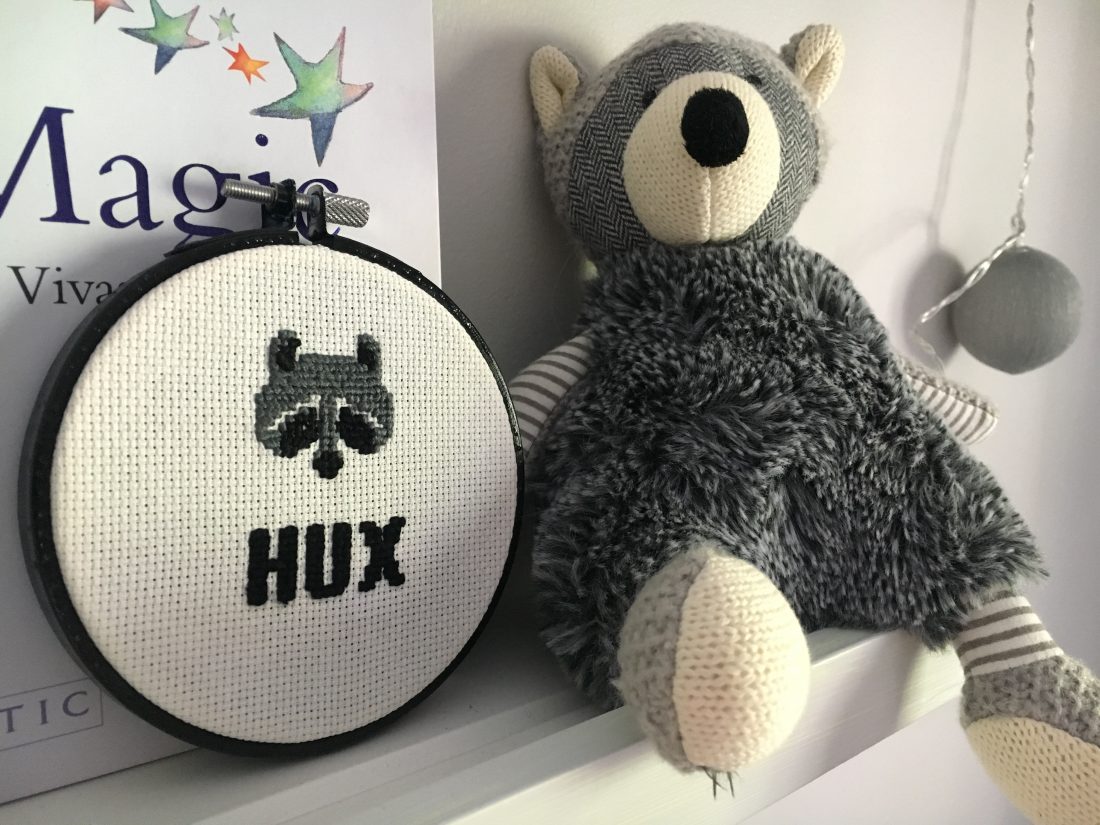
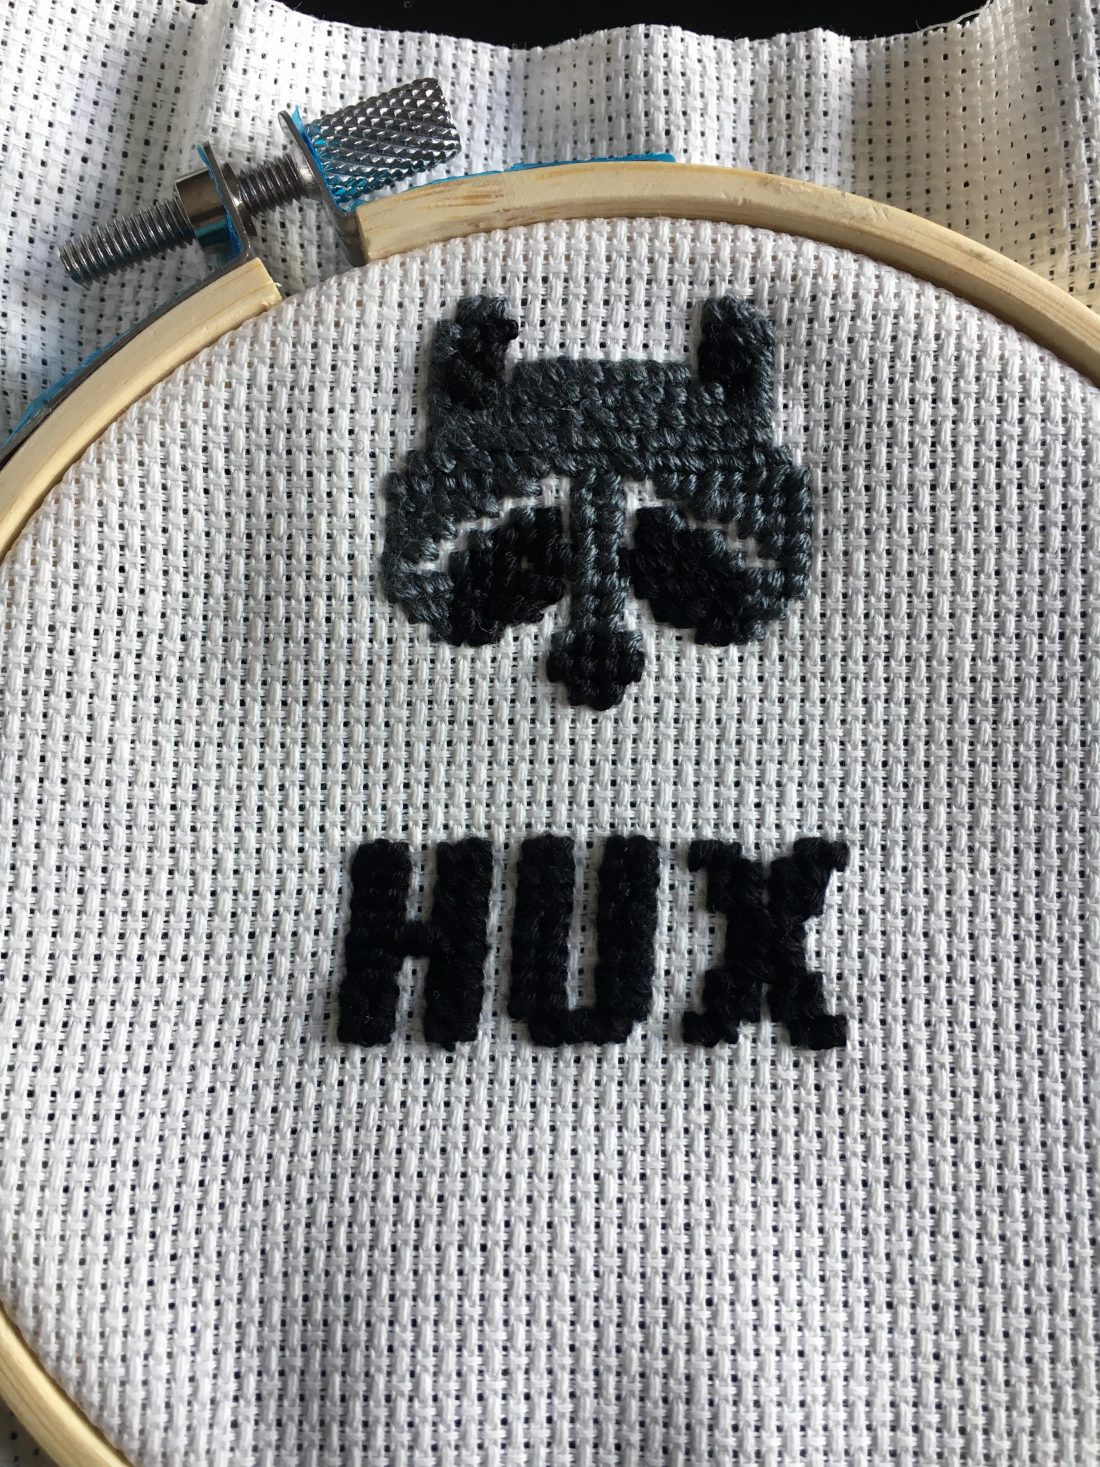
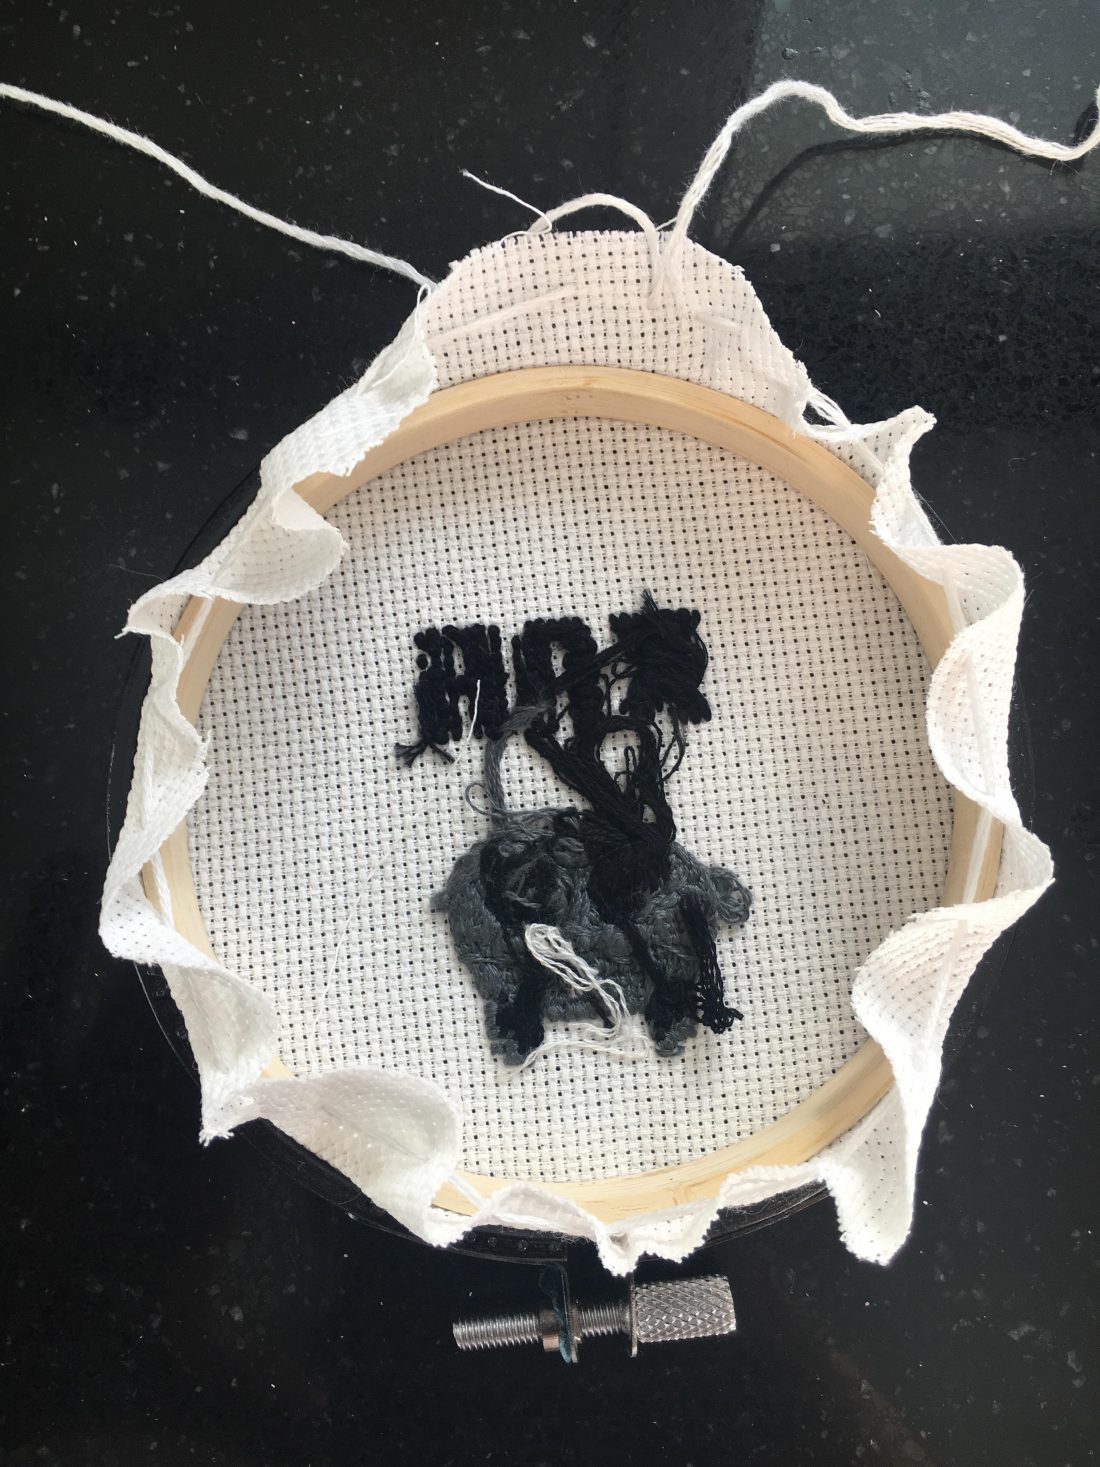
The simple, monochrome raccoon image I found on Pinterest ties in with my son’s grey and black nursery perfectly. A hot tip if you’re trying to find a pattern you like — I actually used a perler bead pattern, which worked perfectly. I then added a very traditional cross-stitch font (the pattern came free with the Aida cloth) to include his name, and make it even more special.
I got this idea from a lovely friend who creates cheeky cross-stitch gifts for everyone in her life, both young, old and in-between. If you need a grown-up gift, you could cross-stitch a quote that inspires you, or song lyrics or even a cheeky phrase — there is something undeniably satisfying about a cross-stitched swear word!
Items you will need (all available at most sewing shops):
- Embroidery hoop
- Aida cloth
- Embroidery threads (in colours to match those in your pattern)
- Needle (use one with a decent sized eye)
- Felt
- Hot glue gun
Steps:
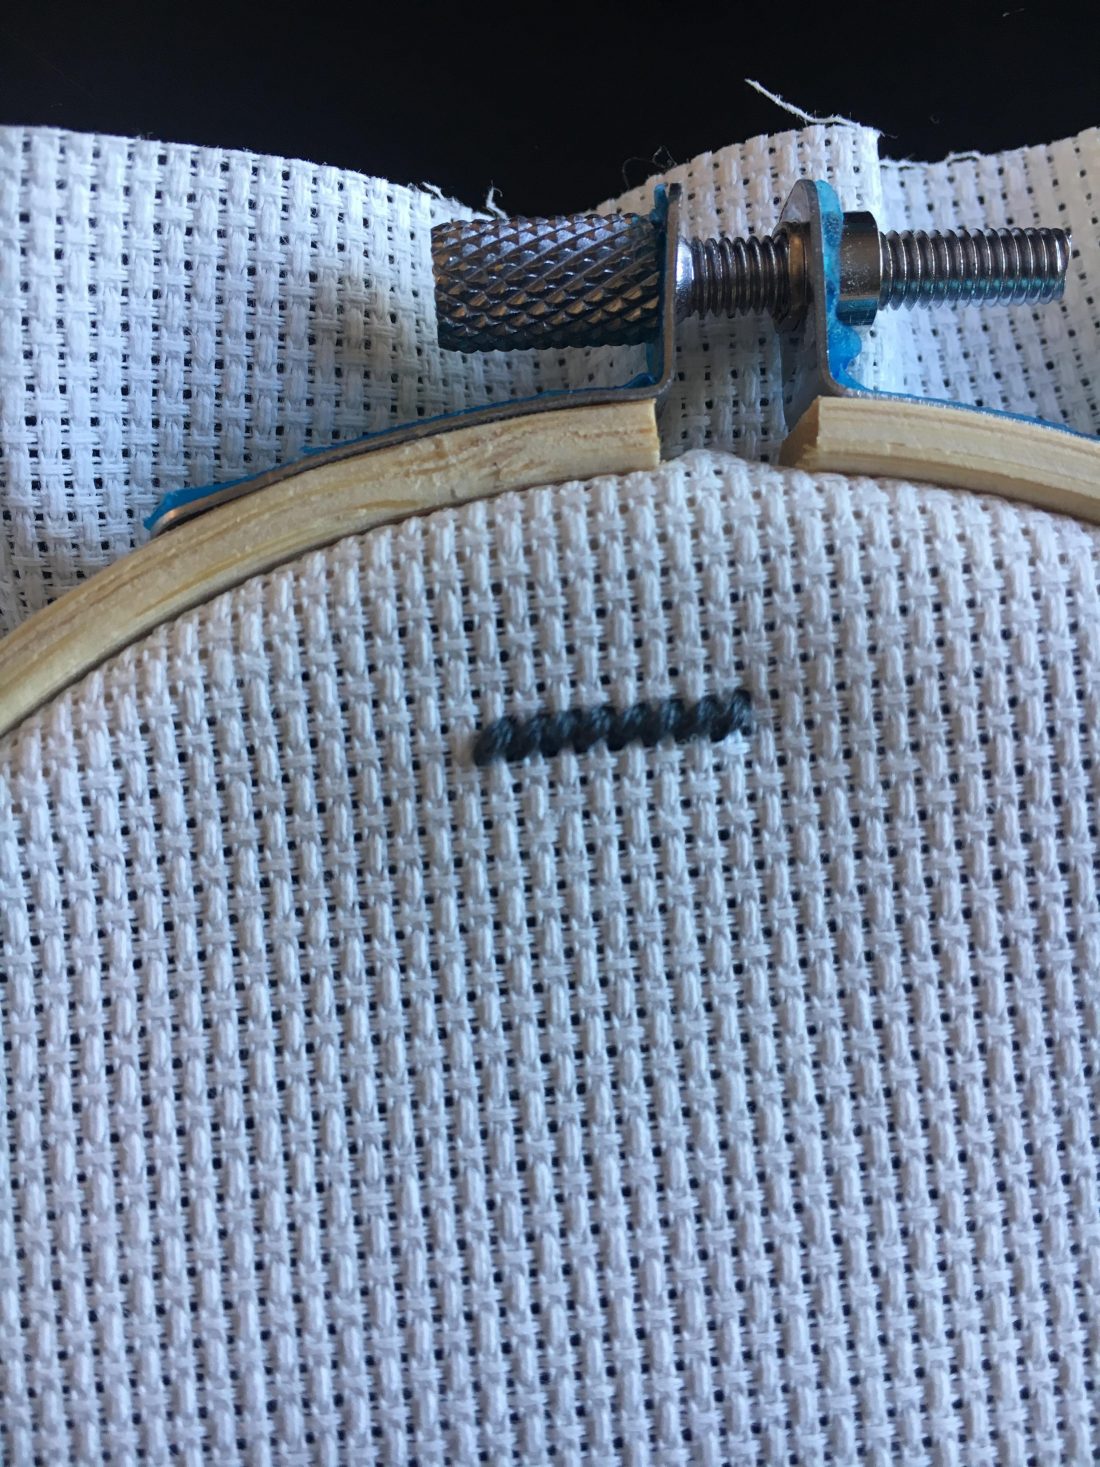
1. Place the inner ring of the hoop on a table or other flat surface. Lay your Aida cloth on top of the ring and then place the outer ring on the top and tighten the screw. The tauter the fabric, the easier you will find it to work with.
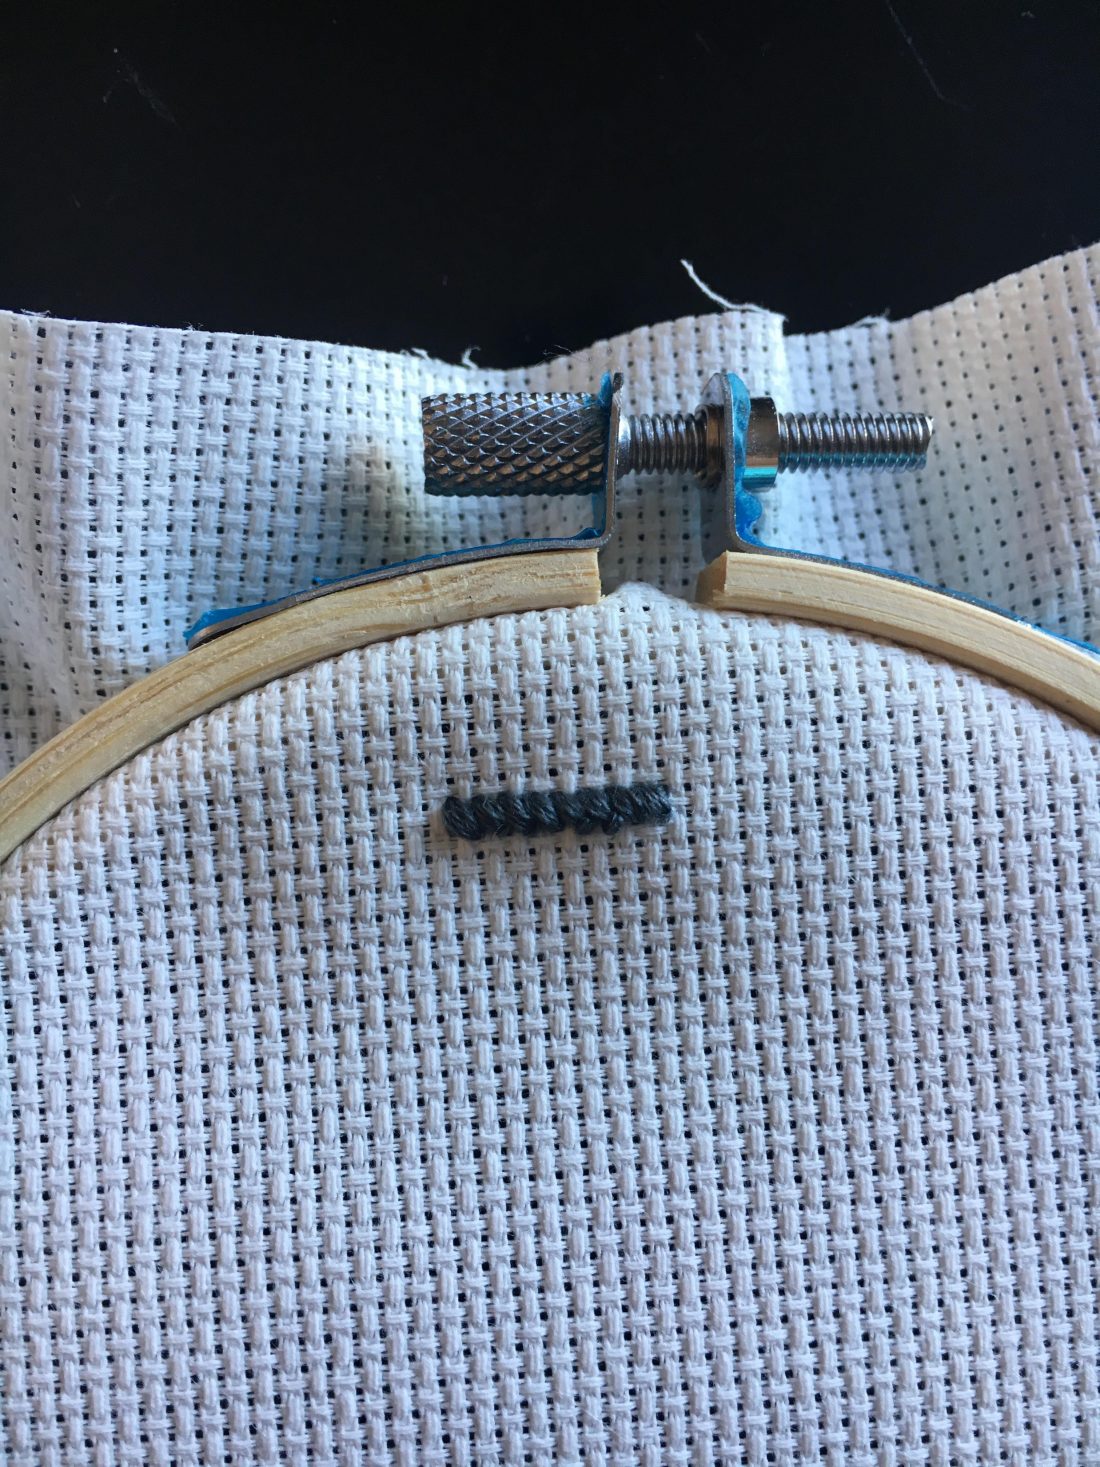
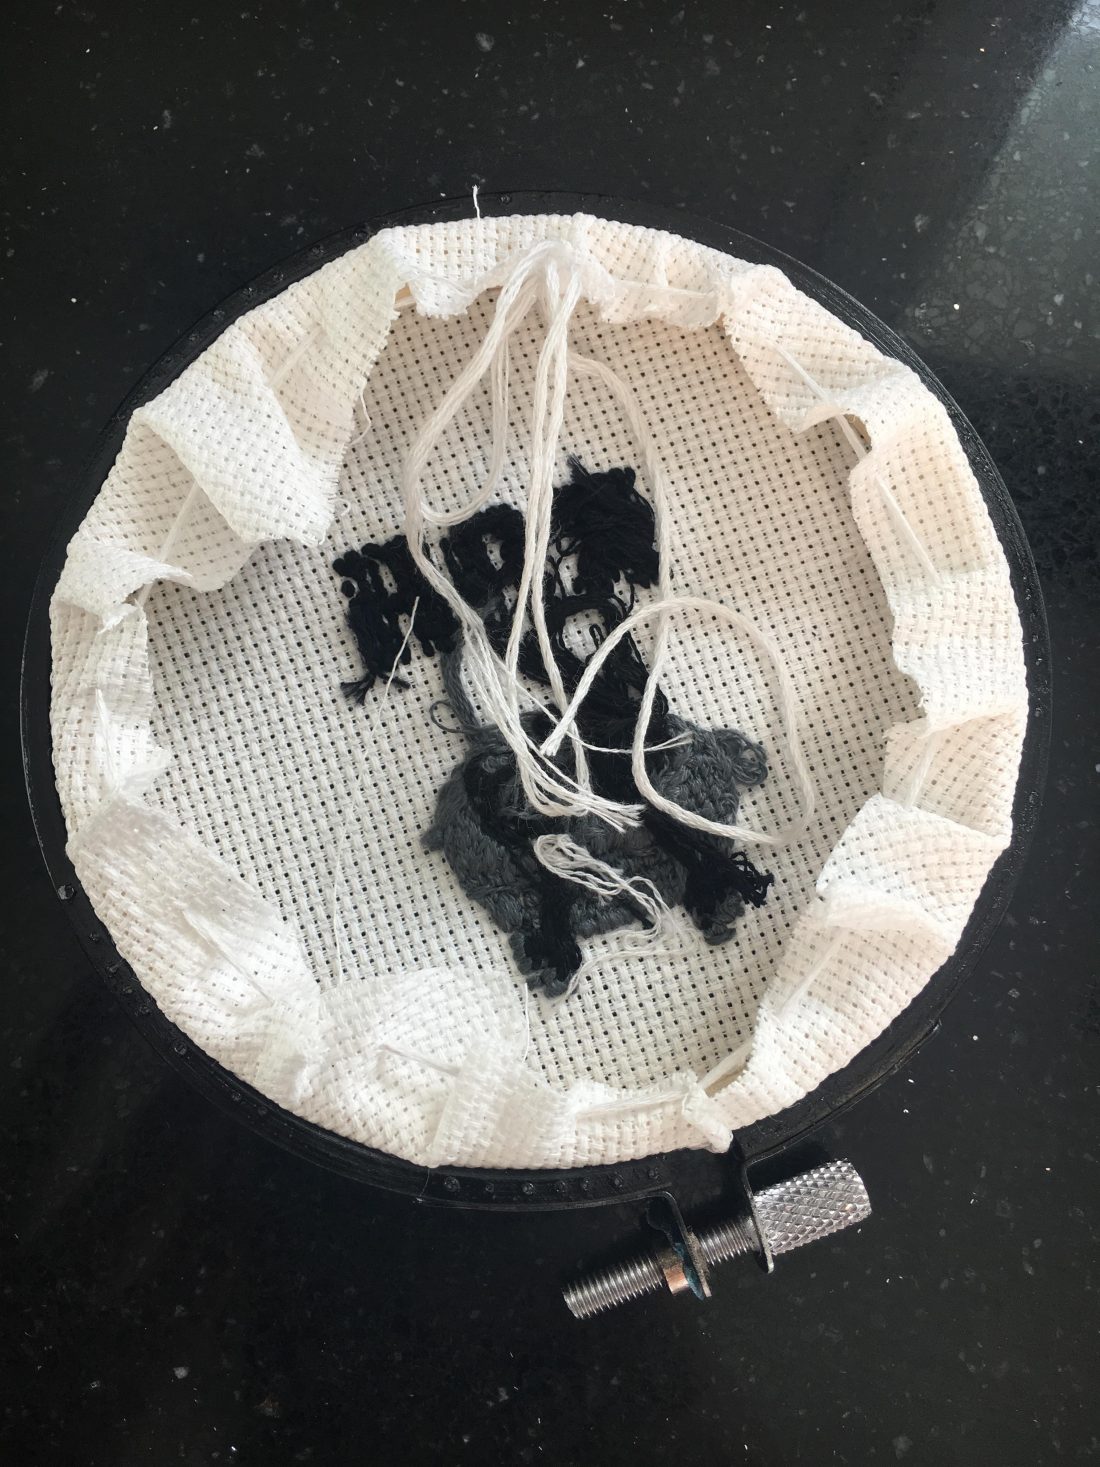
2. Pick your first colour (in this example, I’ve selected grey as it’s the bulk of the image), and thread your needle.
3. To follow the pattern, work horizontally from left to right. Find your starting point (usually at the top of the pattern so you can work down), and simply count the number of squares in a line. One square equals one cross. Follow the pattern row by row, counting as you go.
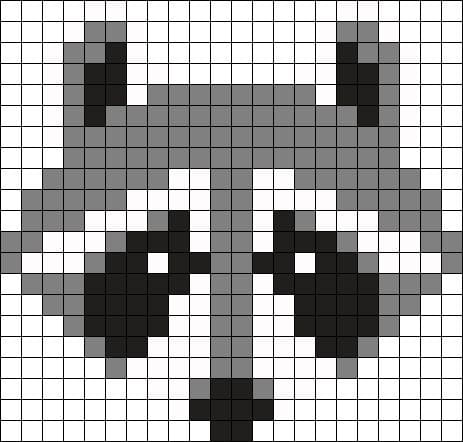
4. To stitch a corresponding number of X’s on the fabric, I found it easiest to stitch the full row of diagonal lines, or ‘half cross’ stitches (like /////) and then work backwards to cross them (like \\\\\). Follow these steps with all your colours, until your beautiful image is complete!
5. It’s a good idea to wash your cross-stitch before framing it. This is because oil from your hands will gradually yellow as it ages. Spot clean any marks with white vinegar before gently washing it in lukewarm water with dishwashing liquid, and rinsing it until the water runs clear.
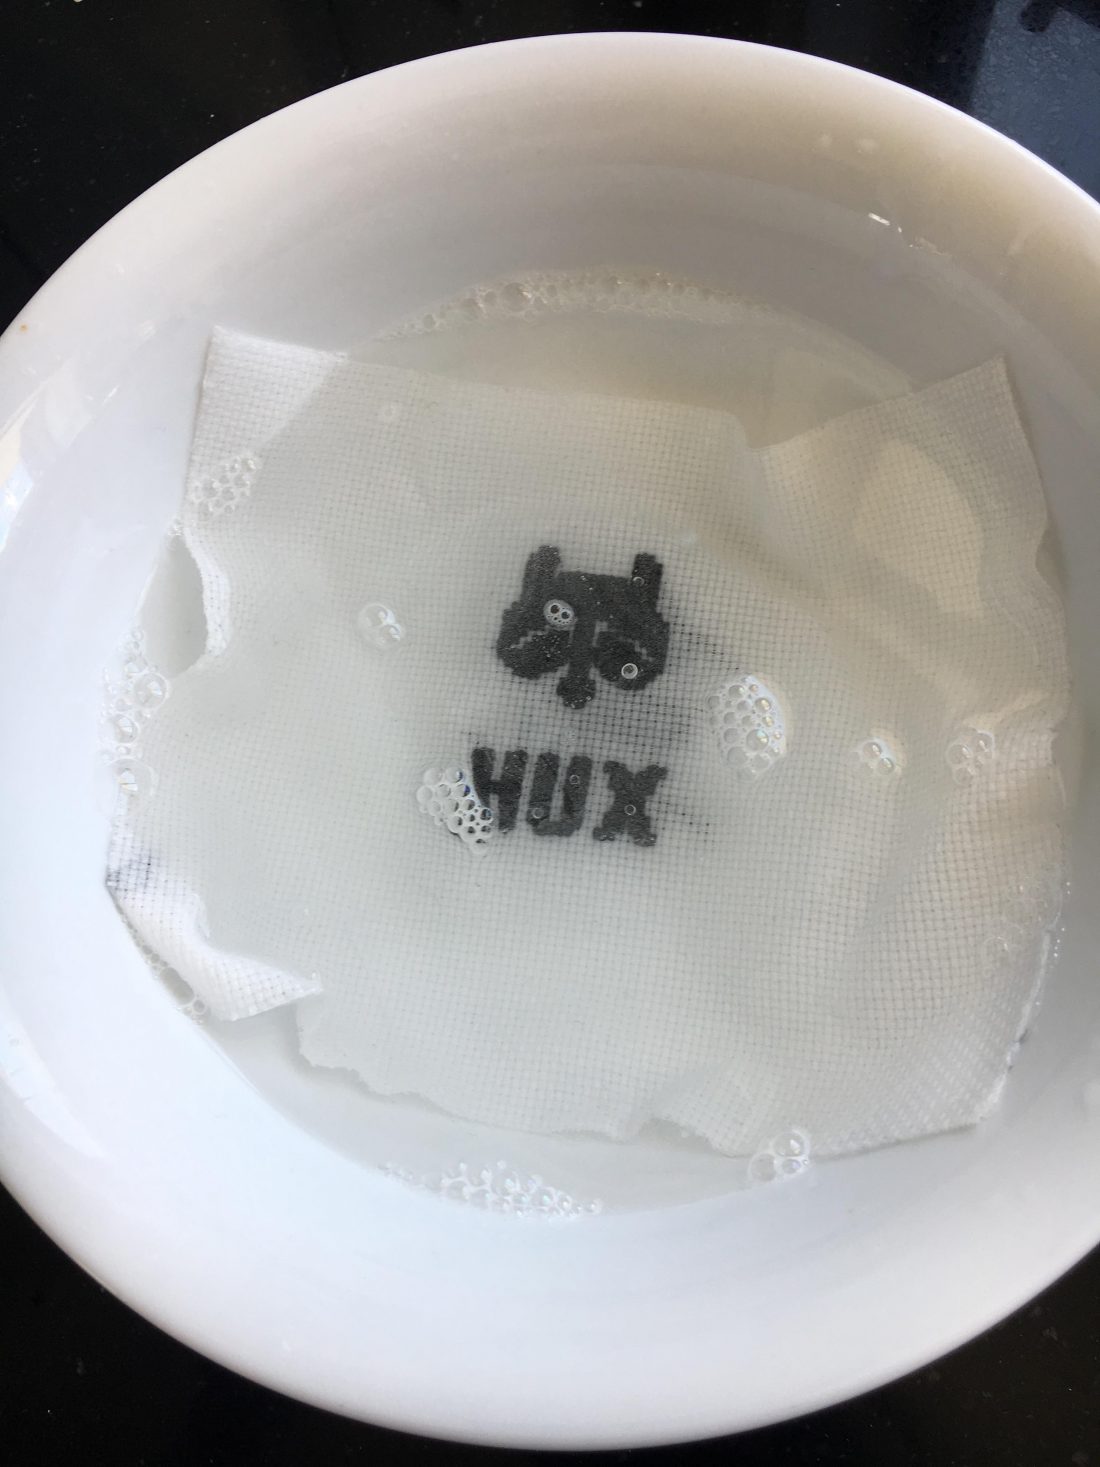
6. Allow it to dry, and place it facedown on a clean towel. Place another cloth on top and gently iron it on a medium heat.
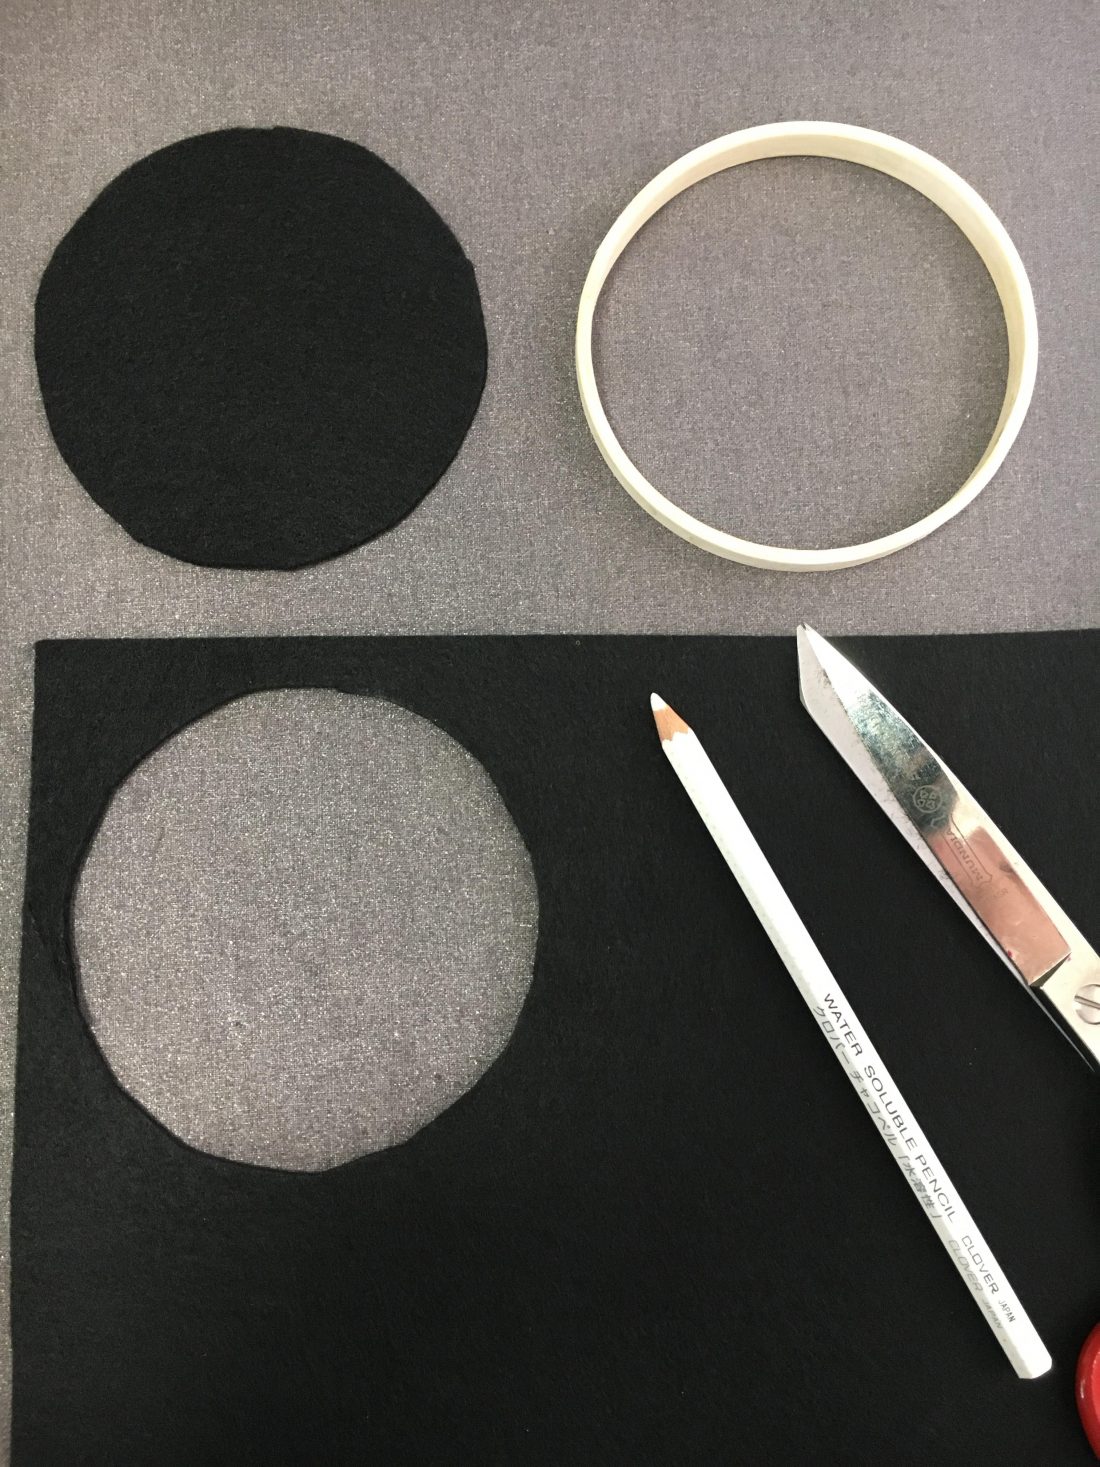
7. Separate the hoop and using the inside ring, trace outside the circle on a piece of felt. Cut out the circle and pop this to the side for now.
8. Place the inner ring of the hoop on a table or other flat surface. Lay your washed and pressed cross stitch face-up on top of the ring. Take your time to get your design perfectly centred. And then place the outer ring on the top, with the screw at the top of your design. Again, the fabric should be perfectly taut.
9. Once you’re happy, tighten the screw and trim the excess fabric in a circle, leaving a 2-3cm margin.
10. Thread your needle with a length of thread, and sew a running stitch around the circle about a cm in from the edge of the fabric. Once the circle is complete, gently pull on the ends of the thread to gather the edges in towards the centre. Finish with a knot.
11. Then using your hot glue gun, attach the felt circle to the back of your hoop and you’re done!
Tips
- Most Aida cloth packets come with simple cross stitch instructions. Or you can also use this fantastic tutorial on Stitched Modern for more detailed instructions.
- Try to avoid using knots to secure your thread. You just leave 1-2cm of thread at the back, and cover it with your stitches to hold it in place.
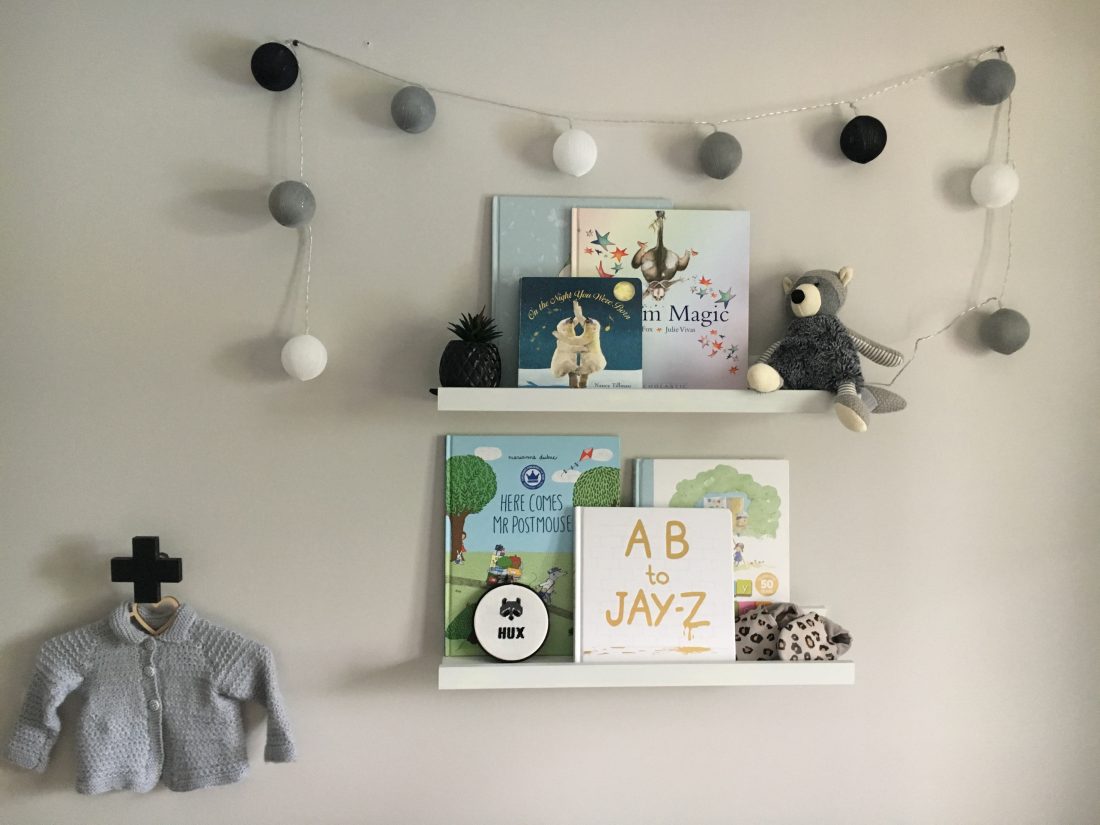
- To funk up this one for Huxley’s room, I gave the hoop a quick spray of black paint. You could keep it in its natural timber finish, or decorate it however you like to suit your project!
- This project is fun to do but it does require some concentration to follow the pattern if you’re a novice. I learned the hard way it’s not ideal to do it while entertaining two kids!
Thank you Naomi for sharing this fabulous DIY cross-stitch tutorial with us. There are endless possibilities to create your own unique cross-stitch artwork. Will you give this DIY a go?

