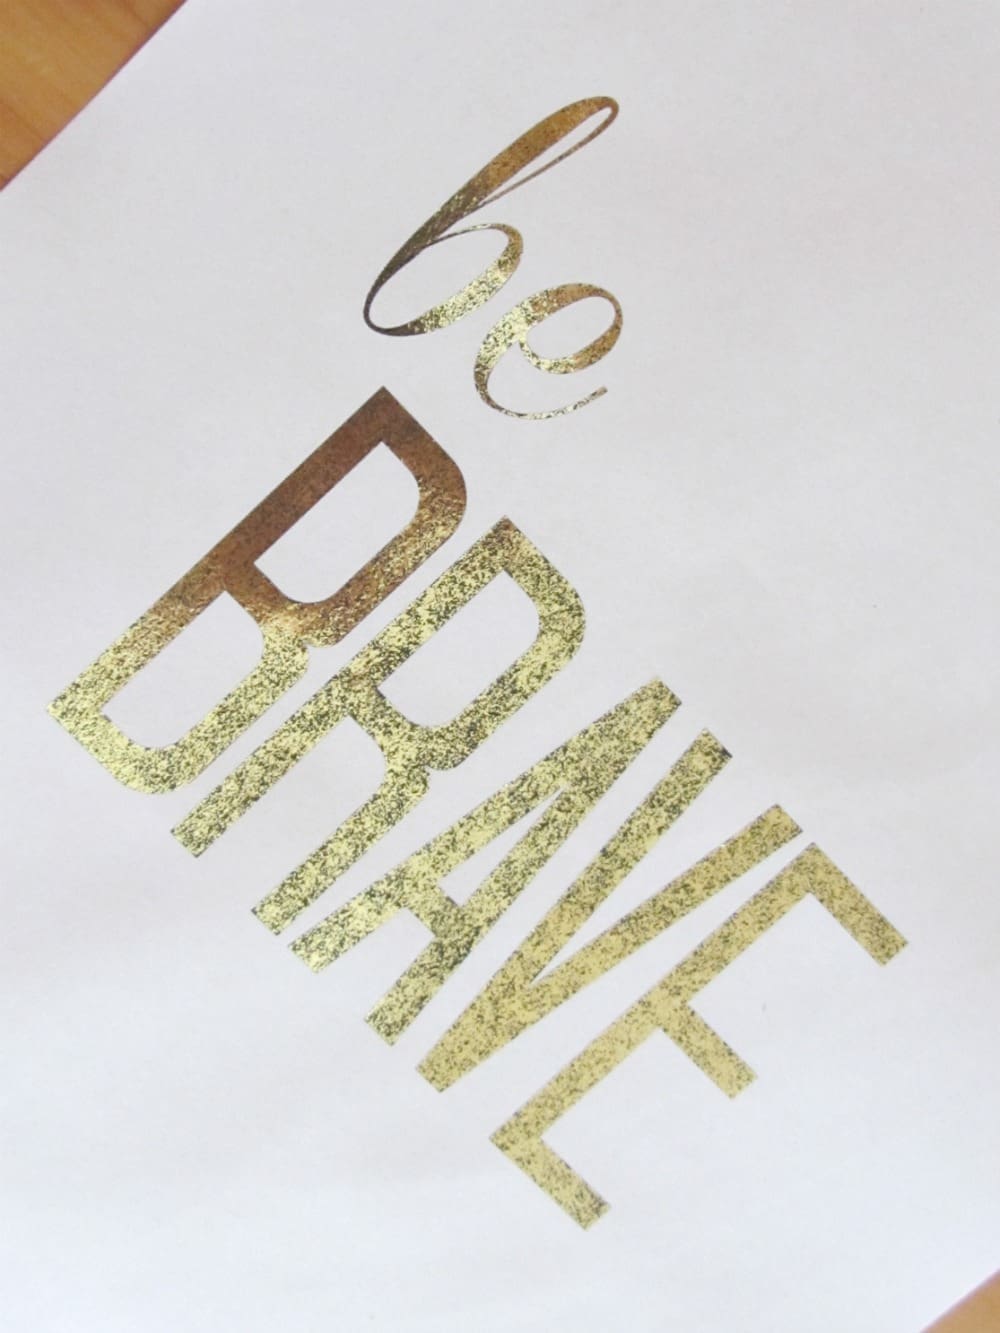
We LOVE gold foil art prints and admire how many artists are layering gold foil over their original artworks.
Today we are going to show you how you can create your own DIY gold foil prints (thanks to our friend Kristy who let us in on how!).
Related article: DIY crystal artwork: Natural crystal pieces in box frame
Related article: DIY marbled prints
Items you will need:
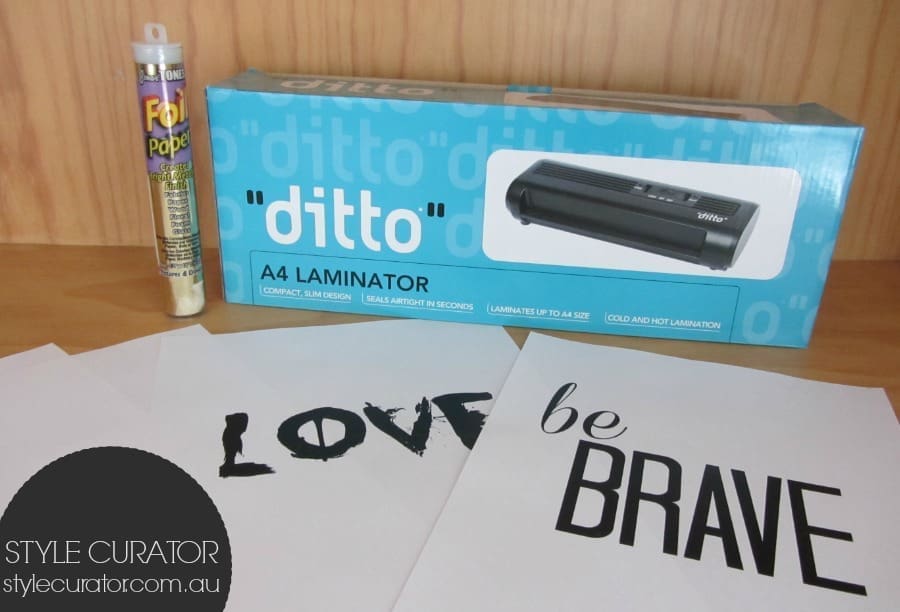
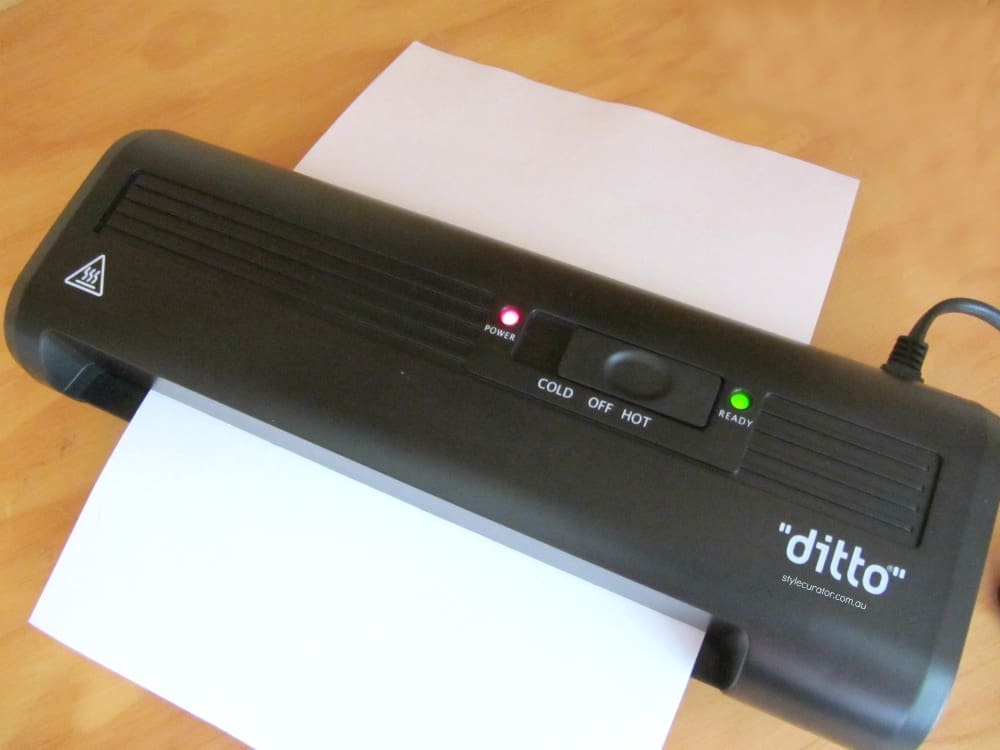
- A4 laminar (we bought a cheapy from Big W for around $20)
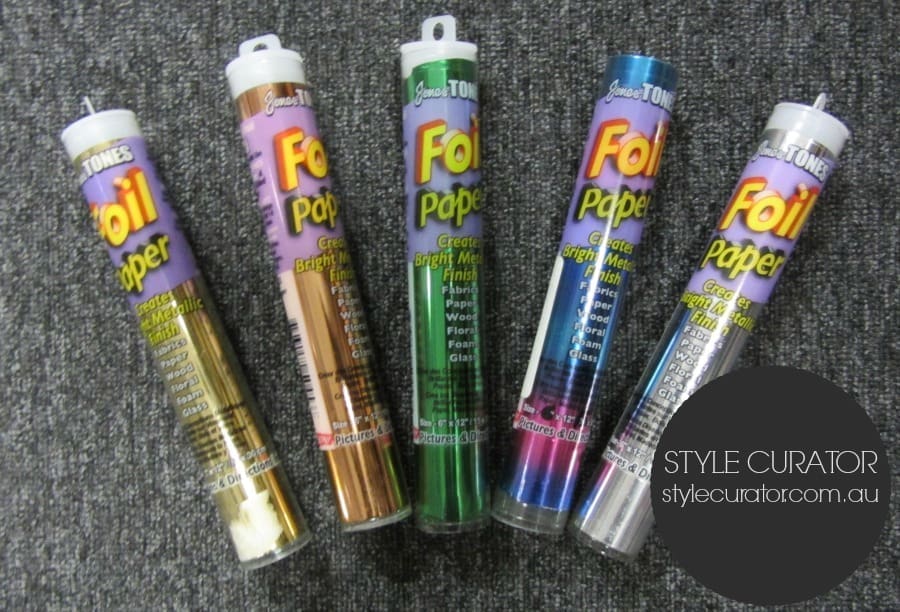
- Gold foil (we used Jones Tones foil for this DIY but it is no longer available. Use iCraft foil or Heidi Swapp Minc Reactive foil from Spotlight instead)
- Print out of your image on a laser printer (NOT an ink-jet printer)
Steps:
1. Let the laminator heat up for five minutes.
2. Cut enough gold foil to cover the image.
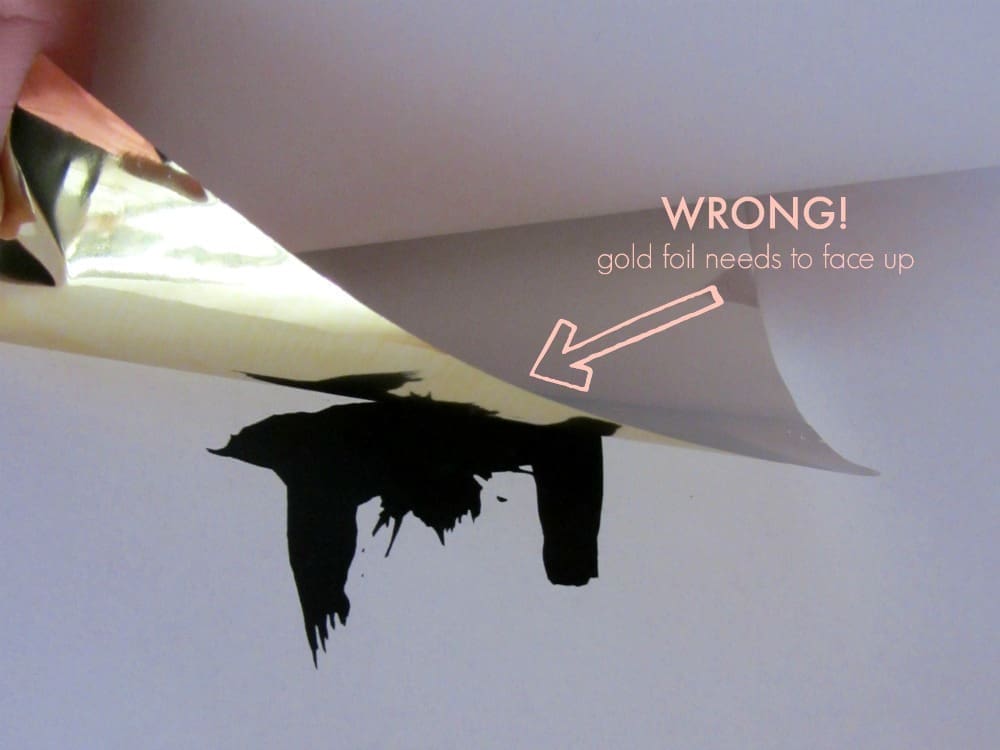
3. Create a sandwich of the print out, the sheet of gold foil FACING UP and then a sheet of blank paper. Important: we tried this with the gold foil facing the image and wondered why it wasn’t working… the gold foil must face away from the image so you are looking at the pretty gold shiny side.
4. Feed it through the laminator and keep your fingers crossed.
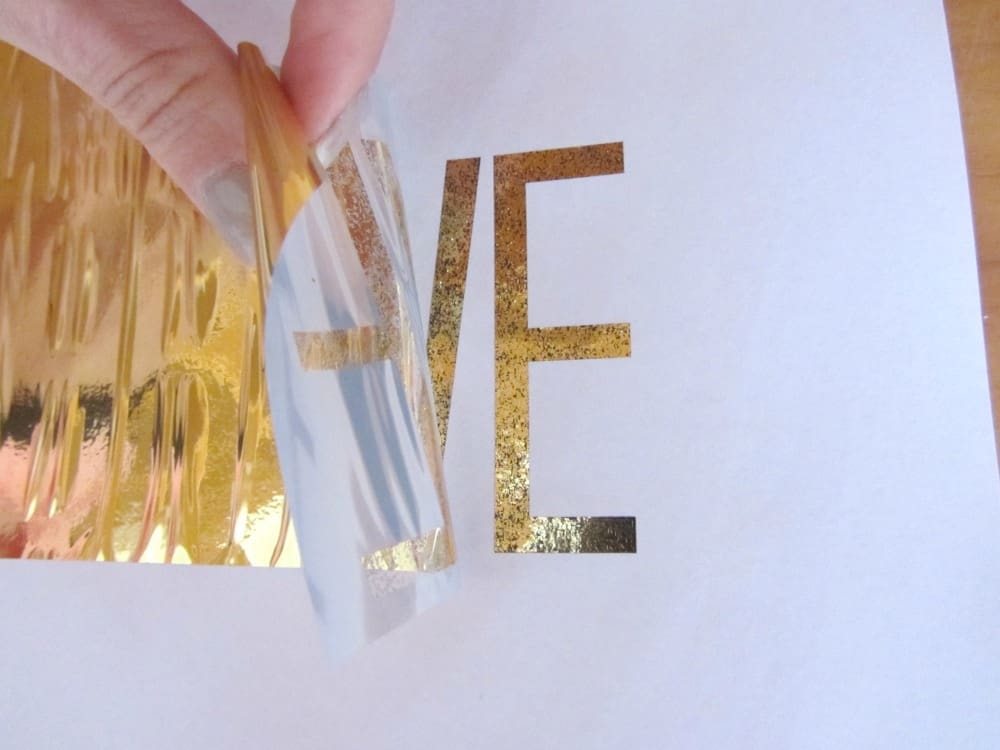
5. Gently peel back the gold foil to reveal your work of art!
Hot tips:
- Make sure your print out is from a laser printer and not an ink-jet printer or it will not work (the foil reacts with the toner)
- Definitely check that the piece of paper is completely clean — no dust or fluff — or you will get gaps/black spots where the foil doesn’t stick
- Make sure the foil is facing up at you and you put a blank sheet of paper over the top before feeding it through the laminator
- You can use PicMonkey, a free online photo editing tool, to create your prints or download our three free printables
There you have it, the trick to creating your very own DIY gold foil art prints!
We’d love to see pics of what you create, tag us @stylecuratorau when you share them online.
Check out more DIYs