
In case you hadn’t noticed, we’ve become a little crystal obsessed lately. Whether it’s the healing properties of crystals or just the fact that they look so darn pretty, we can’t get enough of them!
So we felt inspired to create some wall art using crystals. Rather than creating a piece that’s made to look like crystals (aka faux crystal art), we decided to use real crystal pieces so we can tap into the natural properties of the stone — plus it makes for a much easier DIY that anyone can do!
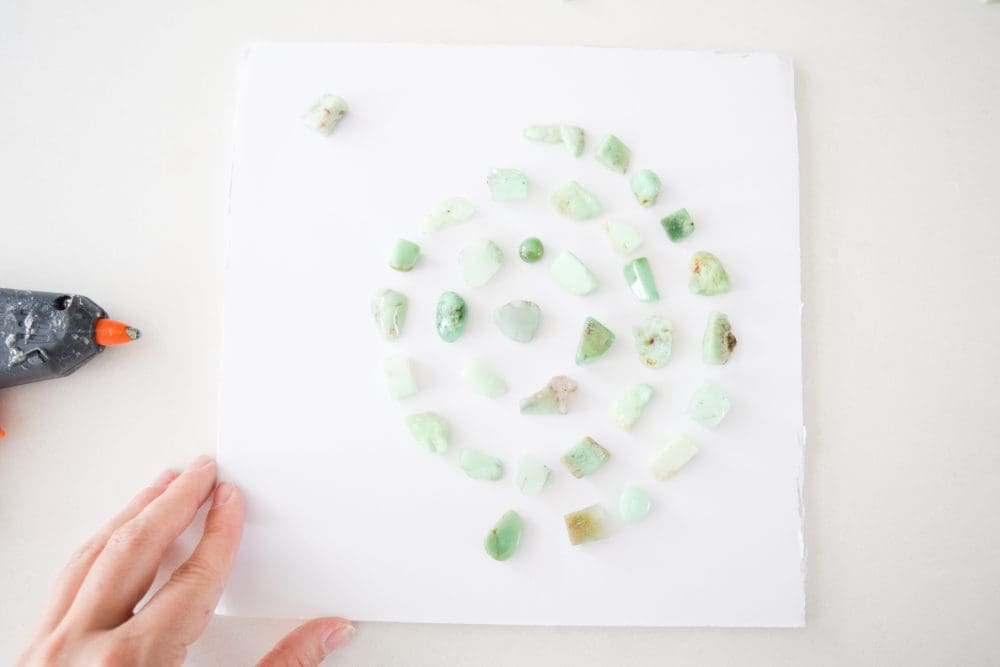
This DIY couldn’t be simpler — all it involves is arranging small natural pieces of crystals in a uniform pattern on a white board to create a unique display.
You could use any crystal chips you like (we got ours from Etsy). For this DIY but we chose Chrysophase — it’s said to help with relaxation, more peaceful sleep, promoting hope, giving personal insight and helping to be open to new situations. Chrysophase also energises the heart chakra and these all sounded like wonderful properties for our artwork.
Related article: DIY floral monogram wall art
Related article: DIY minimalist growth chart, make your own growth chart

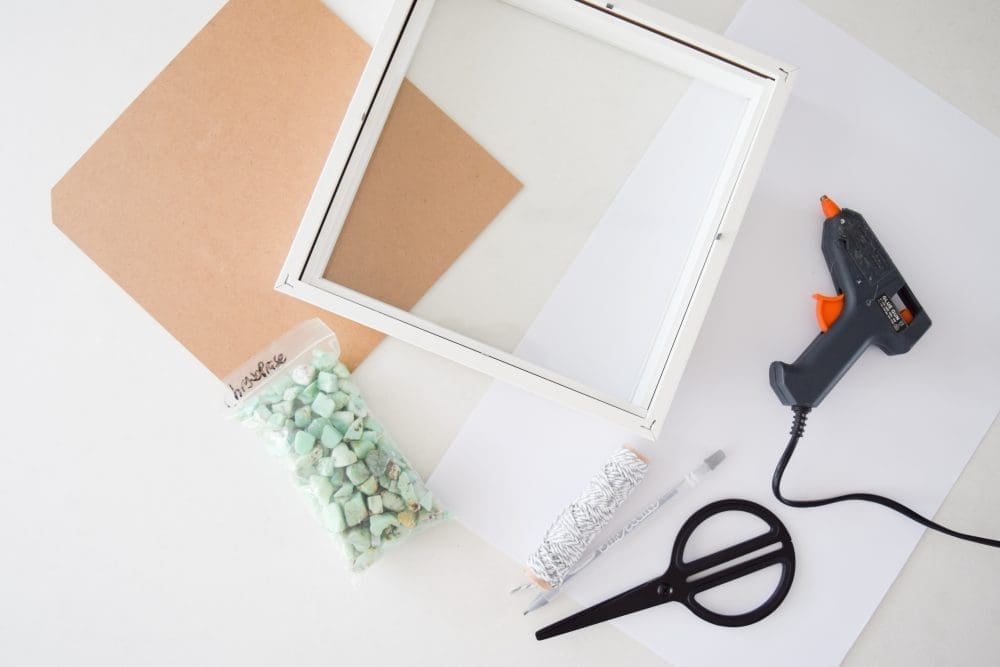
Items you will need:
- Box photo frame (we found this one at IKEA)
- Crystal pieces (you can find crystal chips on Etsy in all shapes, sizes and colours)
- Foam board or thick card to glue crystals on (paper will not hold the weight)
- Stanley knife
- Glue gun
- Ruler
- Pencil
Steps:
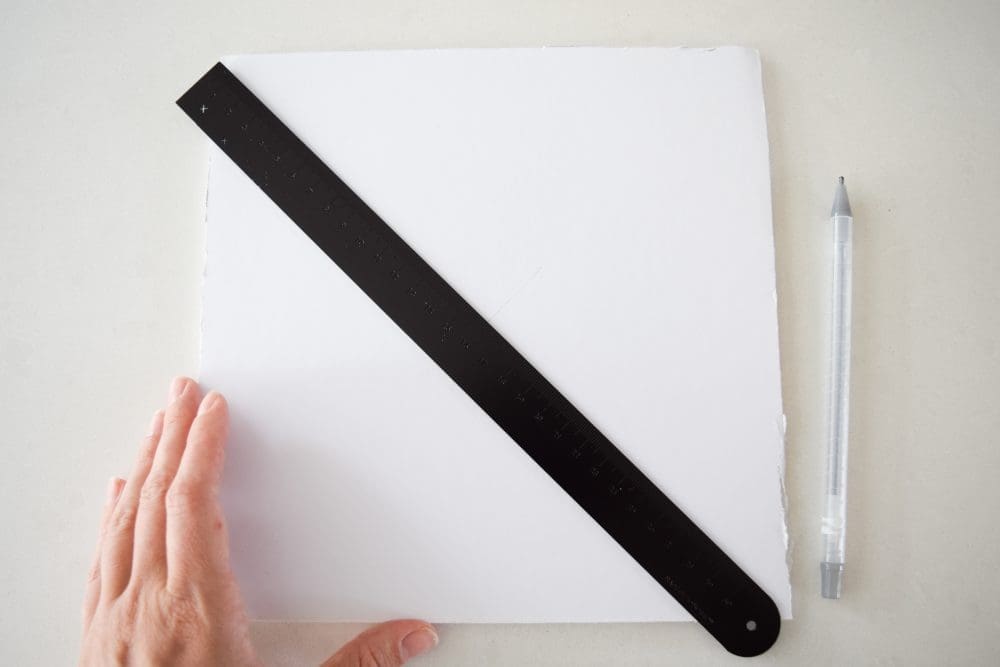
1. Remove the back of the photo frame and cut a piece of foam board or cardboard to fit. Then find the centre point of the board and mark it with a pencil.
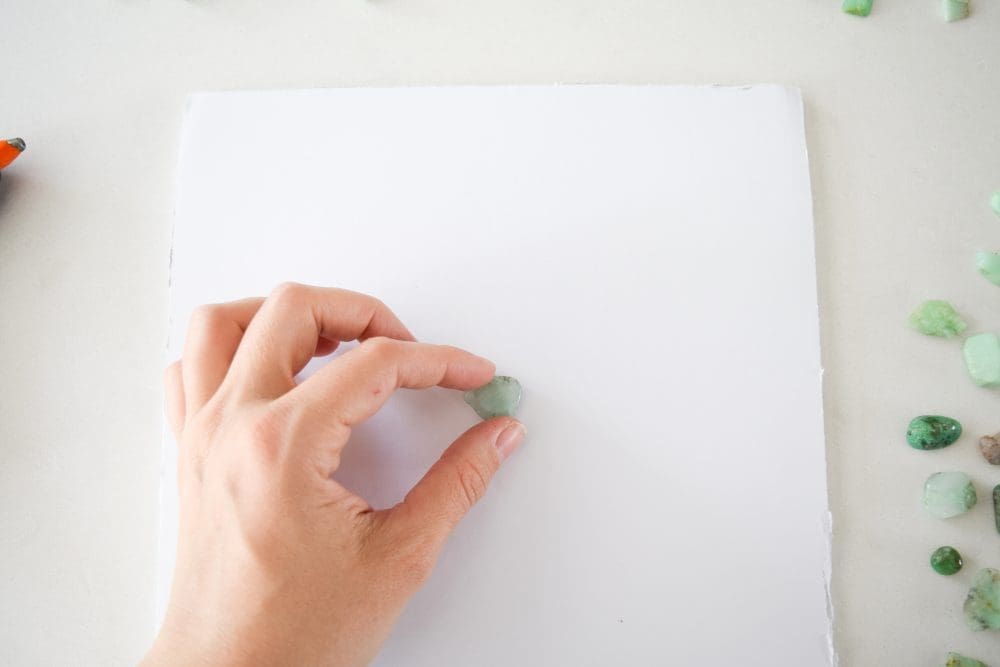
2. Add a small spot of glue to the back of a crystal and place it on the centre point. Use the glue sparingly, otherwise it will spill out past the crystal and be visible.
3. Create a ring of crystals around the centre crystal you just glued. We left approximately 1.5cm of white space around the crystal and just used our eyes to guesstimate but you could draw a faint circle using pencil as a guide.
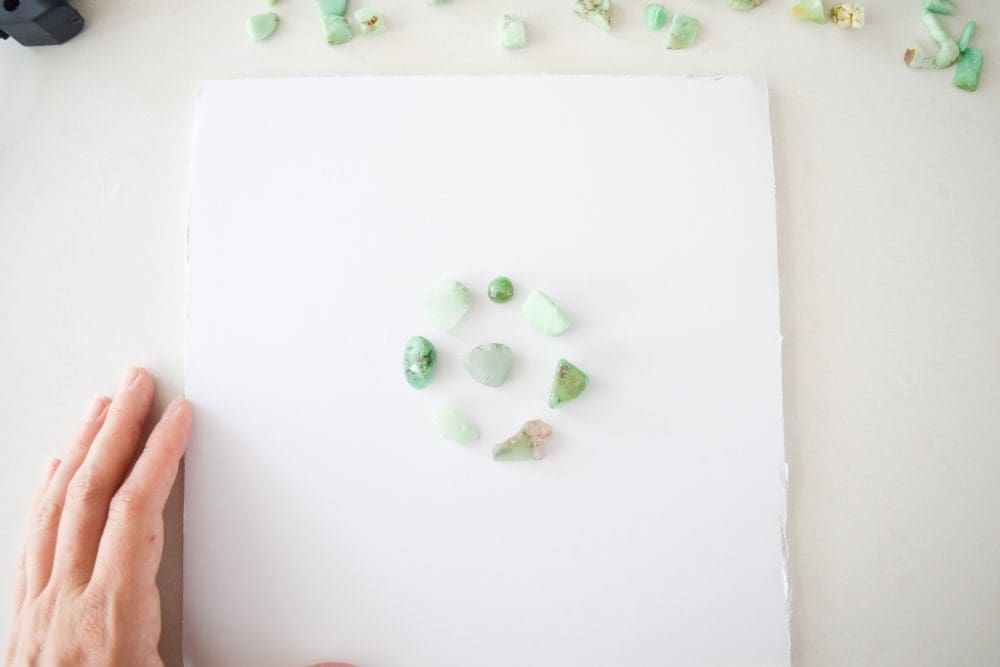
4. Continue creating rings of crystals. You’ll notice that each crystal chip is slightly different in colour and shape so you can create different looks depending on the stones you choose.
5. Once you’ve finished, clean up any strings of glue that may be on your artwork and place the crystal board in your frame. Now it’s ready to display in your home!
Don’t forget to check out our room-by-room guide on using crystals for the home where we explain the best crystals to use in different parts of your home.
Check out more DIYs

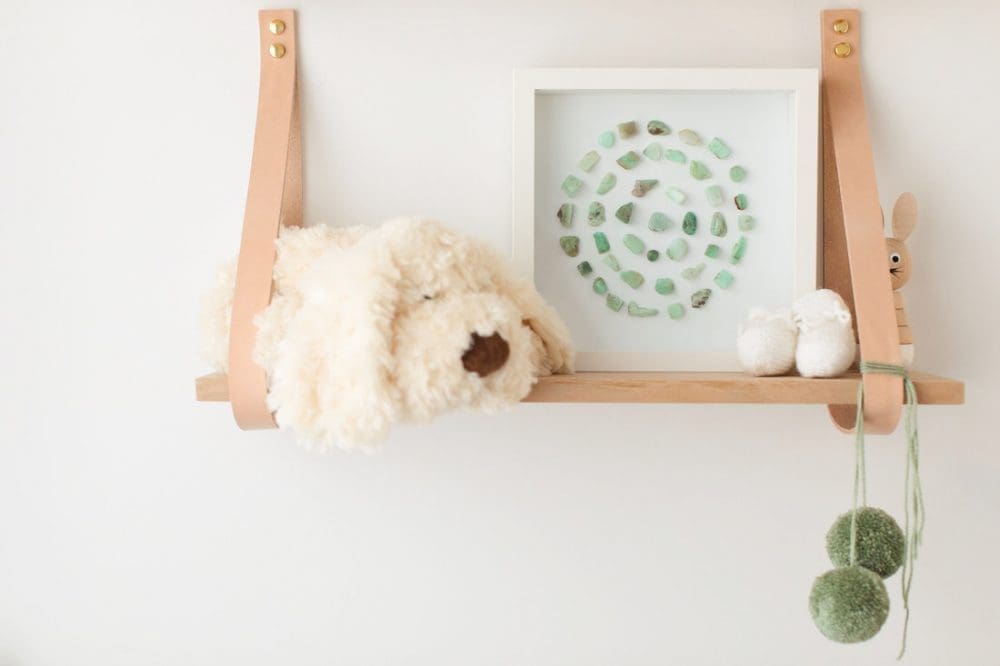
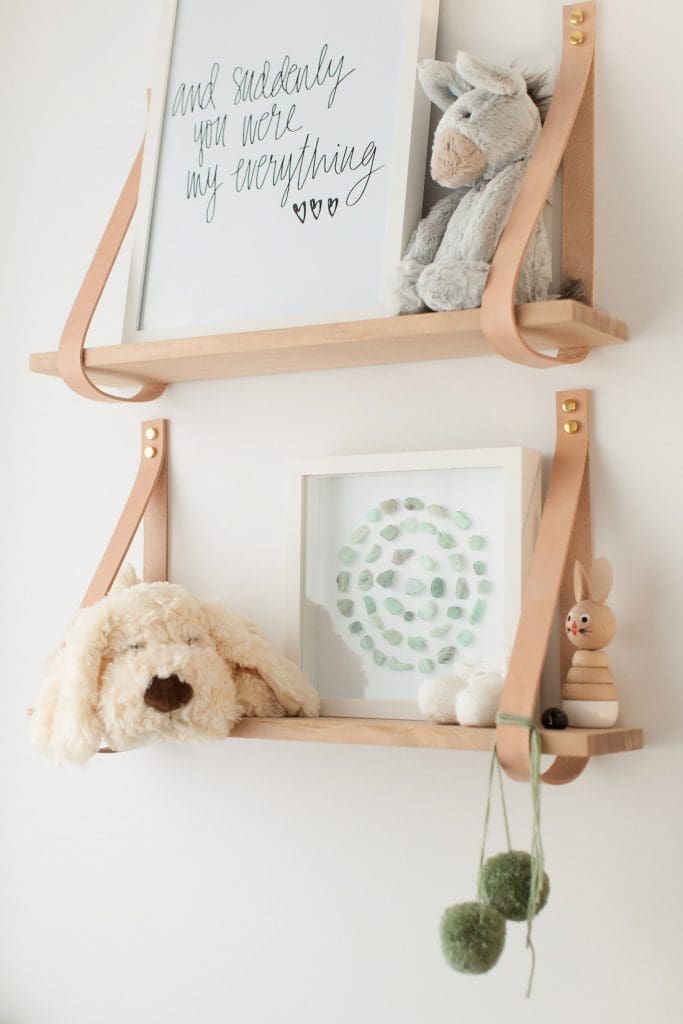
Photography of completed DIY by Thorson Photography

