
Items you will need:
-
- Handlettered paper printed on a laser printer NOT ink-jet printer (download the free printable here*)
- Gold foil (we used the Heidi Swapp Minc reactive foil from Spotlight)
- Christmas crackers (we bought an 8 pack from Kmart for $2)
- Blank piece white paper
- Stanley knife
- White twine
- Sticky tape
- Scissors
*This wrap has been exclusively designed for STYLE CURATOR by Shenton and Thrello and cannot be repurposed, sold on or reused in any other way than intended in this DIY

Steps:
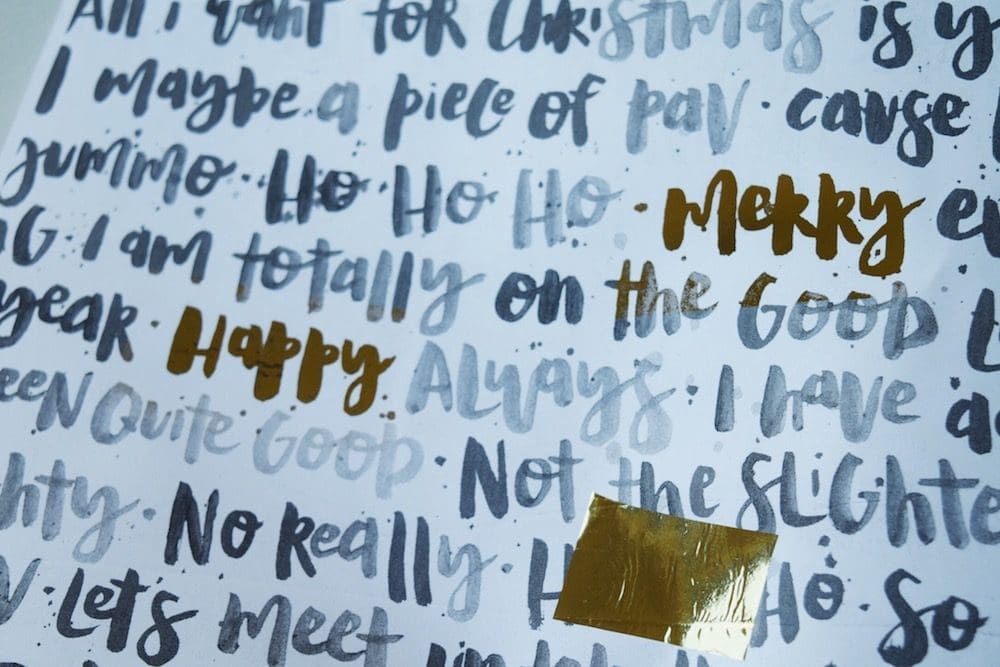
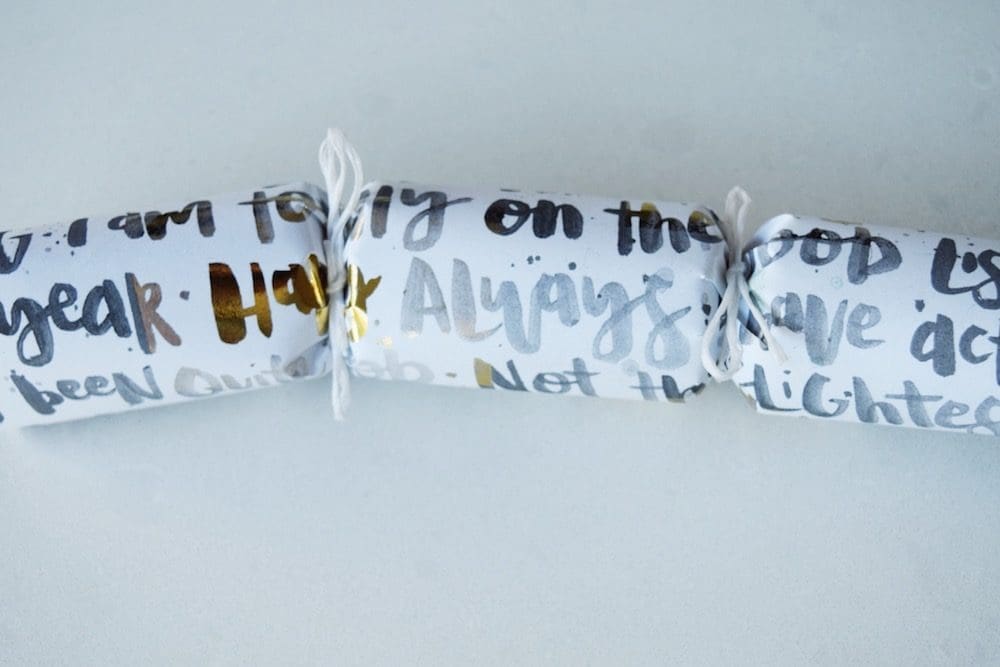
1. Make your gold foil wrapping paper first. We darkened several words on the free printable that are intended to be covered in gold. To apply the gold foil, cut several strips of gold foil large enough to cover these words and place them over the words with the shiny gold side facing up.

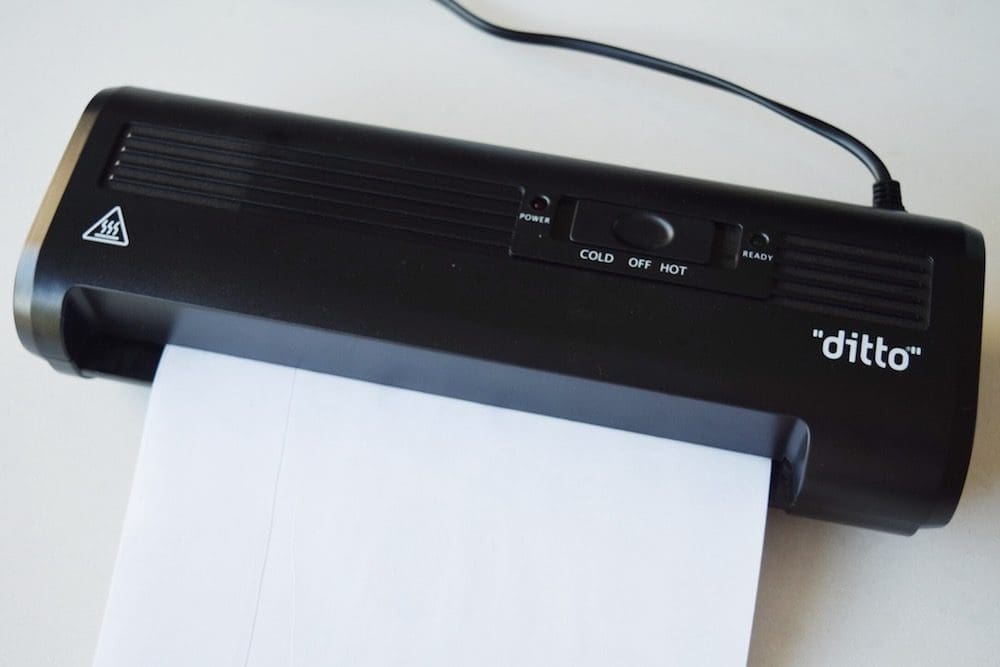
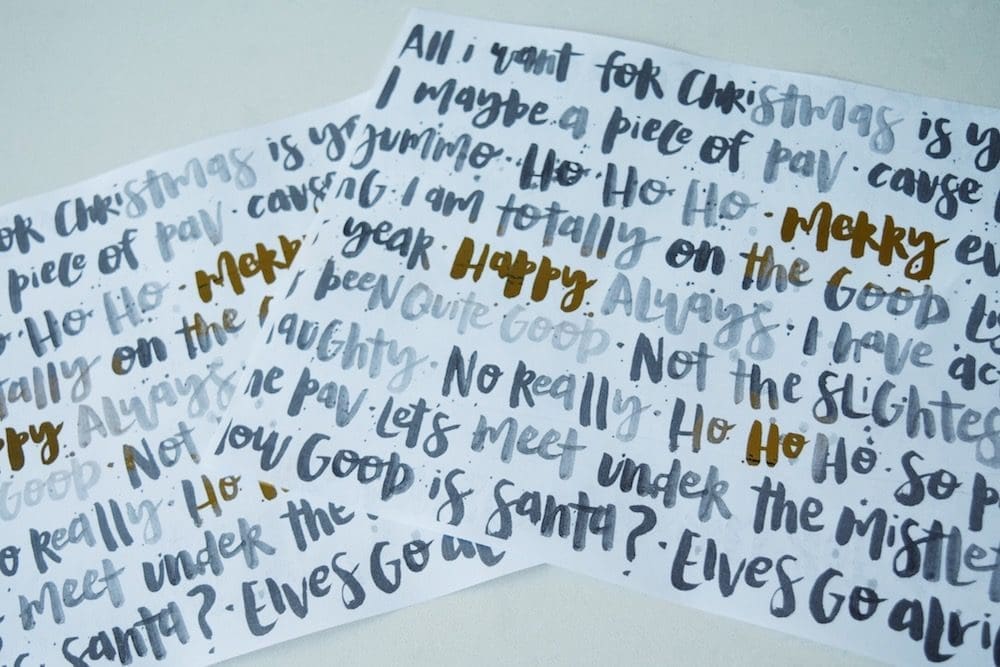
2. Cover the handlettered paper and gold foil with a blank sheet of white paper and feed it through the heated up laminator (we fed ours through twice to get the best gold coverage).
3. Then remove the blank sheet of paper and peel away the gold foil from your hand lettered paper — you should be left with beautiful gold words. If this isn’t what you’re seeing, see the ‘Common issues’ section below for fixes.
4. Measure where your paper will wrap around your cracker, marking 4cms either side of the body of your cracker (the area where it is tied with twine). Score this area every 5mm with a sharp knife. This will help the paper hug your cracker when you tie it with a ribbon and prevent tearing.
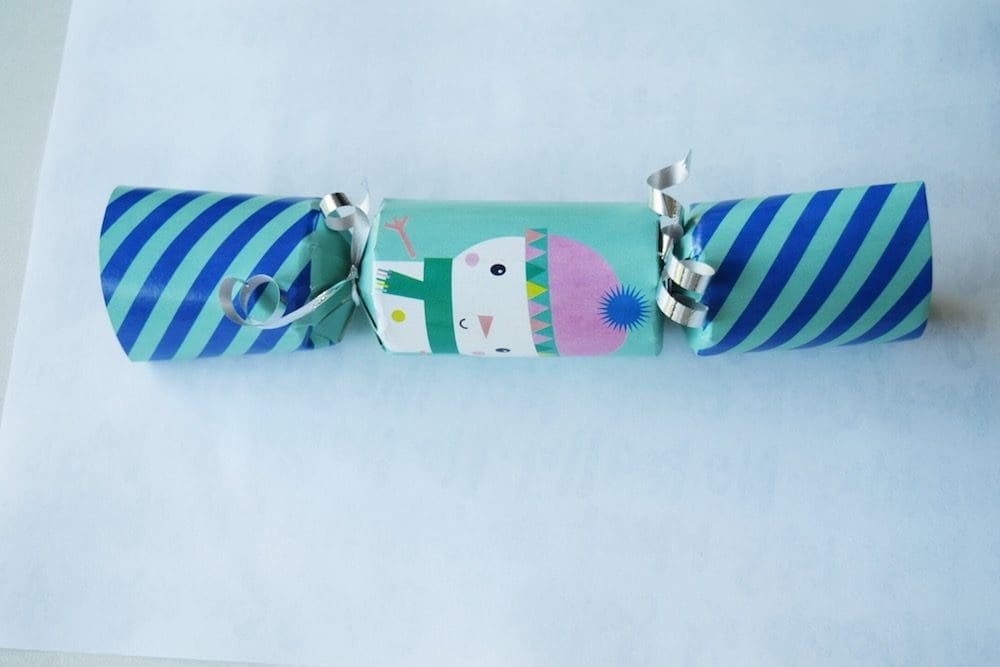

5. Now your gorgeous gold handlettered paper is ready to be wrapped around your cracker. Wrap the cracker tightly and secure with sticky tape. Tie a ribbon either side of the body of your cracker (over the area you scored with a knife) and if needed, trim any excess length of wrapping paper off the cracker.
6. Repeat the steps above to make as many crackers as you like!
Huge thanks to Shenton and Thrello for creating the beautiful artwork on the free printable for this DIY.
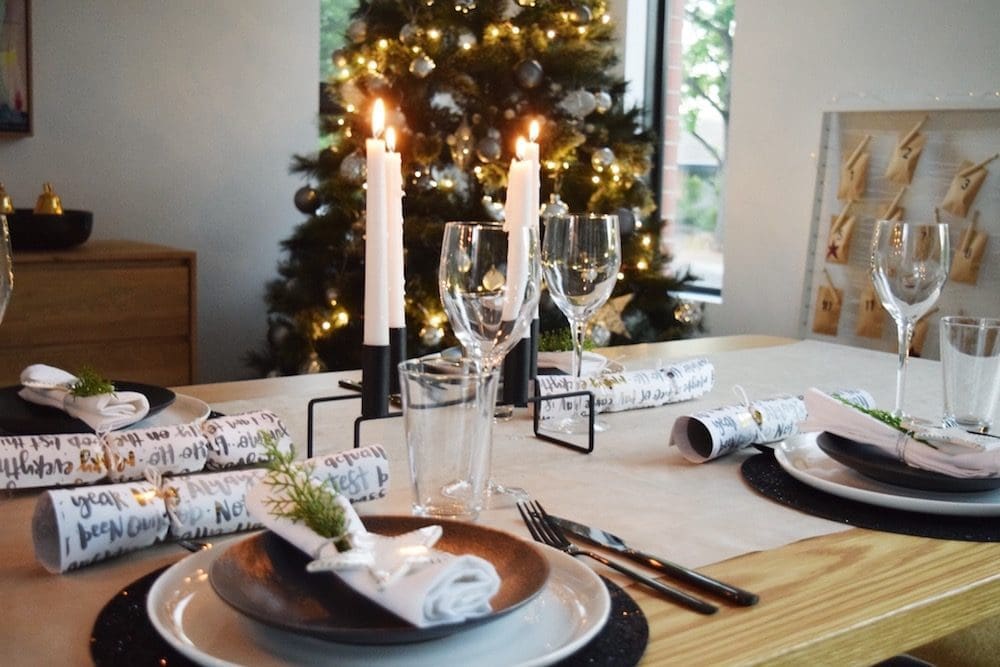
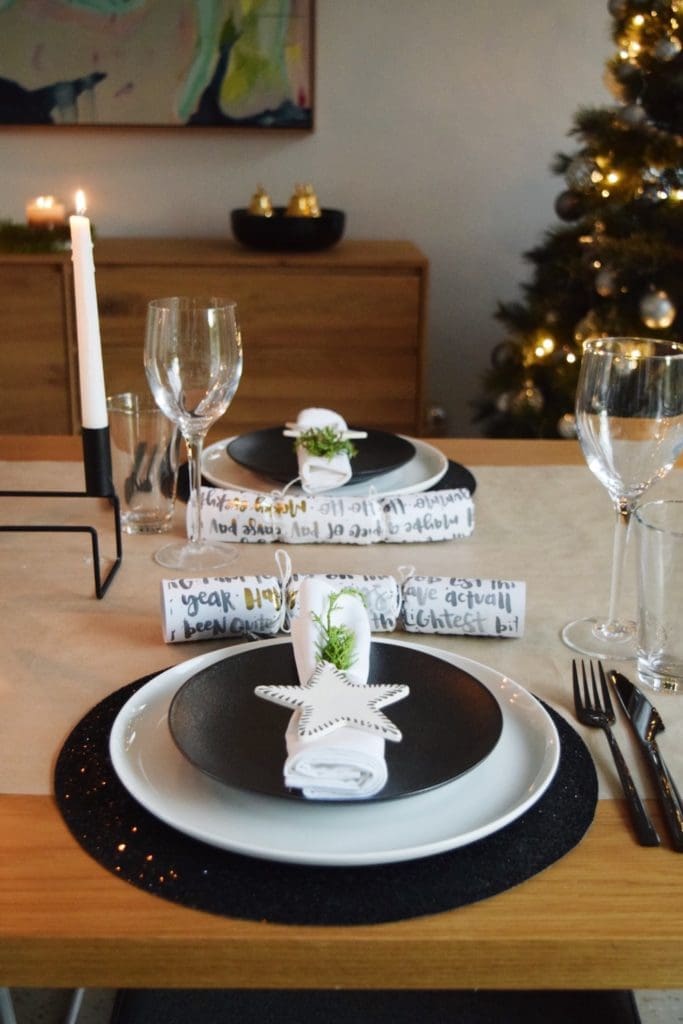
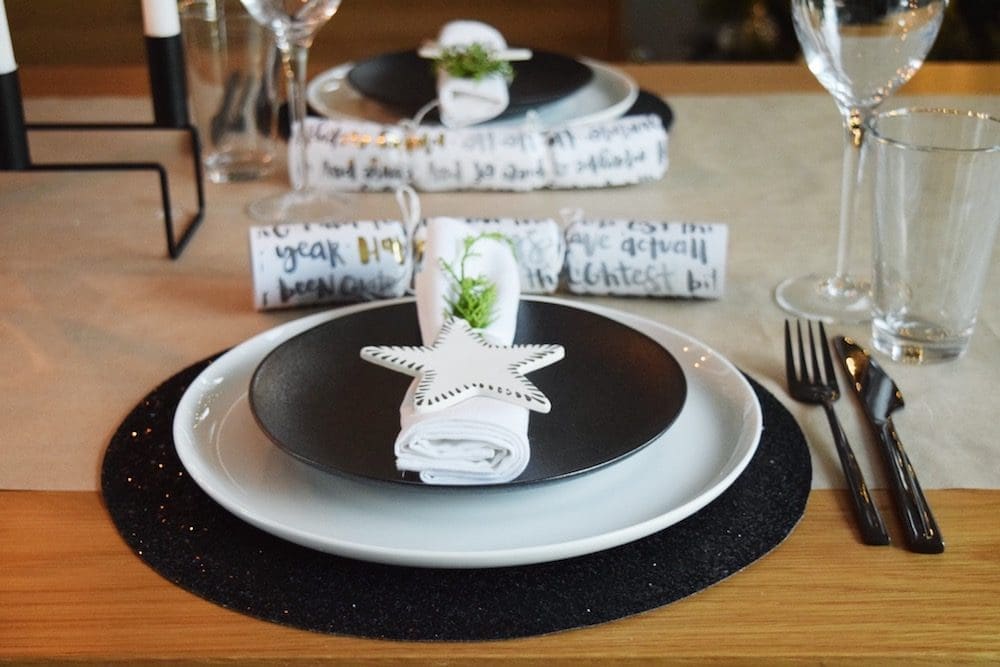
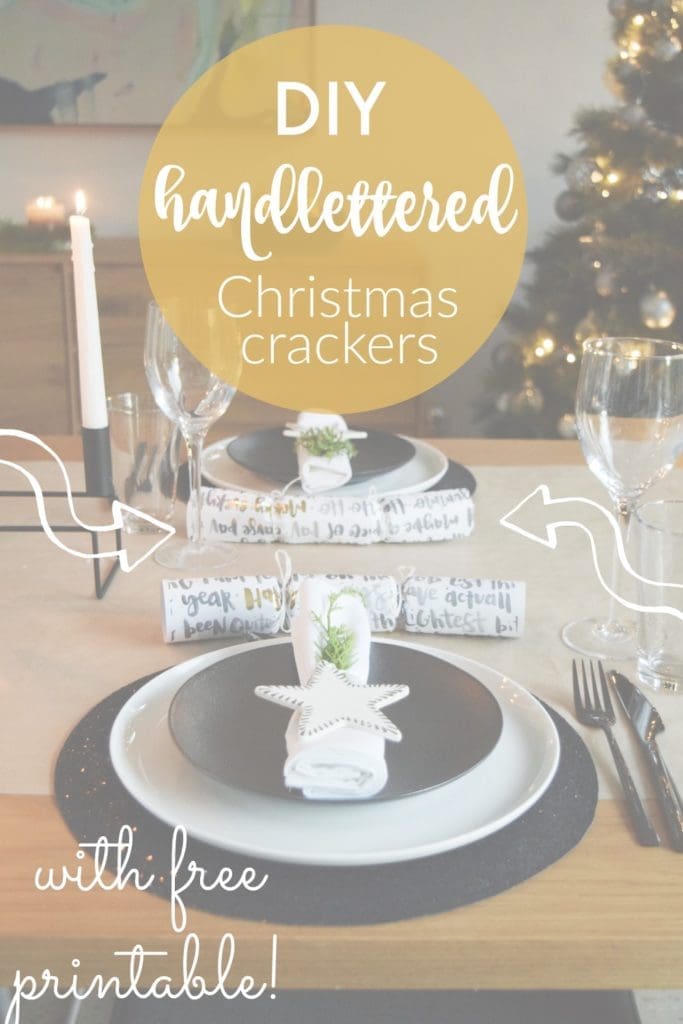
These gorgeous gold foil handlettered Christmas crackers will add instant style to your Christmas table!
Common issues
Gold foil not sticking to paper: check that you printed the download on a laser printer NOT ink-jet printer. Also check what gold foil you are using — it needs to be a special craft foil and not simply shiny gold paper.
Black dots or poor application of foil: clean the paper well before you feed it through the laminator as your gold foil won’t stick if there is fluff or dust on the paper. Also check the quality of the ink in your printer as eco-friendly inks tend to have less toner which is what the gold foil reacts to (you need the more toxic stuff).
If you experience any other issues, tell us in the comments below and we’ll try to help with a solution!

Styling props
Plates from Kitchen Warehouse / placemats from Temples and Markets / black cutlery from Salt & Pepper / Ceramic stars from Biome / Black candleholders from Kmart


Comments are closed.