
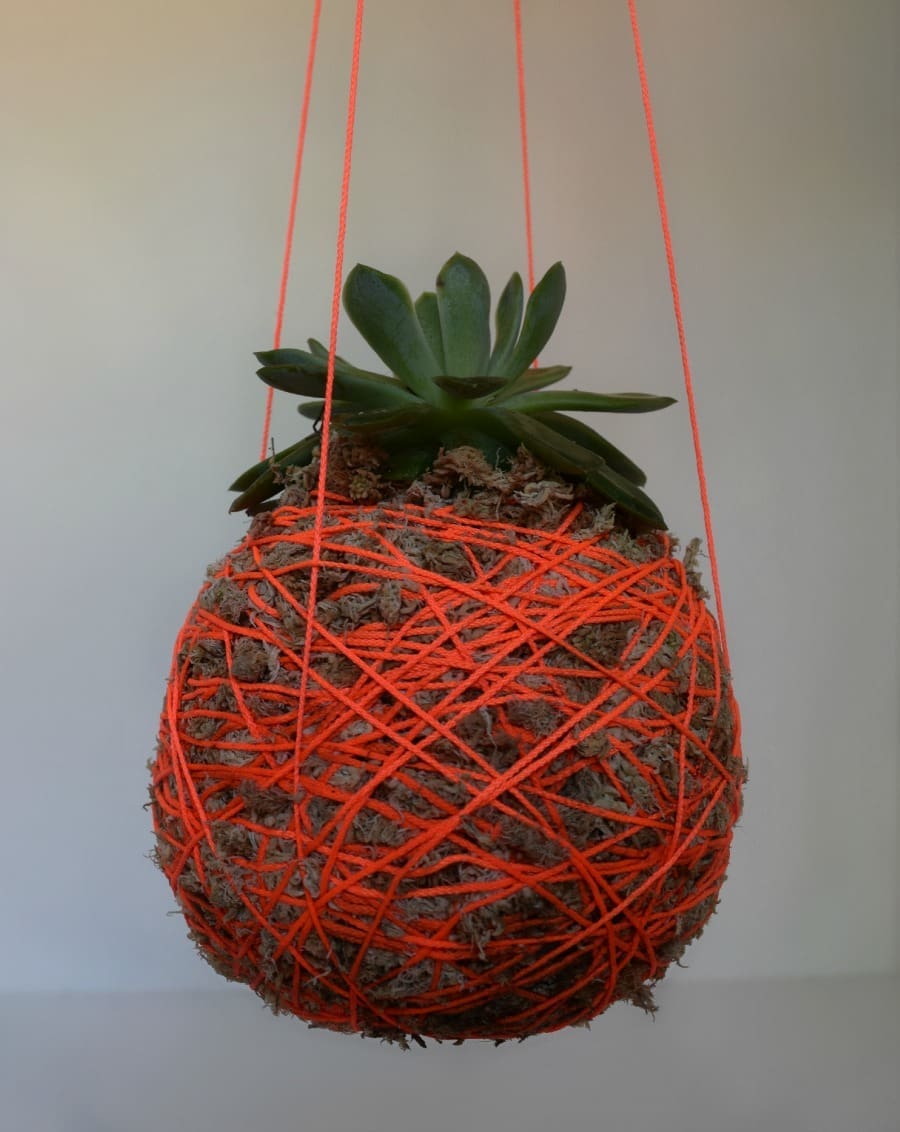
We fell in love with these hanging moss ball planters as soon as we saw them and knew we had to learn how to make them ourselves. After a bit of trial and error, we’re so excited to share this DIY hanging moss ball planter tutorial with you!
While this DIY is inexpensive and rather quick make, it can get really messy! It’s best to work outside on a flat workspace that’s fine to get dirty.
Related article: DIY test tube plant propagation stand
Related article: Growing Devil’s Ivy: Easy tips to propagate and care for this plant like a pro
Items you will need:
- Plant (we used a succulent but you could use herbs, ferns or flowering plants)
- Dry sphagnum moss (you can buy a big bag from most florists or Bunnings)
- Soil (some people recommend mixing one quarter Bonsai soil with regular soil but we just used soil that was around the plant we purchased and regular soil from the garden)
- Bowl of water
- Thread (we chose a bright builders line from Bunnings, also available in other colours)
- Scissors
- Gloves (if you don’t want your hands to get messy)

Steps:
1. Remove as much soil from around the plant as possible so the roots are exposed but be very gentle not to damage the plant.
2. In a large bowl mix two cups of soil with 3/4 cup water. Gently pack enough wet soil around the roots of the plant until you have the size of a cricket ball.
3. Cover in sphagnum moss. (At this stage, your moss ball will be looking quite small and sad but we will add three layers of soil and moss to create the final product.)

4. Add another layer of wet soil (you may find it easier if this layer has more water added, think mud cake batter texture) and another layer of sphagnum moss. You will most likely need to wrap some string around the moss ball to keep it together. If it feels like it’s going to fall apart, gently press it together to compact the ball. We found it easiest to do this when it was resting on a table, turning the ball as though you’re doing pottery.

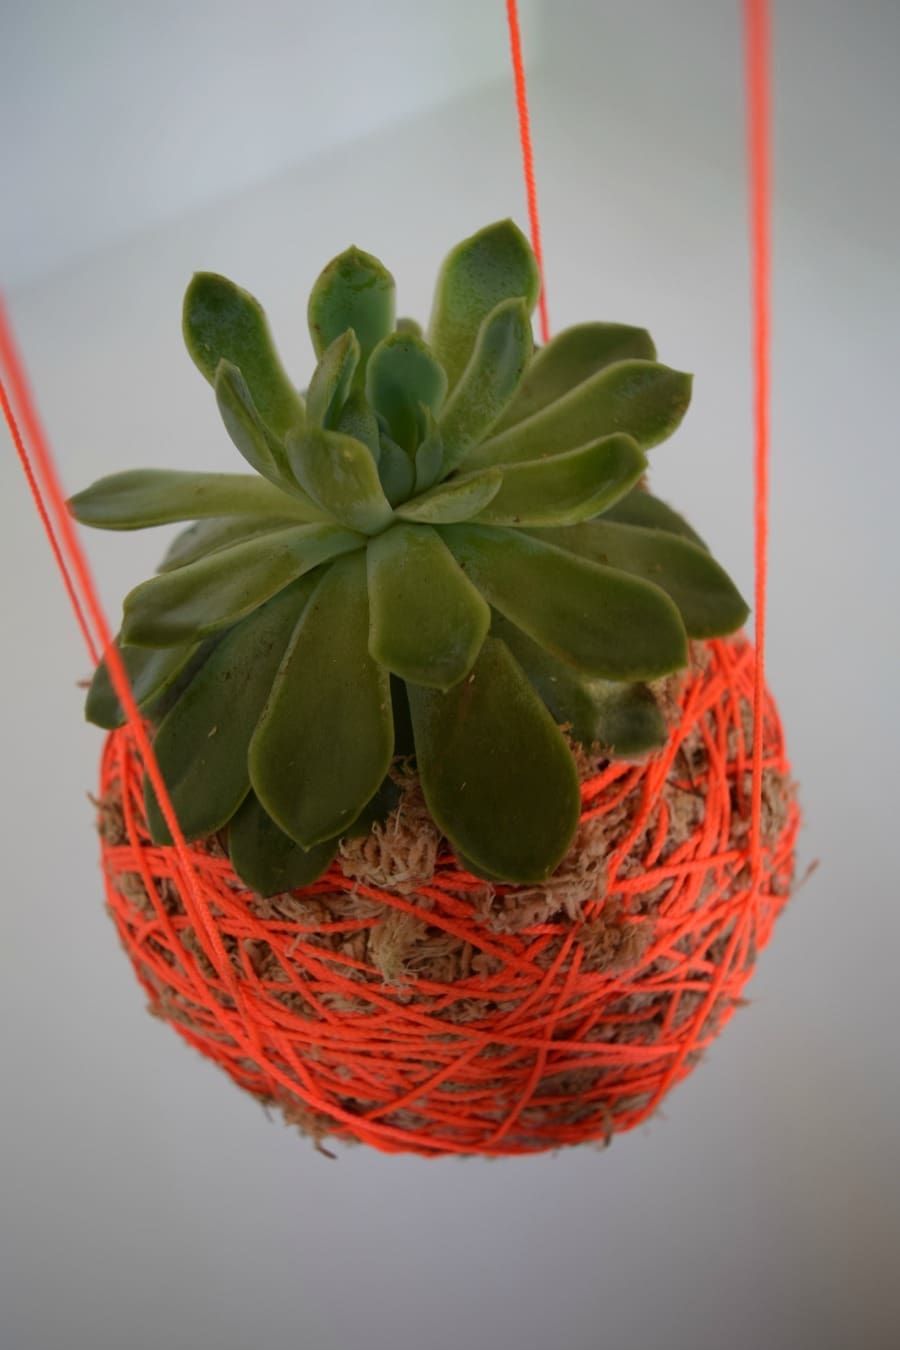
5. Add the final layer of wet soil and moss. At this stage, you’re ball will be quite big and difficult to manage. So we recommend keeping it on a flat surface. We cut long strips of string (around 60cm) to start and tucked extra moss under the string as we wrapped it around the ball. Once we were happy with the moss coverage, we used the string on the spool to wrap the entire ball well. Continue to compact it as you work.
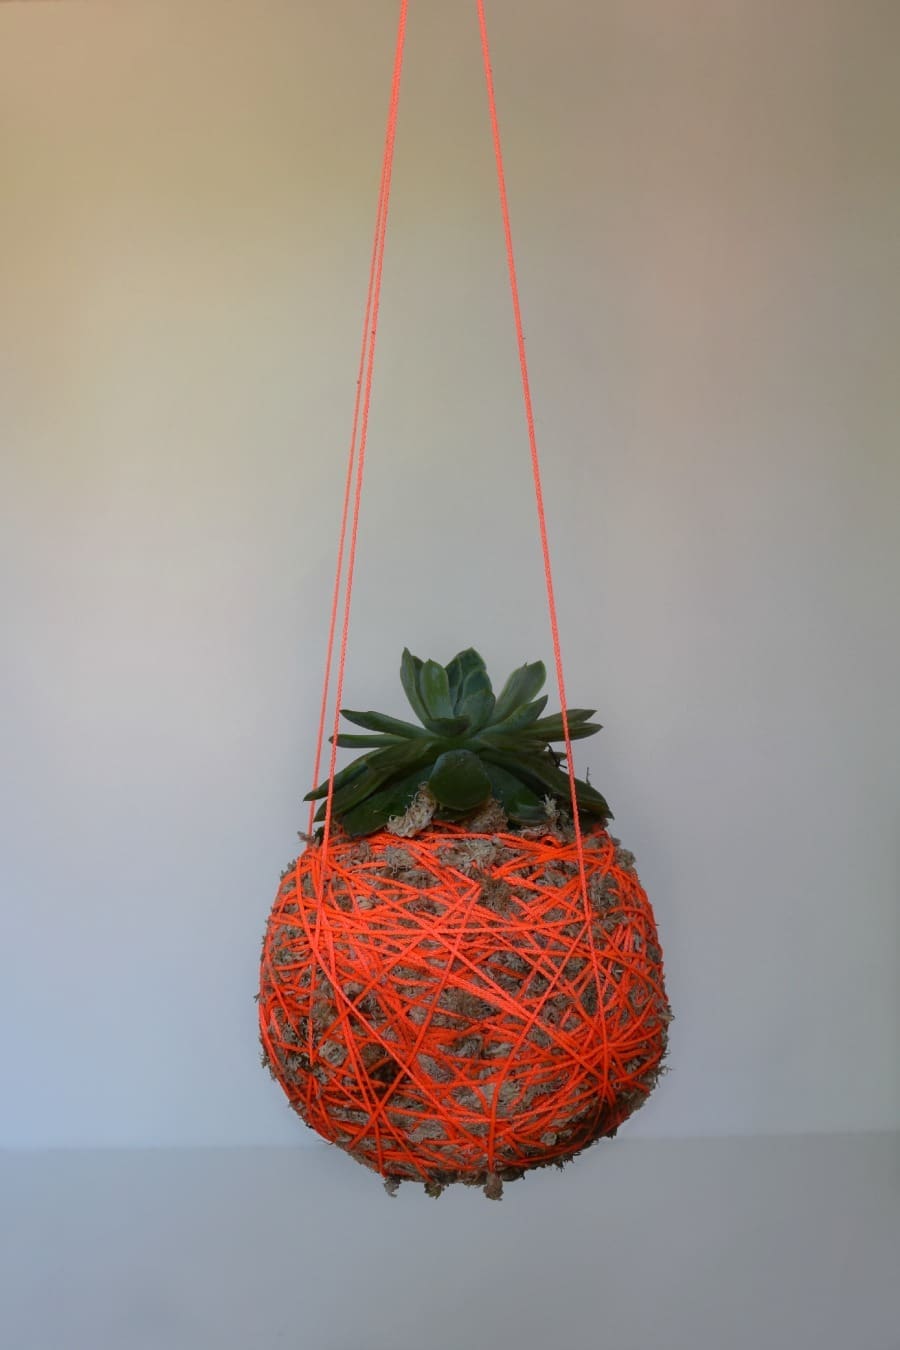
6. If you would like to hang the planter as we did, simply cut two long strips of string. Tie the centre of both strings together and place this knot under the bass of the moss ball. Position the strings at 12 o’clock, 3 o’clock, 6 o’clock and 9 o’clock. As you lift them up to a hanging position, tuck each string under one of the pieces wrapped around the ball to secure the holder in place.
Voila, your DIY hang in moss ball is complete!
Care:
- These moss ball planters can last as long as any potted plant so long as you care for them.
- When the ball feels dry, simply dunk it in a bucket of water.
- They weigh approximately 2-4 kilos when wet so if you hang yours, be sure to use a hook or nail that can support that much weight. Alternatively, you don’t have to hang the moss ball and could place it in a pot stand or on a table or window ledge.
You could create just one of these bright and stylish hanging planters or cluster several at different hanging heights. Will you give this DIY hanging moss ball planter tutorial a go? We’d love to see pics if you do! Email them to hello@stylecurator.com.au or tag us @stylecuratorau when you post them online!
More DIYs for the home


Comments are closed.