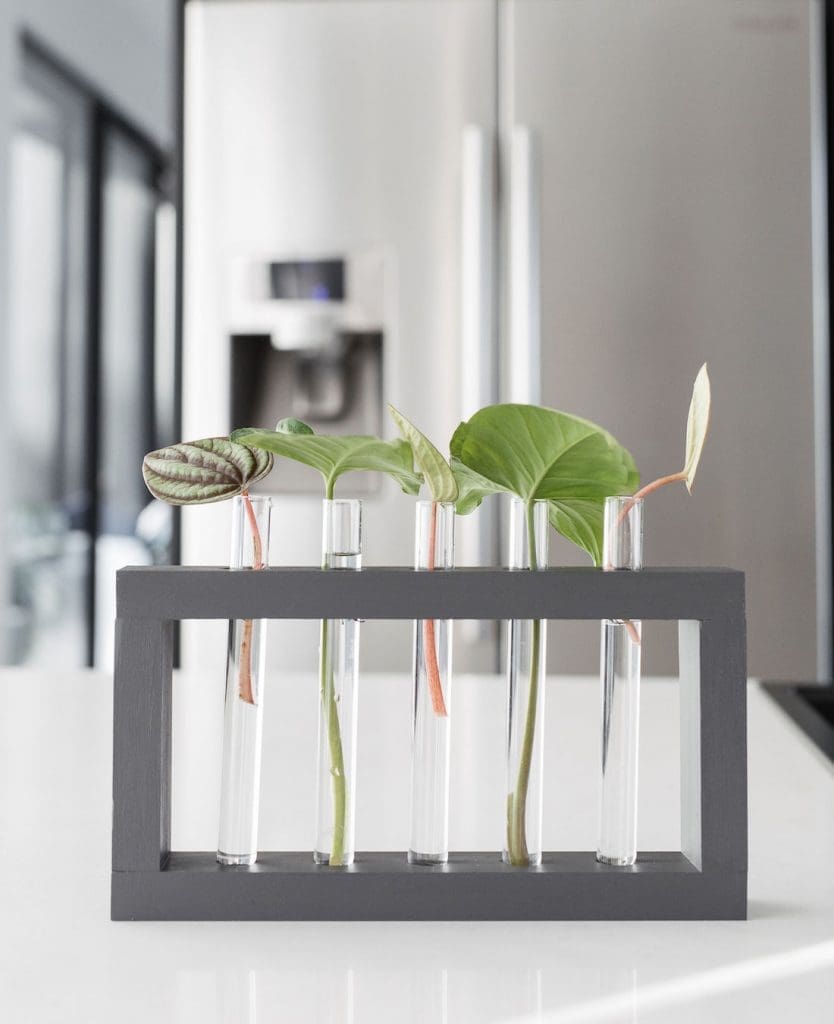
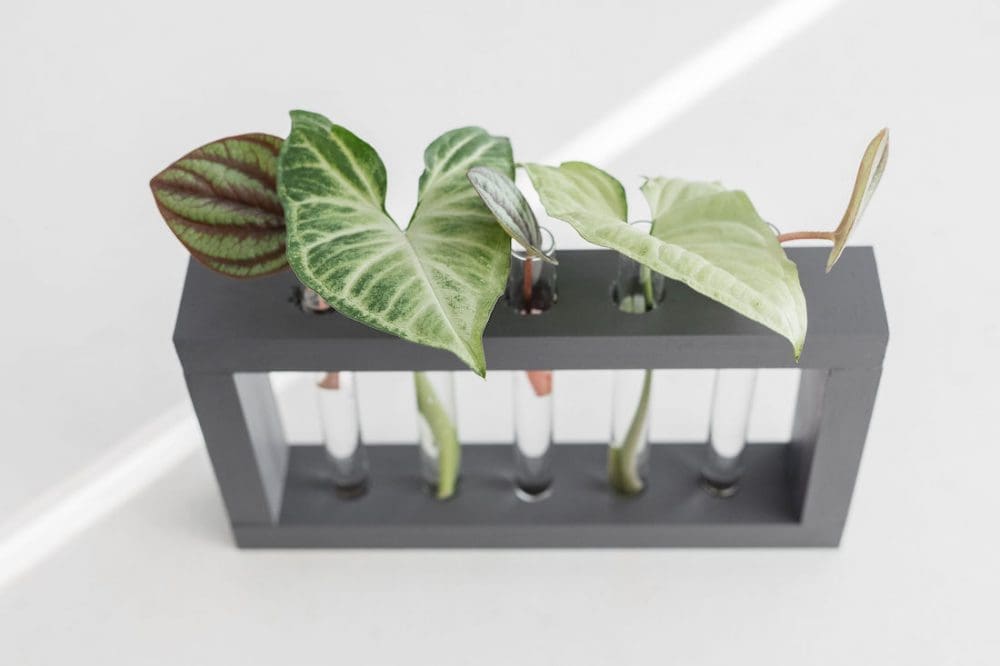
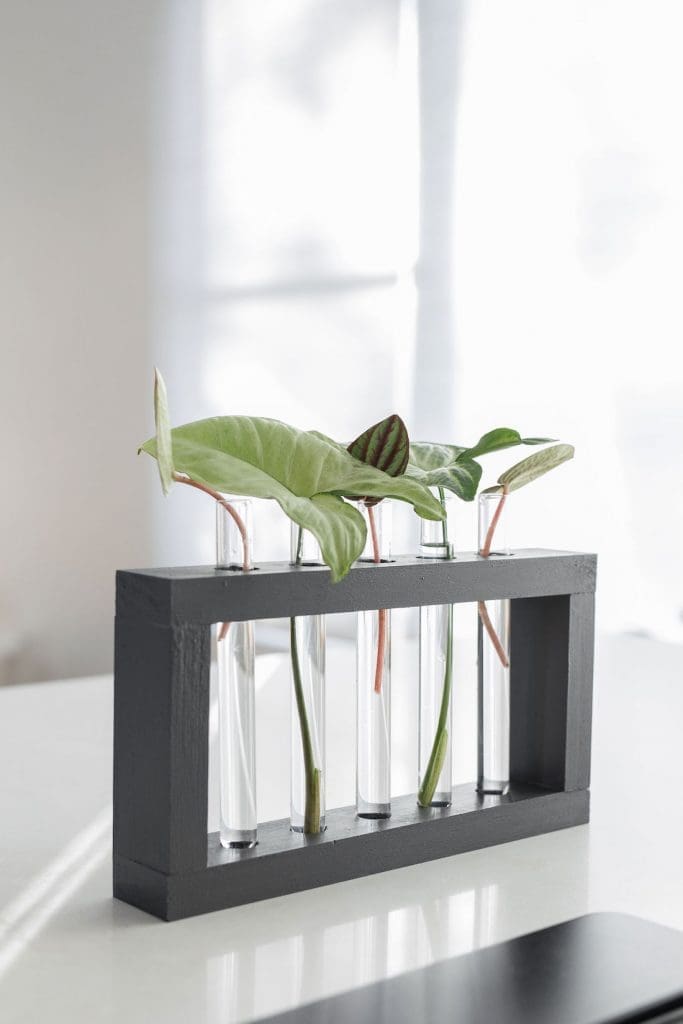
It’s official, I’ve become a crazy plant lady. My kitchen island looks more like a greenhouse work table than somewhere I prepare meals, ha ha, so I was keen to find a way to more compactly propagate plant cuttings. Introducing this DIY test tube plant propagation stand!
I love how this plant DIY allows me to propagate multiple cuttings in a slim and discreet way — much better than having a stack of glasses and larger vessels all over my kitchen bench.
You don’t need many items or much skill as a DIYer to pull this off so I hope you’ll be inspired to make one too.
Related article: Growing Devil’s Ivy: Easy tips to propagate and care for this plant
Related article: Woven planter cosy tutorial: Make a pot plant weave
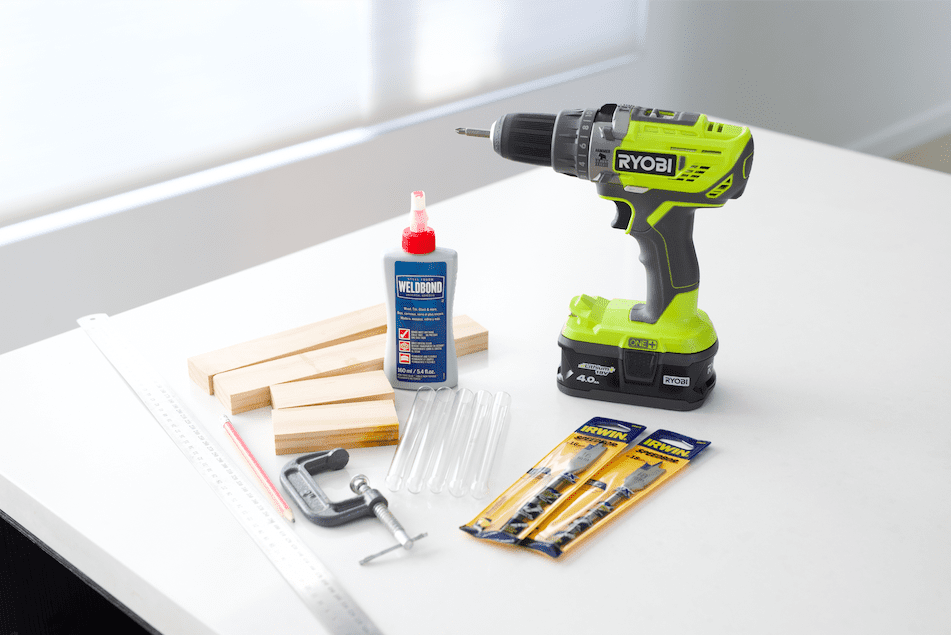
Items you will need:
- Piece of pine dressed pine (42mm wide x 19mm thick x 1200mm long, $4 from Bunnings)
- 5 x test tubes or more if you want to make a larger one (I bought 16mm diameter test tubes online from Etsy)
- Electric drill
- 2 x spade drill bits (1 that is the diameter of your test tubes and 1 that is 2mm wider)
- PVA glue for timber
- Paint (I used ‘Gunpowder Smoke’ from Haymes)
Steps:
1. Cut two longer lengths of pine to form the top and bottom of the stand. Mine are 252mm long but you might choose to make yours longer or shorter depending on how many test tubes and the size of the test tubes you use.
2. On both pieces, mark the centre points of where each test tube should be. I wanted 40mm on the left and right of the stand before my first test tube so deducted that from the overall length. That left 172mm to equally space out each test tube. (As each test tube was 16mm in diameter, I deducted 80mm (5 test tubes x 16mm) from 172mm leaving 92mm. I divided that number by 4, which came to 23mm, to know the equal spaces that should be between each test tube.)
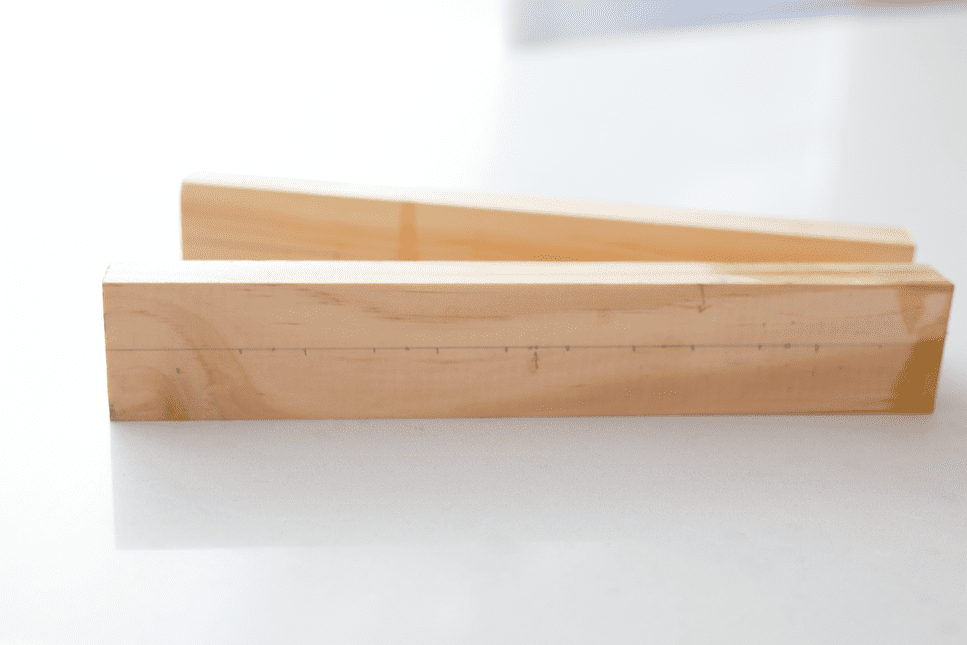
3. On the top piece, you will use the spade drill bit that is 2mm larger than the diameter of your test tubes (to allow the tube to easily fit through the hole). Using your electric drill and the larger drill bit, drill all the way through the plank of timber at each of the centre points you marked in the step above.
4. On the bottom piece of timber, you will use the smaller drill bit to just drill 2mm deep. This will create a neat groove for your test tube to sit in. Tip: use a Sharpie pen to mark 2mm on your drill bit so you know when to stop drilling.
5. Now it’s time to cut your side pieces of timber. Mine are 100mm but if you use larger or smaller test tubes, you may want to adjust this measurement. Tip: if you’re a more advanced DIYer, you could mitre the timber to create a cleaner join.
6. Construct your DIY test tube propagation stand by glueing the timber frame together. You could use clamps to hold it together as it dries but I simply weighed it down with a few books.
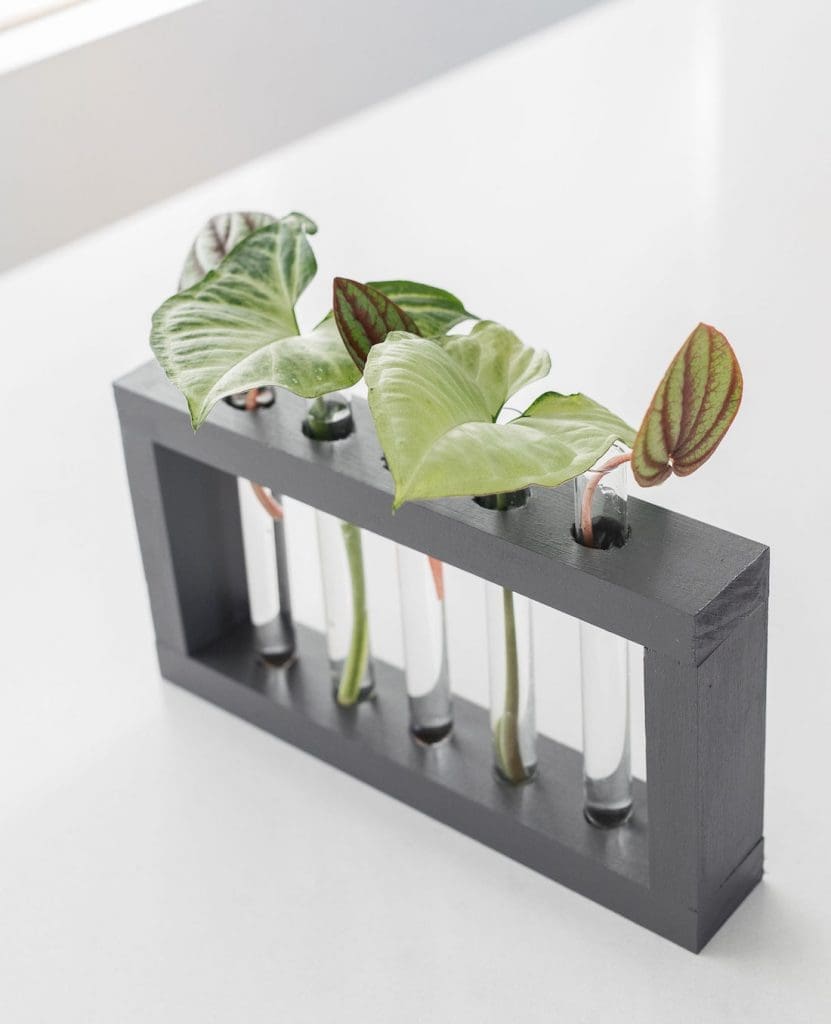
7. Once dry, it’s time to paint it. I used ‘Gunpowder Smoke’ by Haymes but did consider a bright colour… it’s totally up to you!
8. Then it’s time to pop all your test tubes in place, top up with water, and place in your plant cuttings.
Are you inspired to try and make this DIY test tube propagation stand? I’d love to see photos if you do! Tag @stylecuratorau when you post pics online or email them to hello@stylecurator.com.au
Find more DIYs here
Disclaimer: I’m a proud Etsy affiliate and this post contains some affiliate links. This means, if you purchase an item we may receive a commission on the sale of the products, at no extra cost to you.


Thanks Gina, I have found some 20mm diameter tubes on eBay. Are yours 150mm in length please? Thank you
Yes they are 🙂
Love this, I have become a crazy plant lady too since iso!! Do you mind letting me know which test tubes you purchased from Etsy so I make sure I buy the right length. I am going to make this on the weekend
Thanks Gina
Yay, glad you love it Jackie. I bought mine from a vintage shop on Etsy and just checked but they don’t have any more. It seems most of the test tubes on Etsy at the moment are quite small for wedding favours but I found some good options on eBay like this one. Mine have an opening of 16mm and I wouldn’t go any smaller than that. I think 20mm-24mm would be ideal. Hope this helps and I’d love to see a pic of your stand once you make it 😉