Supported by Fabric Wholesale Direct
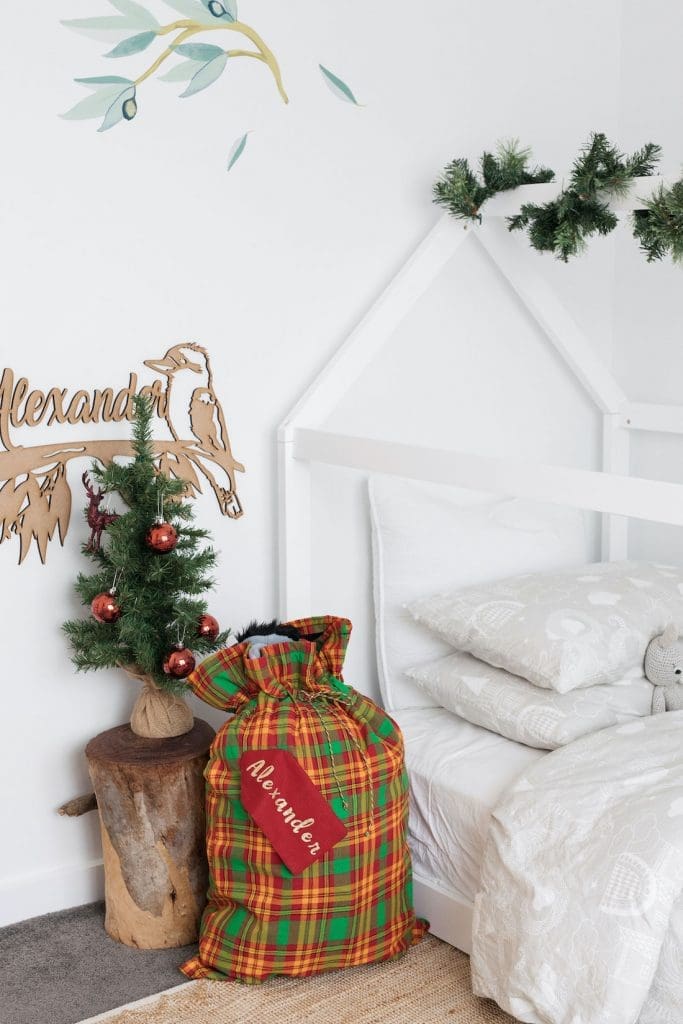
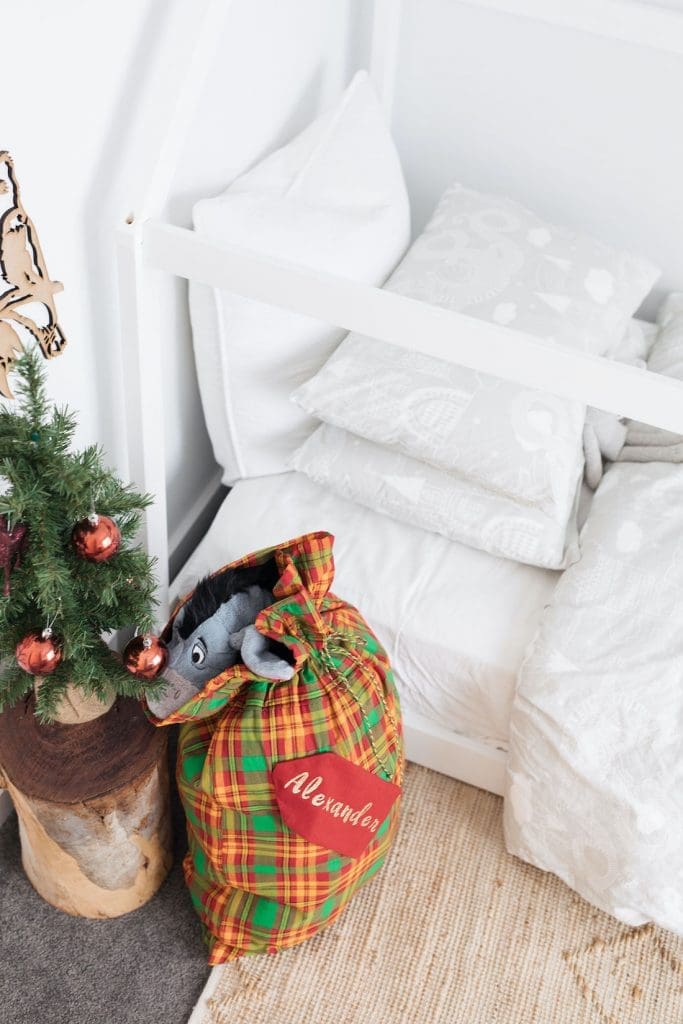
Santa sacks are a great alternative to stockings — especially if you don’t have a mantel or if you have larger gifts that just won’t fit into a stocking!
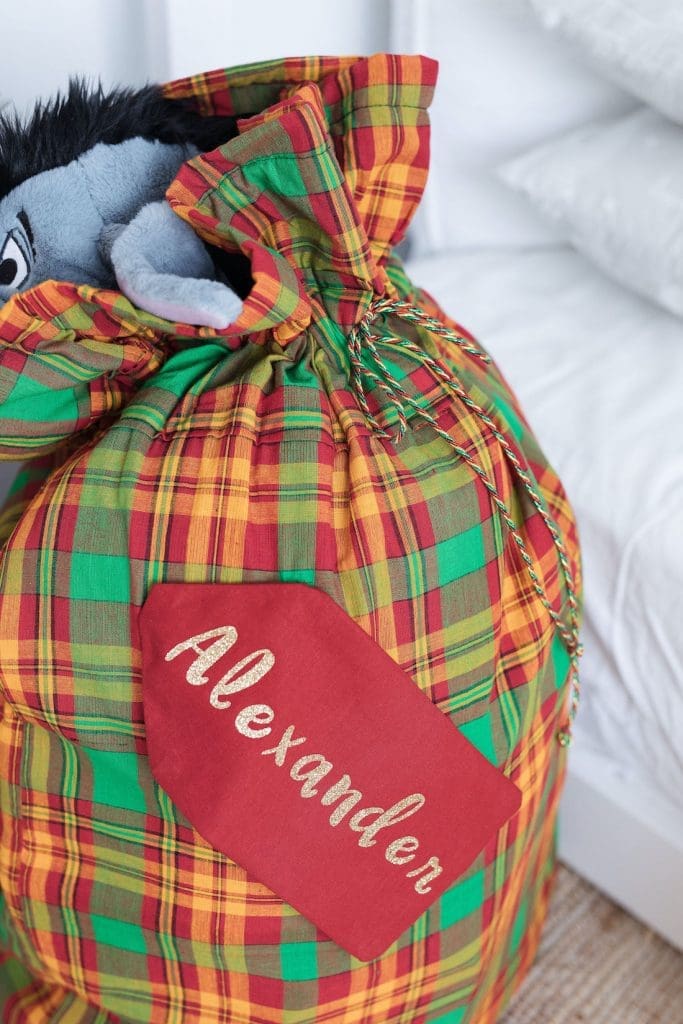
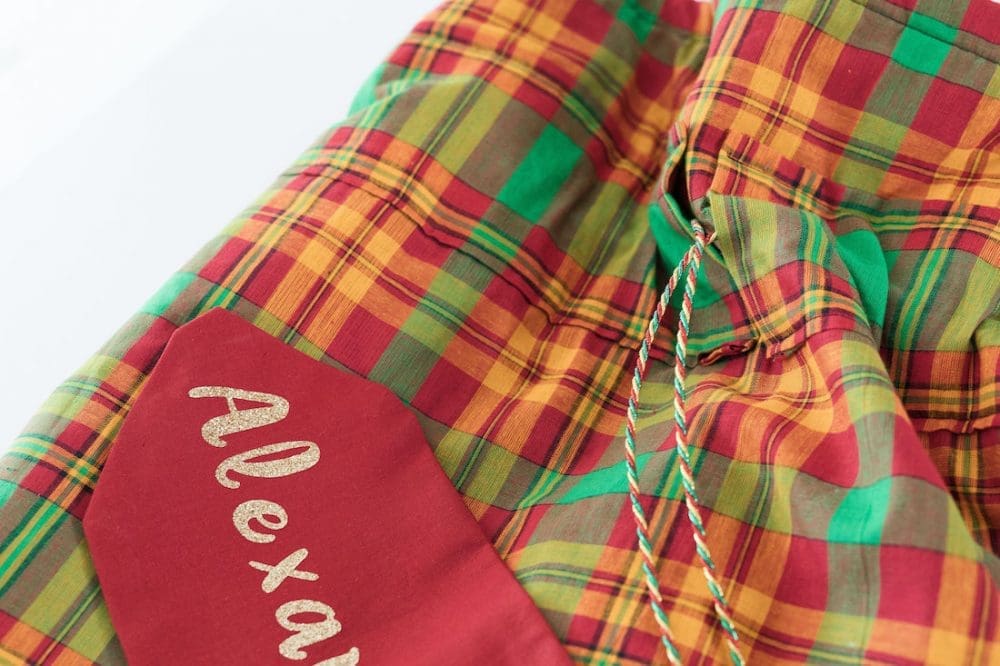
Today, I’m sharing how I made this generously-sized Santa sack for Alexander using a festive plaid material from online store Fabric Wholesale Direct.
You only need basic sewing skills to create this Santa sack and I love the quality of it — it’s sure to last through his childhood.
Items you will need:
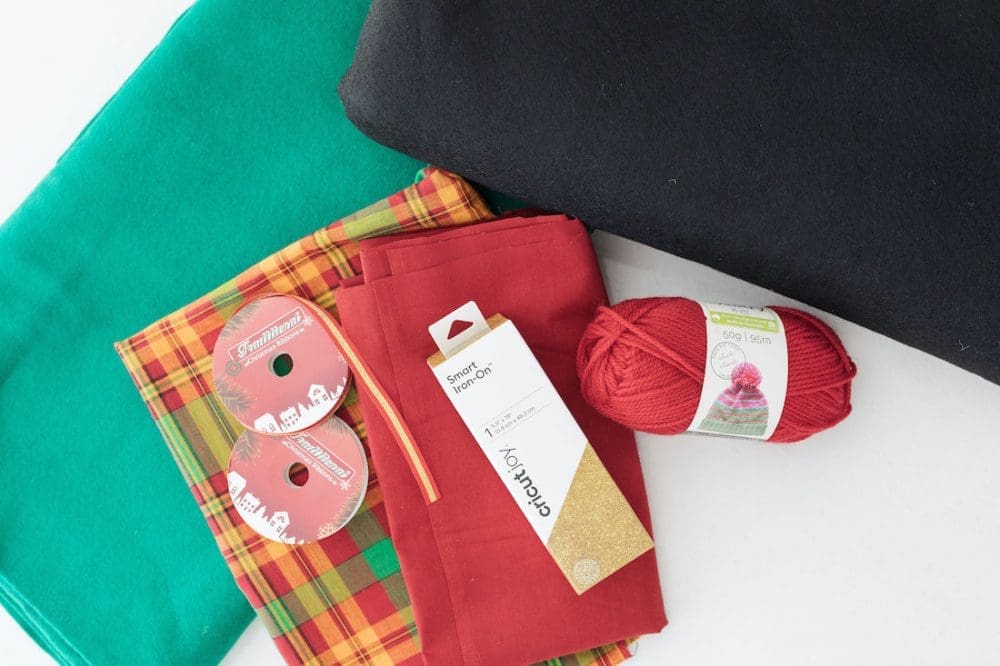
- 1.5m of plaid fabric (I used 1 yard of ‘Madras’ plaid)
- 1.5m of black felt (I used 1 yard of black felt)
- 0.5m of red cotton fabric (optional for name tag)
- Glitter gold iron on transfer and Cricut machine (optional for name tag)
- Ribbon for draw string (optional or you could use fabric)
- Sewing machine
- Needle and thread
- Scissors
Steps:
1. Decide on the size of your Santa sack. I made this one 75cm high by 50cm wide but you could make yours smaller if you prefer.
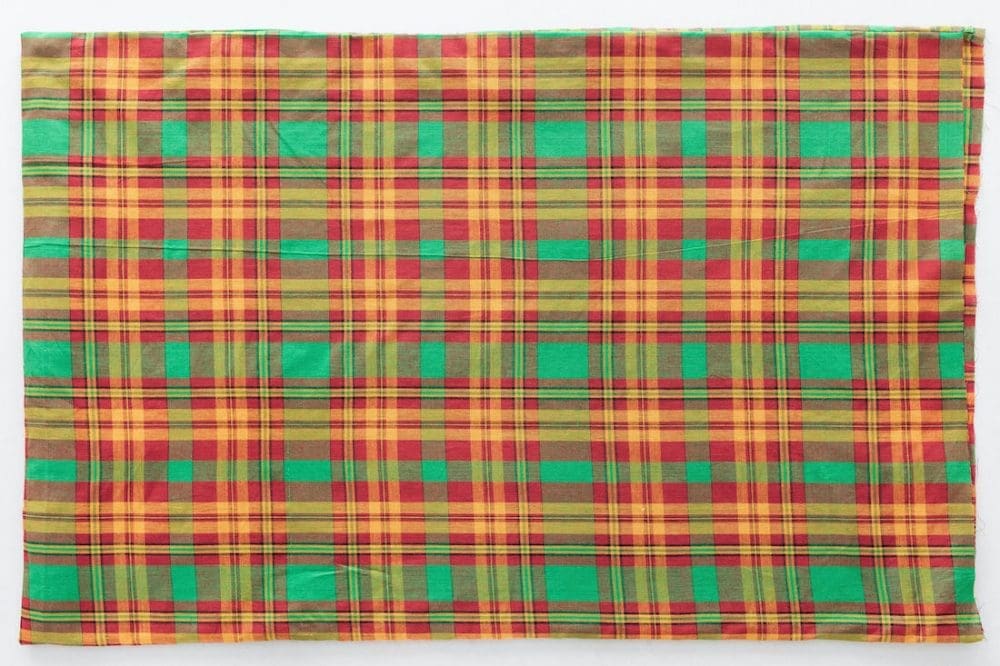
2. Fold over your outer fabric (plaid) from the base and cut to size — this will give you a front and back piece that’s connected at the bottom. If you want to do a perfect job, match the plaid pattern up so there’s no obvious seem. Do the same for your lining fabric (felt).
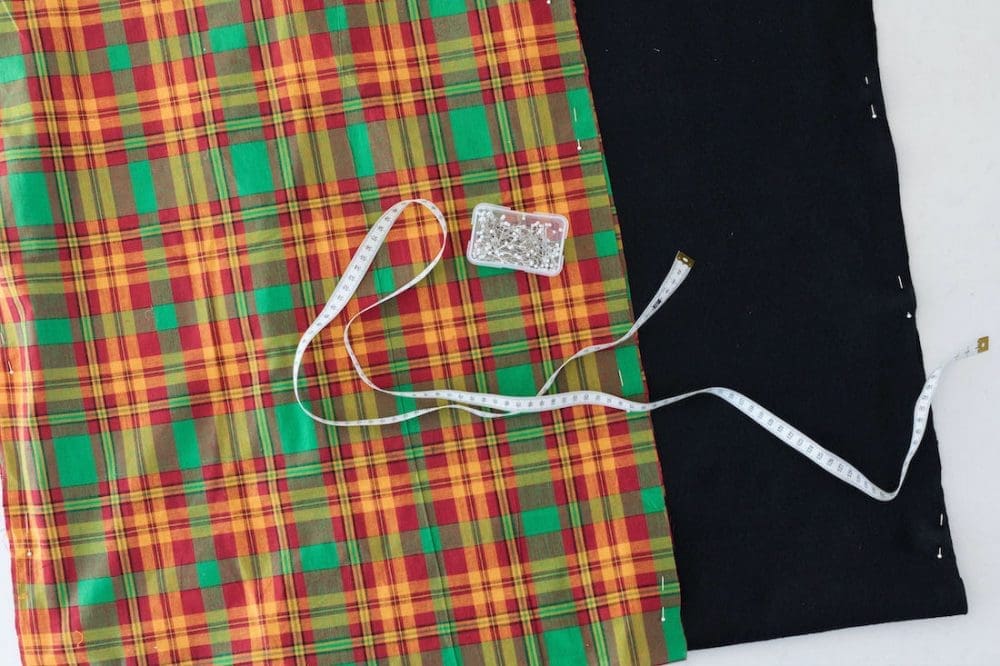
3. Now it’s time to sew the outer fabric into a sleeve by facing the two good sides together and sewing along the left and right length. Turn the right way out (your seams should be hidden inside) and set aside.

4. Sew your lining fabric by doing the same thing, sewing along the left and right length of your felt but do not turn out.
5. Then place your lining sleeve inside your outer sleeve. You should not be able to see any seams and your sack will look like it’s taking shape!
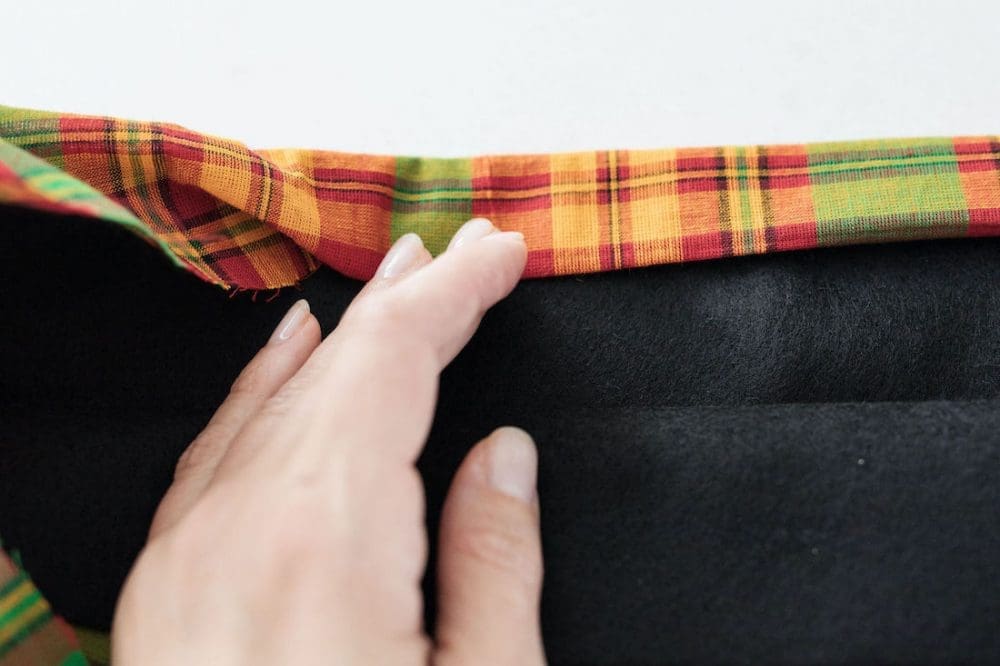
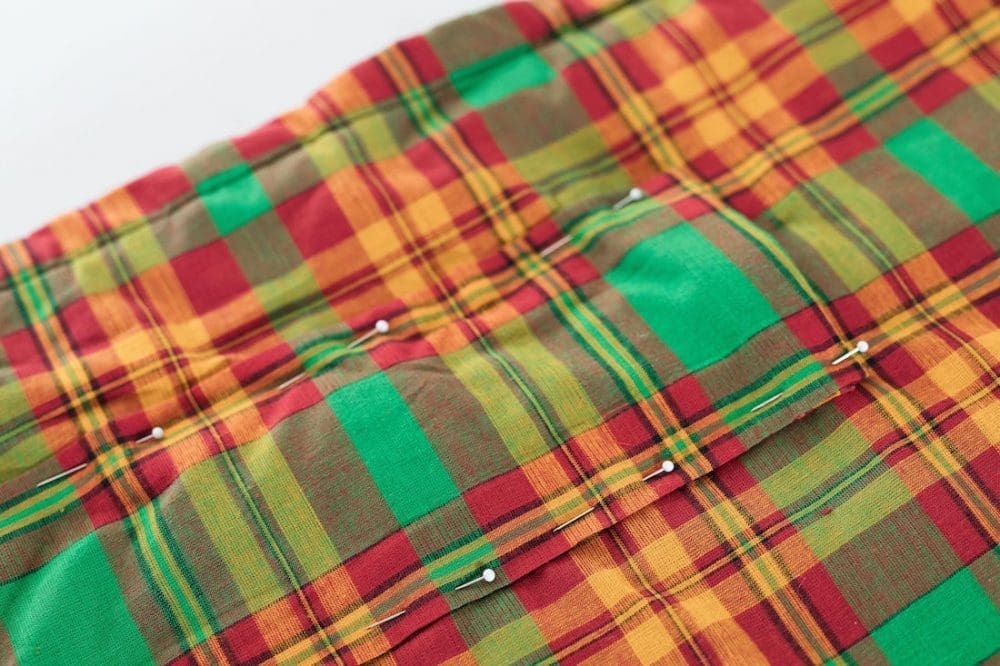
6. Create a neat edge at the top of your sack by folding a 2cm seam of your plaid fabric over the felt lining. Iron it into place and use pins to secure before sewing around the top edge of your sack.
7. You’ve now created your basic sack and it’s time to add a draw string. There are many ways you could do this but I simply opted to cut a long piece of plaid fabric that I could sew onto my sack to create a tunnel to feed the string through.
The fabric piece was 16cm wide by 1m long — this was wide enough for me to sew a 2cm seam allowance around all 4 sides. I pinned it into position (9cm down from the top of the sack) and sewed along the top and bottom edges all the way around the sack.
8. Feed your draw string through the tunnel you just created. I used a metallic twine of red, green and gold to pick up on the colour of the fabric but you could use any type of ribbon, thin rope, or even sew your own using leftover plaid fabric.
Tip: secure a safety pin to the end of your ribbon or tie a knot to help you feed it through the casing.
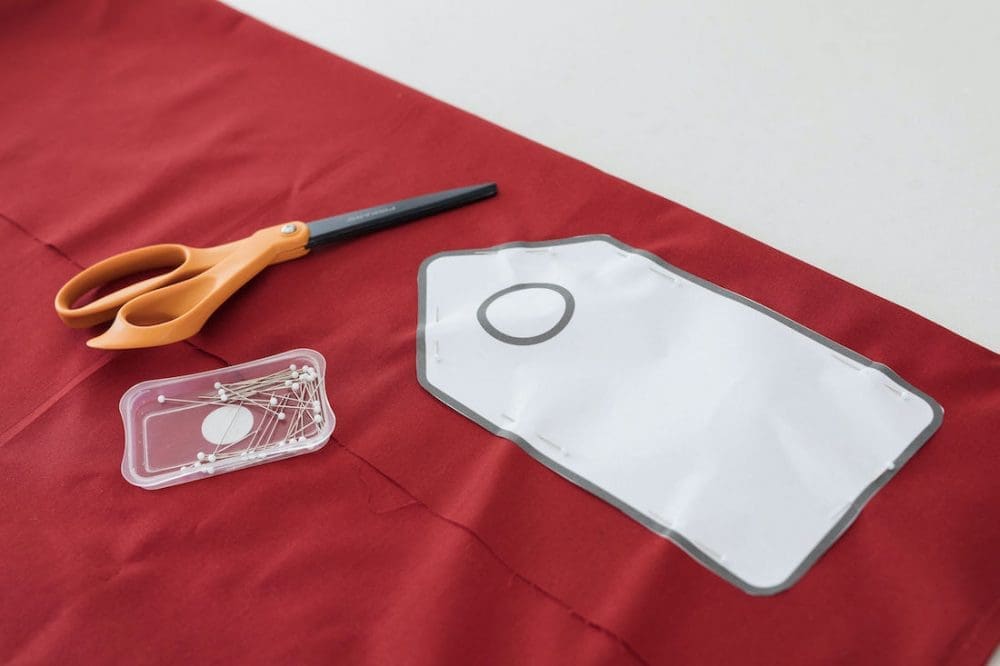
9. You could stop here or if you want to create a personalised Santa sack, it’s time to create the name tag. Cut two pieces of red cotton fabric (or whatever colour you prefer) using this tag template. Then use your sewing machine to sew around the areas highlighted in green.


10. Then turn inside out and iron flat.
11. Using a Cricut machine, write the name in your preferred font. Send it to cut and be sure to select ‘Mirror on’ so the name appears the right way around.

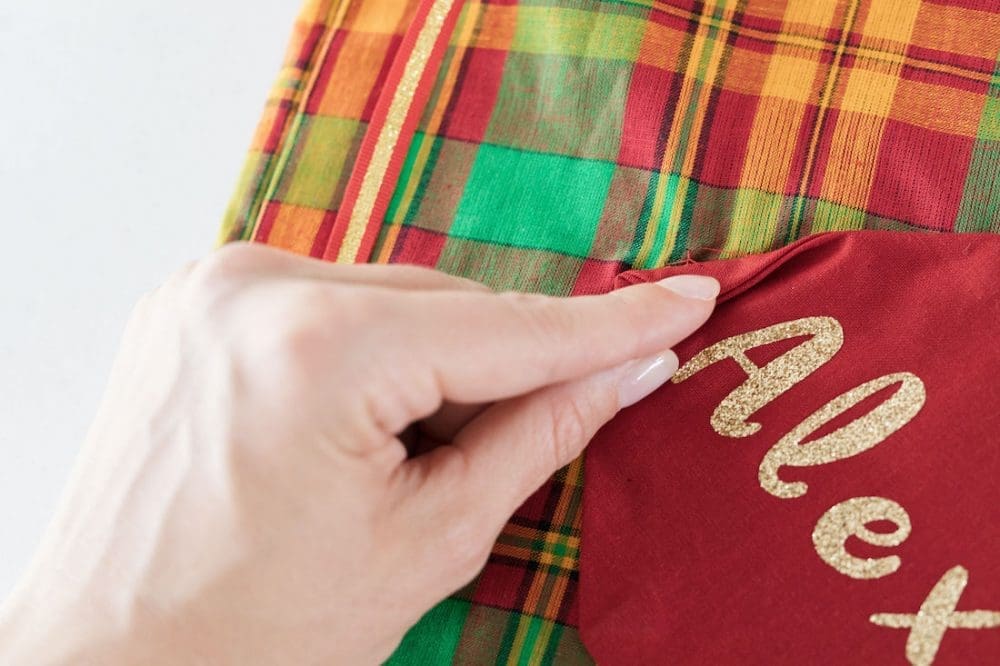
12. Transfer the name onto your tag using an iron. While you’ve got the iron, tuck in the exposed edge at the base of your tag (the section you didn’t sew) and iron it to create a neat edge.

13. Then using a needle and thread, hand stitch the base of your tag closed.
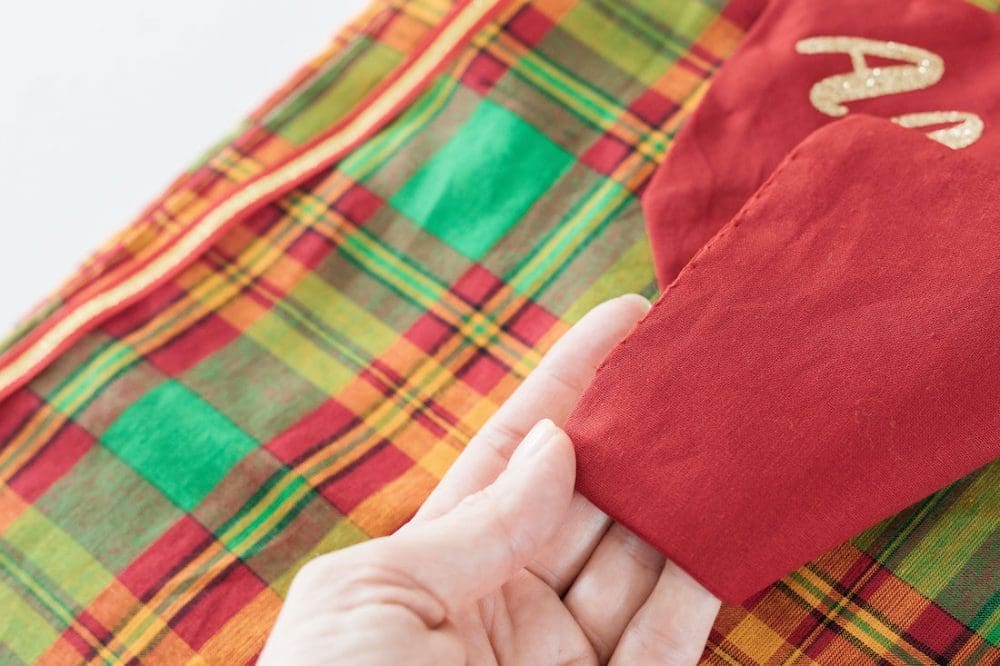
14. Finally, attach your finished name tag onto your Santa sack.
Your Santa sack is done!
This was such a fun project to make and I love how sturdy the sack is because of the thick felt lining. While there are some super simple Santa sack DIYs around — many just adding a draw string to a pillowcase — I think it’s worth the extra effort to create a quality sack that can become a keepsake for them. I can’t wait to surprise the kids soon with their Santa sacks.
What do you think of this personalised Santa sack? If you make this DIY, I’d love you to send me a pic at hello@stylecurator.com.au.
More Christmas DIYs