
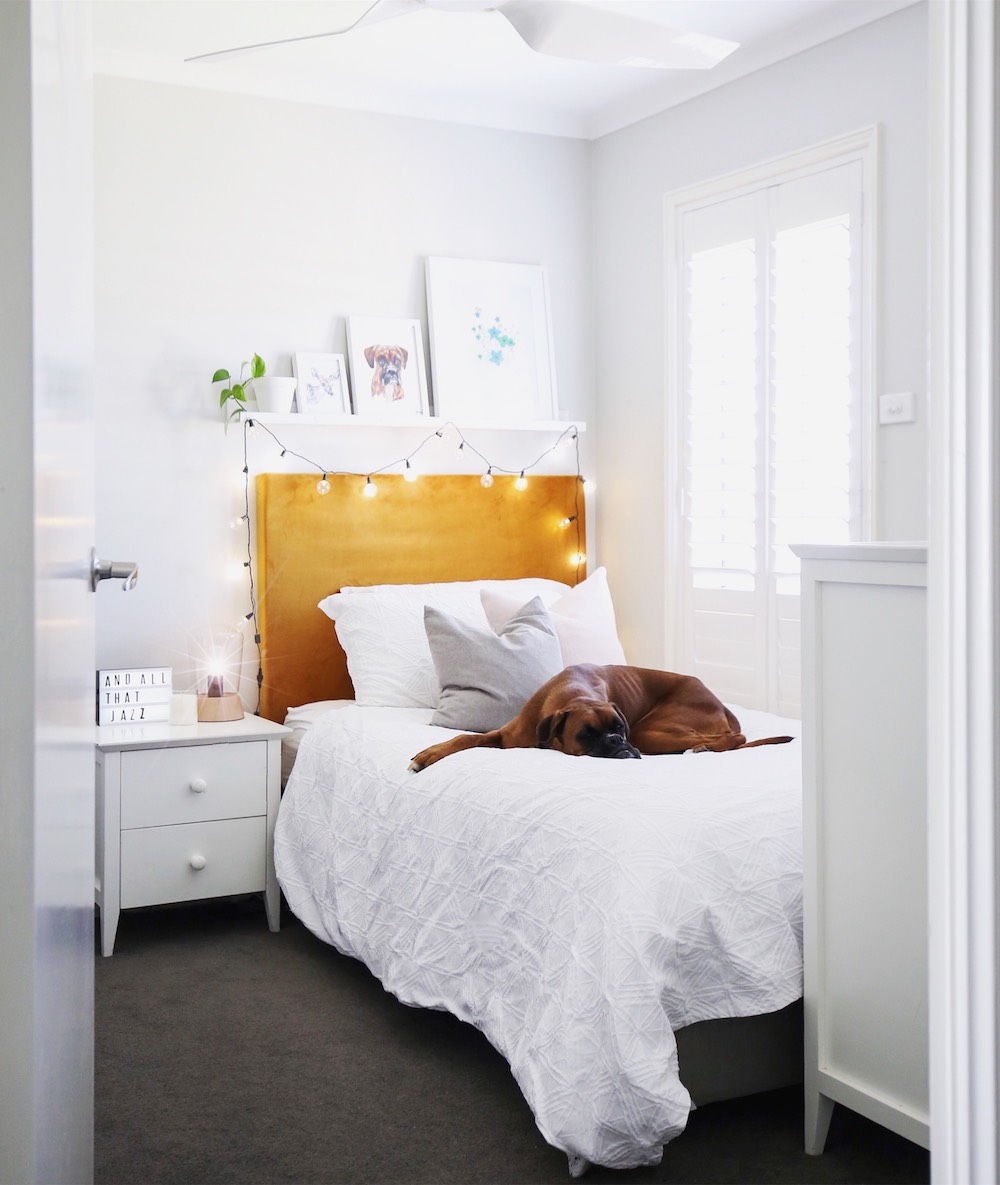
Have you also always wanted a luxe upholstered bedhead? Never been able to find one in your price range or perhaps the right colour for your space? Then you’ve come to the right place for this easy and inexpensive DIY upholstered bedhead tutorial!
Related article: 20 of the coolest Kmart hacks EVER!
Related article: 8 of the best DIY bedhead ideas
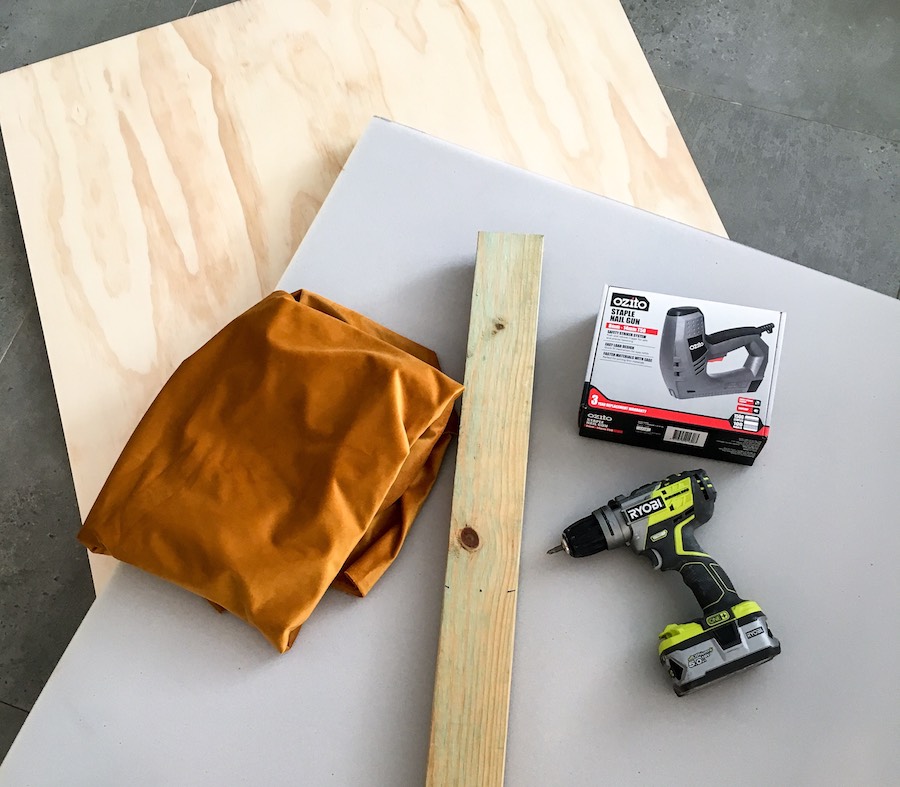
Items you will need:
- Plyboard at the size of your bedhead (mine is 1100mm wide x 1000mm high for a king single bed)
- 2 x pieces of 45mm thick treated pine (these will be the legs)
Tip: I made mine 50cm long, but this will all depend on how high your bed base and mattress are. Make sure the top of the legs will sit slightly lower than the top of your mattress so you don’t feel them if you sit up in bed - Foam (I bought a 1100mm x 1000mm piece at 50mm deep from Clark Rubber)
- Fabric (I used 2m mustard velvet fabric from Spotlight)
- Electric drill
- Staple gun
- Hammer.
Steps:
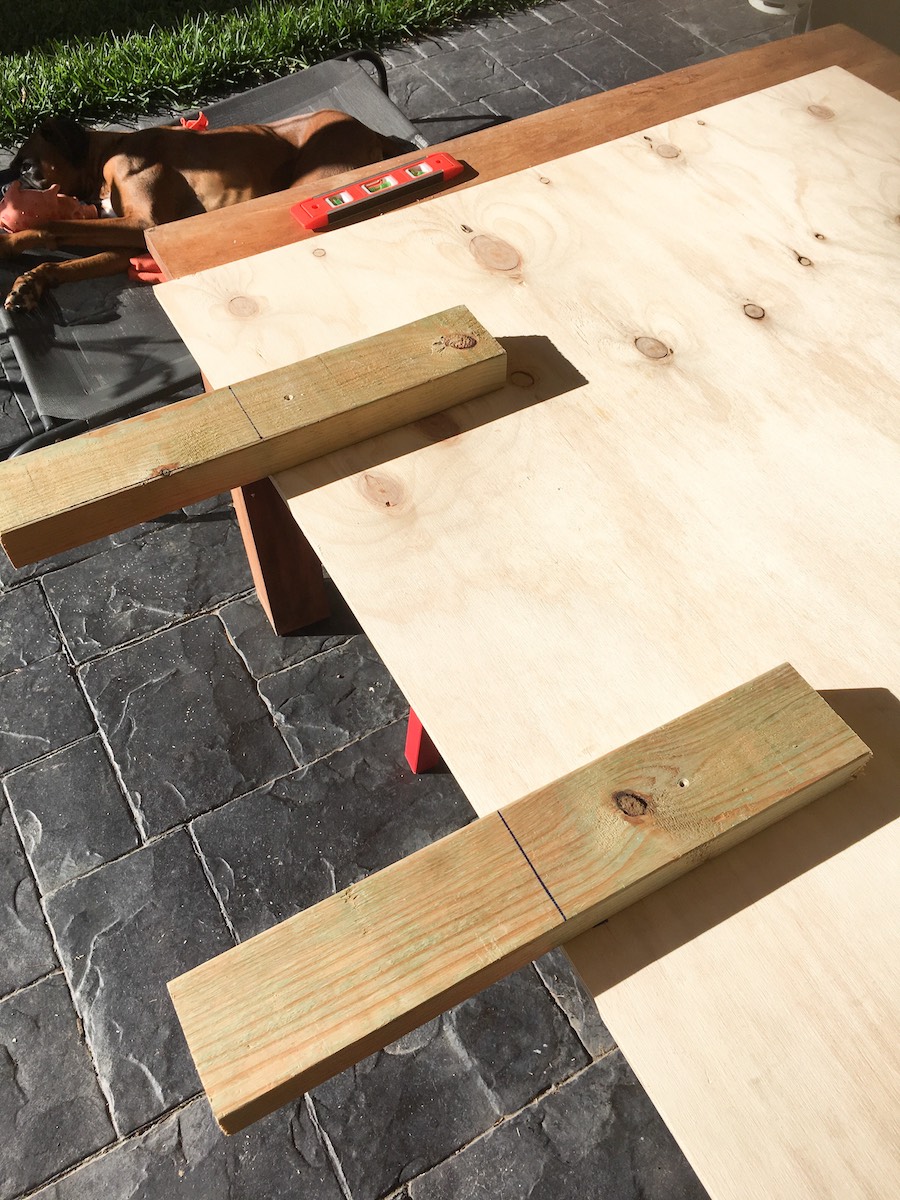
1. Begin by cutting your plyboard down to size or you can also have this done at the hardware store. I made a king single bedhead and the dimensions I used are 1100mm wide x 1000mm high.
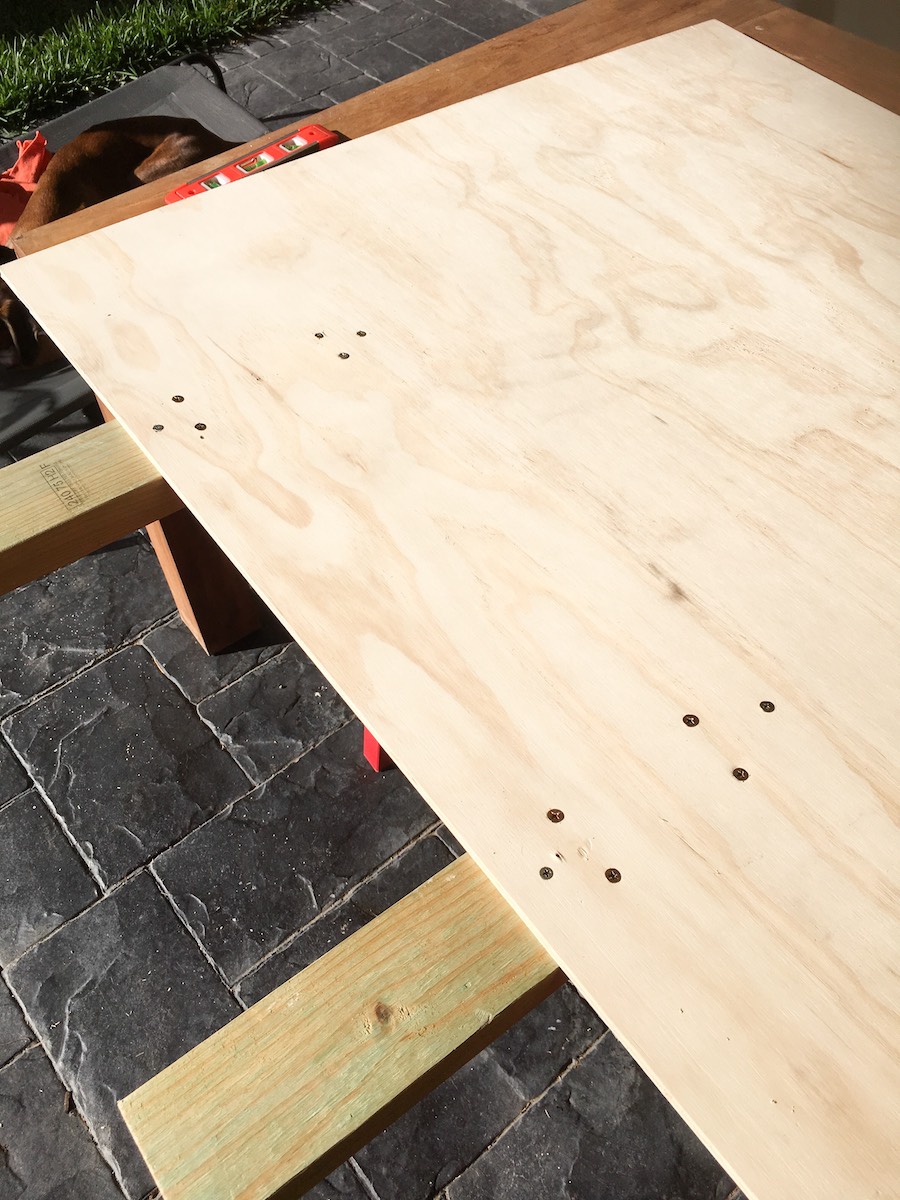
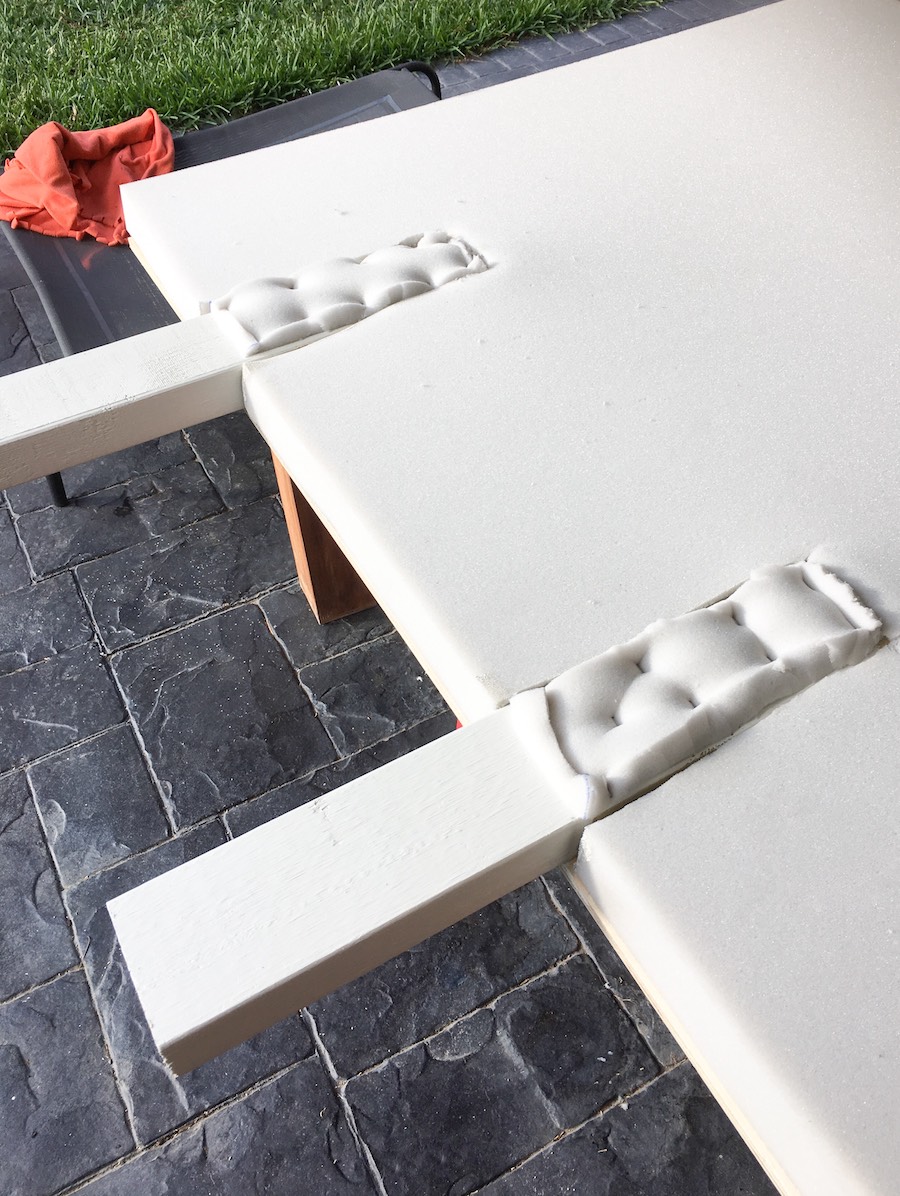
2. The next step is to add legs — this will help to create height while keeping the cost of your materials down, and will provide an opening at the bottom of your bedhead so you can still access powerpoints. Attach the legs to the inside of the plywood, so that it will leave room for your skirt and will sit flush against the wall. I then attached 2 lengths of 50cm pinewood, 20cm in from either side of the plywood. 25cm of each leg was attached to the board at a height of 25cm from the ground.
Tip: it’s a good idea to use at least 6 screws per leg so it’s nice and secure.
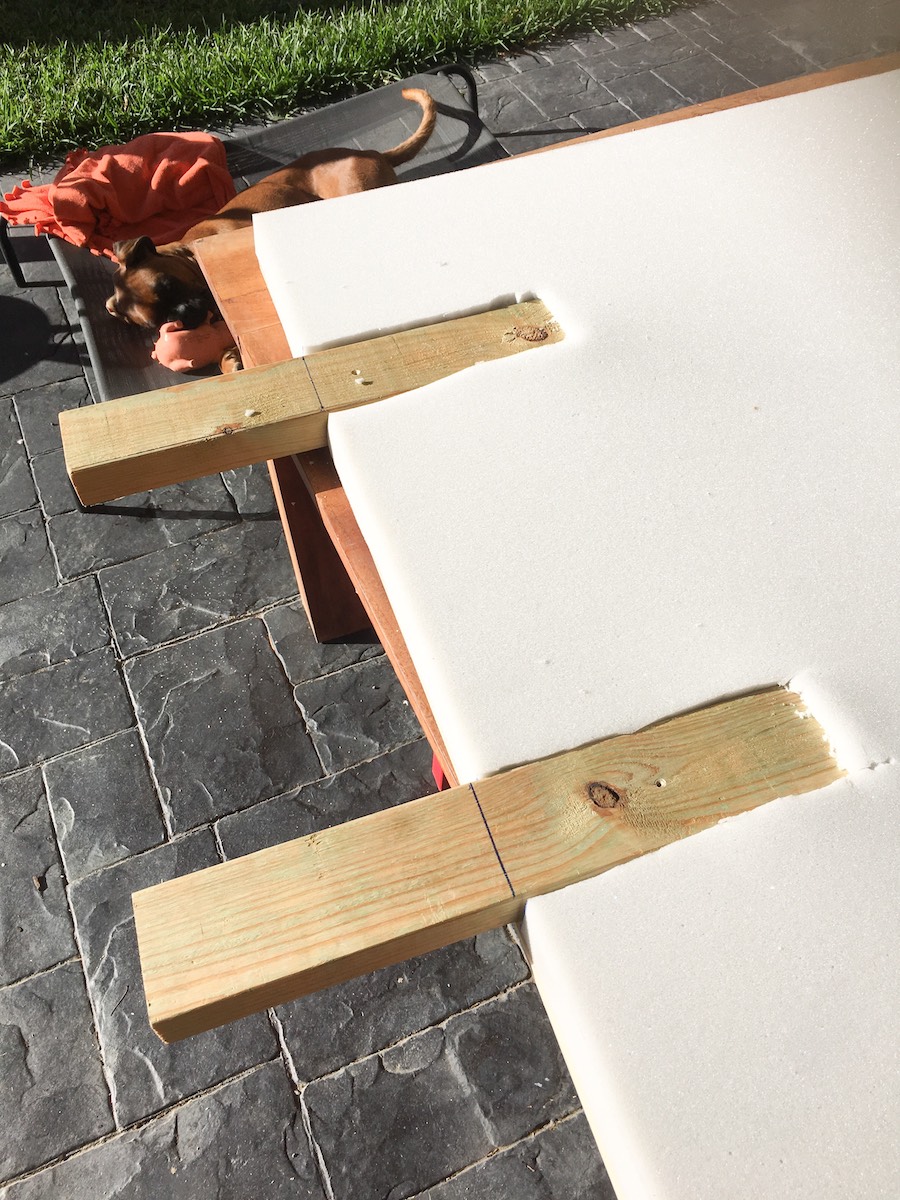
3. Now it’s time to add the foam. Cut the foam to fit around the legs and then attach to the plywood. Also cover the legs in foam and use your staple gun to flatten it down as much as possible (you won’t notice the bumps as this section will be hidden by the mattress).

4. Paint the legs. I painted the plywood legs the same shade of white as the walls so they blend into the background.
5. Now for the fun part — using the staple gun to attach the fabric. I stapled the fabric to the back of the board near the edges and then further in so the tension wasn’t all in one area. I also stapled a fold of material to the inside of the board for protection and to soften the edges. Wadding would probably have been best to use over the edges but it is expensive and that wouldn’t have made this DIY economical.
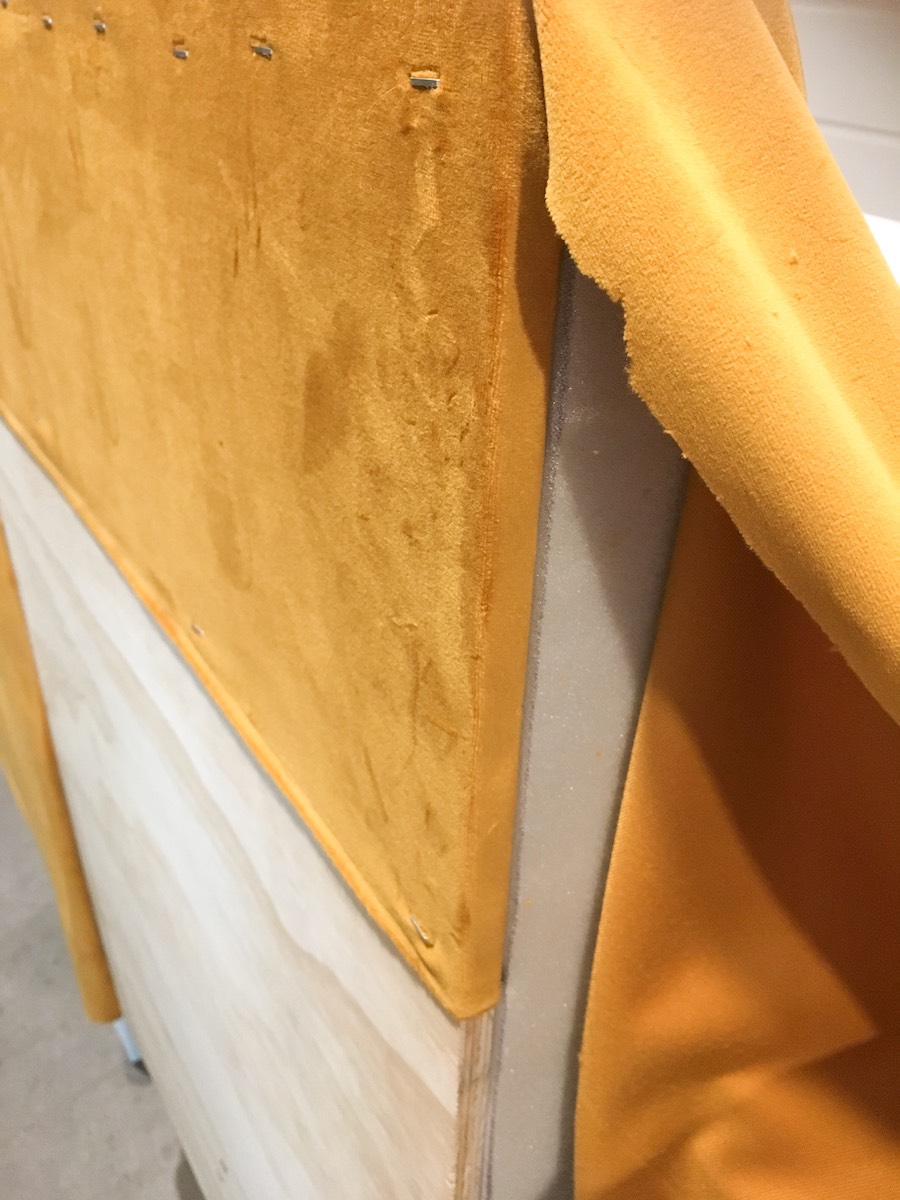
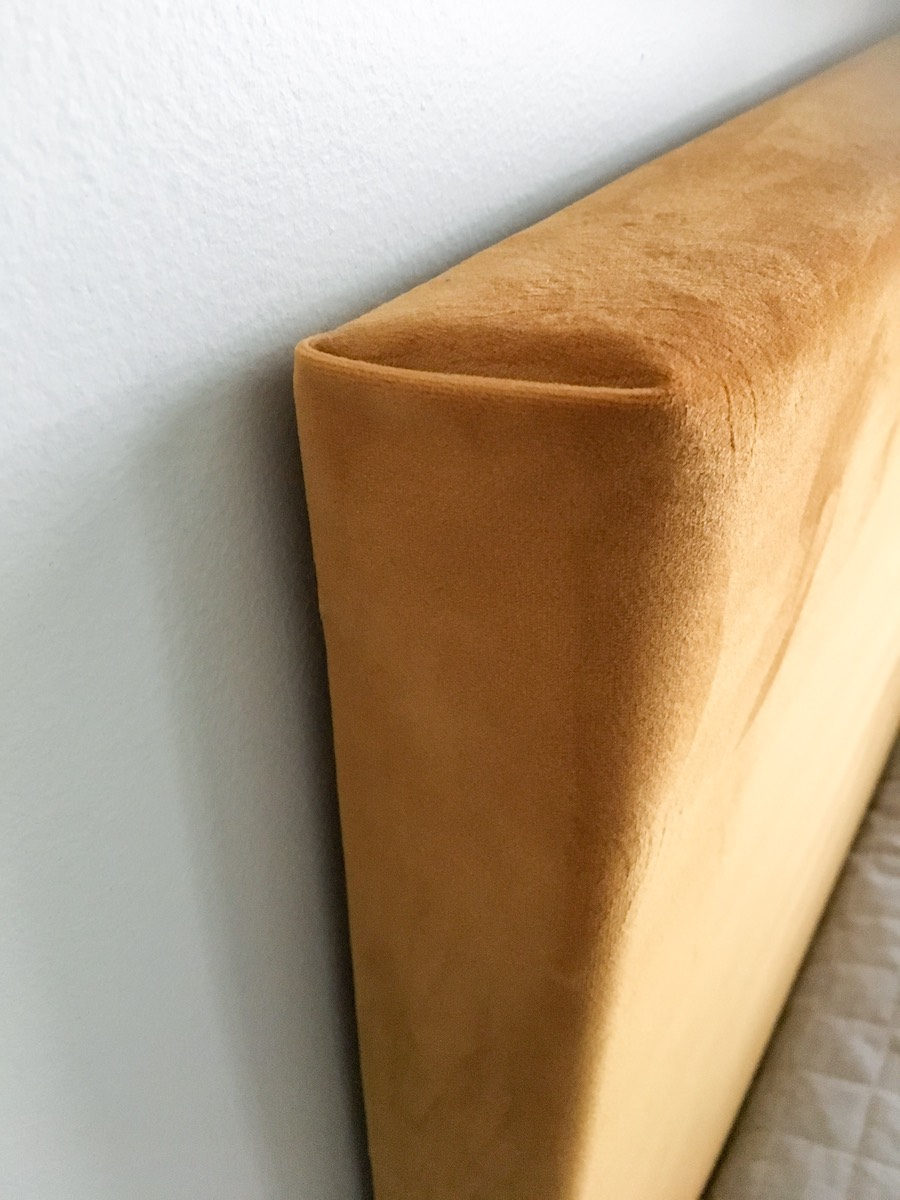
6. The final step is to then fold the edges like wrapping paper and secure down with the staple gun for a neat finish.
Note: Ensure all your staples are flat by lightly tapping them with a hammer. Any raised staples may scratch or dent your wall. Pull any jagged or bent staples out and as a final precaution add a few felt floor protectors to the back of your bed head to prevent any damage.
You can follow these easy steps to make whatever bedhead size you like. There’s also a huge range of fabrics on the market now so you could opt for a different colour or type of material, such as linen or felt which are both popular bedhead options.
More DIY ideas
About the author
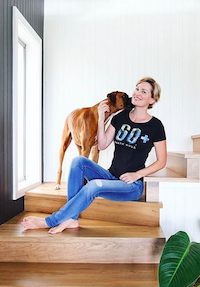
Shelley is a professional renovator who isn’t afraid to DIY. Follow her Instagram account for regular before and afters of the spaces she transforms, other clever DIY projects like this one, and of course adorable photos of her boxer pup George.
Instagram: @diyshelley
This post was first published in August 2018 and has been updated for relevance.

