
We say all the time that painting is one of the quickest and most affordable ways to transform your home. But the effort! We know, we know, your thoughts are audible from here! Fortunately, there are plenty of clever hacks to make house painting easier. Cut down time and effort with our round up of the best home painting hacks, including everything from how to minimise mess and quickest wash up techniques, to best ways to store your paint.
If you have more painting hacks to make life easier, post a comment below so we can add it to the article. Happy paining friends!
Related article: How to paint walls like a professional: House painting tips and tricks
Related article: Pro painter answers the most googled questions about painting
1. Paint door hardware without removing it
Could your door hardware do with a refresh? Using black or aged metallic spray paint on door handles instantly achieves a designer aesthetic on a budget… but removing handles and knobs is a lot of effort and can damage locks. Cue this genius painting hack!
2. Pour paint from the tin with no mess
Sick of getting paint caught in the rim of your tin every time you pour paint out? Us too! That’s why this house painting hack really piqued our interest. Watch the quick video below to see how you can create a removable spout for your tin using painter’s tape or gaffer tape. It really is a zero mess solution to this common painting problem!
3. Use rubber band to prevent drips
If you’re painting directly out of the tin, this is another hack to prevent the rim of your paint tin becoming clogged with paint. Rather than wiping excess paint off your brush along the edge of the tin — and having paint seep into the seal — try this nifty elastic band hack. Using a rubber band along the centre of the tin means excess paint will drip back into the can, minimising waste and keeping your tin clean. Alternatively, you could use a strip of tape along centre of your can for a similar result.
4. Create a drain for your paint tin
Alternatively, you could create a DIY drain to keep the rim of your paint tin clean. Simply use a hammer and nail to create 3-4 holes in the rim and any paint that gets caught in the seal will drip back into the tin. Watch how to do this in the video below.
@tapiahomeco Paint can hack you’ll want to save #painthack #painthacks #diytipsandtricks #diyprojects #painter #painttips #paintingtiktok ♬ She Share Story (for Vlog) – 山口夕依
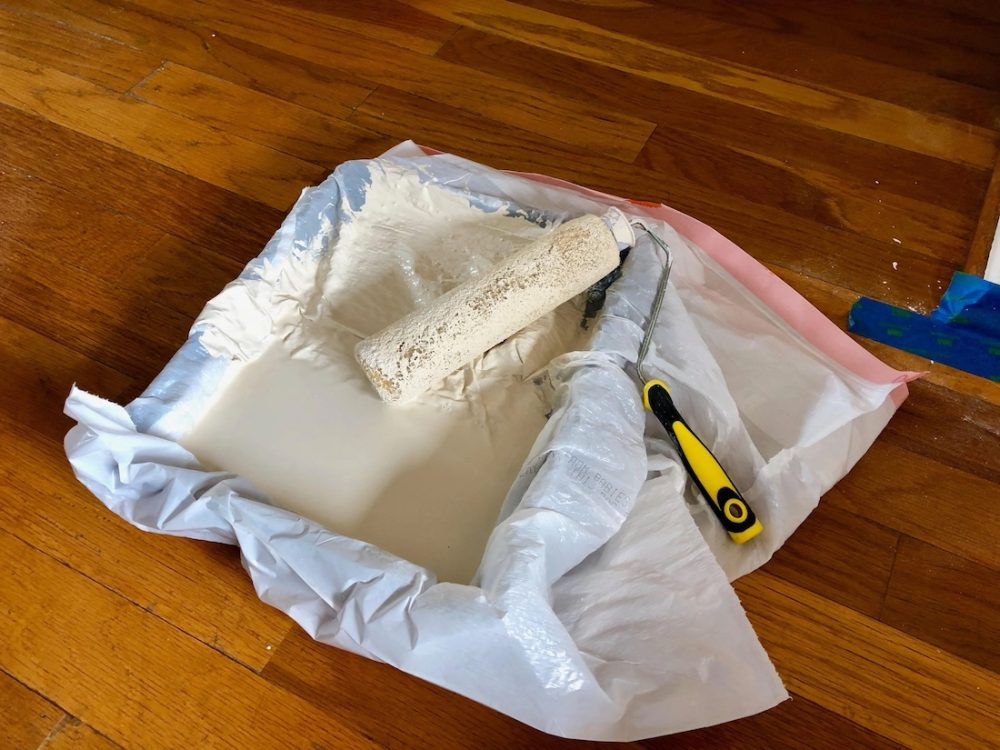
5. Place your paint tray inside a plastic bag
When using a paint tray to roll walls, cleaning it can be almost as much trouble as the painting itself. To reduce clean up time, place the tray inside a plastic shopping bag or bin liner. After painting, remove the bag from the roller tray by reversing it so the paint is left inside the bag.
If there’s excess paint, you’ll capture it in the bag meaning you can snip a small hole in the bottom and pour it back into your paint tin. Genius or what?!
6. Use a water bottle or Pringles container to keep your roller fresh
Avoid the need to wash your paint roller in between coats with this simple hack. Get an old water bottle for small paint rollers, or Pringle container for large rollers, and screw a hole into the lid. Slip the lid over the paint roll without the roller cover, then add the roller cover and paint as usual. Once you’re done, you can put the paint roller into the container and close the lid shut. It will create an airtight environment, which will prevent it drying out in between coats.
@tipcentric Fresh Tip ✅ #tipcentric #tips #tipsandtricks #tools #decorating #diyhacks #lifehack #worksmarternotharder #learnontiktok #painting #foryou #fyp #fypシ ♬ original sound – TIPCentric – TIP Centric
7. Wrap your paint roller in glad wrap to prevent it drying
Similarly, you can prevent your paint roller (or paint brush for that matter) from drying out in between coats by wrapping it in cling wrap. The experts at Haymes Paint say you can also pop the wrapped roller or brush in the fridge to extend this hack further, ideal if you need to wait overnight to do the next coat.
@sharnshouse Where has this tip been all my life? #paintbrushhack #wallpainting #diytiktok #diytipsandtricks #diyideas #renovationtiktok #renovationproject #lifehacks ♬ Woop Baby (Extended Version) – Letherette
8. Protect hardware and surfaces with petroleum jelly
Painting around light switches or door handles? Do yourself a favour and apply some petroleum jelly on these surfaces. That way, once you’re done painting you can simply wipe them clean with ease. Because let’s face it, no matter how careful you are when painting or how much painters tape you use, paint will always end up where you don’t want it!
This hack also works well along smooth flooring when painting skirting boards. Or check out our next tip for the best way to cut in using a paint brush.

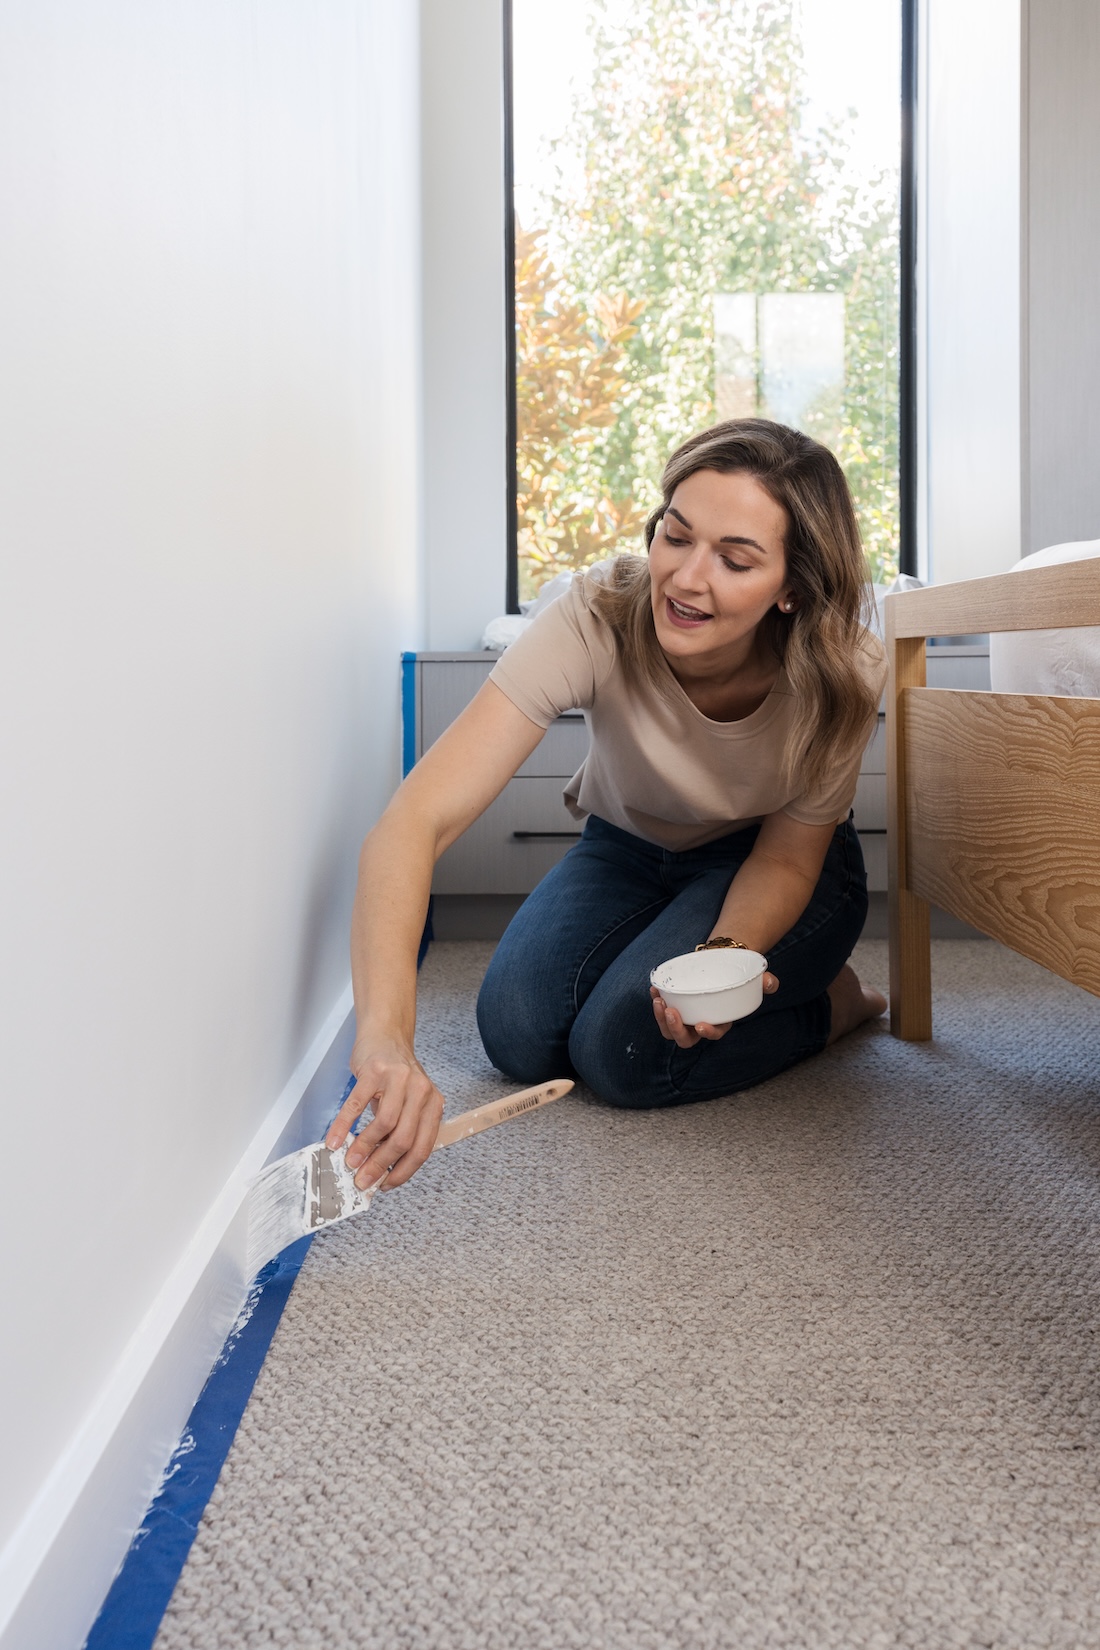
9. Simplest way to ‘cut in’ using a paint brush
‘Cutting in’ is one of the most dreaded parts of painting. No one likes making mistakes and if done poorly it can seriously bring down the look of your paint finish.
The team at Oldfields say it’s important to get the best paint brush for the job, and they should know! “Ensuring you have a quality brush which is fit for purpose (ideally a cutting in and moulding brush), is the first step to a successful cut in. Also cover any power switches or sockets on the wall you are painting with painters tape, to prevent them from being painted over.”
A tradie hack when cutting in is to remove the tape when the paint is still slightly wet, to achieve a cleaner finish.
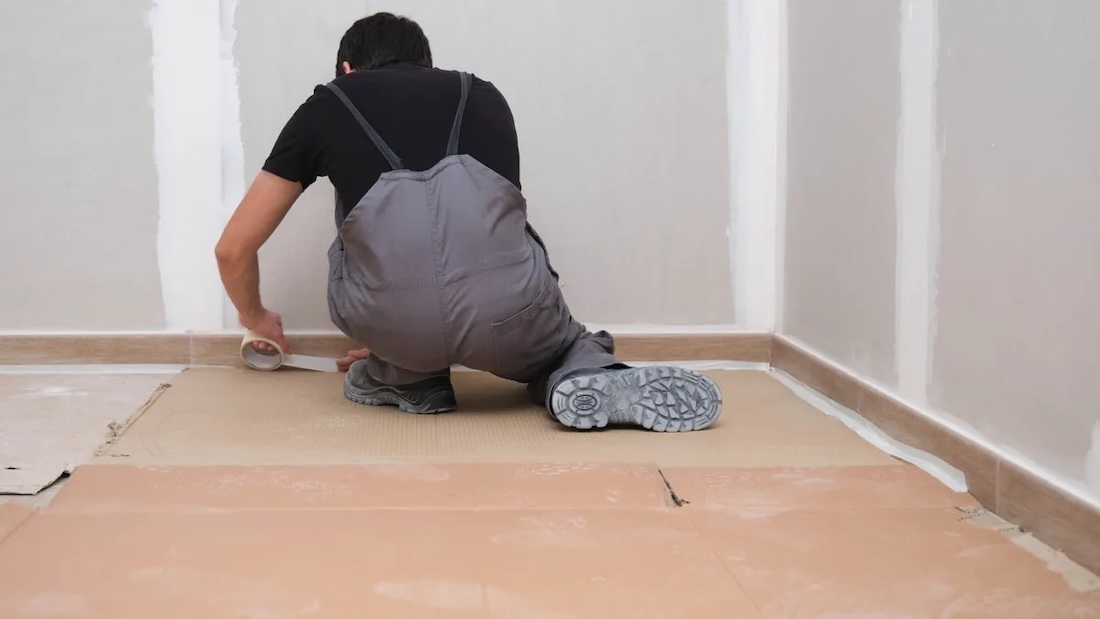
10. Protect flooring with canvas drop cloths or cardboard
Wondering the best way to protect your flooring when painting? Our experience (and others agree!) is not to waste your money on plastic drop cloths — they’re slippery to walk on and keep paint splatter wet so mess spreads quickly. Instead, invest in canvas drop cloths or for a cheap alternative, use old cardboard.
11. Try this roller hack when painting ceilings
Quite possibly the most disliked house painting task is painting ceilings. It’s backbreaking and requires so much preparation. Or does it?! Karlin shares her classy paint roller hack to prevent paint splattering on the floor, ha ha.
@karlinsummer Wow my pre-painting to mid-painting Glowdown is really shocking 😬 #diy #homehack #paintinghack #ceilingpainting ♬ original sound – Karlin Summer
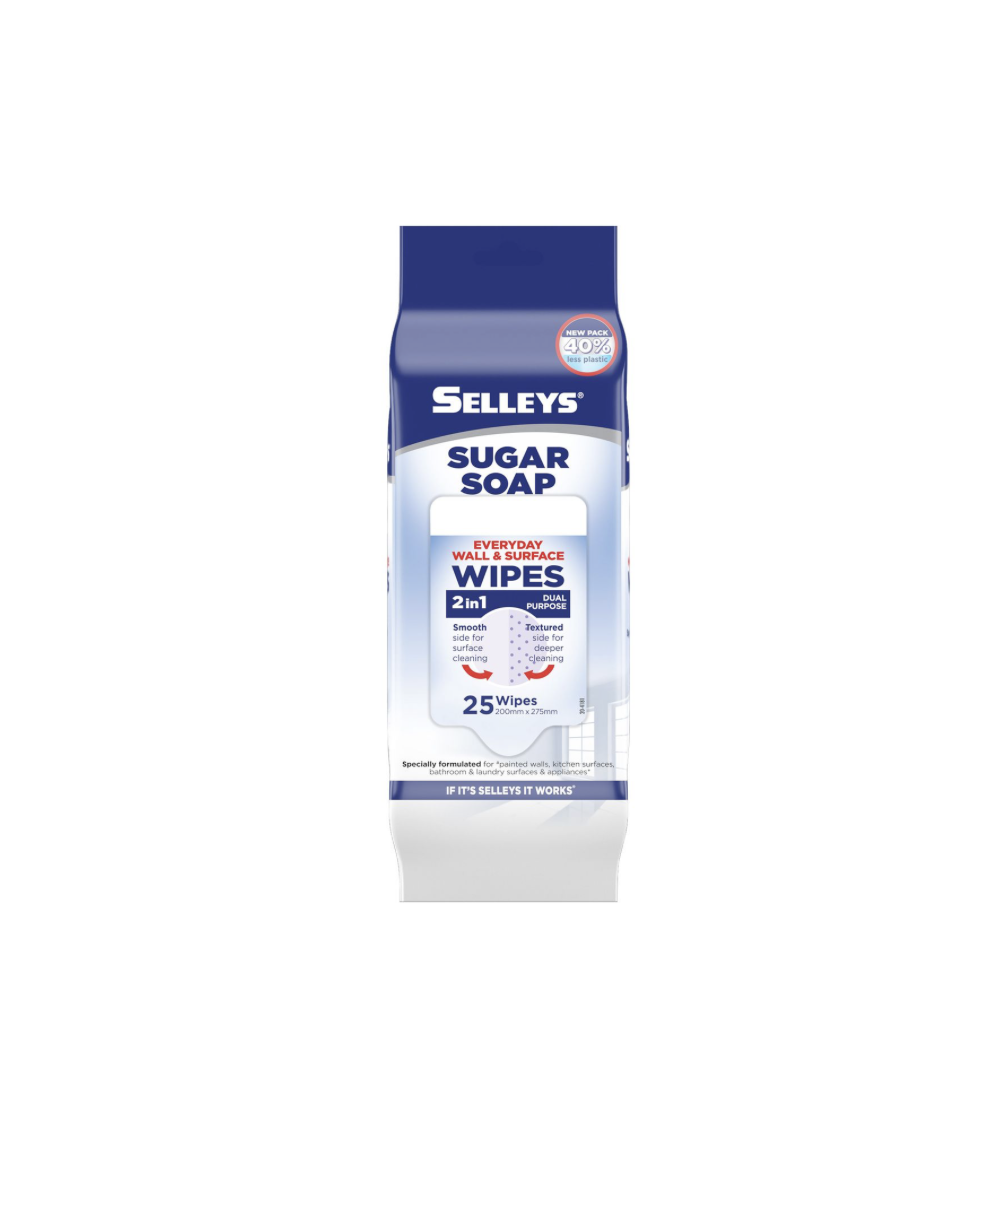
12. Keep makeup wipes or sugar soap wipes at hand
Quickly correct your painting mistakes or wipe up spills using sugar soap wipes. This new product was a game changer last time we did house painting and are readily available in most hardware stores. Otherwise makeup wipes offer similar results but be aware some contain alcohol so always do a test patch first.
13. Easiest way to clean a paint brush
“Many painters find it too difficult to clean a paintbrush properly, and rather than re-using might decide to dispose of a brush after the job,” say the team at Oldfields.
“The easiest way to clean your paintbrush is by running it under warm water to remove excess paint, then soaking it in warm soapy water for a few minutes. Gently massage the bristles to loosen any remaining paint and then pat the brush dry with a clean cloth, reshaping the bristles. It’s then best to let your brush fully air dry before storing it again.”
You can also try fabric softener to remove paint residue with ease if paint has hardened. Add 2 tablespoons of fabric softener to warm water and soak the brushes in the mixture overnight.
This is a fab hack to avoid creating unnecessary waste and will save you money in the long run. Not only will you be able to use quality paint brushes project after project, you’ll achieve a better quality paint finish every time.
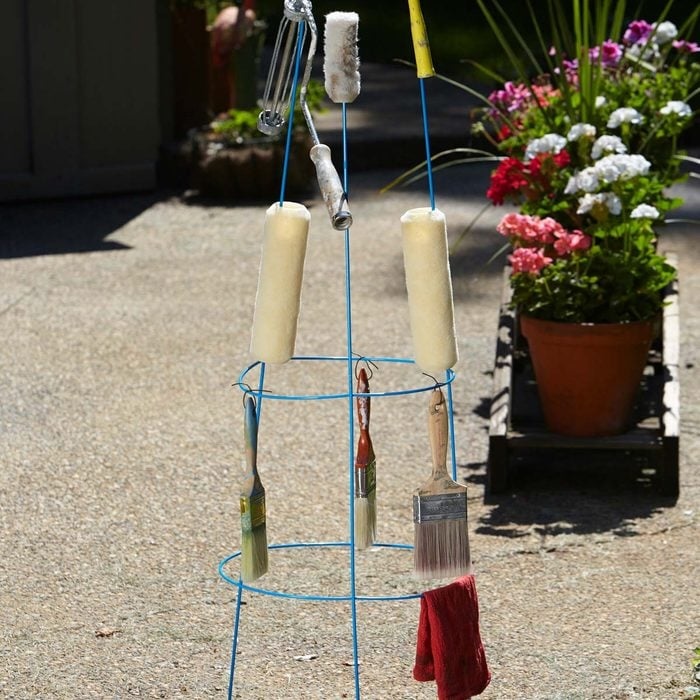
14. Use a veggie cage plant trainer as a drying rack
Turn a veggie cage upside down for the perfect paint drying rack. You can slip roller covers over the open ends and drape wash cloths over the supports. Essentially, it’s a compact way to hold all your painting equipment while it dries. And we all know it’s important to thoroughly wash and cleaning gear in between painting jobs to prevent them from becoming mouldy, smelly or damaged.
15. Hacks to store paint properly
After you’ve finished painting, store your leftover paint properly to prevent it from spoiling.
“When storing paint in metal containers, don’t store it on a concrete floor as condensation builds up and rusts underneath the can,” say the experts at Haymes Paint. “Store it on a shelf instead or place lengths of timber under the can to allow airflow.”
Move leftover paint into a smaller airtight container to help it last longer. For example, if you have 2 litres left over in a 10L can, storing it in this way allows for bacterial growth or for the paint to go off quicker. You can preserve the paint longer by moving the remaining paint into a 2L can.
16. Make your own electric paint mixer
There’s nothing more frustrating than finding your paint wasn’t mixed properly part way through a job. Patchy walls? No thank you! Here’s a nifty hack to turn your home drill into an instant paint mixer!
@pjwoodwork Have you ever tried mixing your paint this way? #painthack #diy #foryou #foryoupage #painttips #tips #beginner #howto #painting #fy #tooltips #fyp #tools ♬ Roxanne – Instrumental – Califa Azul
17. Use a touch up paint pen for smaller jobs
Isn’t it annoying having to use a brush and rinse it every time you have to do touch up paint? Kelsey shows how you can skip this hassle for smaller touch up painting jobs. This is also a fab hack for renters 😉
@newbuild_newlyweds The better way to touch up paint 👌🏼 #TikTokPartner #TikTokTaughtMe #howto #thingsyoudidntknow #amazonfinds #amazonfind #amazonhack #painthack #painttips ♬ Aesthetic – Tollan Kim
We hope these home painting hacks help save you time, effort and money. Which one is your fave? Or do you have another one to add to the list. Share it in the comment section below.

