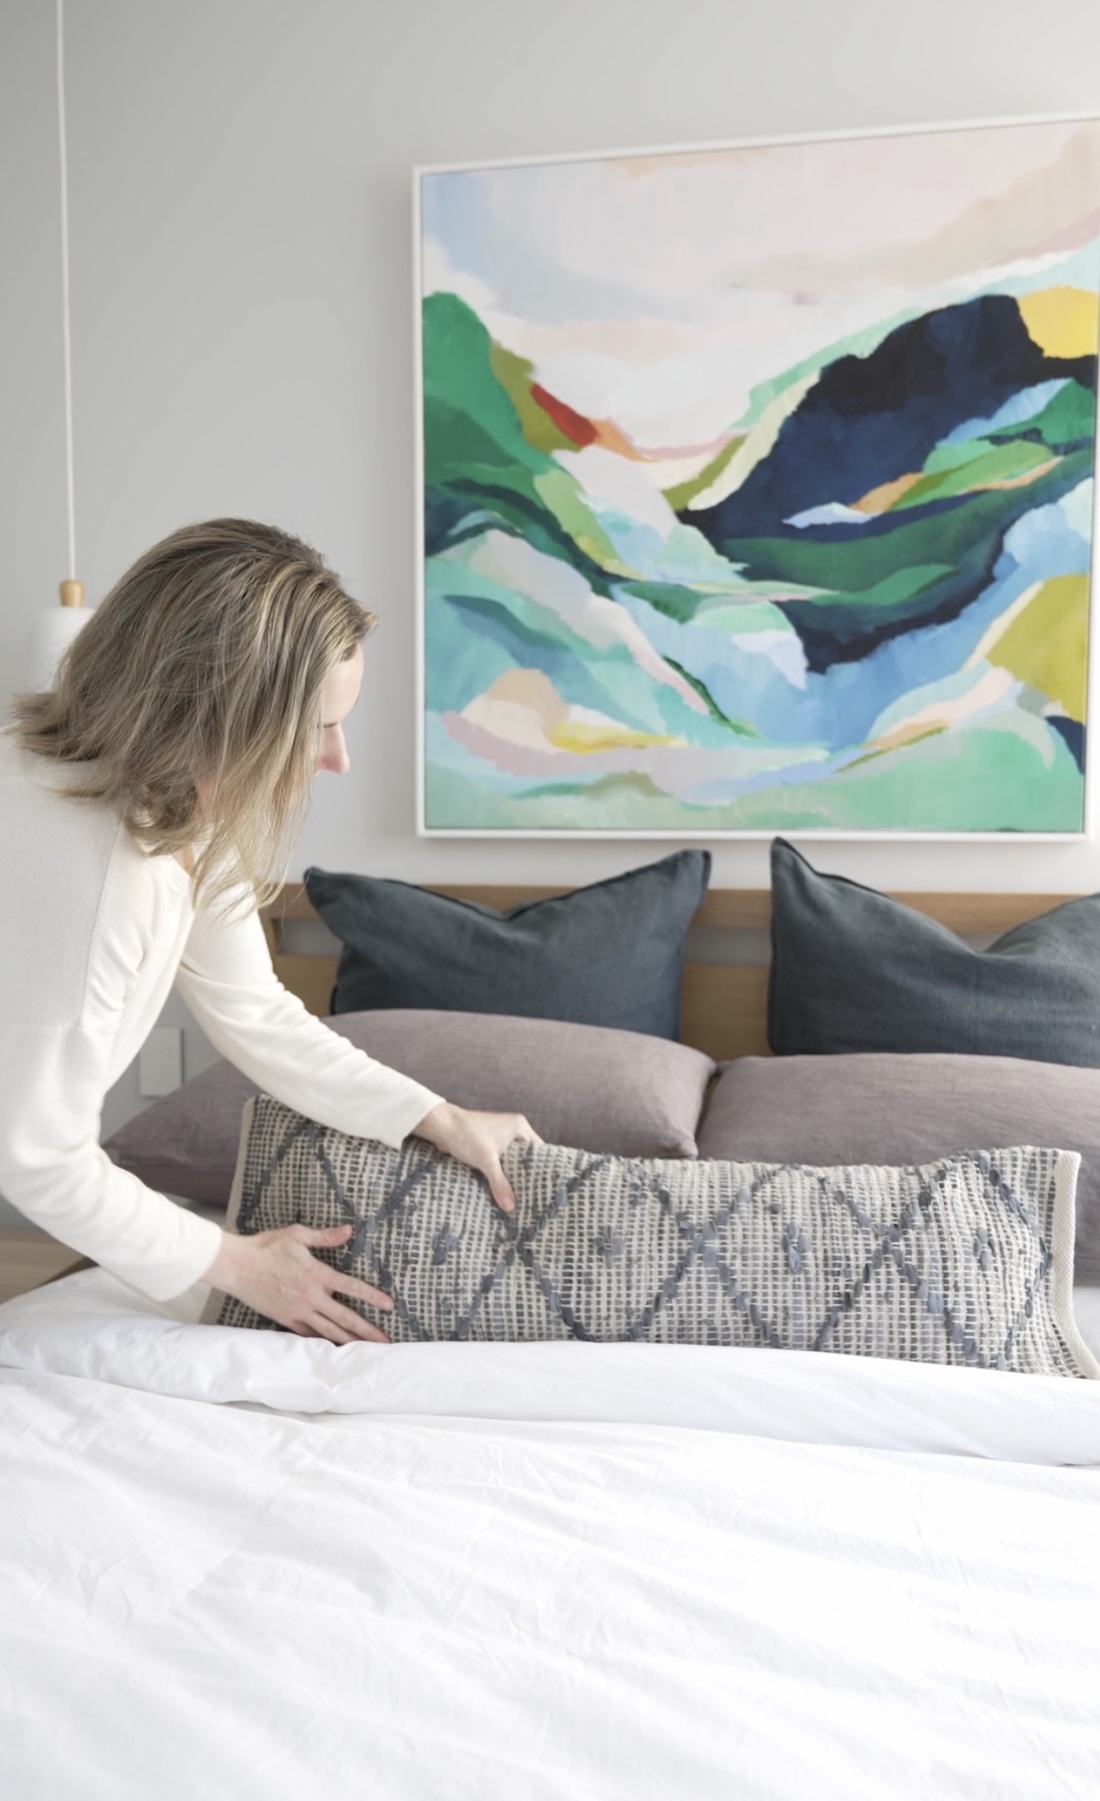
If you’ve been lusting after a lumbar cushion but can’t find one that’s just right, this hack is for you! Using an indoor mat from Adairs, I created this on-trend cushion in minutes.
Here’s how you can hack your own lumbar cushion!
Related article: DIY no-zip designer-look ice dye cushion
Related article: Kmart hack coffee table: Cheap veneer to luxe concrete top industrial coffee table
Items you will need:
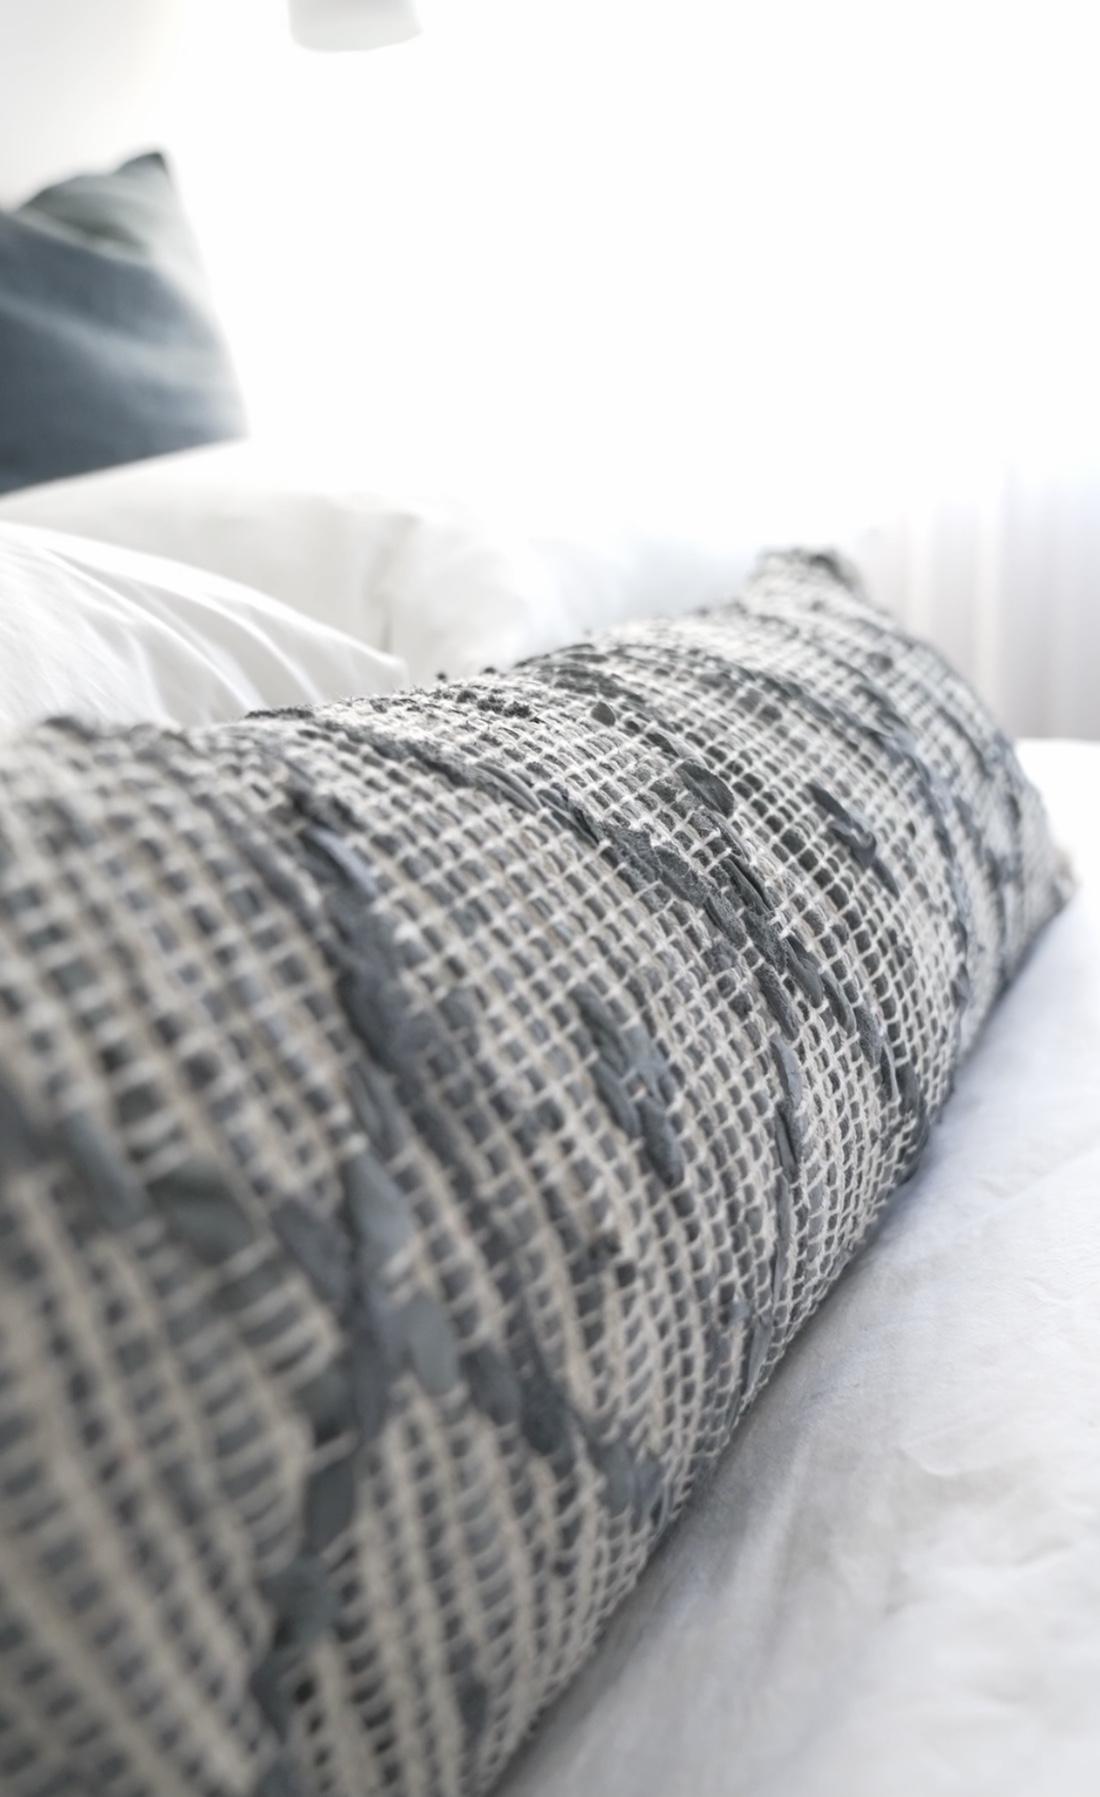
- Decorative fabric or mat (I used an indoor mat from Adairs). Your cushion should be at least 80cm wide and 30cm wide (see Step 1 for more info on sizing).
- Plain cotton fabric to sew basic inner pillow
- Feathers or fill to stuff your pillow (you can repurpose stuffing from pillows you no longer use in your home)
- Buttons, velcro, press studs or zip to close the pillow (I used velcro)
- Sewing machine
- Scissors
Steps:
1. Decide on your size. Most lumbar cushions are 80-120cm wide and 30-50cm wide. It should be in proportion with your bed ie you would make a larger cushion for a king bed and a smaller cushion for a queen or double bed.
The print of your fabric or size of the mat you find may also influence your decision. I made my lumbar cushion 80cm long and 30cm wide because the mat I used was 80cm x 60cm. So, I just folded it in half down the length to create my lumbar cushion.
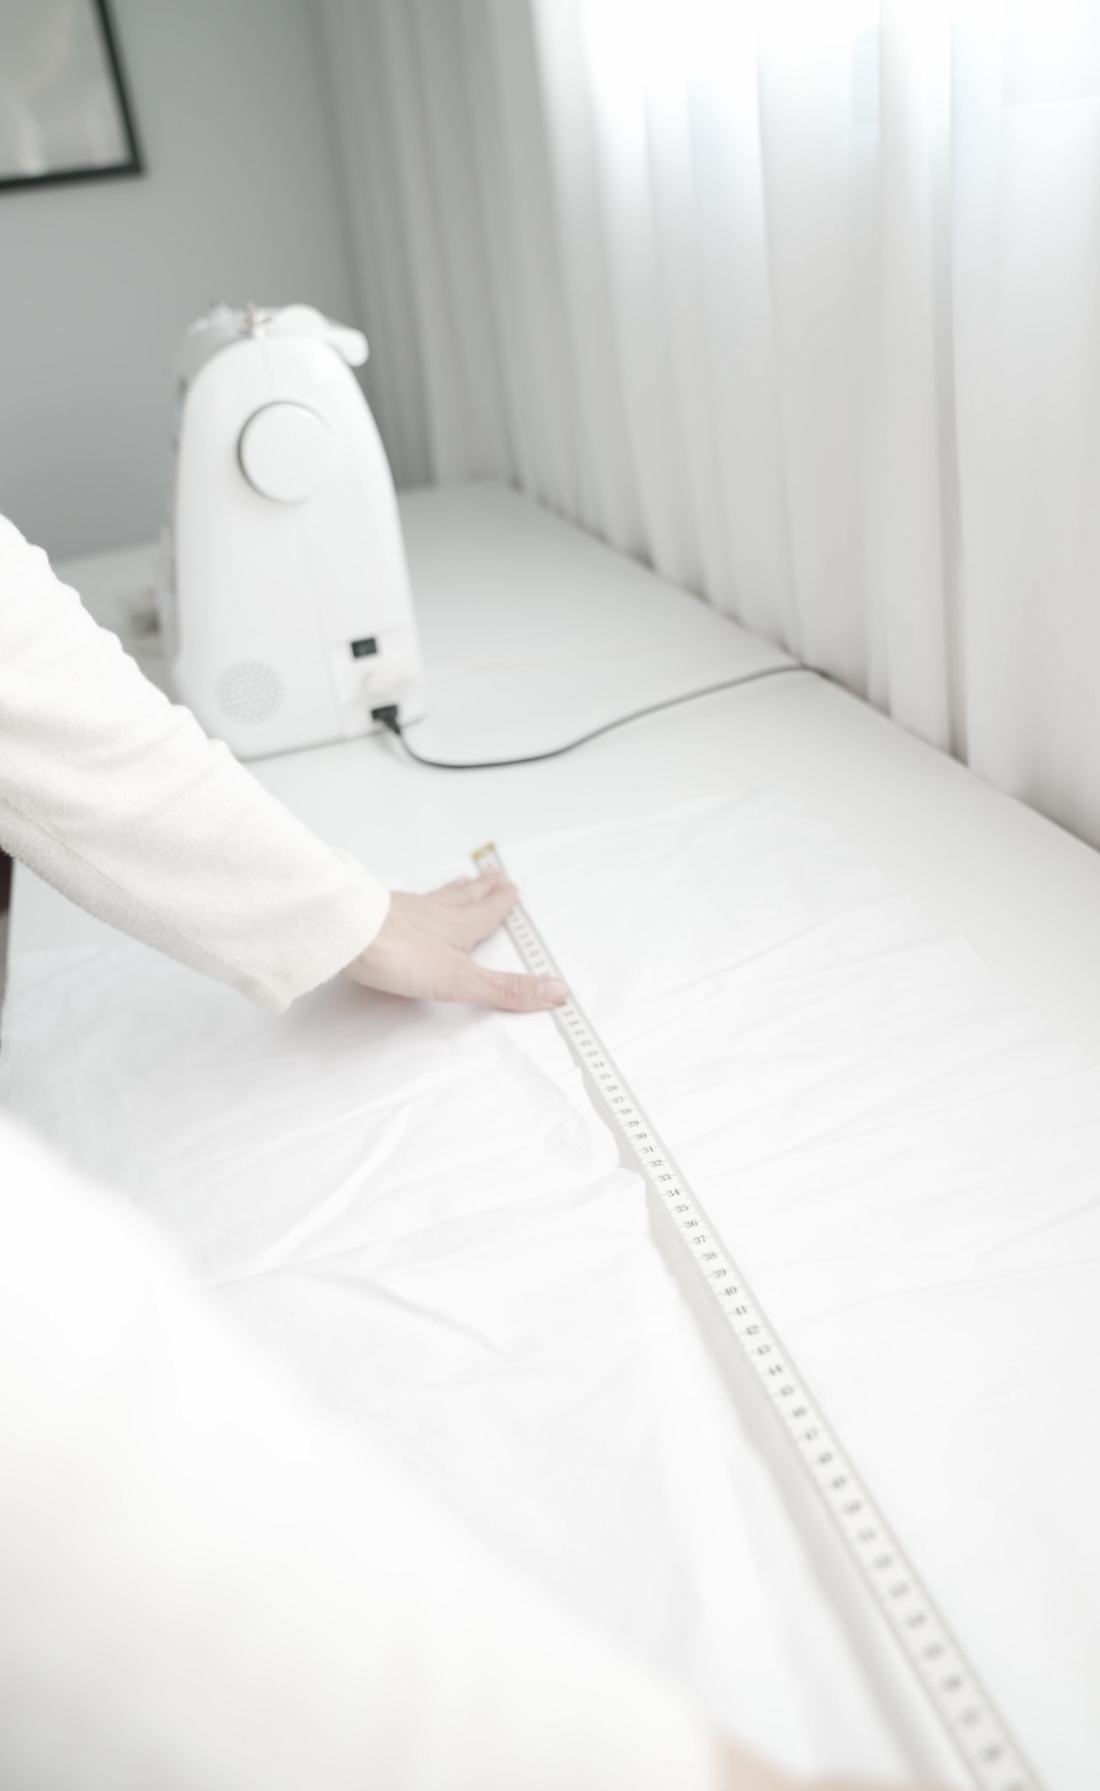
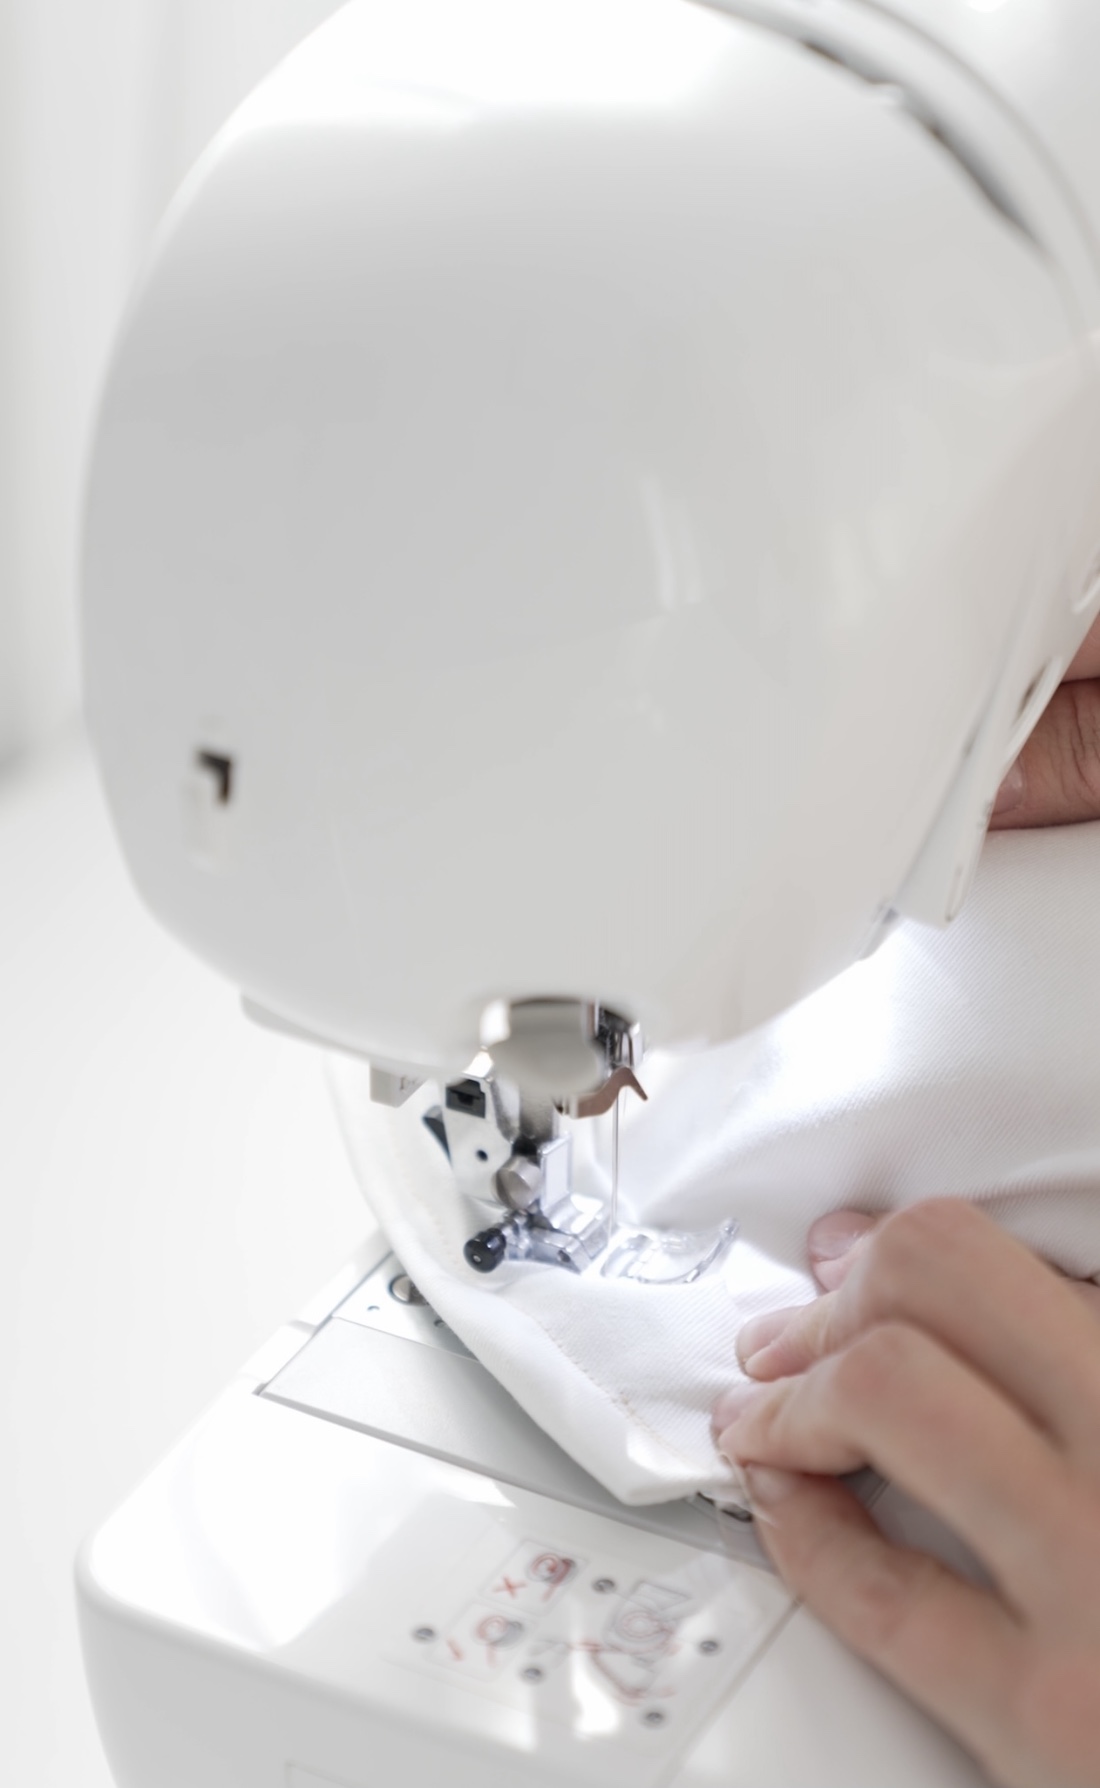
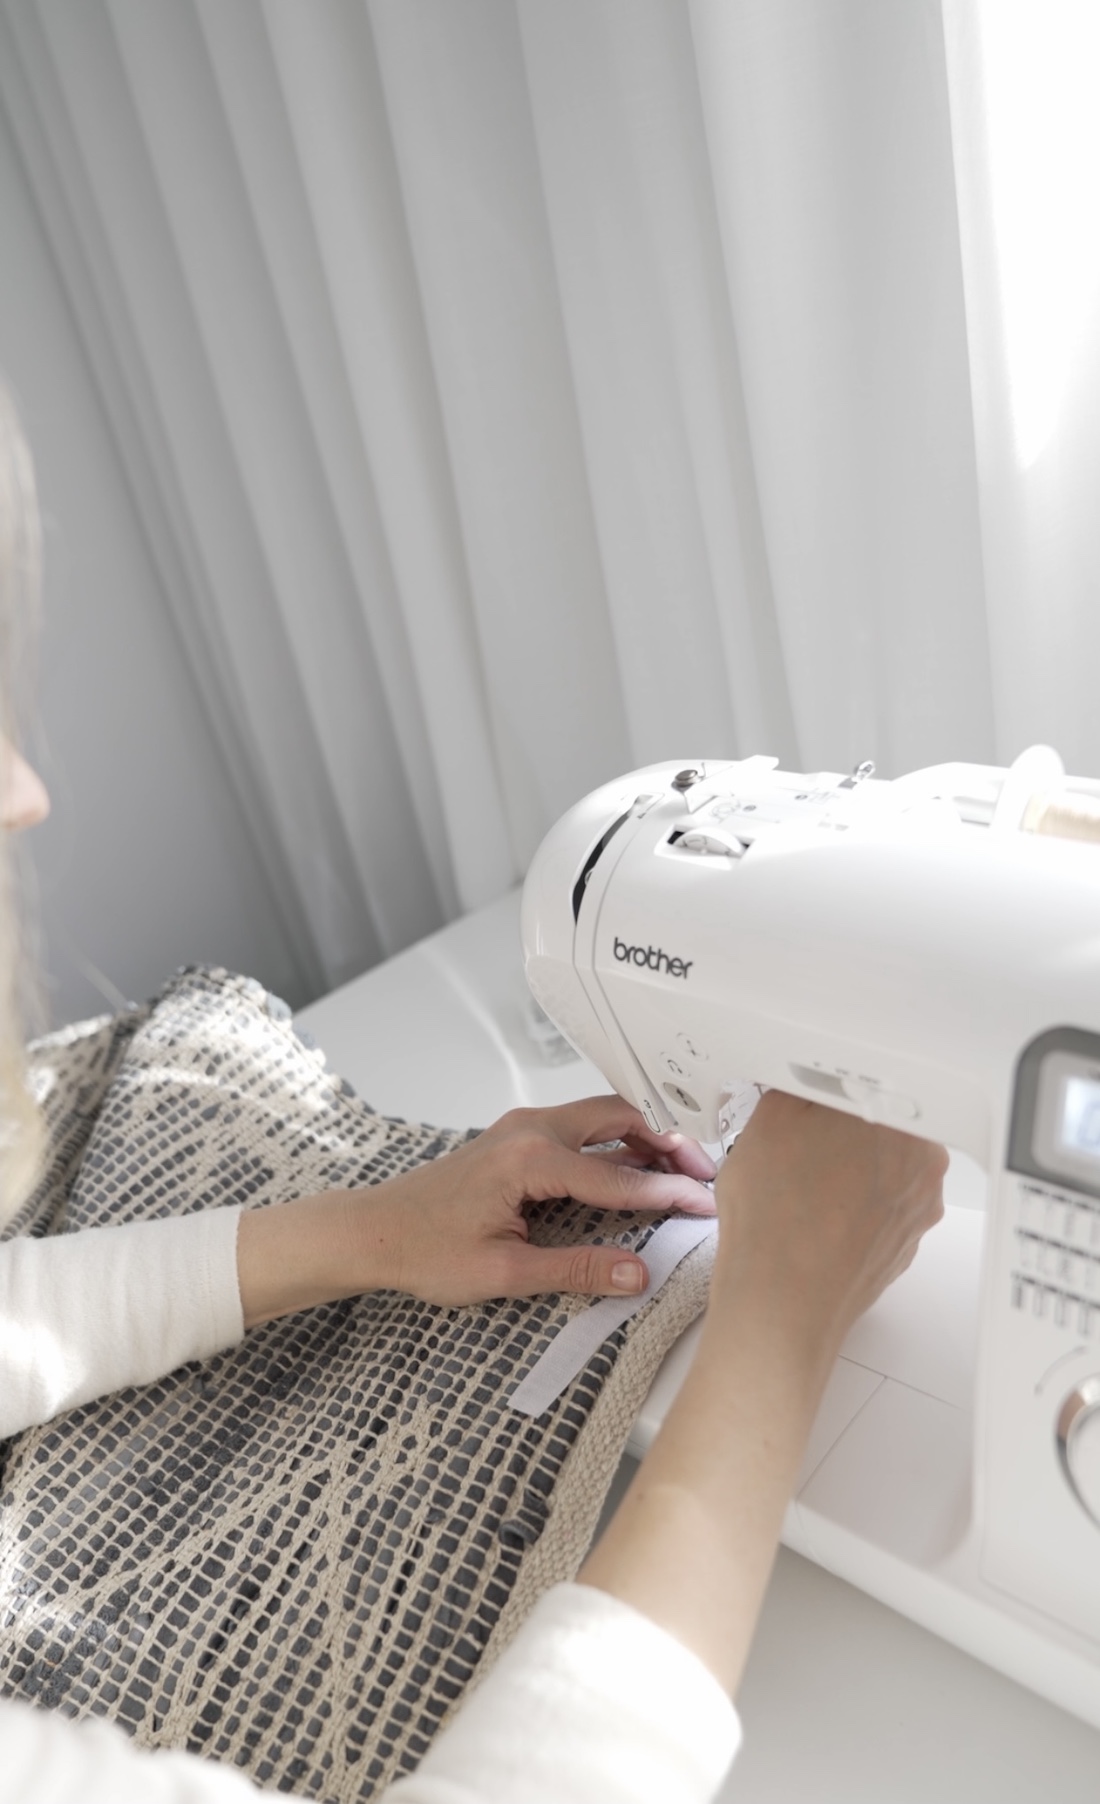
2. Sew a simple inner cushion at your desired size using plain cotton fabric. I used white cotton fabric from Lincraft to sew a basic rectangle that is 80cm long by 30cm wide. Stuff it with feathers or fill and sew shut. Be warned, feathers can get messy but it’s worth it for a more luxe look and the cushion will also sits better.

3. Make your outer cushion to the same size. If you use a mat like me, you’ll only need to fold it in half down the length. Or if you find a beautiful fabric, you can repeat the steps above to sew a simple rectangle.
Whatever technique you use, be sure to keep one end open where you can attach either buttons, press studs, zip or velcro (like I used) so you can remove the cover and wash when needed.
Are you inspired to hack your own lumbar cushion? I’d love to see! Be sure to tag me when you share it online @stylecuratorau or email your pic to hello@stylecurator.com.au.
More DIY ideas