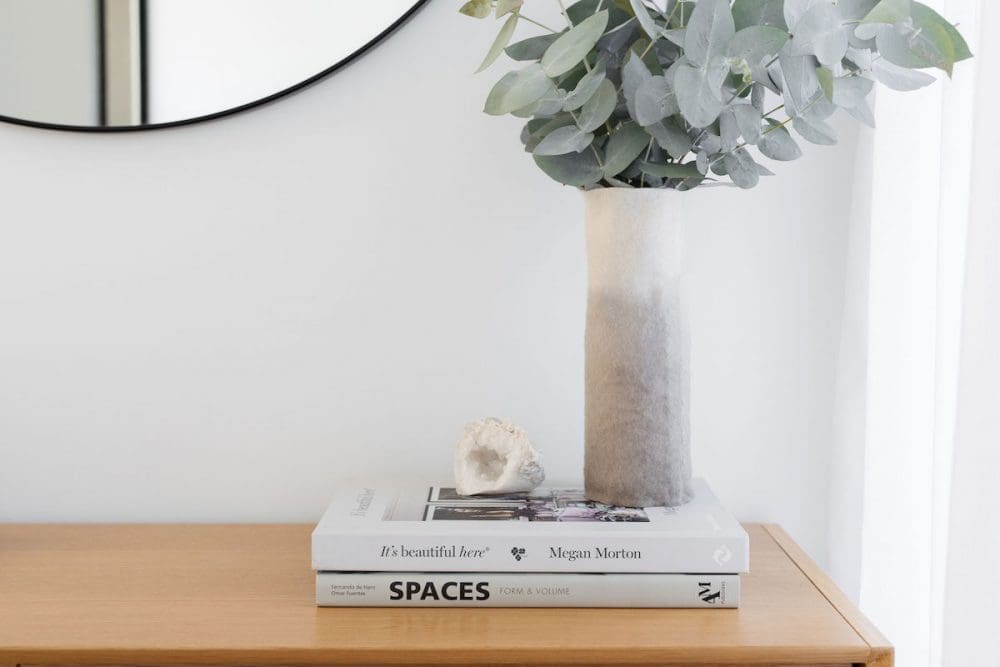
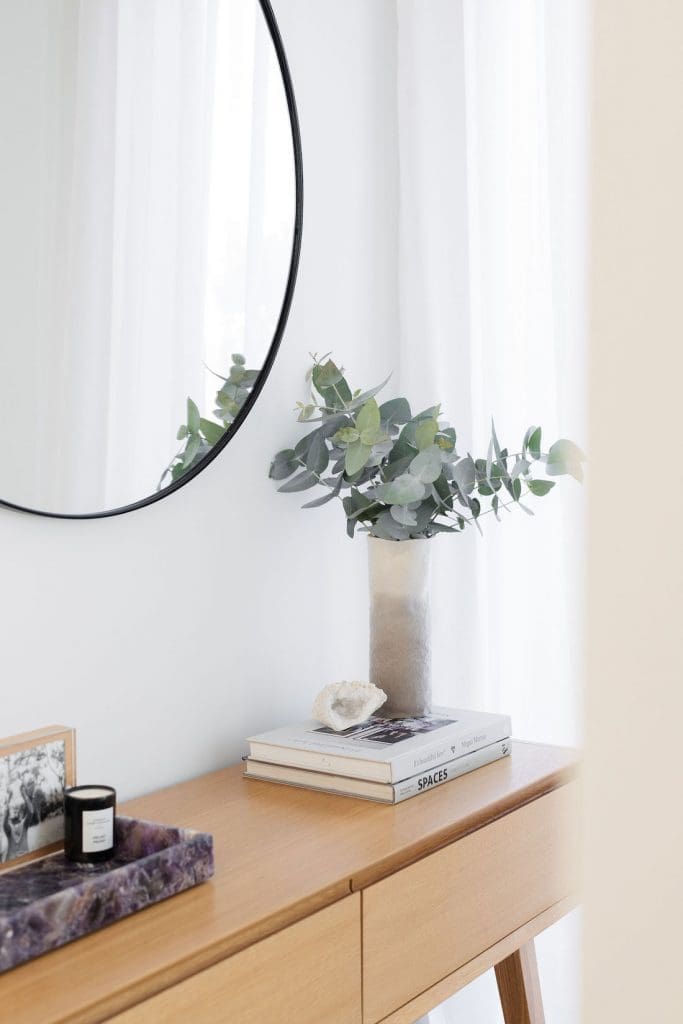
Hand made felt homewares are so on-trend right now and today we’re going to show you how you can easily make your own dip-dyed felt vase — and for only $15! Best of all, you can customise this DIY to suit your colour palette or preferred vase shape.
Here’s how to make your own dip-dyed felt vase (or vase covering to be precise).
Related article: Woven planter cosy tutorial: Make a pot plant weave
Related article: DIY kokedama (aka DIY hanging moss ball planter)
Items you will need:
- 40cm felt (we used white felt)
- Fabric dye (although the vase turned out soft grey, we used a denim blue dye)
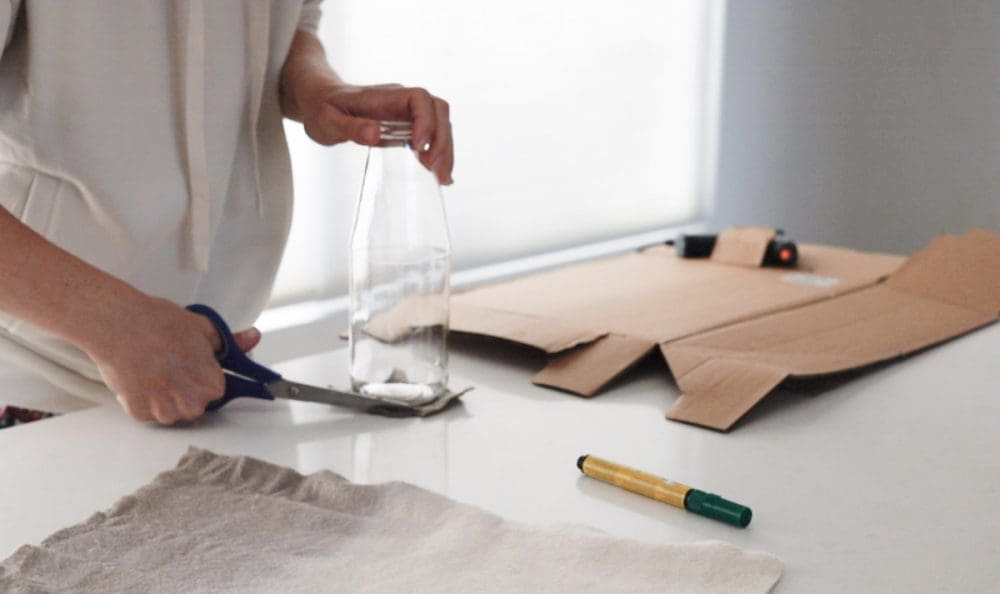
- Old bottle (we used an old pasta sauce bottle)
- Scissors
- Glue gun
- Pins
Steps:
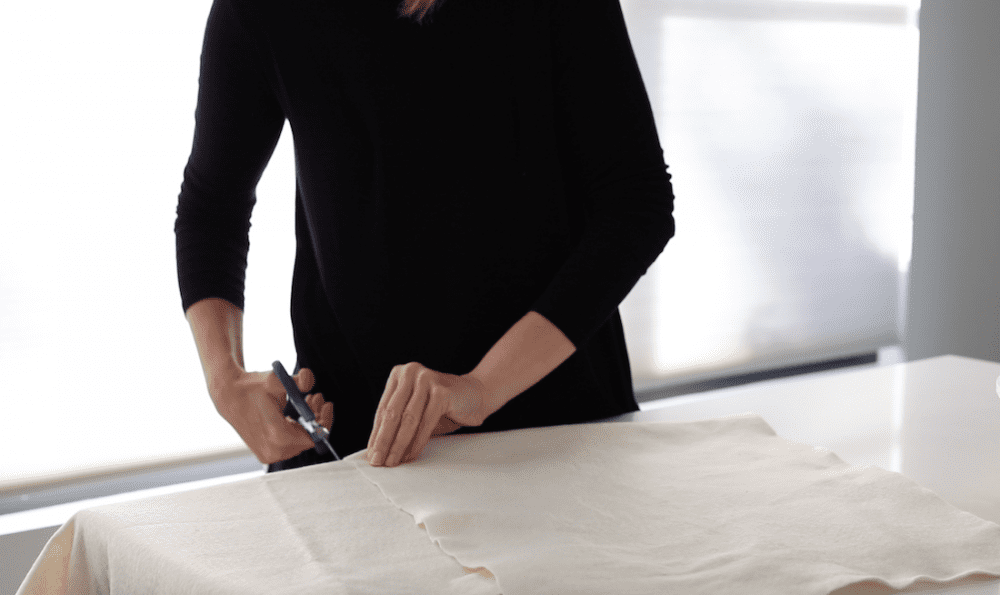
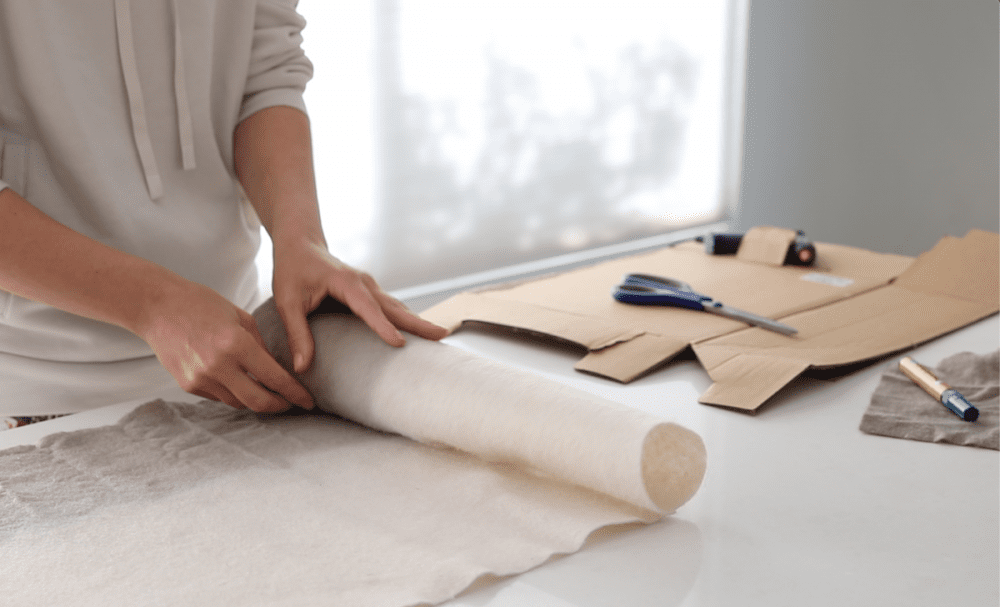
1. Cut a rectangular piece of felt that will generously cover your vase and a large square that will more than cover the base. It’s important to over-allow at this step as felt can shrink when it dyed and washed.
2. Dye the felt in your desired colour by following the instructions on the packet. We followed the cooktop instructions and ‘simmered’ our felt in a pot for 30 minutes. To create the ombre effect, we submerged the square piece of felt (which will be the base) in the pot and only dip-dyed the remaining fabric. We rolled the felt so it was easier to handle and to get an even dye line.
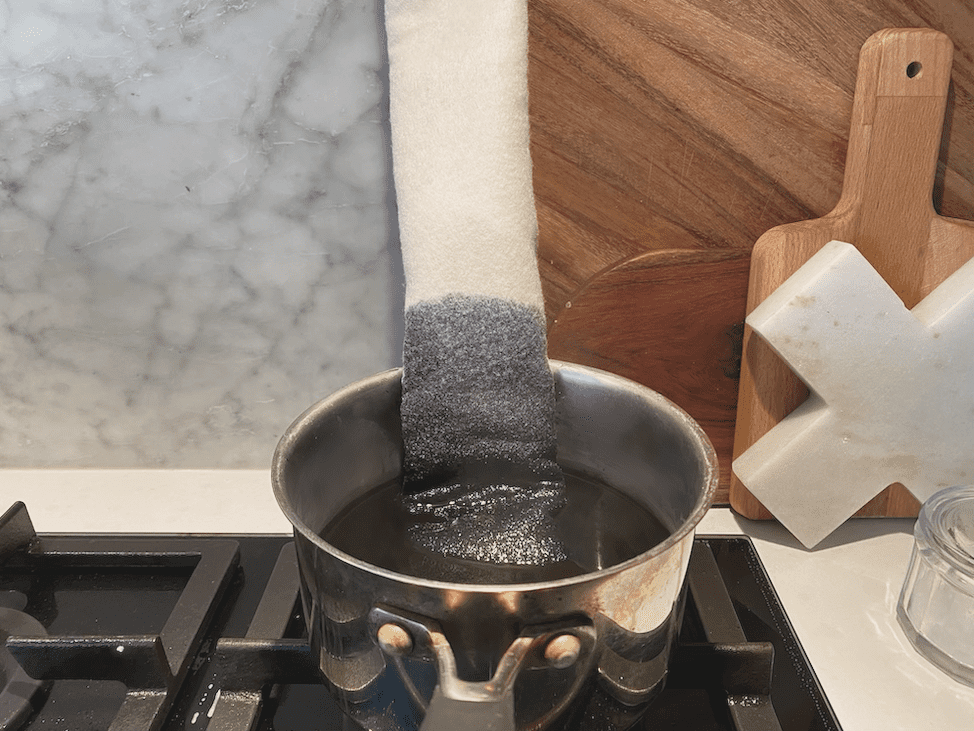
3. Once dyed, carefully wash the felt to remove excess dye (we used a washing machine on a gentle cycle) and allow to dry. Ours turned out a soft grey rather than deep blue, most likely because the felt we used was rather synthetic. You can always dye the fabric a second time if you want a more vibrant colour but we quite liked this subtle effect so left it.

4. Now it’s time to cut your felt to size. The easiest way to do this is to roll your glass bottle around the felt on a flat surface and mark where the two ends overlap. Cut along this line. You will also need to cut out a circle that’s the size of your base. We just placed the bottle on top of the square and drew an outline in pen to get the exact size.
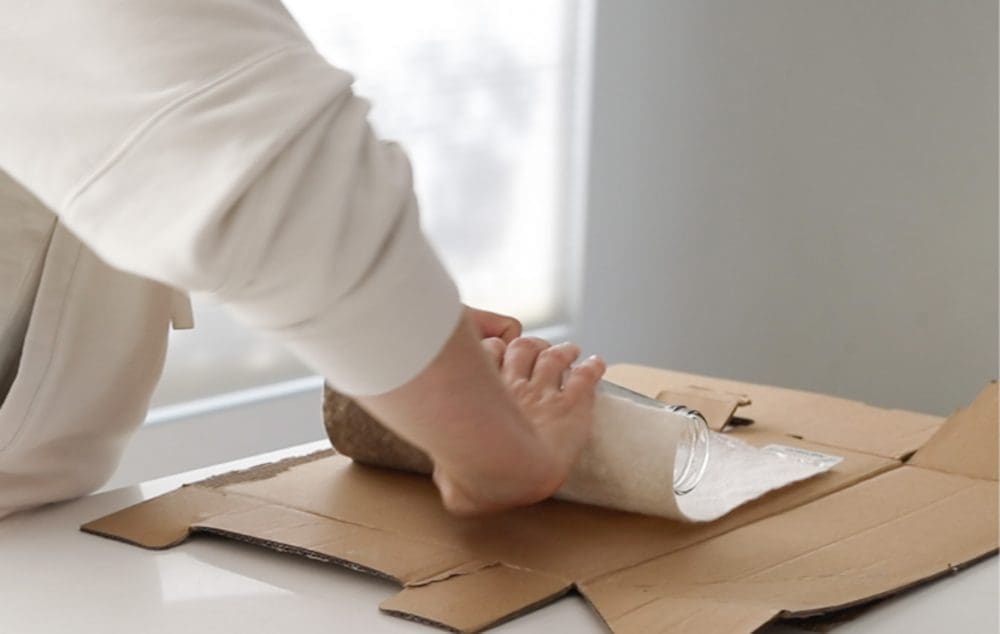
5. The final step is to glue to felt vase together. Using your hot glue gun, run a line of glue along one edge of the felt, place your bottle on top and roll it until the two ends meet. To glue the base, we ran glue around the inside edge of the felt sleeve (with the bottle in place). Then we gently placed the circular piece into position, pressing it against the glue.
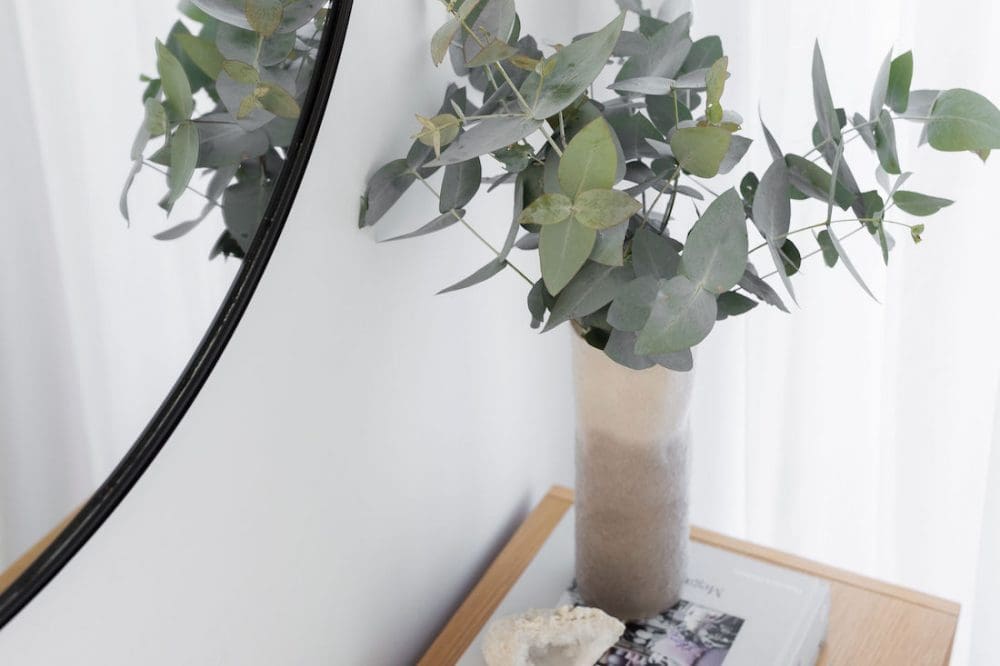
All that’s left to do is to fill your bottle with water, slip your felt vase cover over the top and display your favourite blooms or leaves.
If you make this DIY, we’d love to see a photo. Tag us @stylecuratorau when you share it online so we can take a look. And don’t forget to follow our Pinterest account for loads more DIYs.
Check out more DIYs