

We love bringing artwork into the home. It has the ability to uplift our mood and in terms of styling, create a space that has depth and interest. While there’s nothing more special than buying an original piece from a favourite artist, this isn’t always achievable so today we’ve got a DIY that can see you create your own masterpiece.
Our DIY minimalist black and white artwork tutorial is incredibly simple and fits perfectly into a Scandinavian or modern space, plus we’ll show you how to make your own oak box frame to give it a professional finish!
Stylist Julia Green says almost anything is art when you put a frame around it and today we’re going to prove this theory to be true.
Related article: Fun and affordable felt: DIY ideas to make with felt
Related article: DIY oversized pinboard with floating shelf

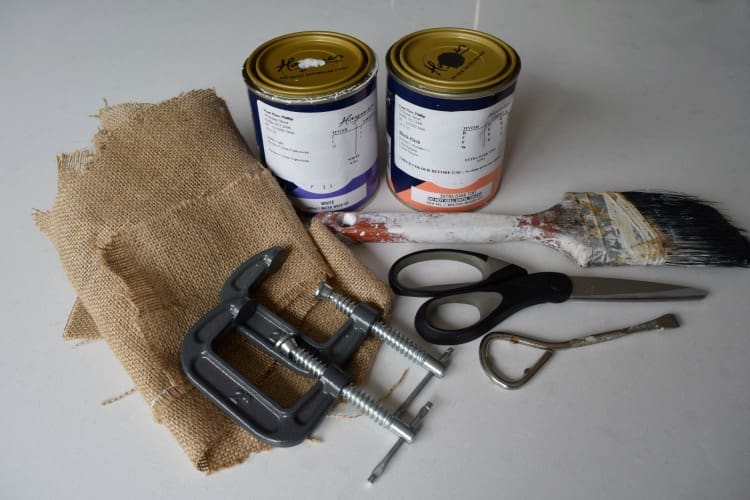
Items you will need:
Artwork
- Canvas
- Hessian fabric
- Paint (we used Minimalist 1 and Black Pitch from Haymes)
- Medium and angle paint brushes
Box frame
- Tasmanian Oak (we used 30mm x 8mm)
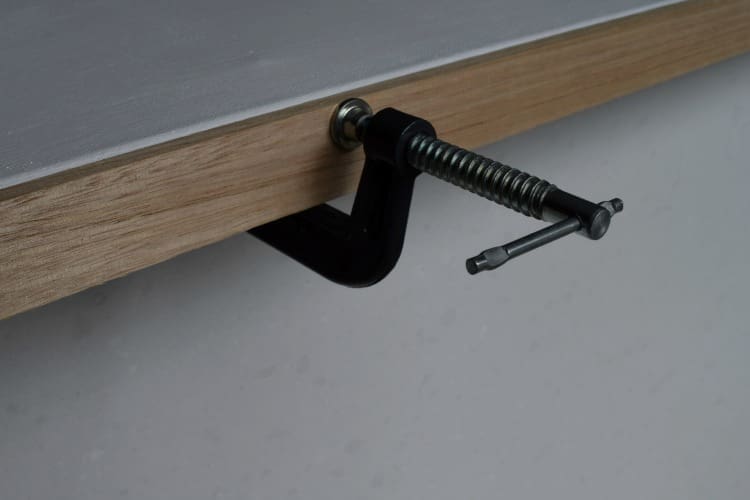
- T-Rex Soudal (like super glue but much stronger)
- 4 clamps (to secure wood while drying)
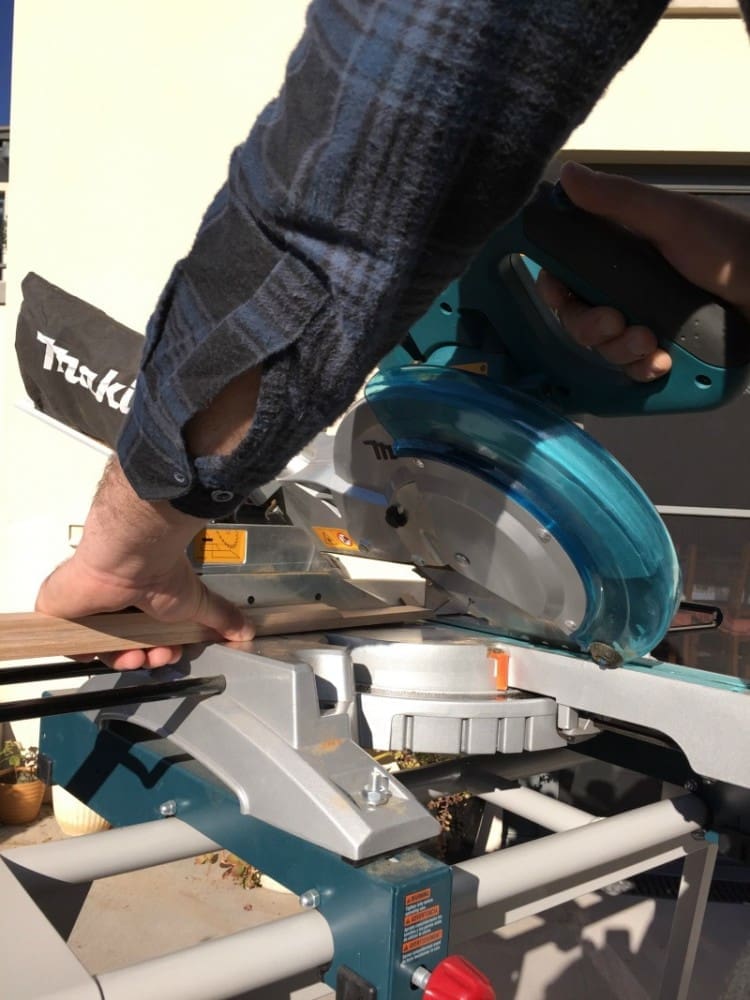
- Drop saw
Steps:
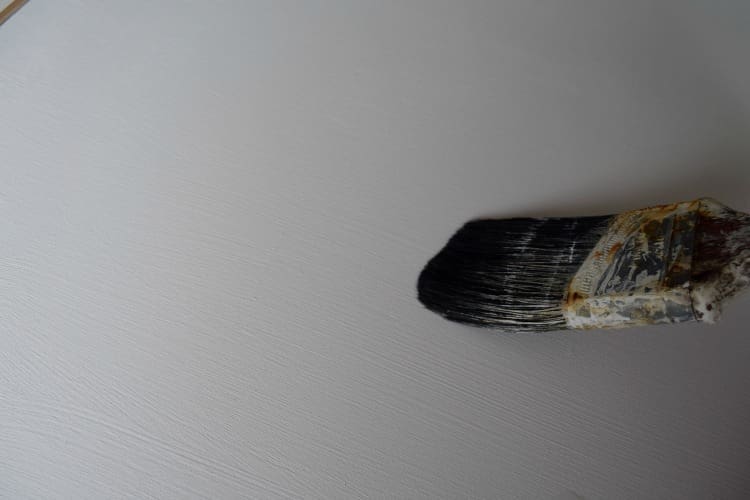
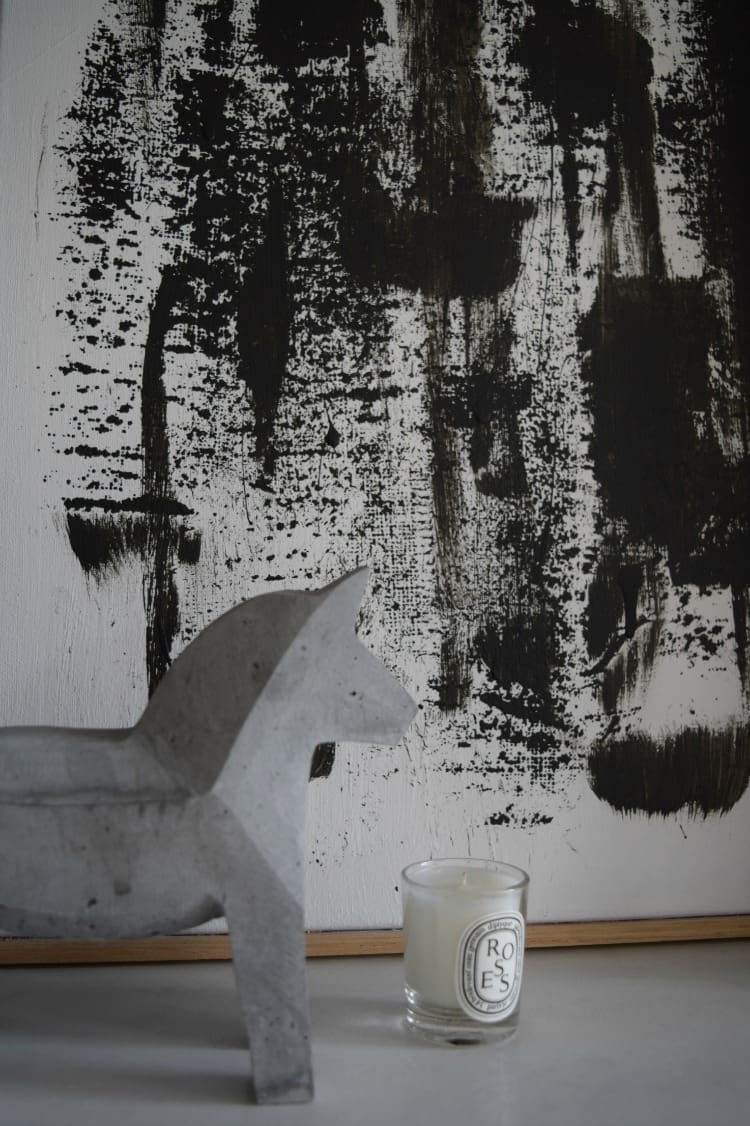
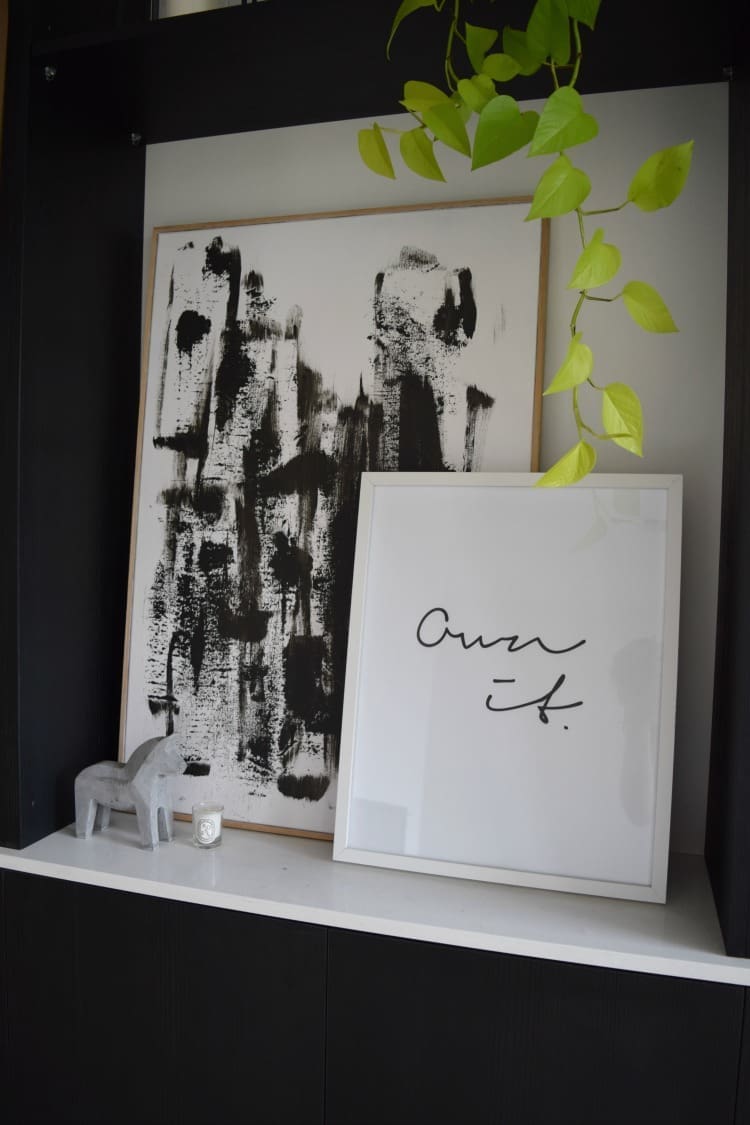
1. Paint your canvas in two generous coats of white paint. It’s ok to go a bit heavy on the paint as an irregular build up in some areas will add texture and dimension to the piece.
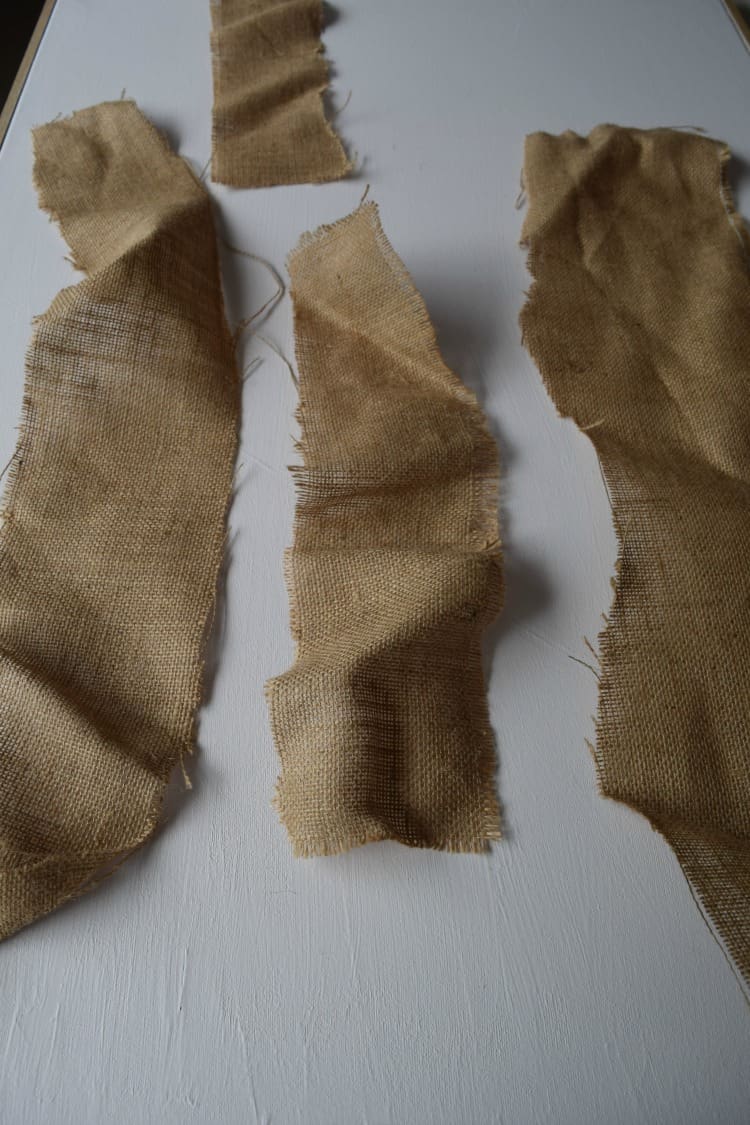
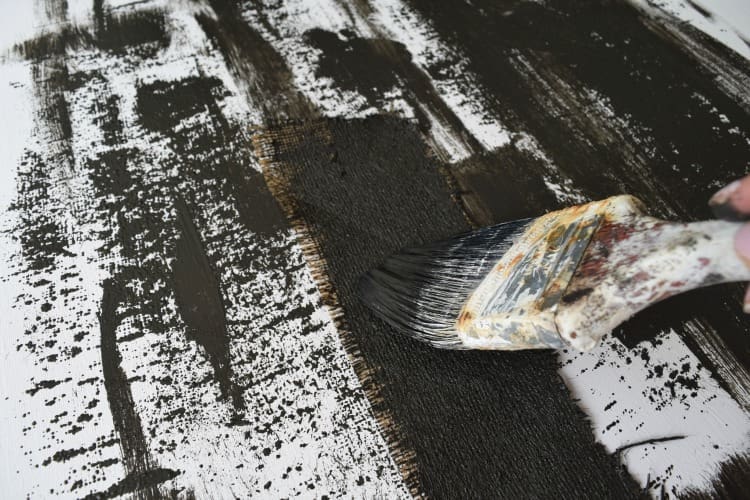
2. Using coarse hessian, place several strips in the centre of your artwork and use your medium size brush to apply black paint. The less perfect you paint, the better your artwork will look — think raw and moody.
3. Create a box frame using Tasmanian Oak cut to size. Miter the joints by cutting the ends at a 45-degree angle.
Tip: we suggest cutting the timber at least 5mm longer than you think you’ll need. That way you can place all the timber around the frame and shave off additional length where needed.
4. Apply a small amount of T-Rex or different ultra strong glue to the inside of each timber strip and secure against the artwork with clamps. Once dry, remove the clamps and lightly sand the corners for a perfect finish.
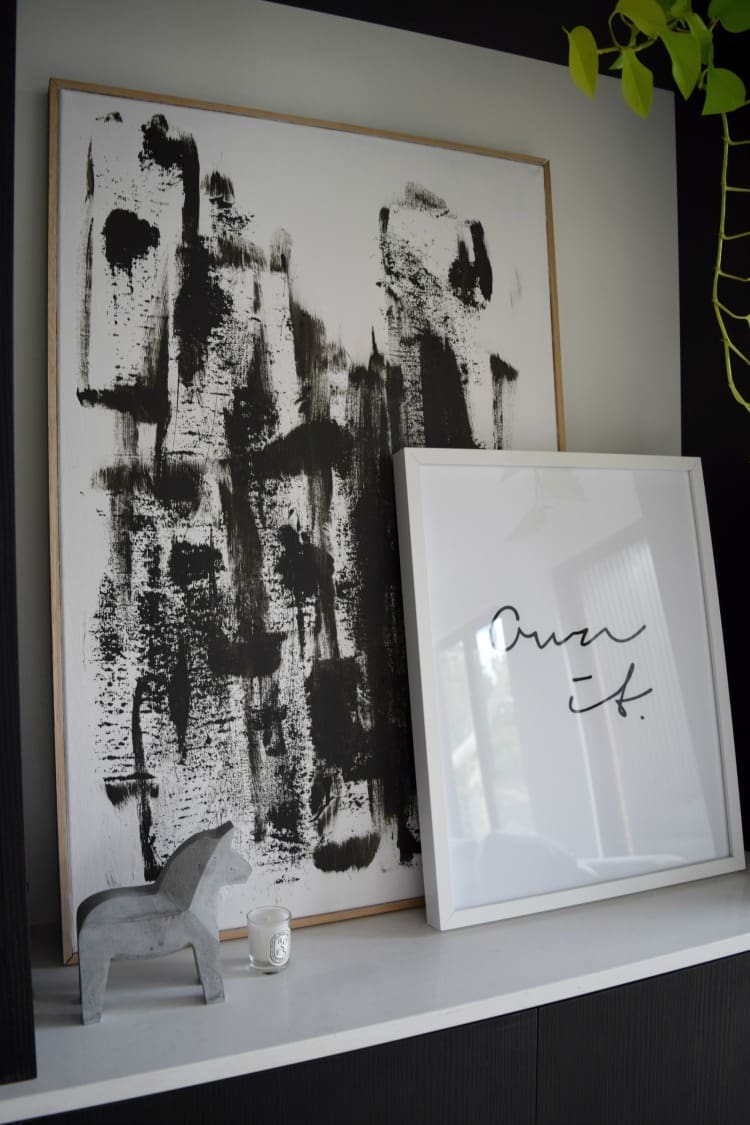
Voila! Your unique piece of art is done and ready to hang (or rest) with pride in your home. We’ve layered ours with other monochromatic pieces, like this ‘Own it’ print from Yorkelee Prints.
What do you think of this simple black and white artwork tutorial? Have you been inspired to DIY your own artwork?


Loved this idea! So hard to find things like this and took it upon myself to create!
Thanks for your lovely comment James!