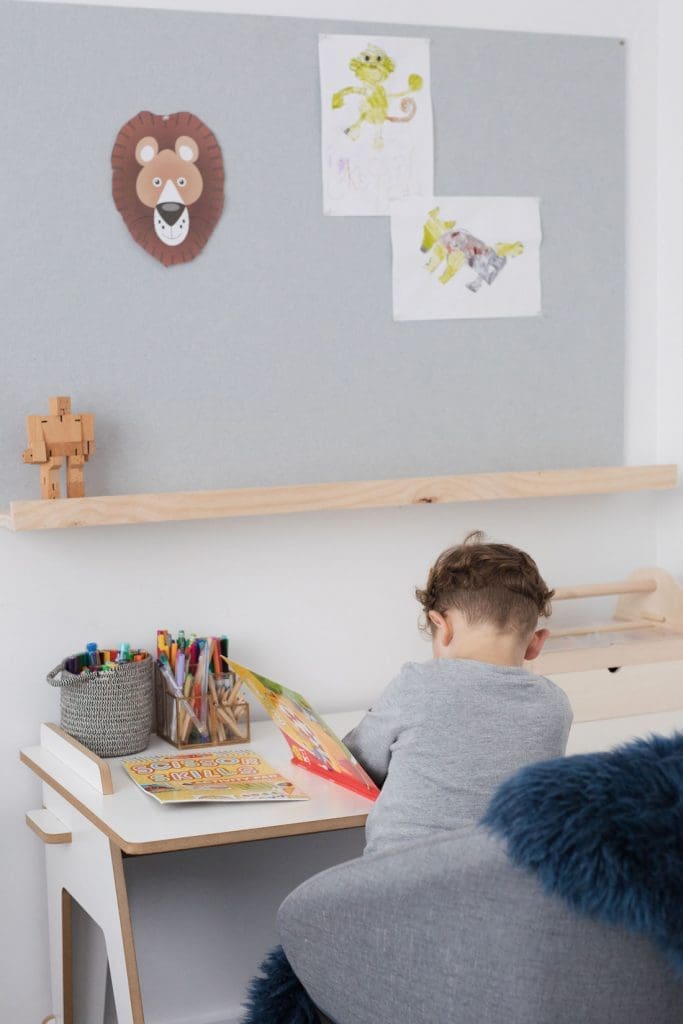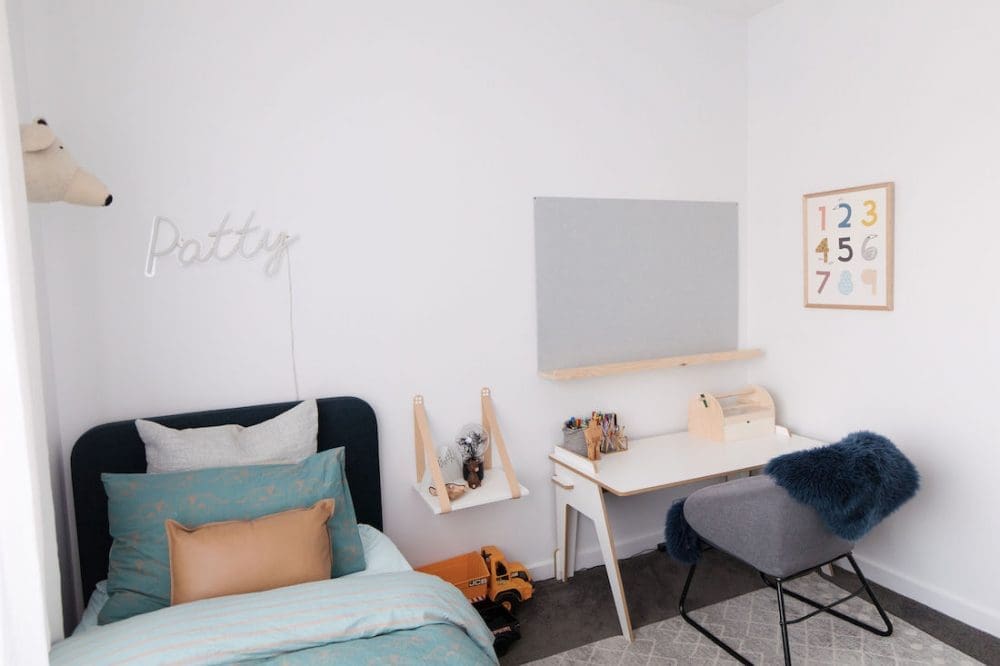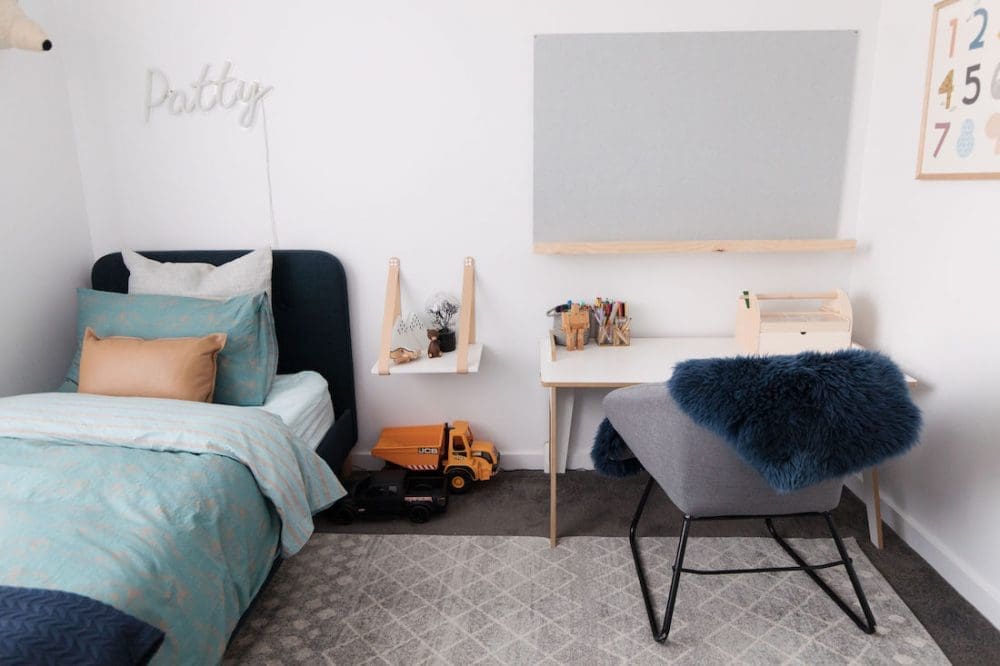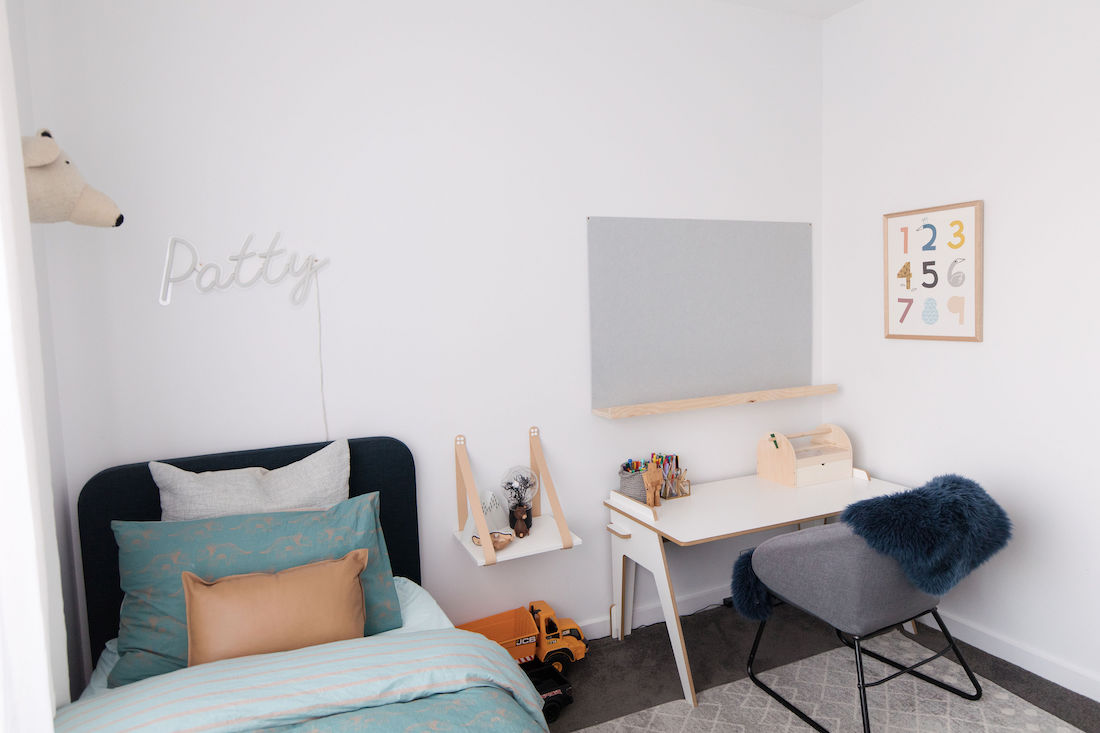
Whenever I share photos of my creative space or home office with the large felt board, I always get questions about where I bought it. It’s actually just a piece of acoustic board I bought from Bunnings! These pinboards look great in the home office, in the kitchen as a family planner or even in your child’s bedroom.
The other day, I installed an oversized pinboard with floating shelf in Patrick’s room and filmed the steps in case you’d like to create one for your home too.
Related article: Gina’s creative space reveal
Related article: 20 easy ideas to create a stylish home office
Items you will need:
- Acoustic pinboard (this one is 1200mm wide x 800mm high and cost $29 from Bunnings)
- Dressed pine plank (I used 140mm wide x 19mm thick x 1200mm long and cost around $10)
- Slimmer piece of dressed pine (this will be the ‘face’ of your floating shelf, I used 42mm wide x 19mm thick x 1200mm long and cost $4)
- Electric drill (I bought a RYOBI drill hammer kit)
- L-shape brackets (I used 75mm steel angle brackets)
- Screws
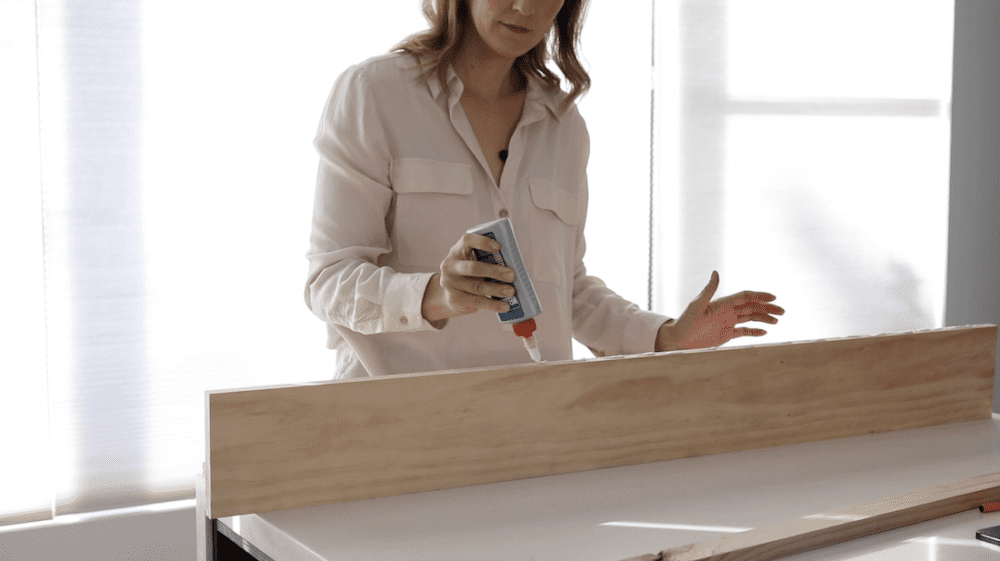
- PVA glue for timber
- Spirit level
Steps:
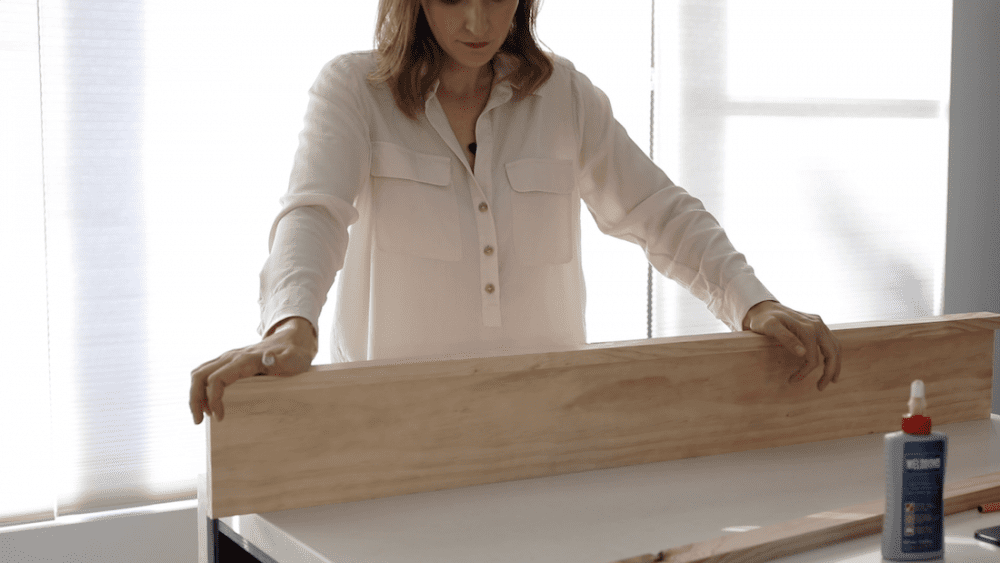
1. Begin by making your floating shelf. You simply need to glue the slimmer piece of dressed pine onto the larger plank.
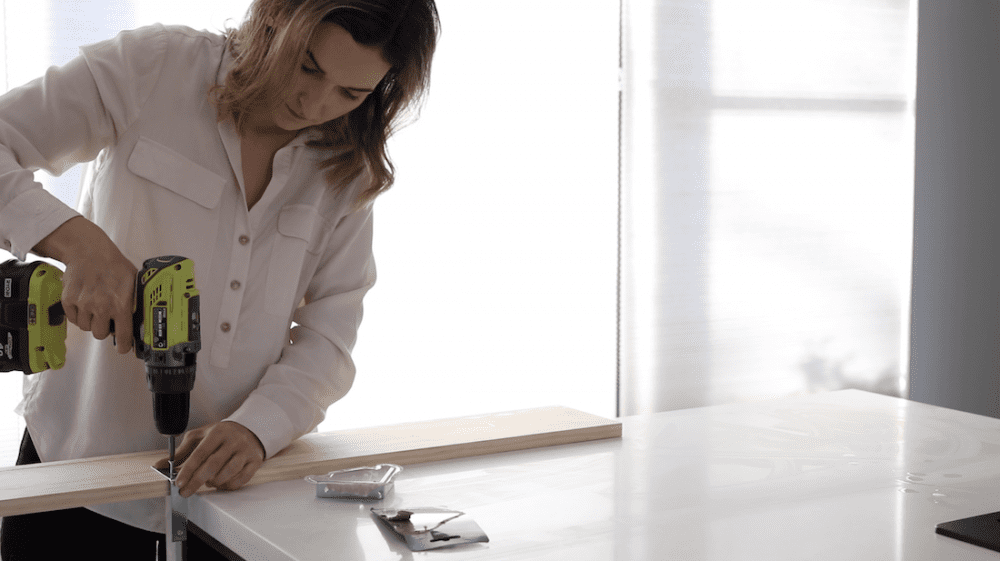
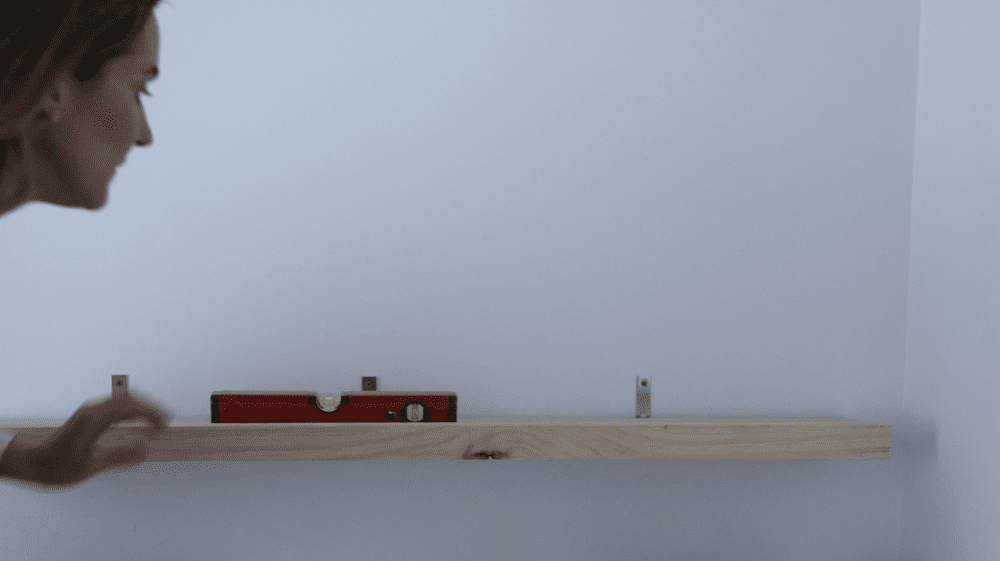
2. Screw your L-brackets on to the other side of the shelf, leaving a 9mm gap where you will be able to slot your acoustic board into (this will give you a seamless look where your pinboard runs behind the shelf).
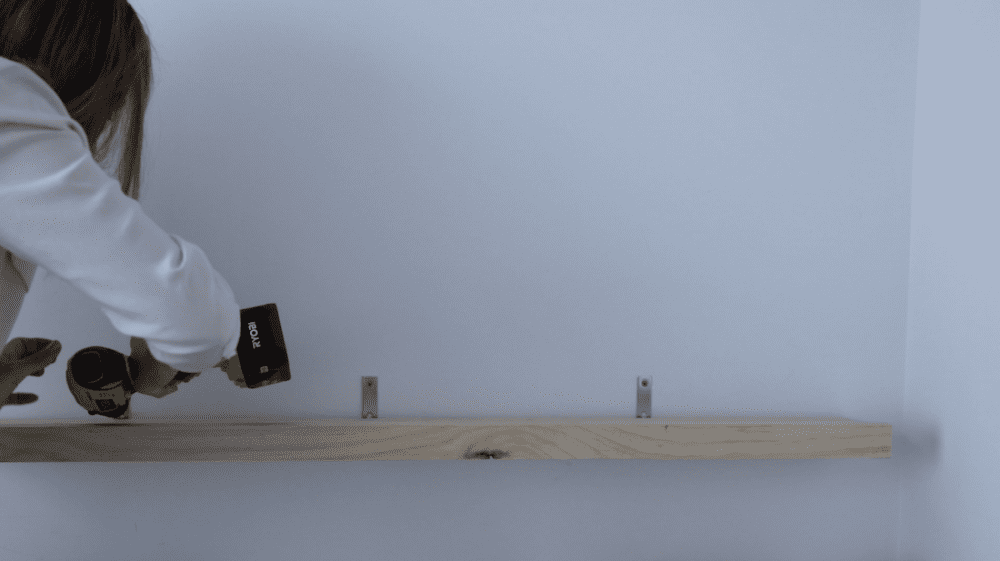
3. Mount the shelf onto your wall. Be sure to use a spirit level to get it straight. As I was mounting the shelf myself and didn’t have a second set of hands, I loosely screwed the bracket on the left to the wall, placed the level on top, and then screwed the right bracket on to the wall before fixing all the other screws.
4. Wedge your pinboard in behind the shelf. You may need to wiggle it a little as it’s a snug fit.
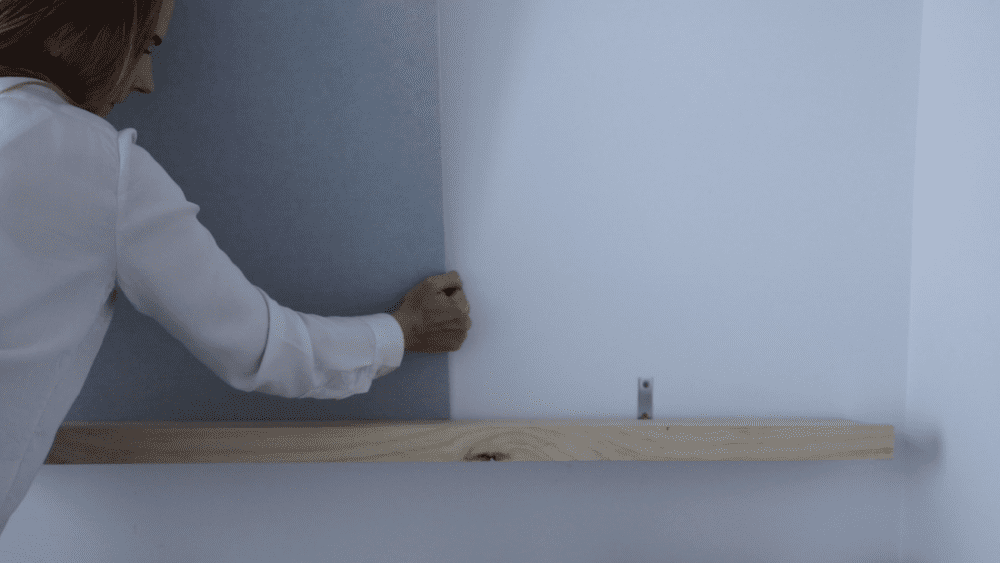
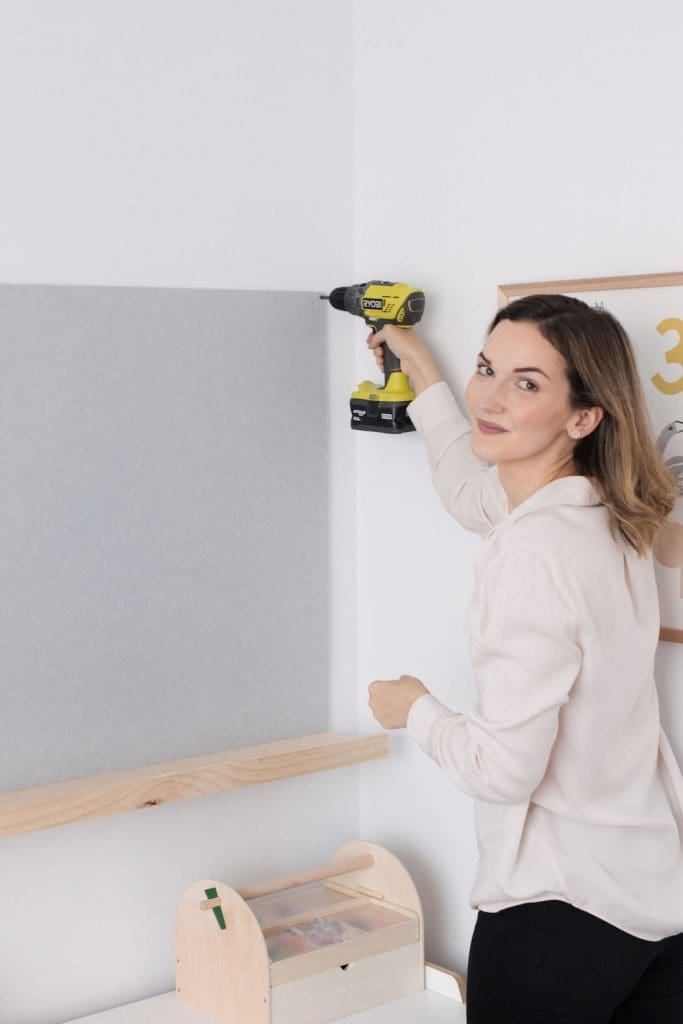
5. Screw the top of the pinboard to the wall using a screw on each side.
And you’re done! This is such a simple DIY, I hope you enjoy it.
If you make this DIY oversized pinboard, I’d love to see photos — tag @stylecuratorau when you post photos online or email them to us at hello@stylecurator.com.au!
Check out more DIYs