How do you renovate your kitchen on a budget? It’s one of the top questions we get asked and today we’re so excited to have Nikki of Hobbs Home here to share her expertise! Your kitchen is possibly the most important room of your home. It’s where you congregate daily, prepare meals and often has the best views, light and airflow. That’s why it’s so important we invest in this space accordingly (and within our budget).
Nikki has an extensive background in renovation and loves helping enthusiasts create beautiful homes — on a budget! With clever tips you might not have come across before (like how reliable skip bin hire in WA can make cleanup a breeze before starting your kitchen transformation), keep reading for her expert advice on designing a stylish budget-friendly kitchen.
Related article: Top 9 kitchen splashback trends 2021
Related article: Darren Palmer’s tips for finding your kitchen style
Words by Nikki Dudley
Step 1. Refine your budget
Depending on your life stage, financial situation and aspirations for this particular home (e.g. principal place of residence, investment property or planning to sell later) depicts how much cash you should be sinking into this kitchen build, renovation or aesthetic touch-up.
For some guidance, realestate.com.au suggests $12,000 – $16,000 can create a sparkling kitchen that shouldn’t over capitalize your property. We feel this is quite hefty and if you’re handy on the tools, using DIY methods could save you up to half this amount (yes, including appliances).
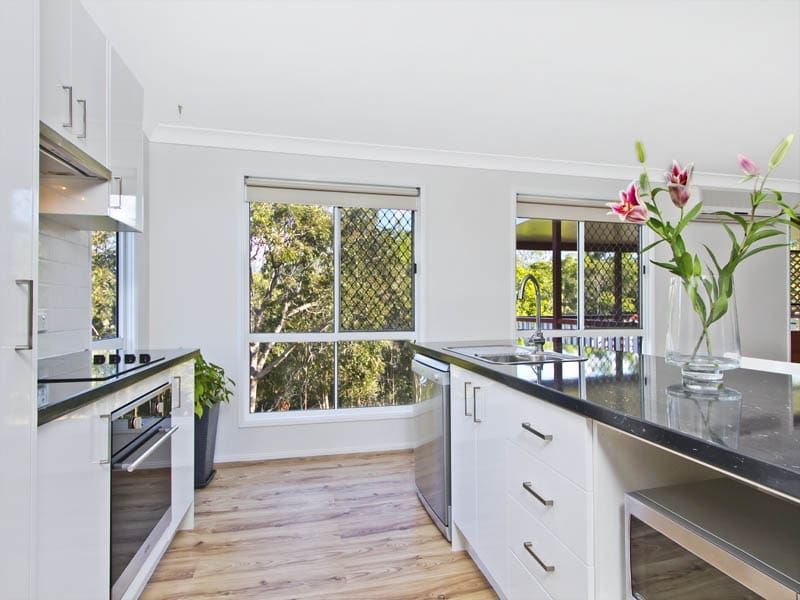
Step 2. Work out your DIY capacity
We truly believe that everyone (yes, even you) has a DIY flair — so prepare to get your hands dirty and have some fun (while of course saving on your hip-pocket). Before you dive in, think about where the mess is going to go. If your reno plans involve serious cleanup like ripping up flooring or clearing old cabinetry, it’s worth lining up help such as from Gold Coast’s trusted skip bin supplier to keep your space safe and clutter-free. Choosing skip bin hire is one of the easiest ways to manage the waste and keep your project on track.
Areas we suggest you could consider to DIY:
- demolition: attack those swelled cabinet doors and laminate flooring like a boss
- painting: purchase the right equipment such as masking tape, brushes, a roller and tray and apply your own interior paint (follow these tips to paint like a professional)
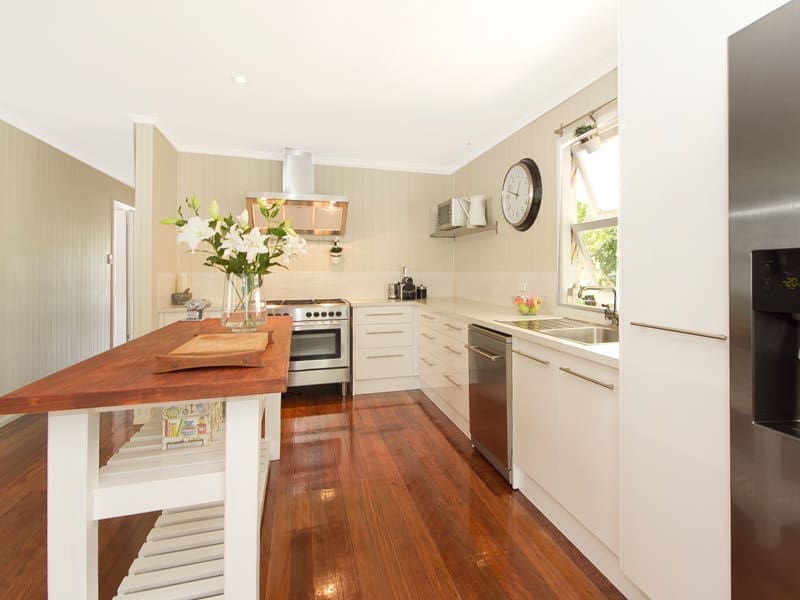
- furniture: build your own island bench (there are plenty of tutorials on YouTube to suit your style)
- shelving: opt for some open overhead shelves instead of cabinetry which you can thrift, recycle and install yourself (with a level!).
Step 3. Plan the space
Consider all your options when planning. When you think you have nailed it, try again (and repeat). Think open concept. Entertaining. Practicality.
Also keep in mind that leaving the existing sink, dishwasher and/or refrigerator portals where they are (or as close to their current location) saves a lot of money.
Draw your plans on paper (with accurate dimensions) and start shopping around.
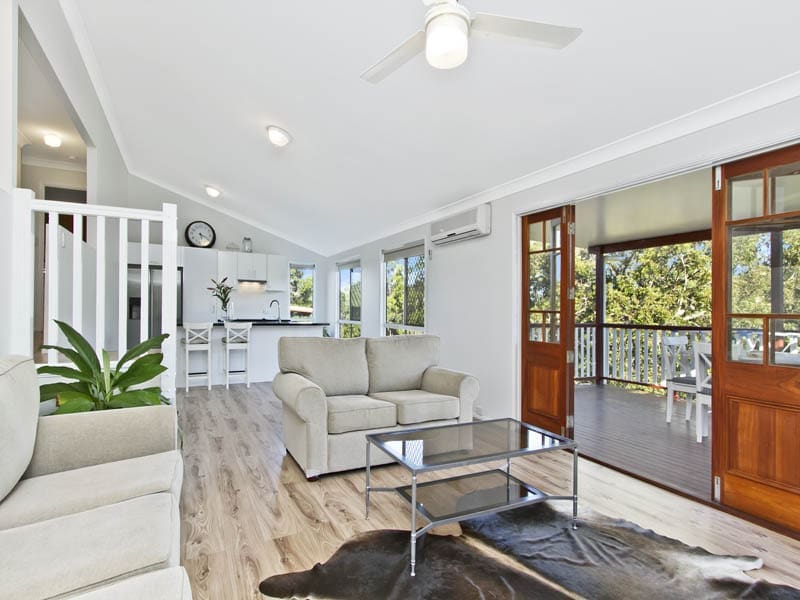
Step 4. Where to spend vs save
Consider splurging on a butlers pantry, quality tap mixers, pendant lighting, gas stove top and energy efficient white goods. Think about your end goal. Is this what you want? Would prospective buyers want this? Is this what your new tenant may want?
Alternatively you can save on a DIY timber meat safe as a unique island bench (made at the standard 900mm height). This is an excellent way to save on cabinetry costs.
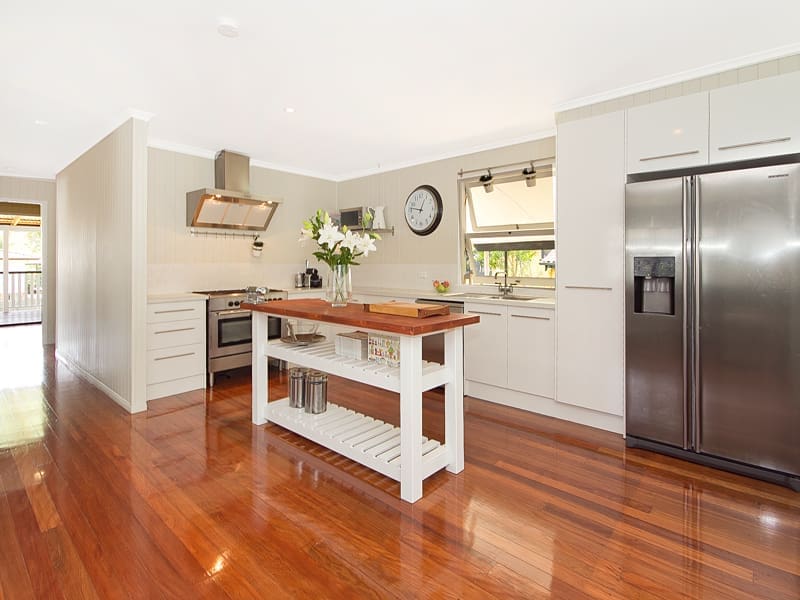
5. Choosing a kit over custom
We’ve had stellar experiences with Masters kit kitchens with high gloss cabinetry and laminate bench tops and would wholeheartedly recommend them for budget renos.
Custom designs are however ahh-mazing and if this is your dream home, they’re well worth the extra money for the added input and quality you receive.
Despite which option you choose, try where possible to integrate and/or house your appliances neatly on shelves and cupboards for a polished, stylish and minimal look.
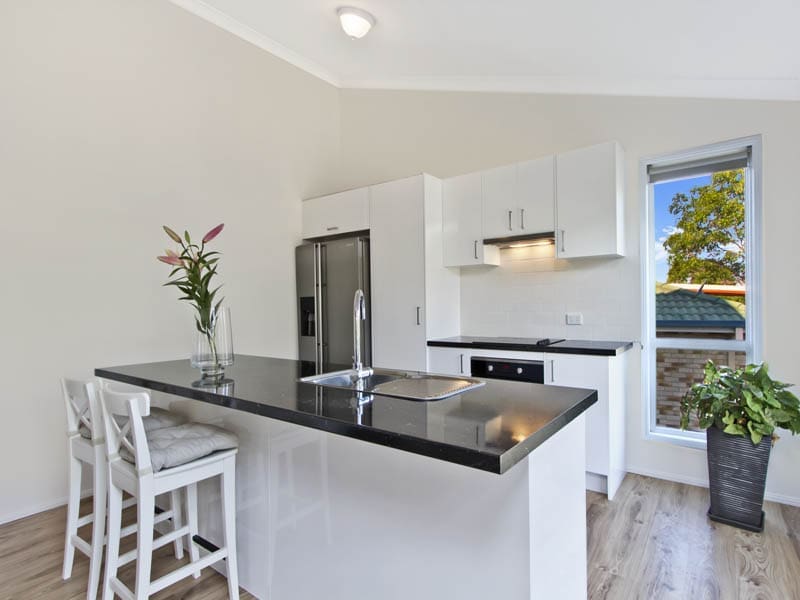
Step 6. Research and source your own supplies
Let the internet and online shopping be your friend. Google. Pinterest. Houzz. Instagram. eBay. Gumtree. Craigslist.
Get your thrift on. Hunt down a bargain such as leftover tiles which are often a lot cheaper than glass, stainless or Perspex panels when planning your splashback. The subway tile or mosaic effect we think is just as glamorous and easy to clean!
We also LOVE Masters, Bunnings and IKEA for inspiration and for finalising our plans with tech assistance, such as AutoCAD 3D (which we don’t yet have at home).
Step 7. Hire the right tools and trades
The right tools are so important for efficiency (and your sanity) when doing stylish budget kitchens. Consider a jackhammer, skip bin and spray guns to get the job done in half the time.
It’s also important you have the right team onboard, so ask your friends and family for recommendations for electricians, cabinetmakers and plumbers.
Step 8. Don’t skimp on the styling
In my opinion (and I’m sure Gina’s too) this is the best part. However in my experience this is never budgeted for and hence often gets left off the list.
“Sorry honey, we spent too much on that fridge you wanted,” I often hear.
So think ahead and add an extra $250-500 from the inception and have fun with a big wall clock, cook books in your tones and fresh flowers (always). Get inspired to style your kitchen with these top 50 items in home decor.
If you’ve always wanted that Kitchen Aid or Vitamix now’s your best chance, so grab one in your colour, and match up your placemats and linen napkins.
Thank you Nikki for sharing your top tips to creating stylish budget kitchens! So helpful to get an experienced renovator’s insights on where to splurge and where to save when renovating a kitchen.


Indeed, measure and plan before you start the remodel. This will make sure you have the right dimensions for things which is important if you want everything to fit. And don’t forget the measure part, your plan will be inaccurate otherwise.
Thanks so much Gina for sharing our 8 tips. Hoping they may come in handy for some of your DIY readers 🙂
Thank you Niks for your great tips! It’s so hard to know what the options are and where you can find areas to save so we’re sure your fab tips will be super helpful 🙂