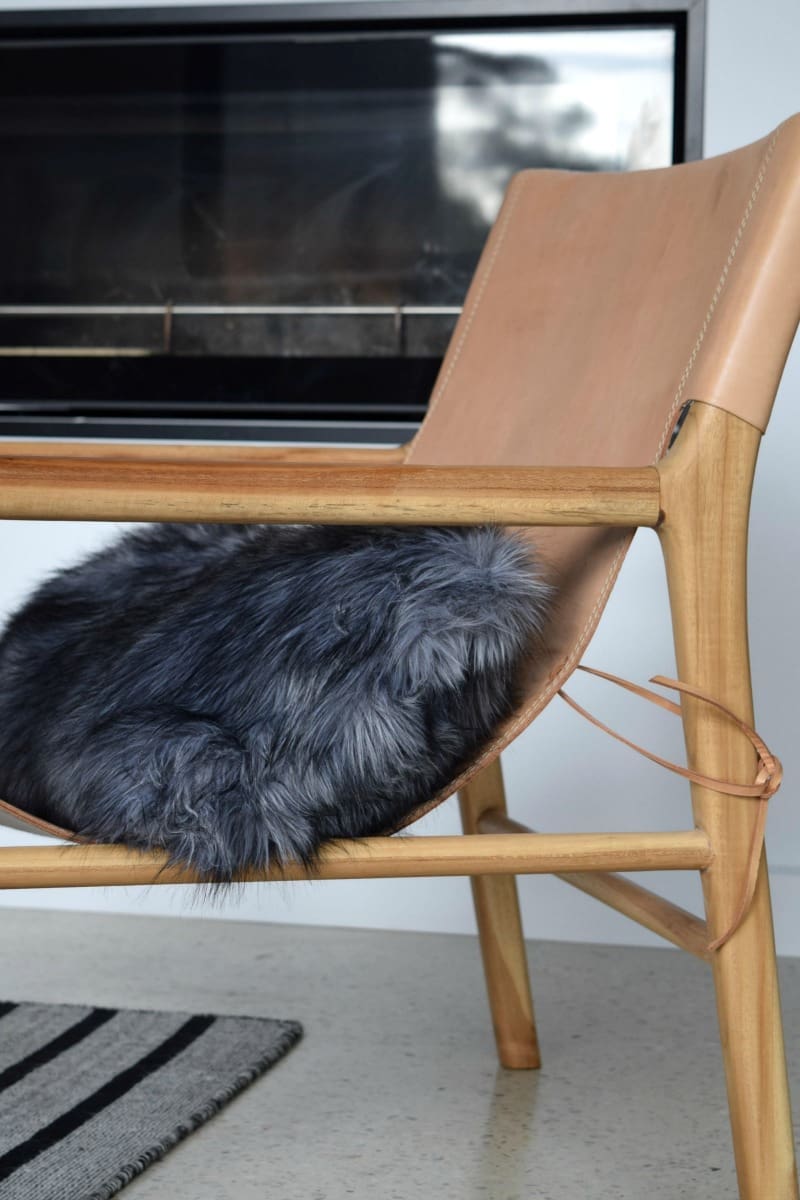
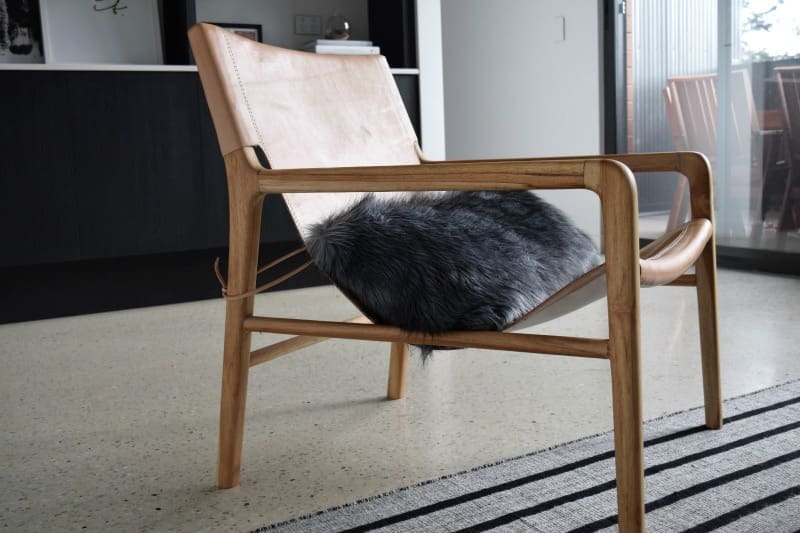
The hottest cushions on the interiors scene right now are Icelandic sheepskin!
In grey, white or pink, take your pick, they are giving us heart eyes and today we’re going to show you how simple it is to make your own.
This is a great DIY for a beginner sewer because the thick fur fabric will hide uneven sewing lines 🙂
You can make a cushion to any size but we picked up a long rectangular cushion for our Smith chair.
Items you will need:
- Cushion insert (we picked up this rectangular one from IKEA)
- Faux fur fabric (50cm width or longer depending on your cushion insert)
- Sewing machine
- Sewing needle and thread
Steps:
1. Cut your fabric to size: width = two times the width of your cushion plus 6cm, and height = height of your cushion plus 6cm.
2. Fold the fabric in half lengthwise so the two ‘good’ sides face each other and sew along the top and bottom lengths.
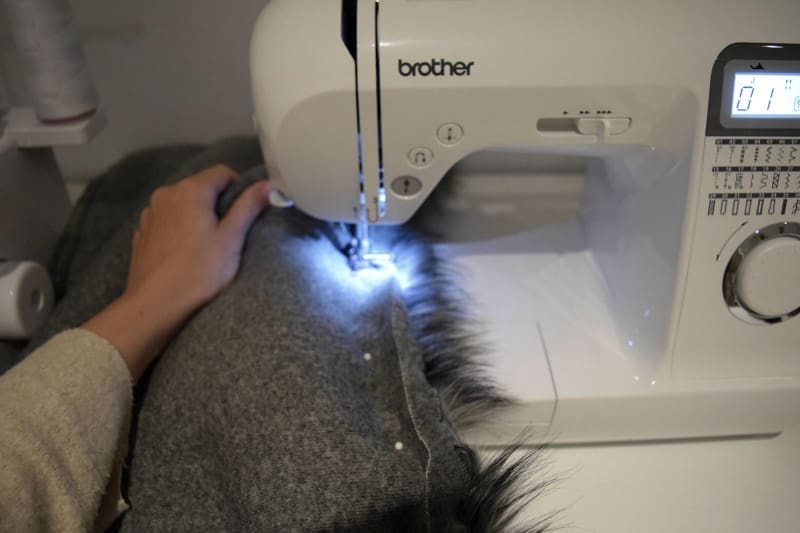
3. Turn the cover the right way around and gently ‘pluck’ out fur that may be caught in the seam.
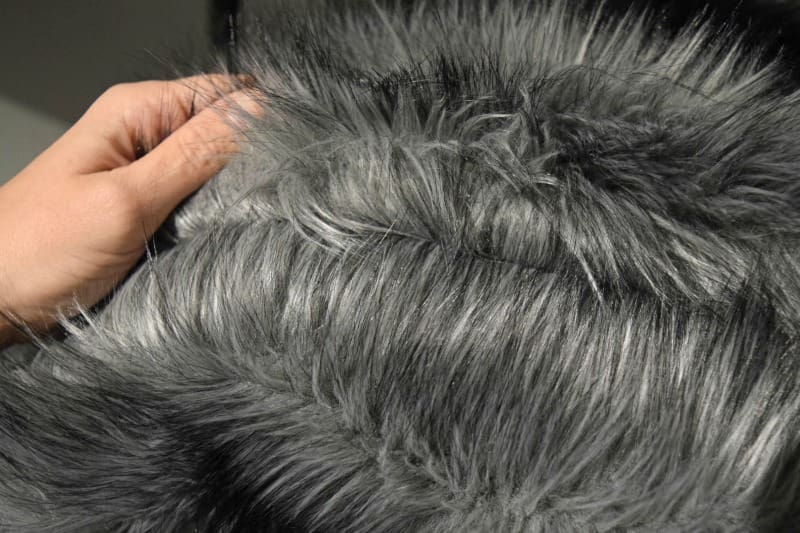
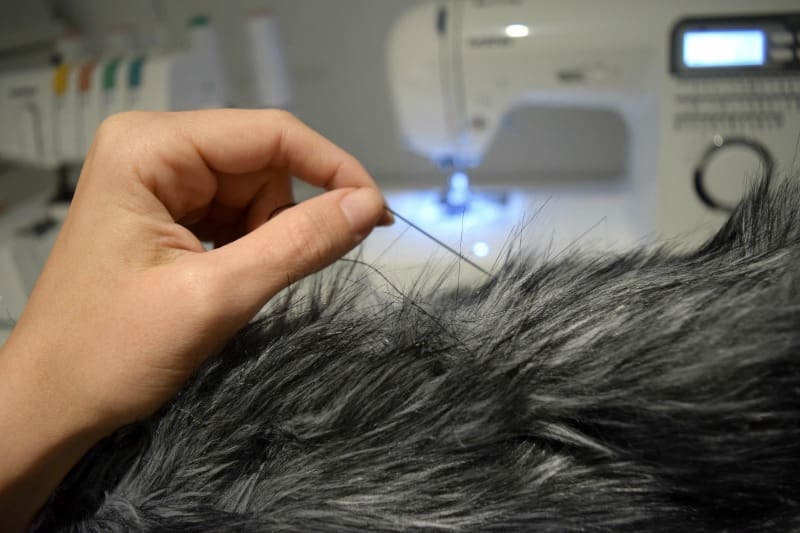
4. Insert your cushion. At the open end of your cover, fold the cut edges into the cushion (to hide the cut edges) and carefully hand sew it closed. Tip: you may like to use Velcro or buttons instead so you can remove the cover but as this is a spot clean only fabric, we decided to sew it closed.
What do you think of this super easy cushion tutorial? Will you make your own knock off Icelandic sheepskin cushion??
