We love Love LOVE this time of year and advance warning — there’s a lot of Christmas content coming your way over the coming weeks!
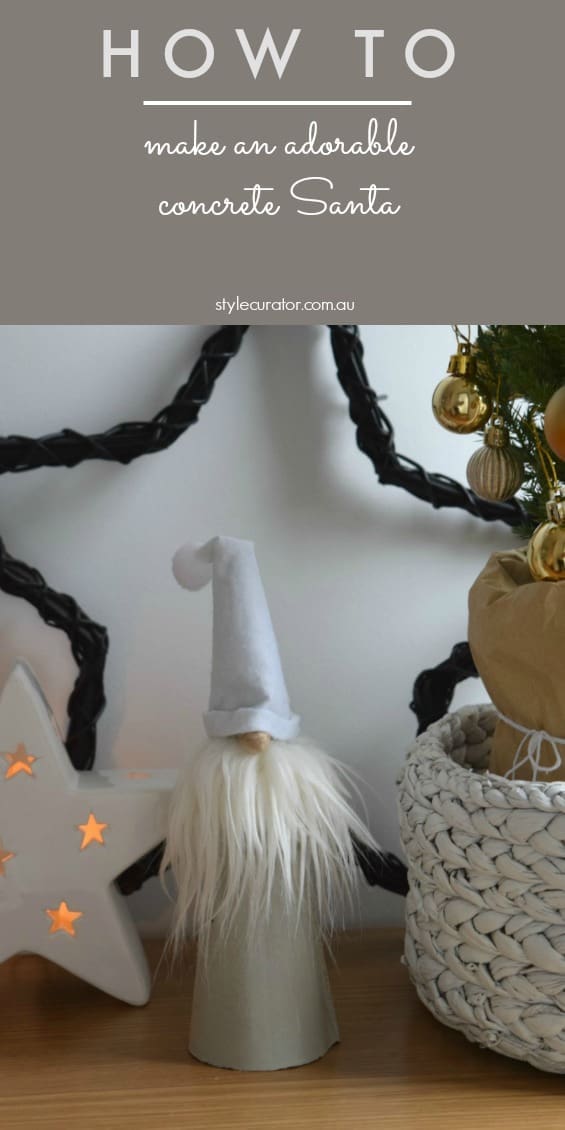
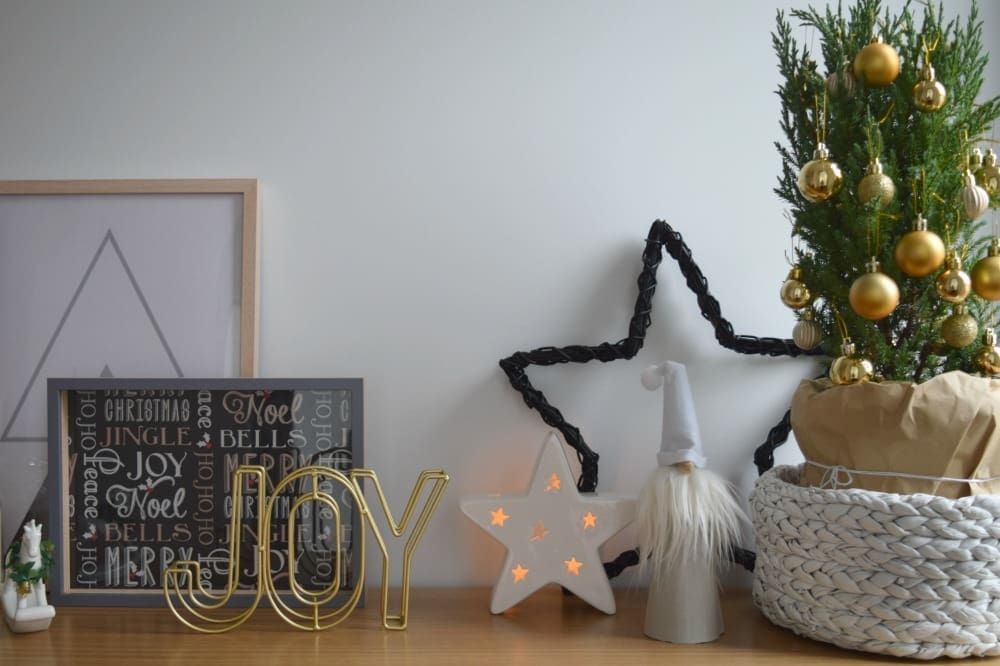
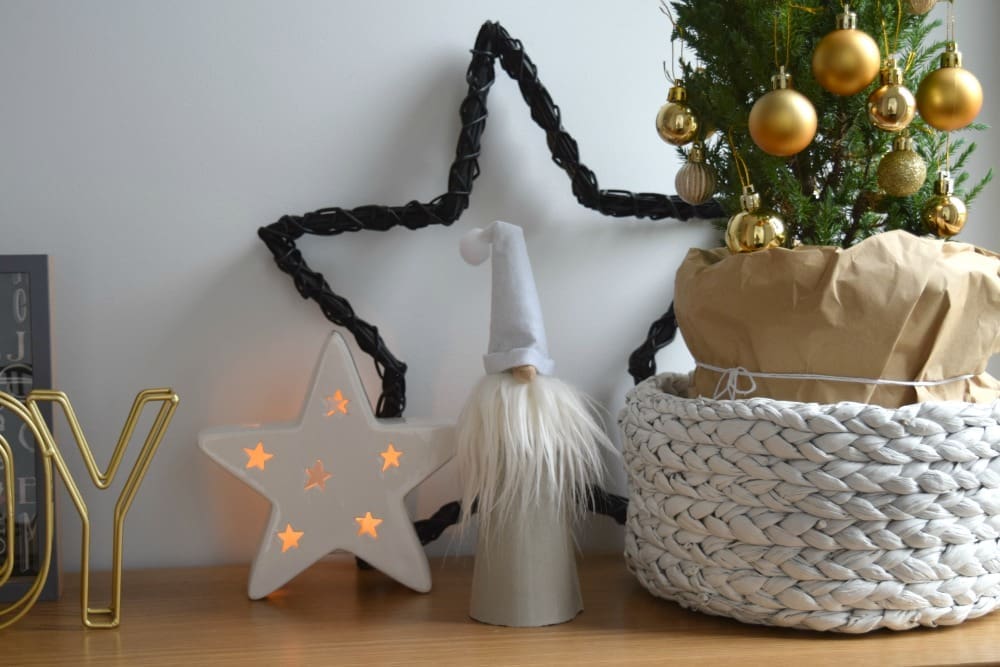
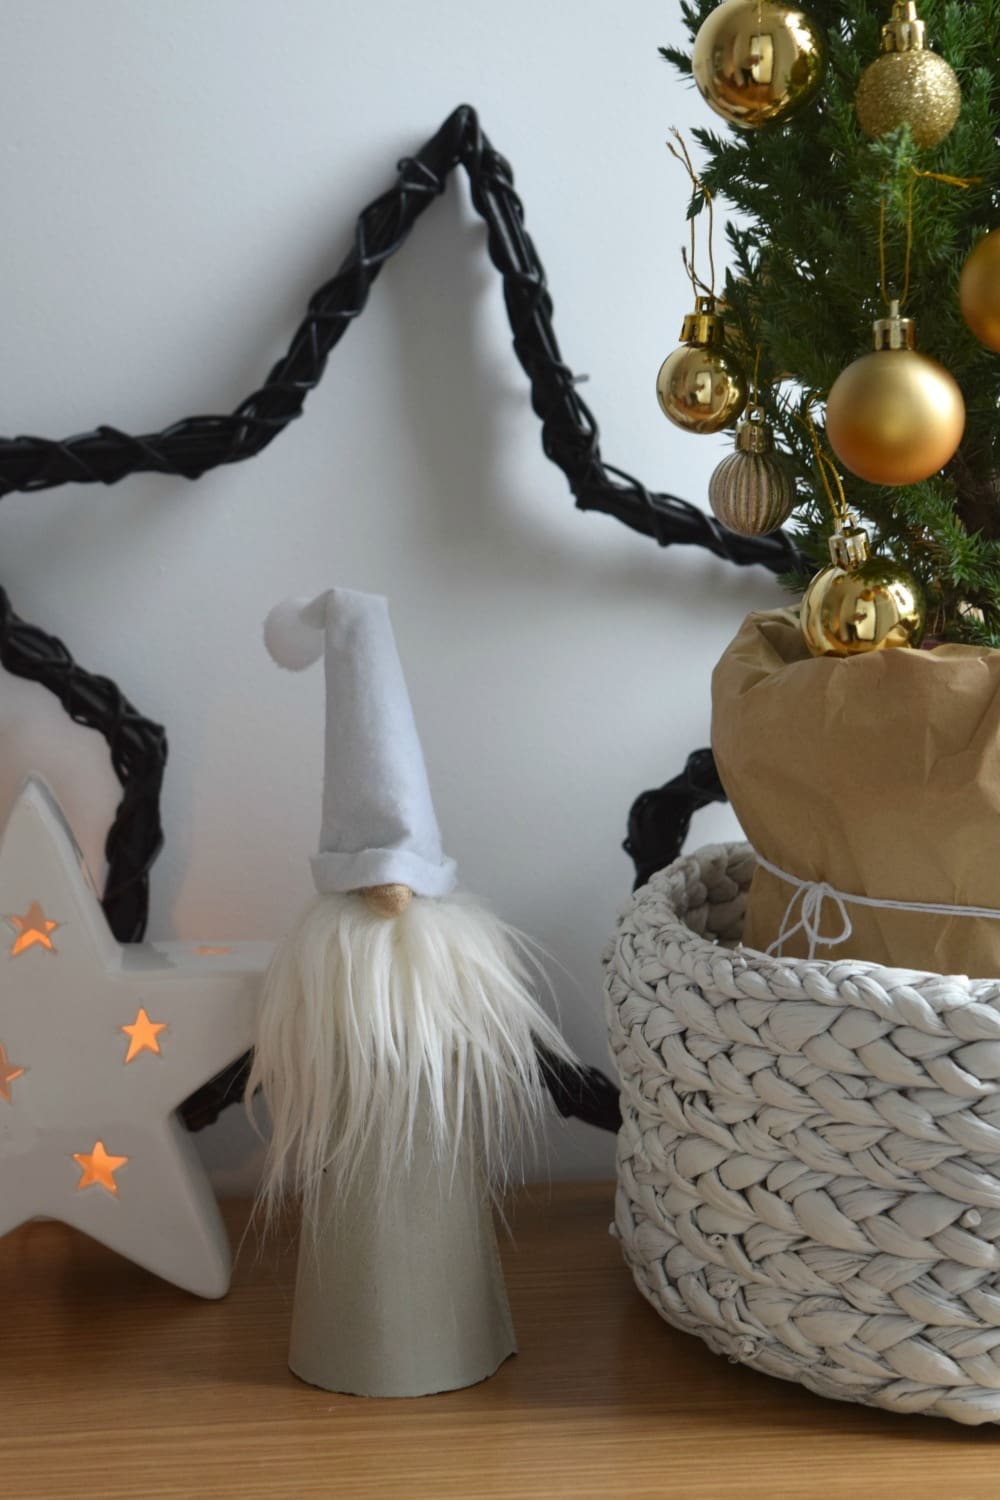
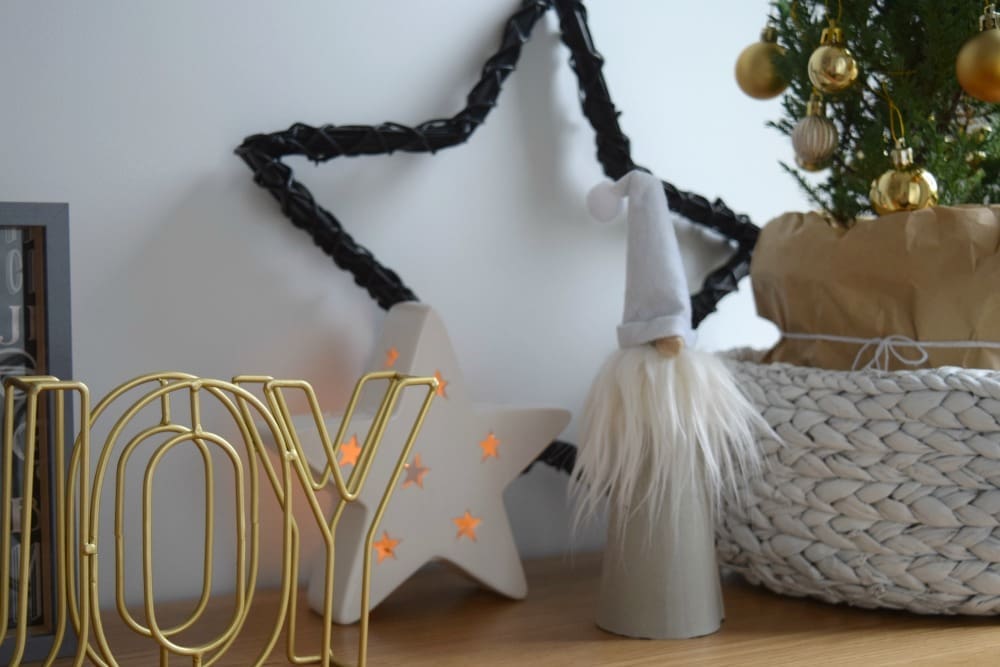
Here’s a little throwback to an adorable concrete Santa decor piece we made a couple of years ago but is still as on-trend as ever!
We couldn’t be happier with how this little guy turned out — simple, stylish and totally fitting our white Scandi-meets-modern-Australian vibes.
Related article: 23 alternative Christmas tree ideas
Related article: 50 of the most beautiful Christmas gift wrapping ideas

Items you will need:
- Cement
- Sand
- Piece of white felt fabric
- Piece of faux fur fabric (approx. 15cm by 3cm)
- White pom pom
- Wooden bead (or we used end of a wooden craft peg)
- Glue gun
- Bucket
- Stirrer
- Plastic sheet (even a thick plastic sleeve from the stationery store will do)
- Scissors
- Sticky tape
Steps:
1. Mix up the concrete using 1 cup cement, 1 cup sand and ½ cup water.
2. Create a plastic cone by rolling a piece of heavy plastic sheet on an angle. Because wet concrete is a liquid, it’s important to seal the cone well with sticky tape.
3. Fill the cone with concrete and tap out as many air bubbles as you can. This will give you a soother concrete finish. Then place the concrete cone upright to dry. We placed ours inside a takeaway drink cup with tissue paper in the base to secure it.

4. Allow to dry for 24-72 hours depending on climate. Because it’s summer in Australia, ours dried overnight but if you live in a cool climate you should wait longer.
5. Gently remove plastic to reveal your concrete cone. Now it’s time to start decorating!

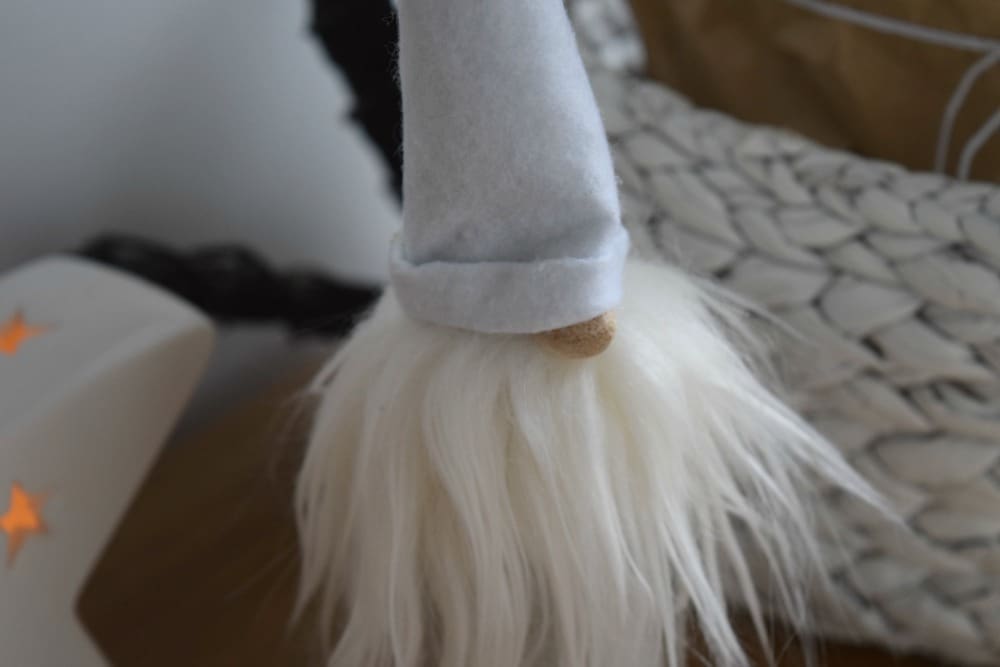
6. Start by gluing the faux fur fabric or beard around the cone (this should be one third down the cone). Then glue the timber nose along the top ridge of the fabric.

7. Next, make a felt cone hat and roll up the edge of the hat twice to resemble a Santa hat (use your glue gun to secure in place). Finish the hat by gluing a pom pom on the end and we also folded and glued our hat at the tip (to give it that slouchy look).

8. Finally, glue the hat onto Santa and apply a small amount of glue underneath the hat on either side of the nose and pinch in place. This will create the look of the hat falling over his eyes.
You’re done! Now style your Santa at home or make these as a sweet gift idea.
If you make this DIY, we’d love to see your photos! Tag @stylecuratorau when you post them online or email them to us at hello@stylecurator.com.au 🙂
More Christmas DIYs and styling ideas
Pin this ↓ image ↓ to your Pinterest account so you can easily find and make this DIY when you need it!
This post was originally published in November 2016


Adorable is definitely the right name for this santa 🙂
Such a cute Christmas DIY! I’m so making this one!
Isn’t he just the cutest?!! We’d love to see pics of your Santa – you can tag us @stylecuratorau if you share it online or email us some pics to hello@stylecurator.com.au xx