Ok so this isn’t going to be the most exciting transformation you’ll find on the blog BUT it is the first of my new year’s resolutions DONE and I think it’s important to celebrate achievements no matter how small they may seem. Plus Arnie features in some of the pics and he’s just adorable.
When we were building, we had the option to concrete down the side of our house but with a considerable amount of concrete already poured into our backyard, I didn’t want the outside to feel like a concrete jungle… I had plans for a softer solution like pavers and pebbles, what I didn’t realise is that it would take over 18 months to do, ha ha!
Oh well, it’s done now and in the spirit of keeping you up to date with my goals for the year, here is the before and after of our weed alley turned useable path!
Related article: In the garden: How to start a veggie garden
Related article: How to affordably landscape your garden
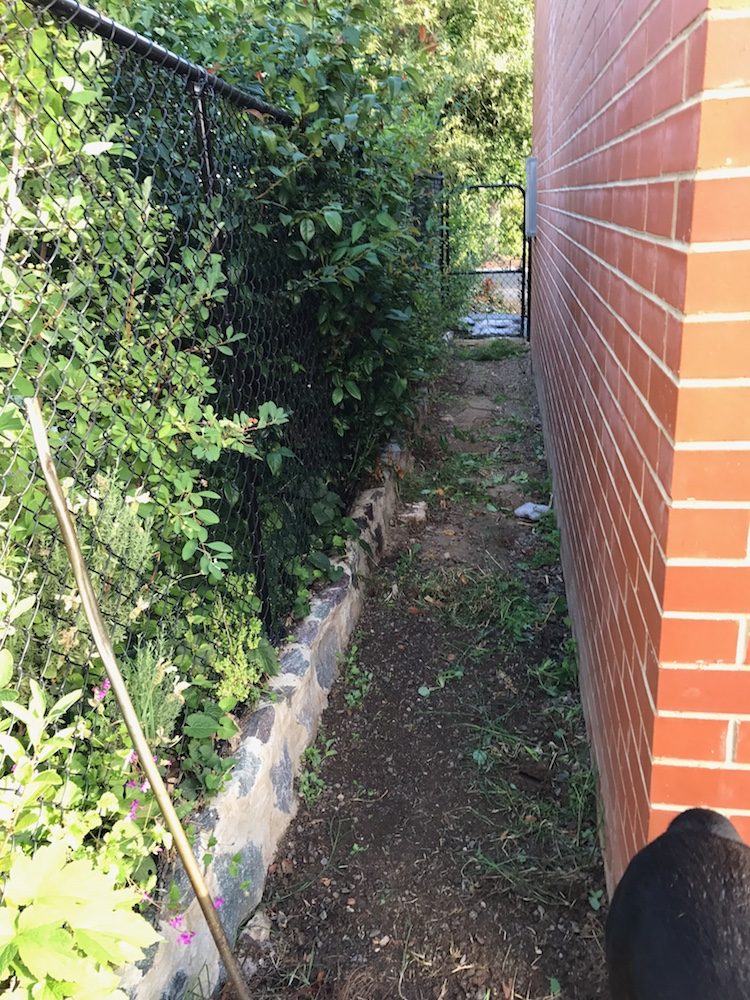
Step 1: Clearing path
This pic was actually taken after most of the weeds were removed! As a temporary solution, we had rough gravel down the side of the house but without plastic underneath, knee-high weeds started to come through.
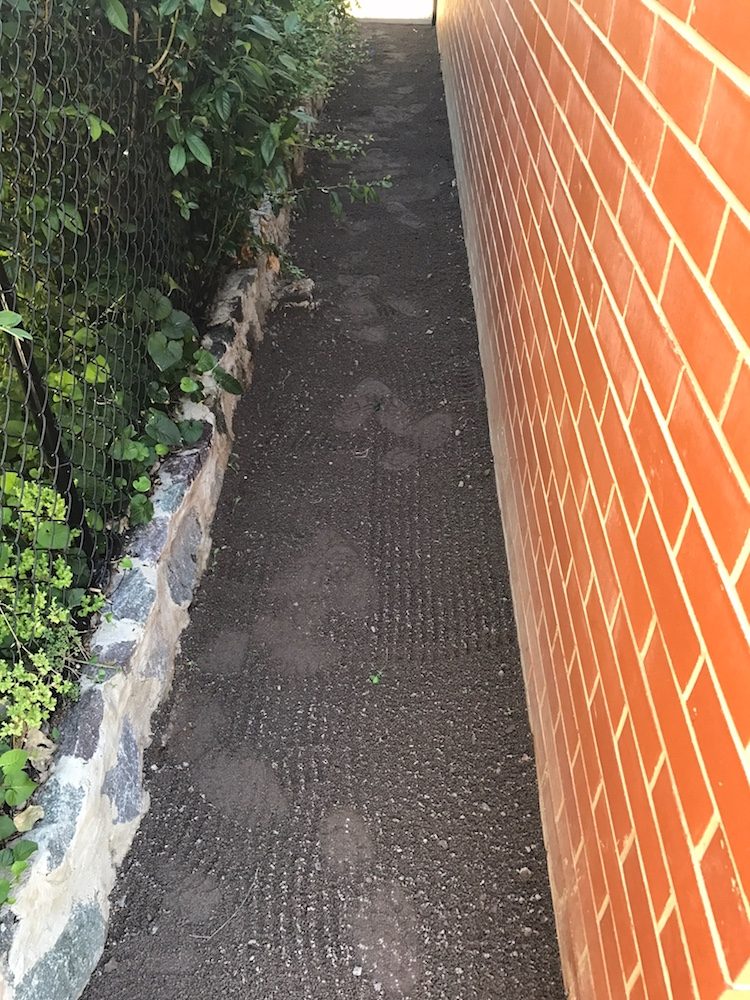
Step 2: Applying a generous amount of road base
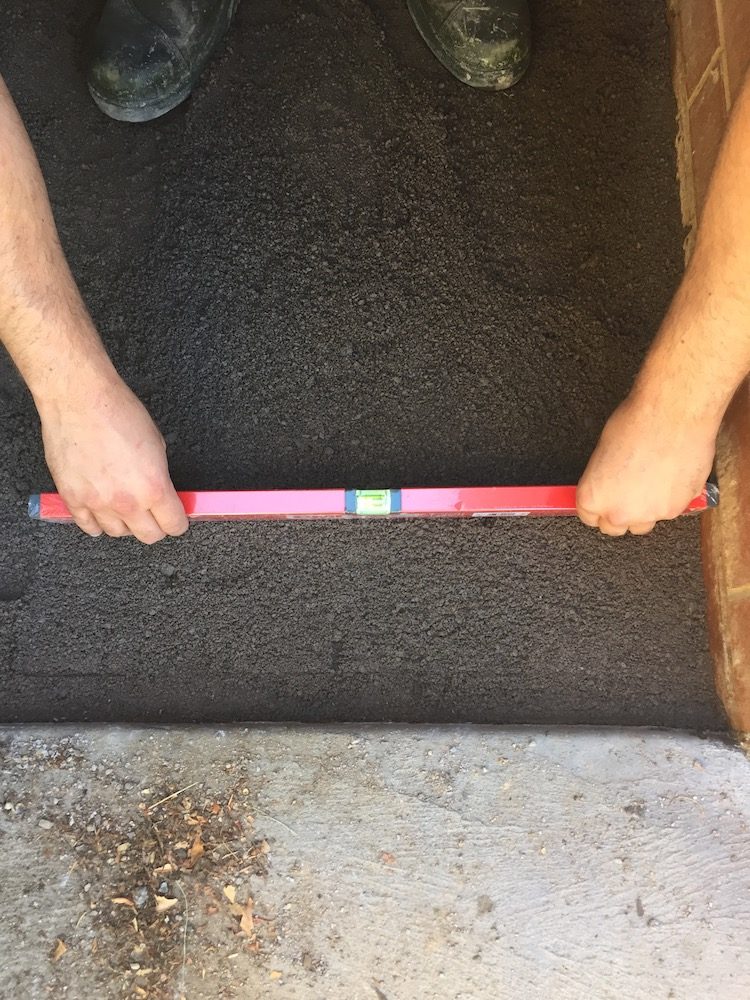
To create a nice even ground level, we put down a generous amount of road base and used a rake to spread it down the path. Then we checked it was level. I suggest having a depth of at least 3-5 cm of road base to prevent tiles or pavers from moving.
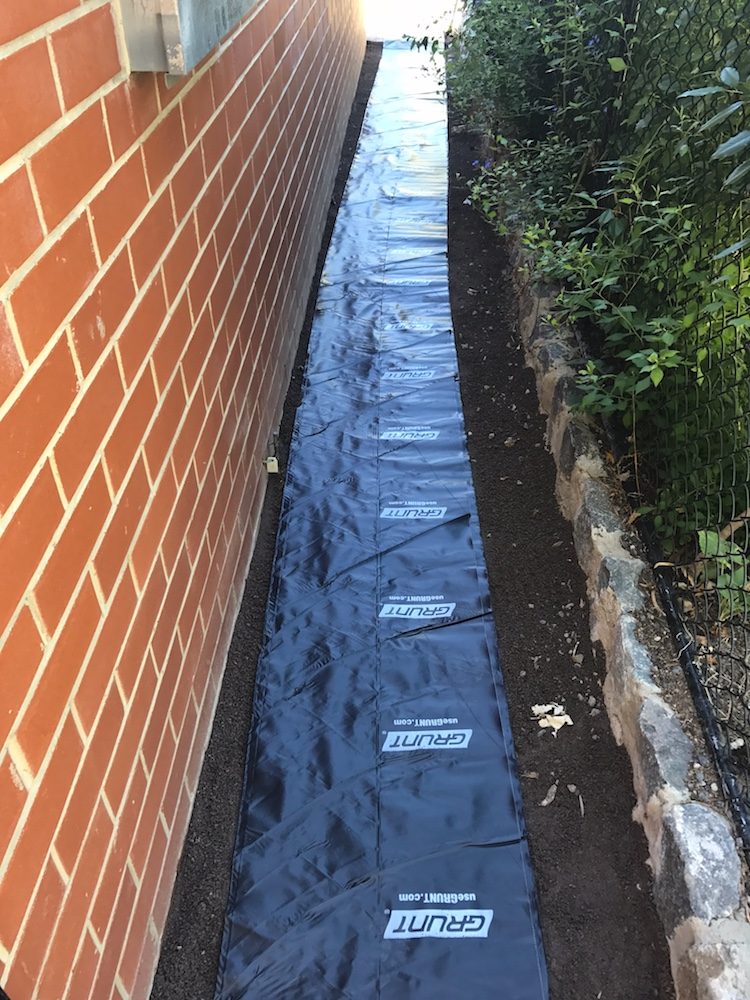
Step 3: Putting down plastic
The last thing we wanted was for the weed alley to return so we put down a large sheet of plastic that you can easily cut to size with scissors. Oh, I should also mention we sprayed the path with weed killer before we put down the road base.
Step 4: Placing tiles
I originally wanted the largest size pavers possible but when I discovered large outdoor tiles with a finish like bluestone, I decided on these instead. These tiles are pretty massive at 60cm by 60cm and have more depth to make them suitable for outdoor use.
We measured we could fit 10 tiles down the path with a gap of 15cm between each. As we placed the tiles, we checked they were level.
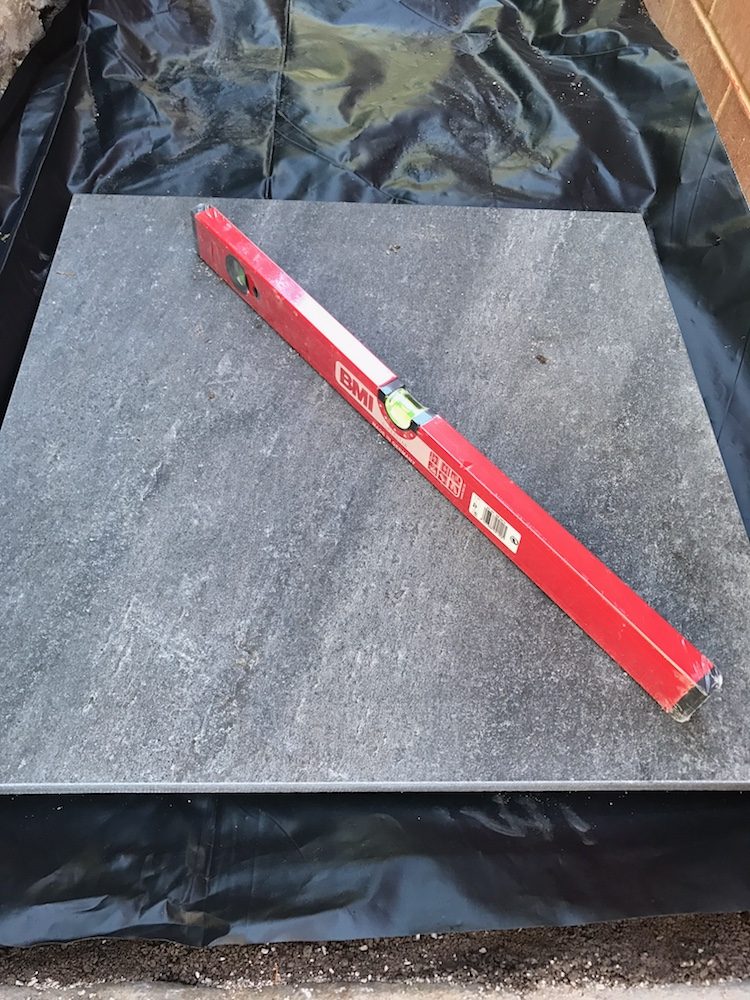
Step 5: Putting in the pebbles and finishing touches
To finish the space, we put large white quartz pebbles between the tiles and compacted these down by stomping on them. I strung up 3 sets of solar outdoor lights from Kmart and placed a pot plant. DONE! Our usable path is now complete!
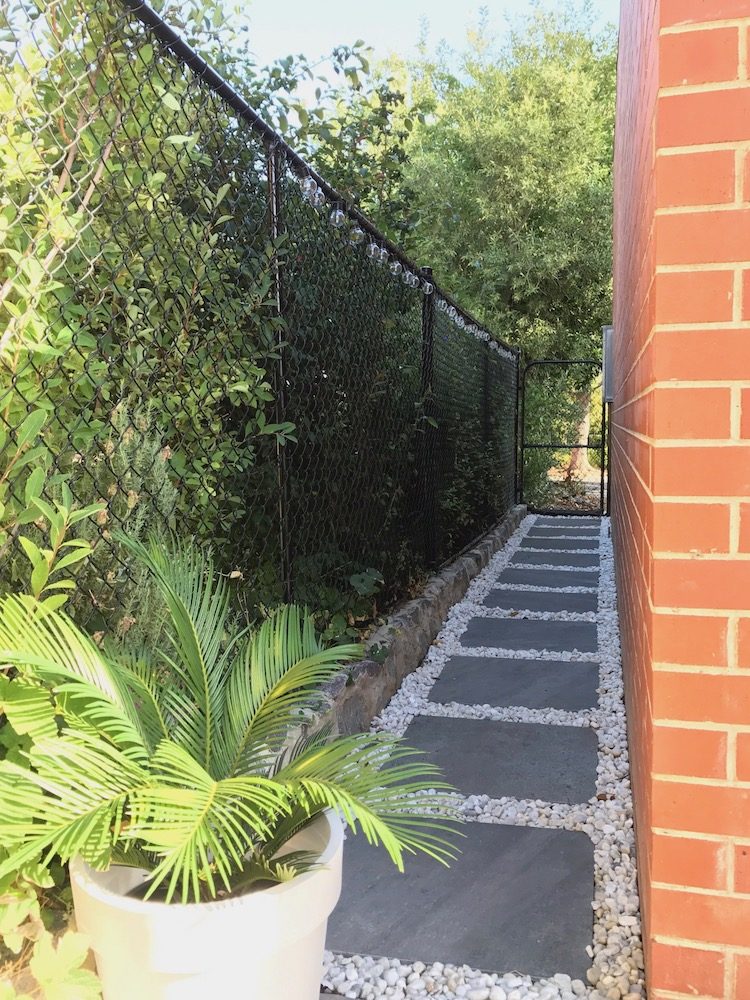
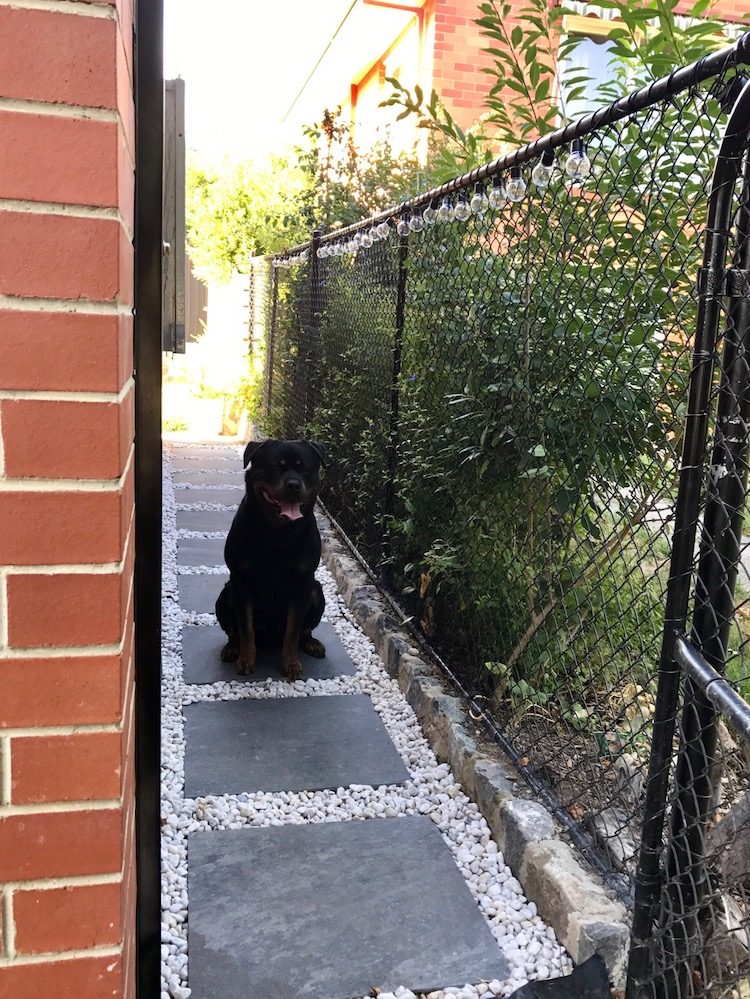
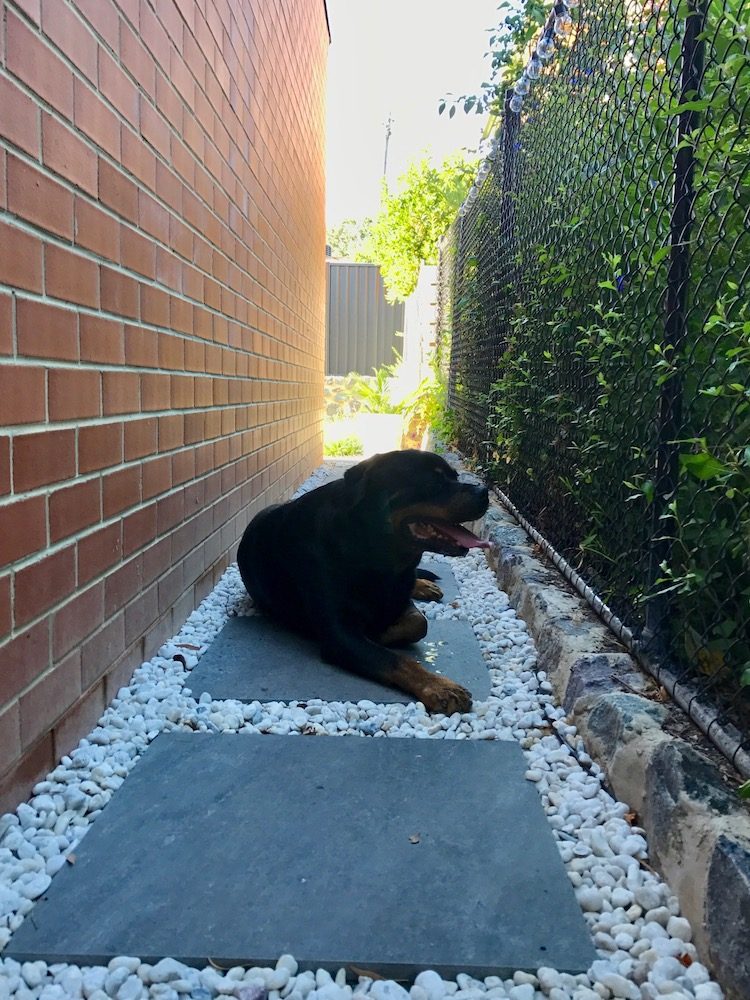
Have you made a start on any of your new year’s resolutions? Next up I’m going to tackle our outdoor dining area that you’ve been helping me with!


Great transformation, I think I might use this combination of outdoor tiles and pebbles out the front of our new place!
Great idea Sarah, it’s an achievable job to do in one weekend and makes such a difference 🙂
You say it’s a boring project but I think it looks great! I LOVE the pics of Arnie, he’s adorable!!
Thanks lovely 🙂 It’s nice to be able to walk along our house with being attacked by weeds, lol. I’ll be working on our outdoor dining space this weekend, eeek can’t wait to share that space on the blog soon! xx
Nice! I LOVE bluestone. Arnie looks pretty happy with himself. Does he photo bomb heaps of your pics? Our cats seem to get in nearly all of my progress snaps hehe.
He he, Arnie is the worst photobomber!! I did try to usher him out of the photos but he wasn’t having a bar of it, lol!
So much better. Well done.
Thanks Nat, bit by bit I plan of totally finishing our house this year!