
Supported by Inabox
If you’ve got young children, chances are you’re fighting a daily battle to stop kids toys from taking over your house! Despite my best efforts to embrace baskets and storage solutions, there didn’t seem to be a way to contain all of my children’s toys. The biggest issue of having so many toys was that my children felt they had nothing to play with.
This is a common issue amongst parents and one of the best solutions I’ve come across is establishing a toy rotation system. It’s a way of reducing toy overwhelm and helping children focus on the toys available to them. This leads to more creative play while also ridding your home of toy clutter. Sounds good, right?!
Keep on reading for how I set up a toy rotation system at home using the innovative new Inabox storage containers and personalised QR labelling system.
Related article: Genius toy storage solutions: Get organised with the best storage ideas for kids toys
Related article: 6 tips to create a stylish and functional kids bedroom
What is toy rotation?
Essentially the concept of a toy rotation system is that you only make a manageable level of toys available to your child at any one time. For example, rather than having all 30 or more of their books in their bookshelf, simply display 8 or so.
With a toy rotation system, you make a small amount of toys available to your child and pack away the rest.
When you notice they seem less engaged with the toys on offer, switch them over. Your children will be excited by the ‘new’ toys they haven’t played with for a long time and get enjoyment from them.
While it may seem logical that more toys equate to more fun, the opposite is true. With too many toys, children often feel overwhelmed… or even bored. That’s what makes the toy rotation system so effective.
Why use a toy rotation system?
There are so many benefits to starting a toy rotation system — for you and for your child/ren — including:
- streamlining your home environment — with a reduced amount of toys and books, you’ll find your home is less chaotic
- creating a new sense of enjoyment with the toys they have — instead of looking at the same toys day after day, in the same baskets or shelves, toy rotation gives your children a sense of excitement. Every toy rotation feels like they are receiving new toys
- helping your children to have increased focus — rather than play time being an opportunity to tip every basket of toys upside down, I’ve noticed my children will find something to play with and focus on it
- giving your children the freedom to flex their imagination — similarly, with fewer toys, you’ll notice they make up new, creative games to play with the toys they have
- making it easier for you to declutter toys — each toy rotation is an opportunity to assess what toys they may have outgrown and could be gifted, donated or sold
- speeding up pack up time — with less toys out, there are fewer toys to tidy up
- encouraging children to tidy up — while there’s no guarantee for this, many parents say a toy rotation system makes it more likely your little ones will help to tidy up
- freeing up more space for play — a toy rotation system literally creates more space for play.
As you decrease the quantity of your child’s toys and clutter, you increase their attention and capacity for deep play.
Kim John Payne, parenting expert
Some parenting experts also claim there is power to giving children less, helping them to become calmer, happier and more secure. They say with too much stuff and too many choices, children can experience sensory overload and even become anxious.
How to set up a toy rotation system
Now that your sold on the benefits of a toy rotation system, here’s how to set it up.
Step 1: Get various large storage tubs
Depending on how many toys your children have, I suggest buying at least 5-10 large storage tubs. These should be big enough to fit a selection of books and toys. And I suggest avoiding clear tubs that your children may discover… as the saying goes, ‘out of sight, out of mind’!
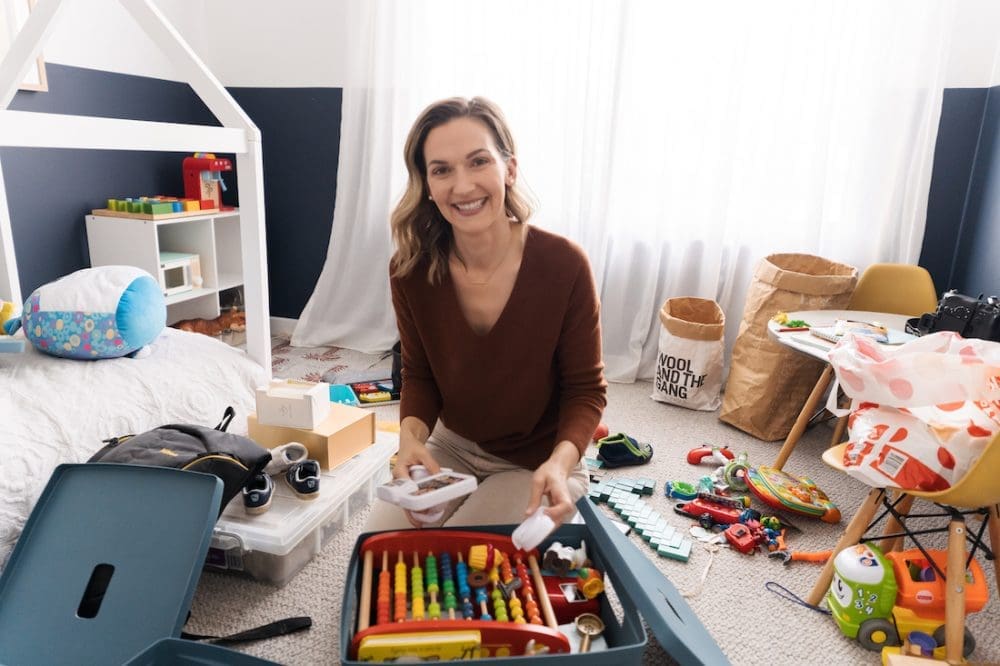
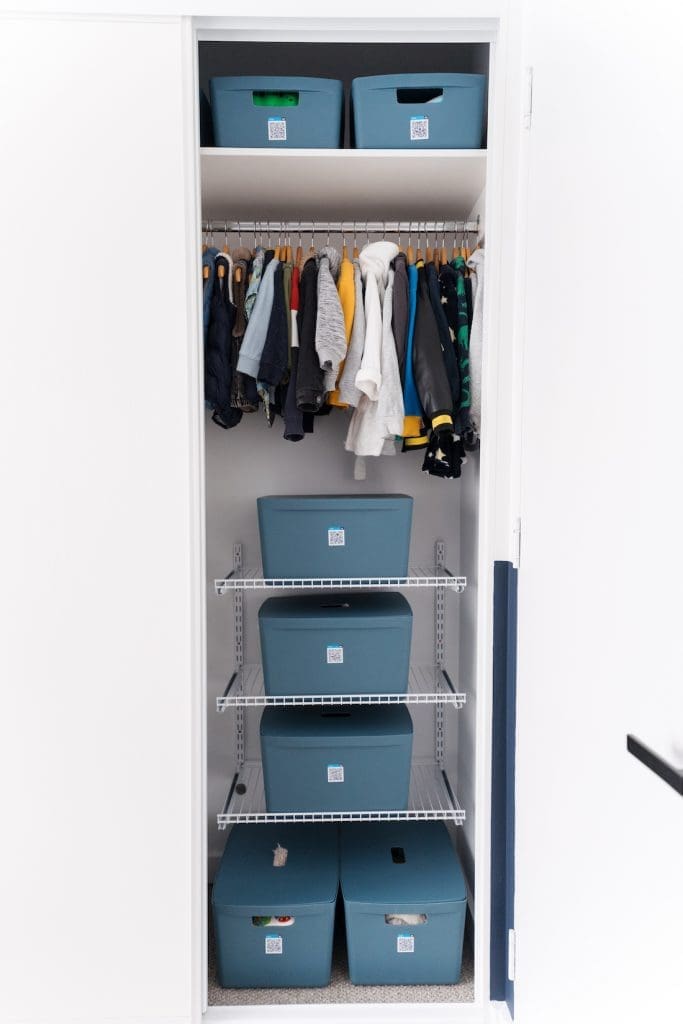
I used the 28L blue storage tubs from Inabox and found they were the perfect size for Alexander’s toys. For Patrick, who has larger Nerf guns, I’ll buy some of their 39L tubs as well. Not only are these coloured to avoid prying eyes, the lids sit neatly inside making them so easy to stack.
Step 2: Gather all the toys into a great big pile
Like with all organising, it has to get worse before it gets better. But trust me, do this once and do it right and you’ll thank yourself for years to come!
Hot tip: Do not attempt this while your children are home. It’s best to make it a ‘surprise’ where you reveal their beautifully organised bedroom and/or playroom. Surprisingly, I haven’t had one question like ‘Where is my [toy]..’ because they’re just enjoying the toys on display so much.
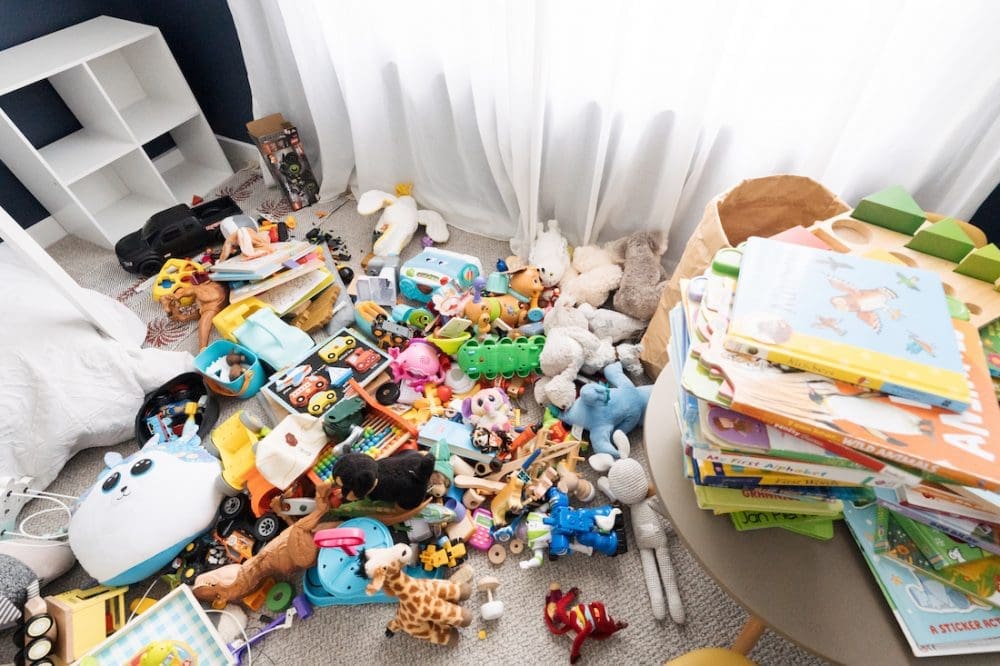
Step 3: Declutter and sort
The next step is to sort the toys into categories. I did this by grouping all books together, all ‘cooking’ toys together, all puzzles together, all blocks together, all vehicles together and so on.
As you sort the toys into groups, you may find toys you immediately know your children have outgrown that you can eliminate from the toy rotation. And you may also find duplicate toys. For example, Alexander had two play toasters that were almost identical so I donated one.
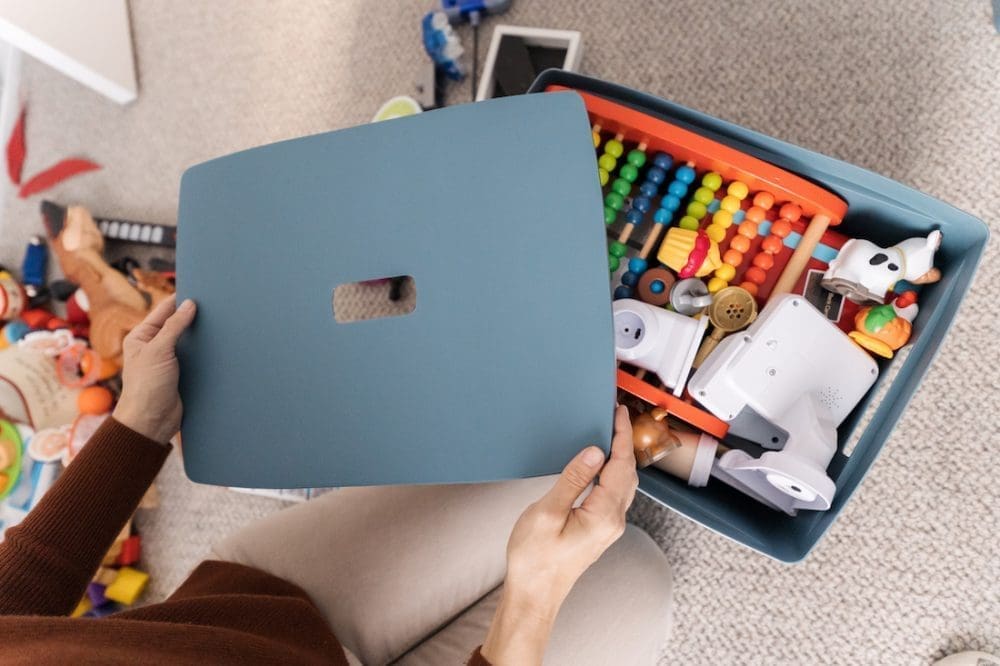
Step 4: Divide the toys you’ll keep into boxes
There are various methods for dividing toys into boxes. Some people keep the toys grouped by category, such as all musical toys in one box.
Personally, I knew I didn’t want to have to think about toy rotation again so I created ‘rotation boxes’ instead. By this, I mean I created a mixed bag of toys and books so I can simply pull out a ready-made box and switch the room over.
In each rotation box, I included:
- at least 1-2 soft toys (may not be needed if your child is older)
- one puzzle
- 5-10 books
- 2-5 vehicles (cars, planes, boats etc)
- one type of imaginary game, such as tools for construction, exploration set or play cooking.
The idea is to have a variety of toy options while keeping the total amount of toys manageable. Depending on the quantity of toys your children have, you could have anywhere from 3-7 rotation boxes.
Tip: Some people also create ‘seasonal’ boxes. For example, water play or exploring toys may be kept in a summer box, and puzzles kept in a winter box. But in Australia where our climate is pleasant year-round, I didn’t worry about this.
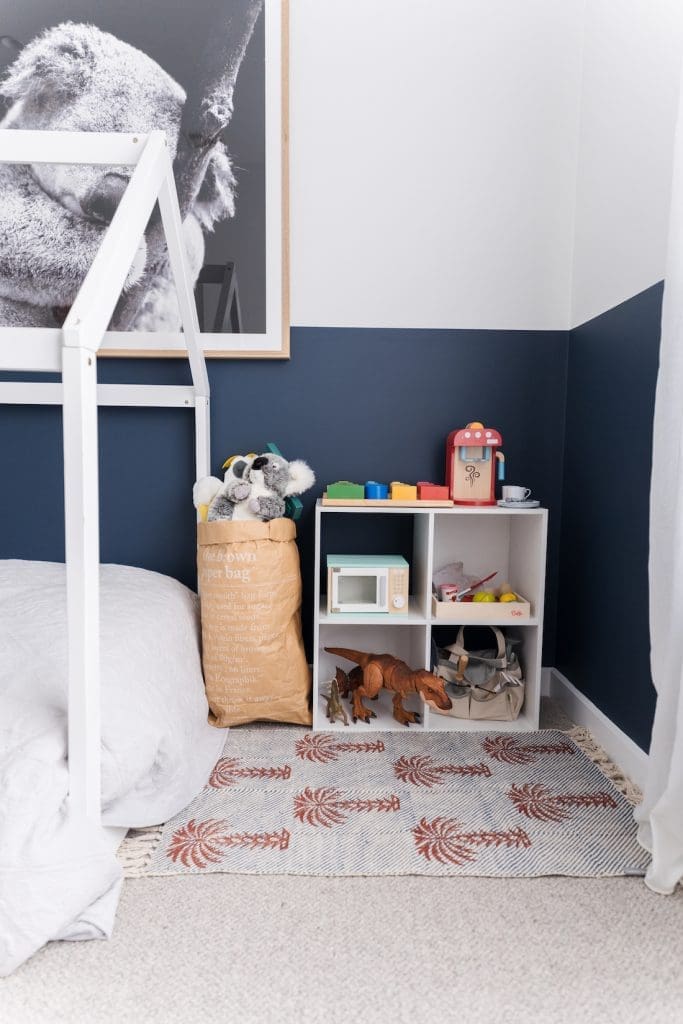
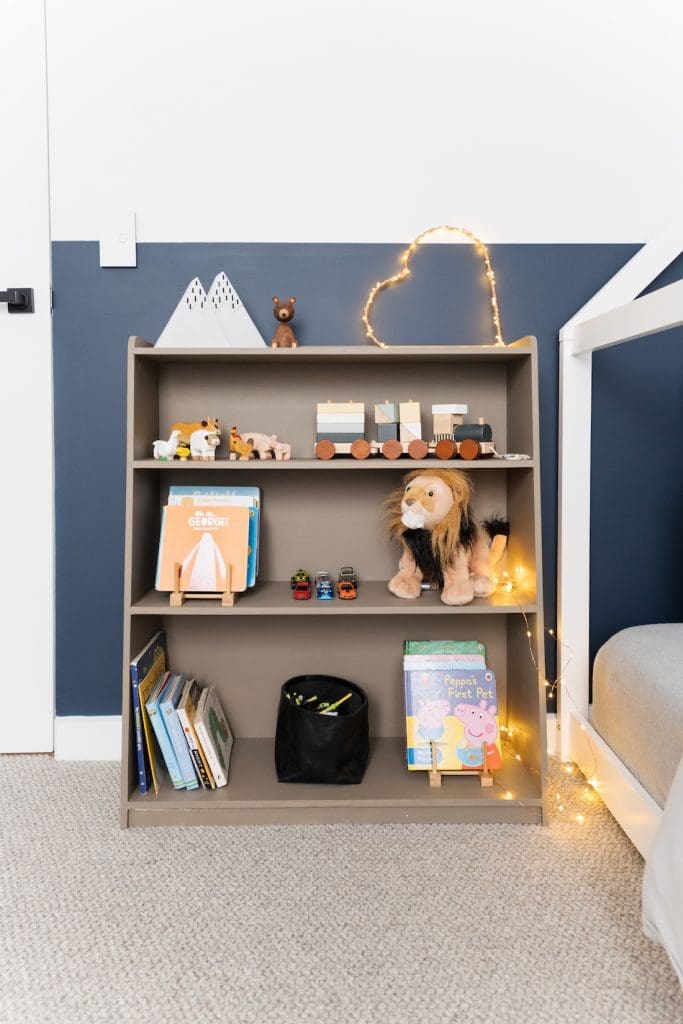
Step 5: Set up the toys that are ‘out’ in their room or play area
Now for the fun part. Display the toys that are on rotation in their space.
For this, I took inspiration from the Montessori method of creating a child-centred environment so all the toys are within easy reach.
I found a few new storage solutions to help display items, such as using a plate rack to display books.
Best of all, there is now so much more room to play!
Step 6: Keeping on track
Most importantly, to keep the toy rotation system effective, it’s important to regularly switch over the toys. You’ll know when it’s time to do this as you’ll see your children are less engaged with their toys. It may be after a week or two, or longer.
To keep track of the toys packed away, I was so excited to use the innovate new Organise by Inabox. It’s a QR label system and mobile app that means you’ll never lose stuff again.
For each toy rotation box I created, I attached an Inabox QR sticker. Through the app, I could ‘create the box’ by naming it, keeping track of its location in the home, listing the contents — and best of all, capturing a photo of what’s inside.
This means, if my children ever ask for a particular toy, I can browse the app to find exactly what box it’s stored in and where. And if I change what’s kept in a box, I can update this information through the app and upload a new picture, rather than having to relabel boxes.
Watch my video below to see the app in action. It’s a game changer for home organisation!
There you have my tips and steps on how to create a toy rotation system. Do you feel inspired to give it a go? Let me know if you’ve got any questions by posting a comment below and I’ll get back to you asap. You can find all of the smart storage solutions I used at Inabox.
More home organising ideas

This article was first published in April 2022 and continues to be updated with latest information.


Comments are closed.