
Want to keep your home smelling divine without constantly spraying air fresheners or burning candles? Wax block air fresheners are the perfect solution! These scented beauties release a gentle fragrance over time and can be tucked into drawers, hung in wardrobes, or displayed as decorative pieces. Plus, they’re easy to make, customisable, and free from the nasties often found in store-bought alternatives.
Here’s how to make your own DIY wax block air fresheners — and trust us, your nose will thank you!
Related article: How to make a mirror affirmation etching: Boost your mood and confidence with a mirror quote
Related article: Florist approved: 5 tips to make hydrangeas last longer
What are wax block air fresheners?
Wax block air fresheners (also known as scented wax tablets or hanging wax fresheners) are solid wax blocks infused with fragrance oils, essential oils, or dried botanicals. Unlike candles, they don’t require a flame to release their scent. Instead, they slowly diffuse their fragrance into the surrounding air, making them ideal for wardrobes, linen closets, and small spaces.
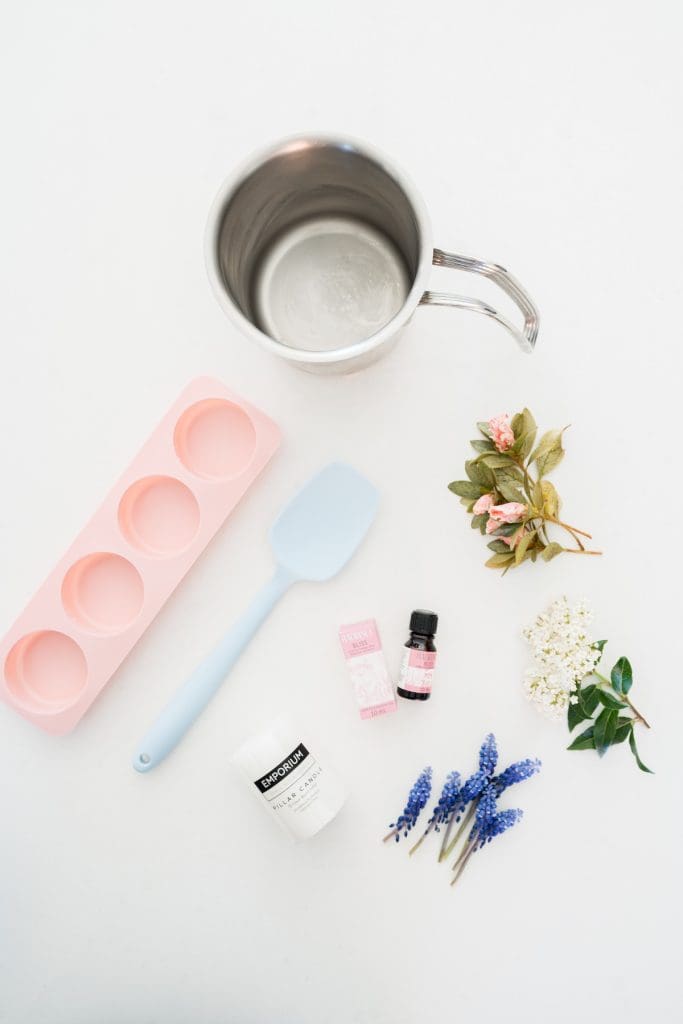
Materials:
- Soy wax or beeswax (a natural, non-toxic wax base that holds scent well)
- Fragrance oil or essential oil (choose scents like lavender, vanilla, citrus, or sandalwood)
- Silicone moulds (any shape you like, but smaller moulds work best)
- Dried flowers, herbs, or citrus peels (for a decorative touch and extra aroma)
- Wick sustainers or tool like a small screwdriver (to create a hanging option)
- Ribbons or twine (for display or hanging)
- Double boiler, steel jug or microwave-safe jug (for melting wax)
- Mixing spoon (to blend in fragrance oils evenly)
- Measuring spoon (to ensure the right ratio of fragrance to wax)
Steps:
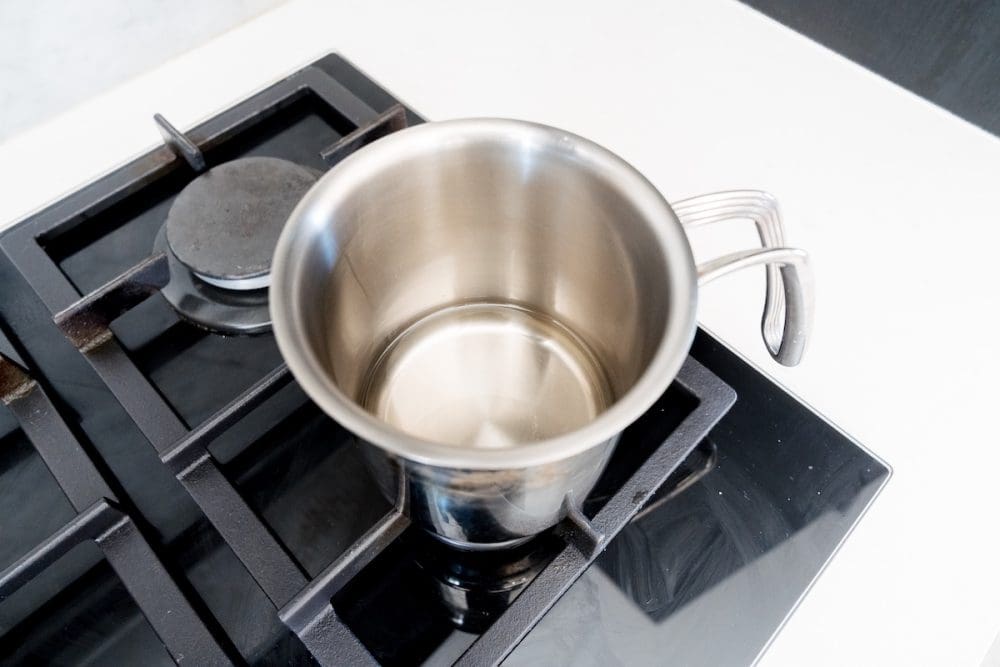
Step 1: Melt the wax
Melt your soy wax or beeswax until it reaches a smooth, liquid consistency. We used a stainless steel jug on the cooktop at a low heat. You could also use a double boiler or a microwave-safe jug in 30-second bursts. If using a thermometer, aim for around 70°C (158°F) for optimal fragrance absorption.
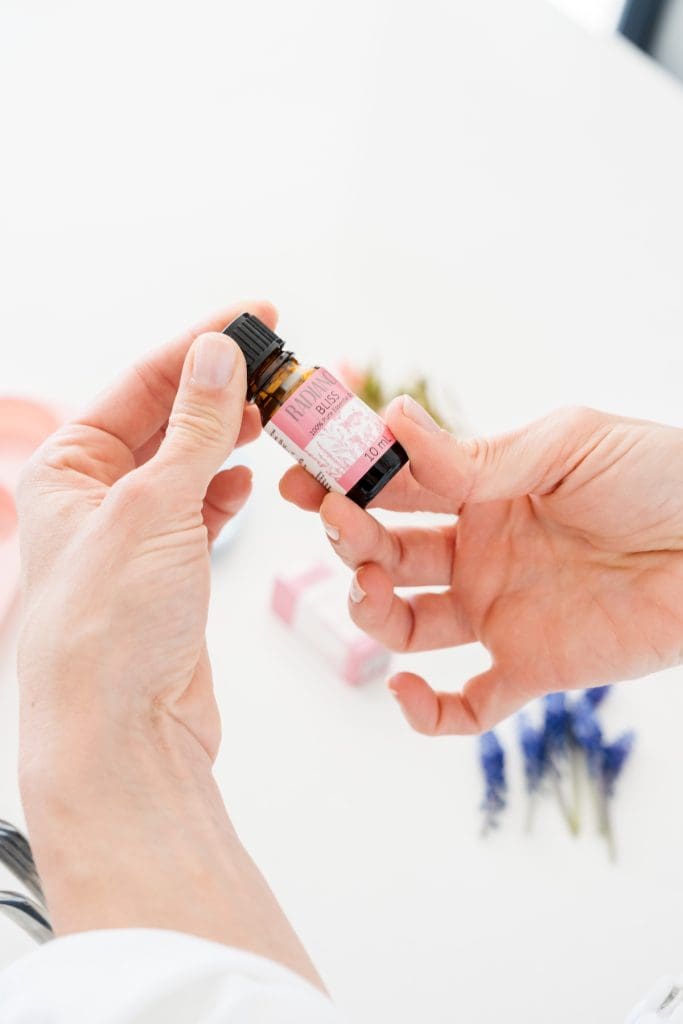
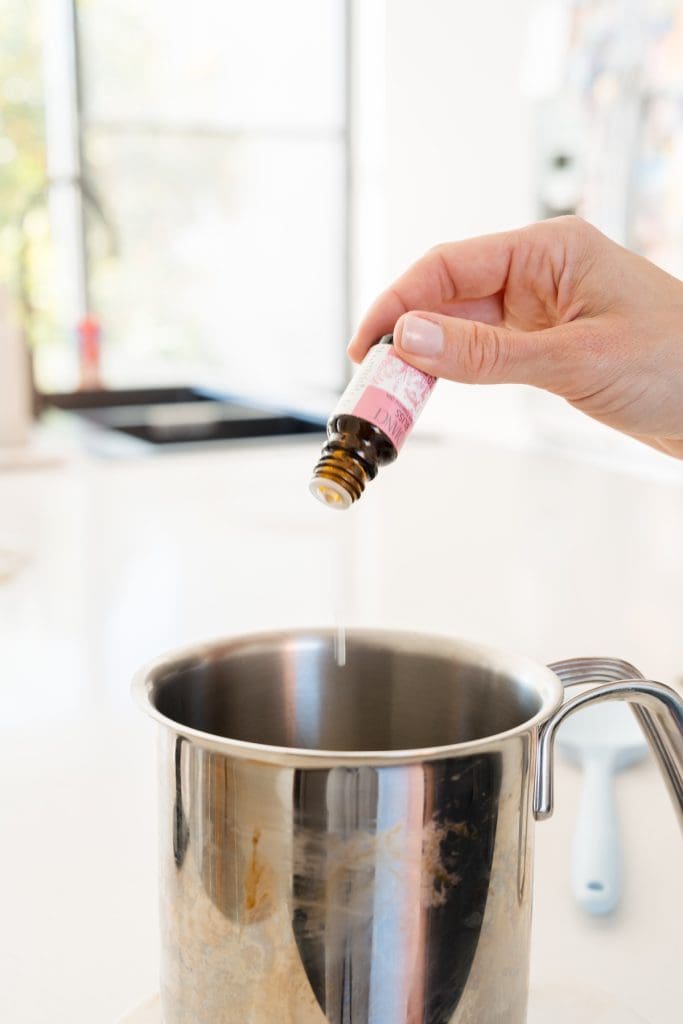
Step 2: Add fragrance
Remove the melted wax from heat and let it cool slightly to around 60°C (140°F). Add your chosen fragrance or essential oil — typically around 10% of the wax weight for a strong scent. Stir thoroughly to ensure even distribution.
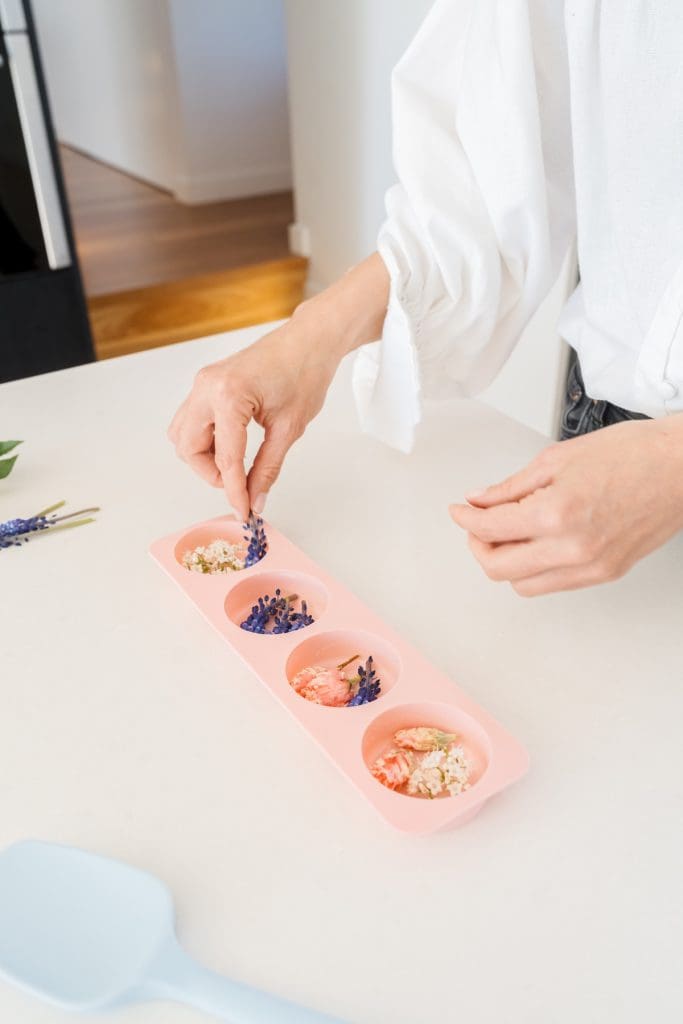
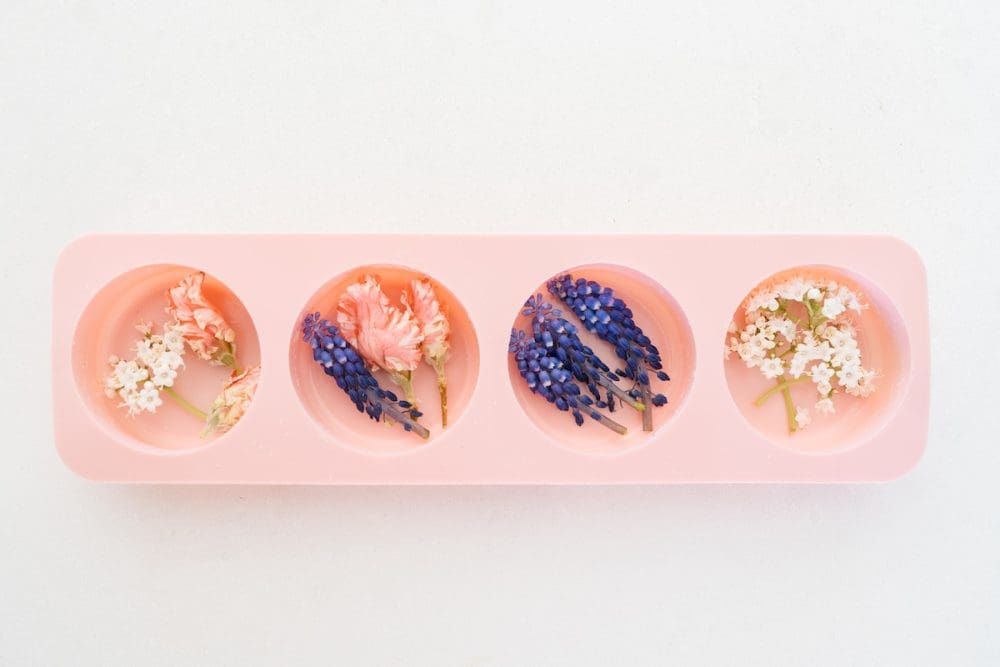
Step 3: Place your flowers in the moulds
If you want to achieve the pressed flower looking fragrance blocks like we did, add your flowers into the moulds first and fully submerge them in wax. Alternatively, you could pour the wax first and then sprinkle decorative accents on top before the wax fully hardens. Decorative elements like dried citrus or cinnamon sticks look best on top. Press them gently into the surface so they adhere as the wax cools.
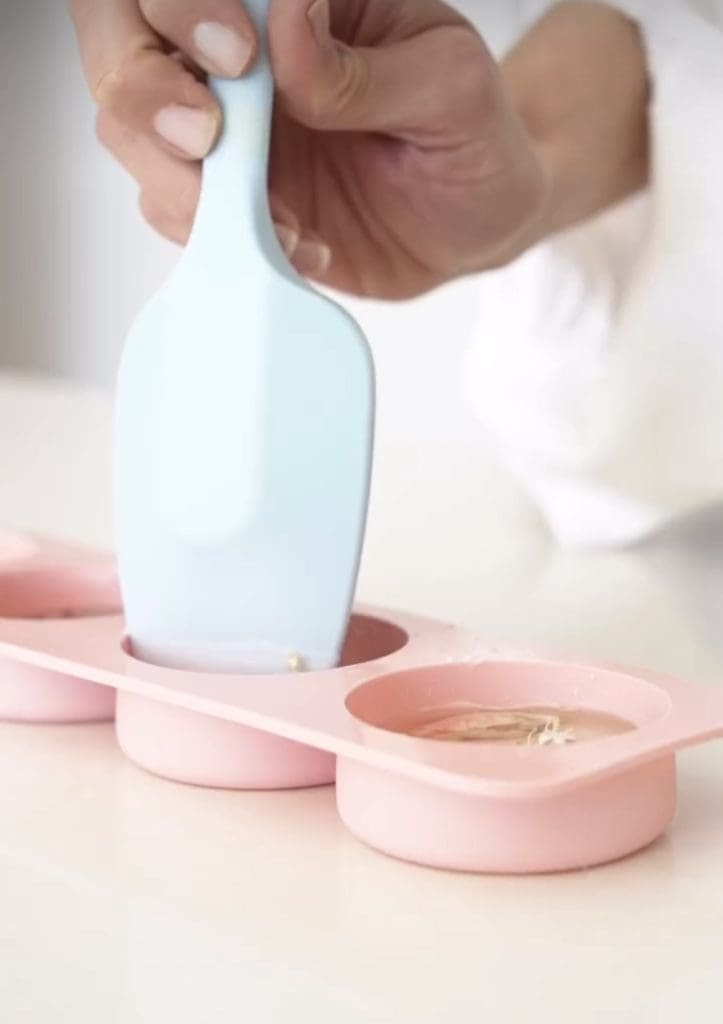
Step 4: Cover in wax
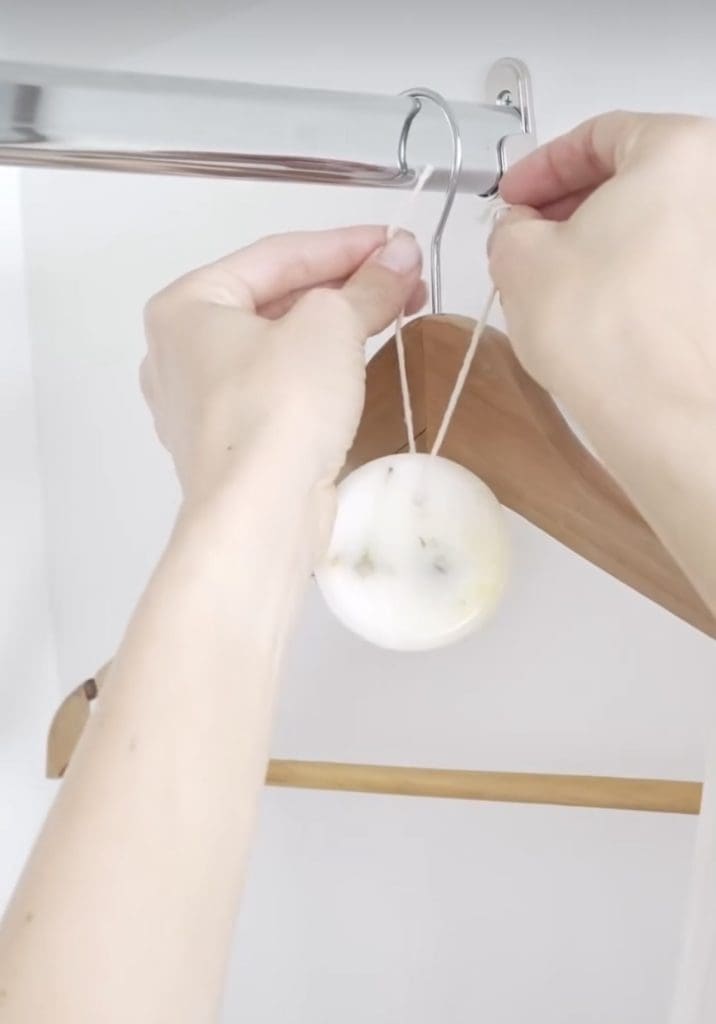
Carefully pour the scented wax over the flowers into your silicone moulds. If you want to make hanging wax fresheners, insert a wick sustainer at the top or you can use a tool like a small screwdriver to make a hole once the wax has slightly set.
Step 5: Set and unmould
Let the wax blocks cool and harden completely — this takes about 2–3 hours at room temperature. Once solid, gently pop them out of the moulds.
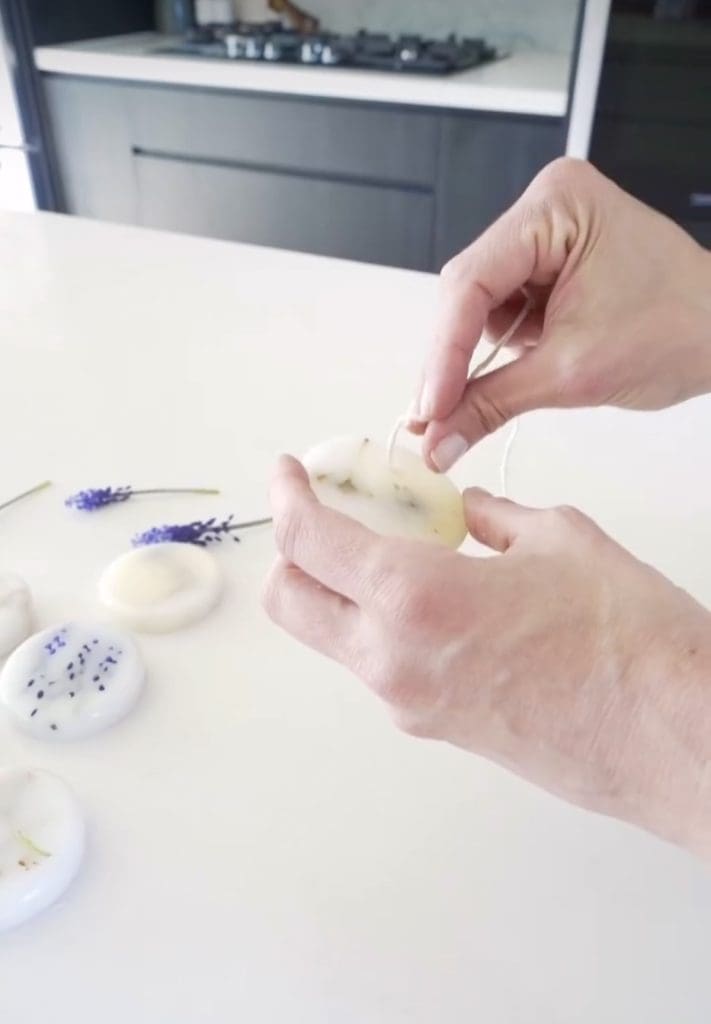
Step 6: Add finishing touches
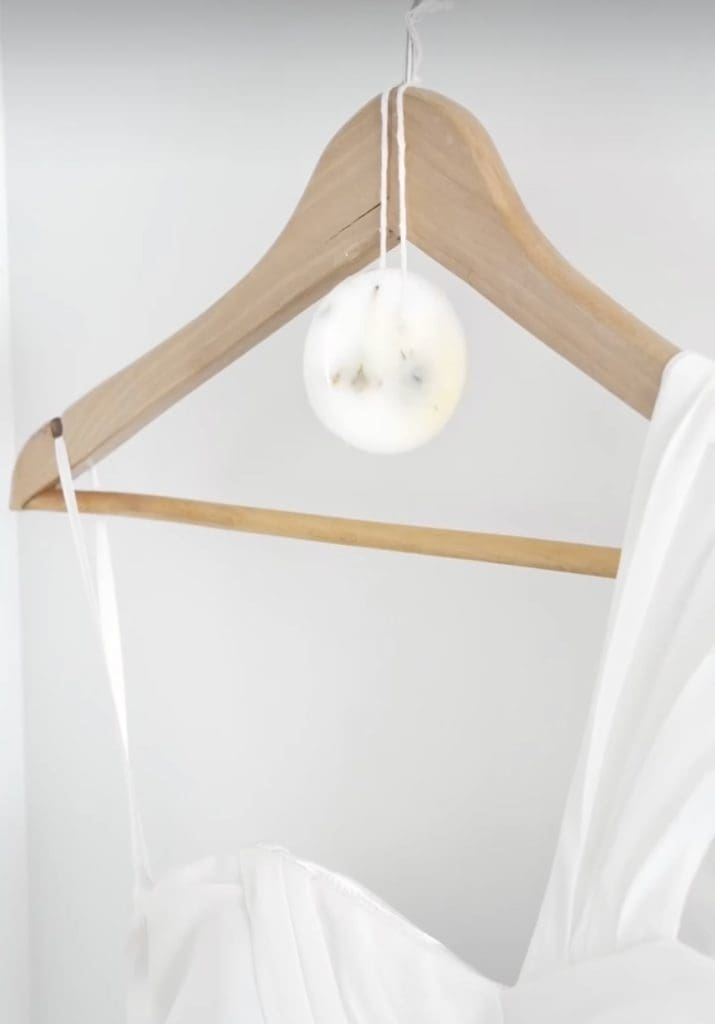
If you made hanging air fresheners, thread a ribbon or twine through the hole. For wax blocks meant for drawers, store them in small breathable bags to protect clothing while still releasing their scent.
Where to use wax block air fresheners?
These wax blocks are incredibly versatile and can be stored just about anywhere around your home for long-lasting fragrance.
Most popular places to use wax fragrance bars:
- Wardrobes and closets: keep your clothes smelling fresh
- Linen cupboards: infuse your towels and sheets with a subtle fragrance
- Drawers: a lovely alternative to traditional sachets
- Bathrooms: combat musty smells naturally
- Near entryways: a welcoming scent for guests.
Tips for the best DIY wax air fresheners
After having made several batches of these wax block air fresheners, we’ve picked up some tricks for best results.
- Use high-quality fragrance oils or pure essential oils: synthetic or weak scents may not last as long
- Don’t overheat the wax: high temperatures can burn off the fragrance
- Mix essential oils for unique blends: try lemon + rosemary for freshness, or lavender + vanilla for relaxation. We have plenty of essential oil blends in this article.
- Experiment with decorative touches: from dyes to natural elements like dried flowers and cinnamon sticks, there are plenty of ways you can make this DIY your own!
- Refresh the scent: if the fragrance fades, gently warm the surface with a hairdryer and add a few drops of oil.
Frequently asked questions
How long do wax block air fresheners last?
They can keep their scent for 3–6 months, depending on the fragrance used and placement. You can use the trick above to easily refresh the scent or reuse them (see below).
Can I reuse them?
Yes! Melt them down and add more fragrance oil to refresh them. Simply repeat the steps in this tutorial.
Do they stain clothes?
Not if stored correctly! Keep them in a breathable pouch or wrap them in tissue paper.
Are you inspired to give this DIY a go? Let us know your favourite fragrance combinations in the comments below! Oh, these also make fantastic gifts 😉

