
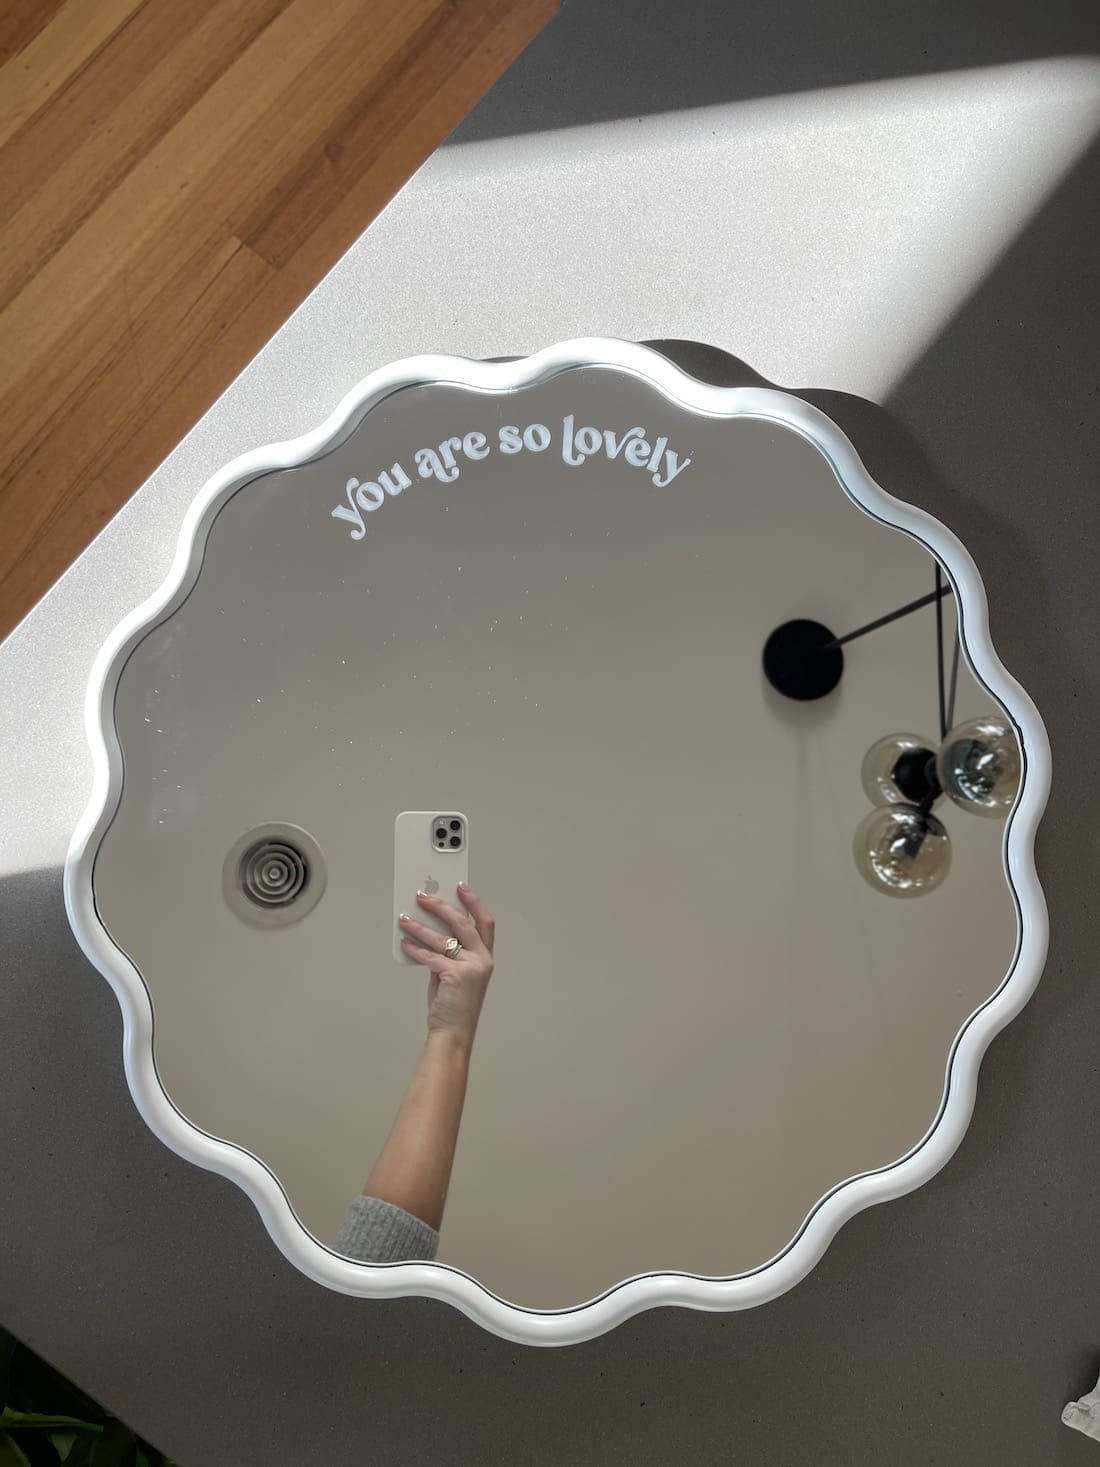
Who doesn’t get a little boost when you read an affirmation or uplifting quote? Whether to calm your thoughts, affirm yourself or avoid self criticism, there are many ways affirmations can boost your confidence and mood. And what better place to put your affirmation than on a mirror where you can read them daily. Forget sticking Post-It notes with quotes onto your mirror when you can etch them into the face instead!
Today the oh-so-talented DIYer Sophie from @nestihome has popped by Style Curator to share this on-trend home decor DIY project.
Related article: Make your own luxe milk bath salts
Related article: DIY terrazzo side table: Make your own luxe stone side table
Words by Sophie of @nestihome
Items you will need:
- Mirror (I used the Kmart Scalloped Circular Mirror $35)
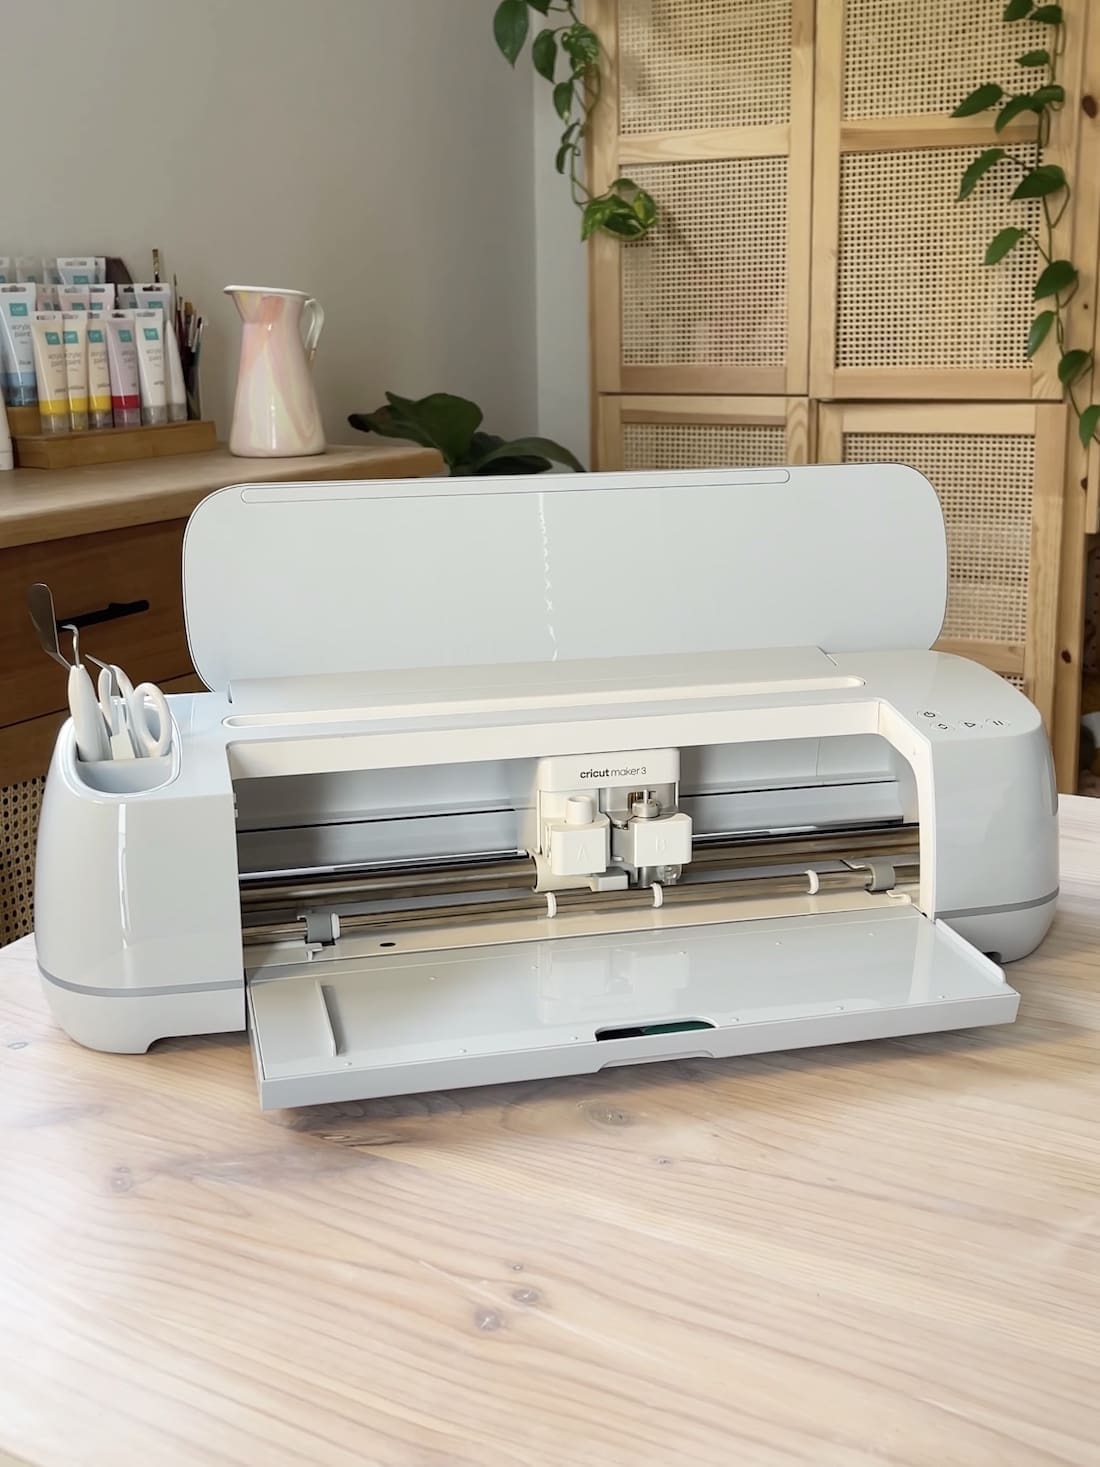
- Cricut machine (Joy, Explore or Maker)
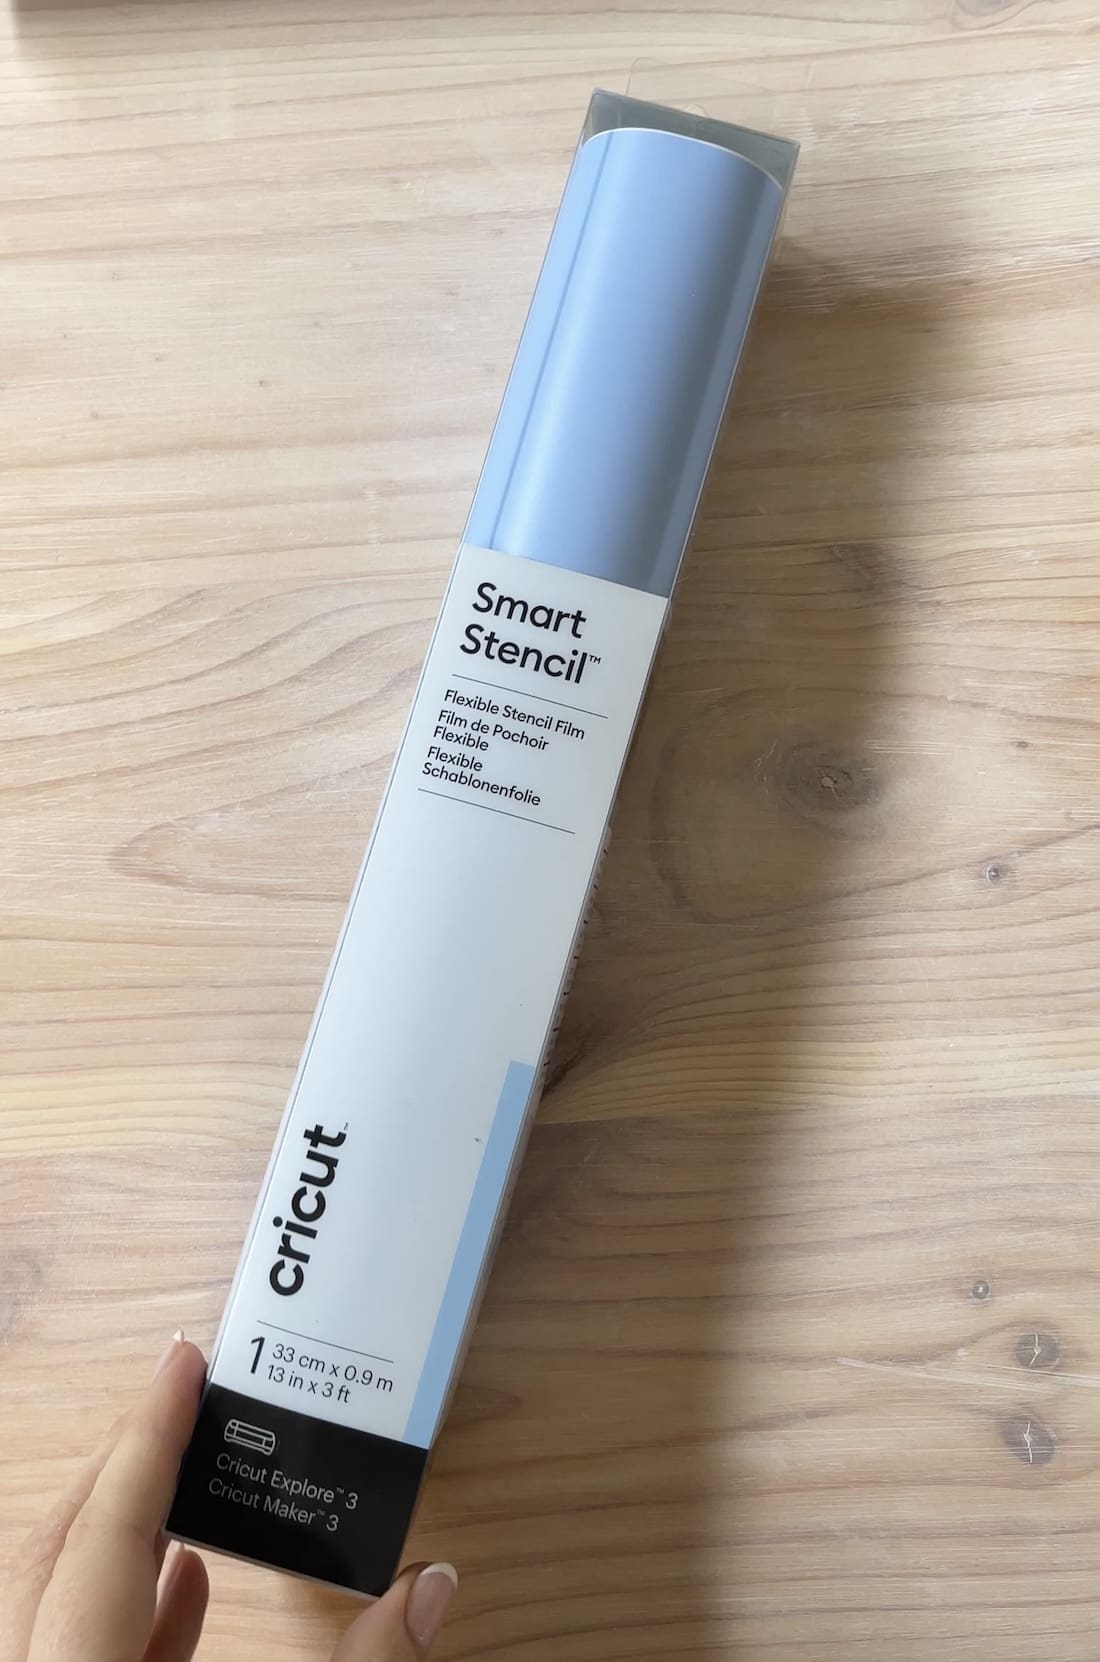
- Cricut Smart Stencil Film
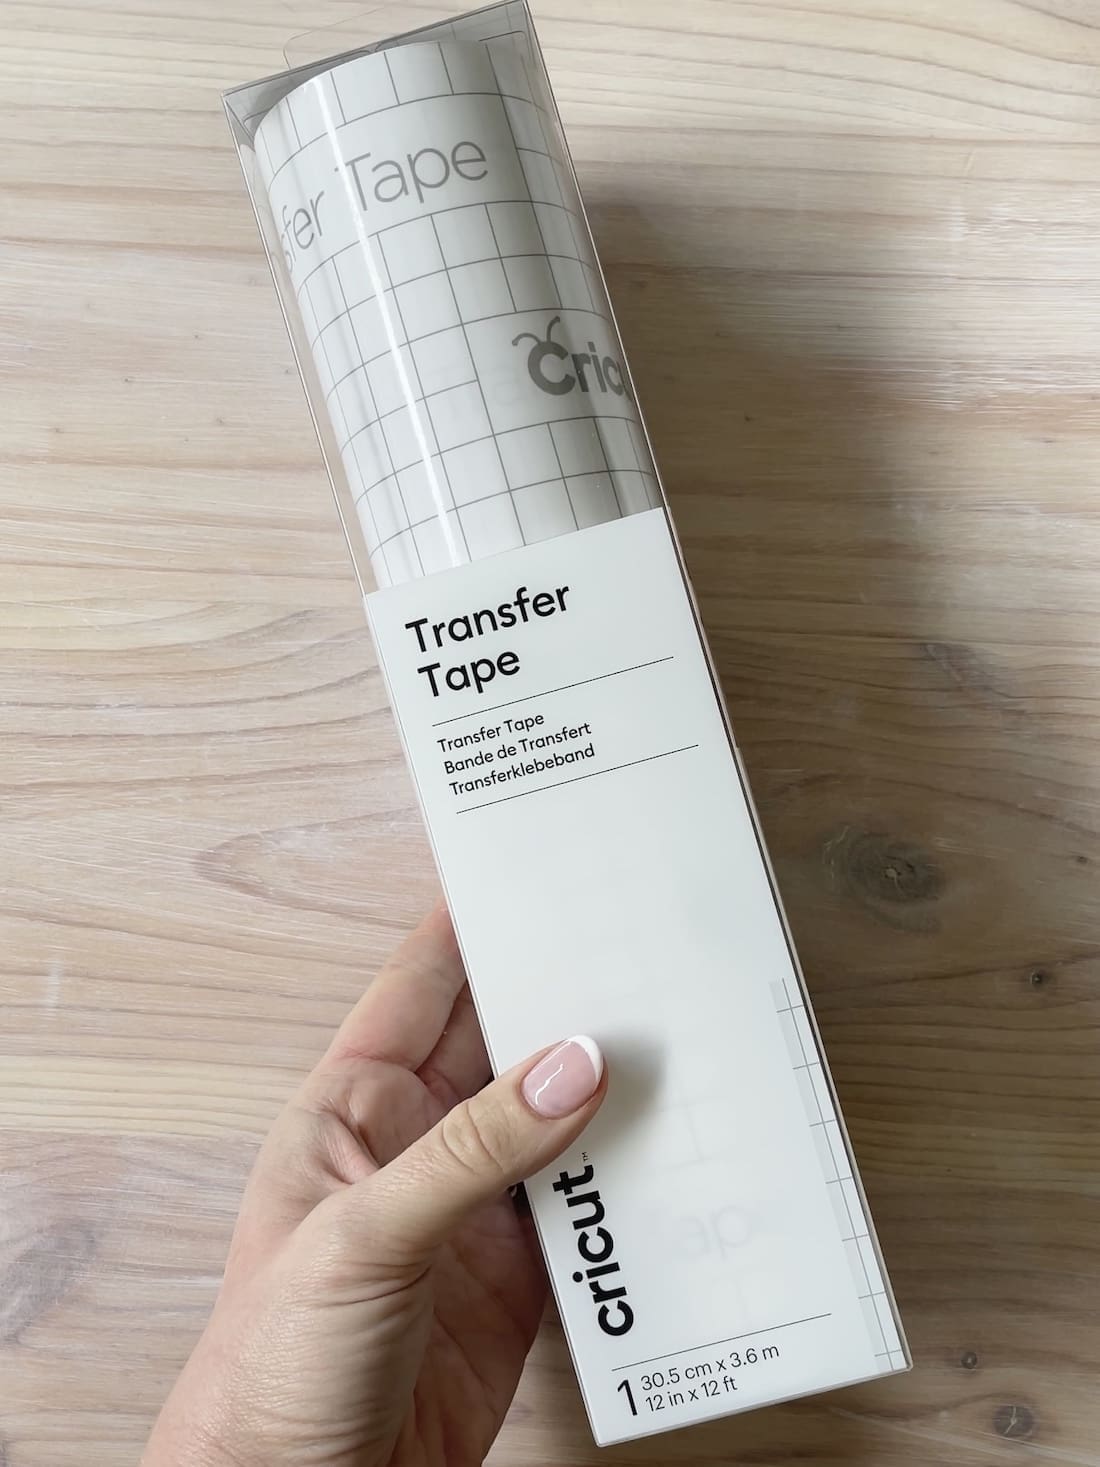
- Cricut Transfer Tape
- Scraper tool
- Weeding tool
- Scissors
- Disposable gloves
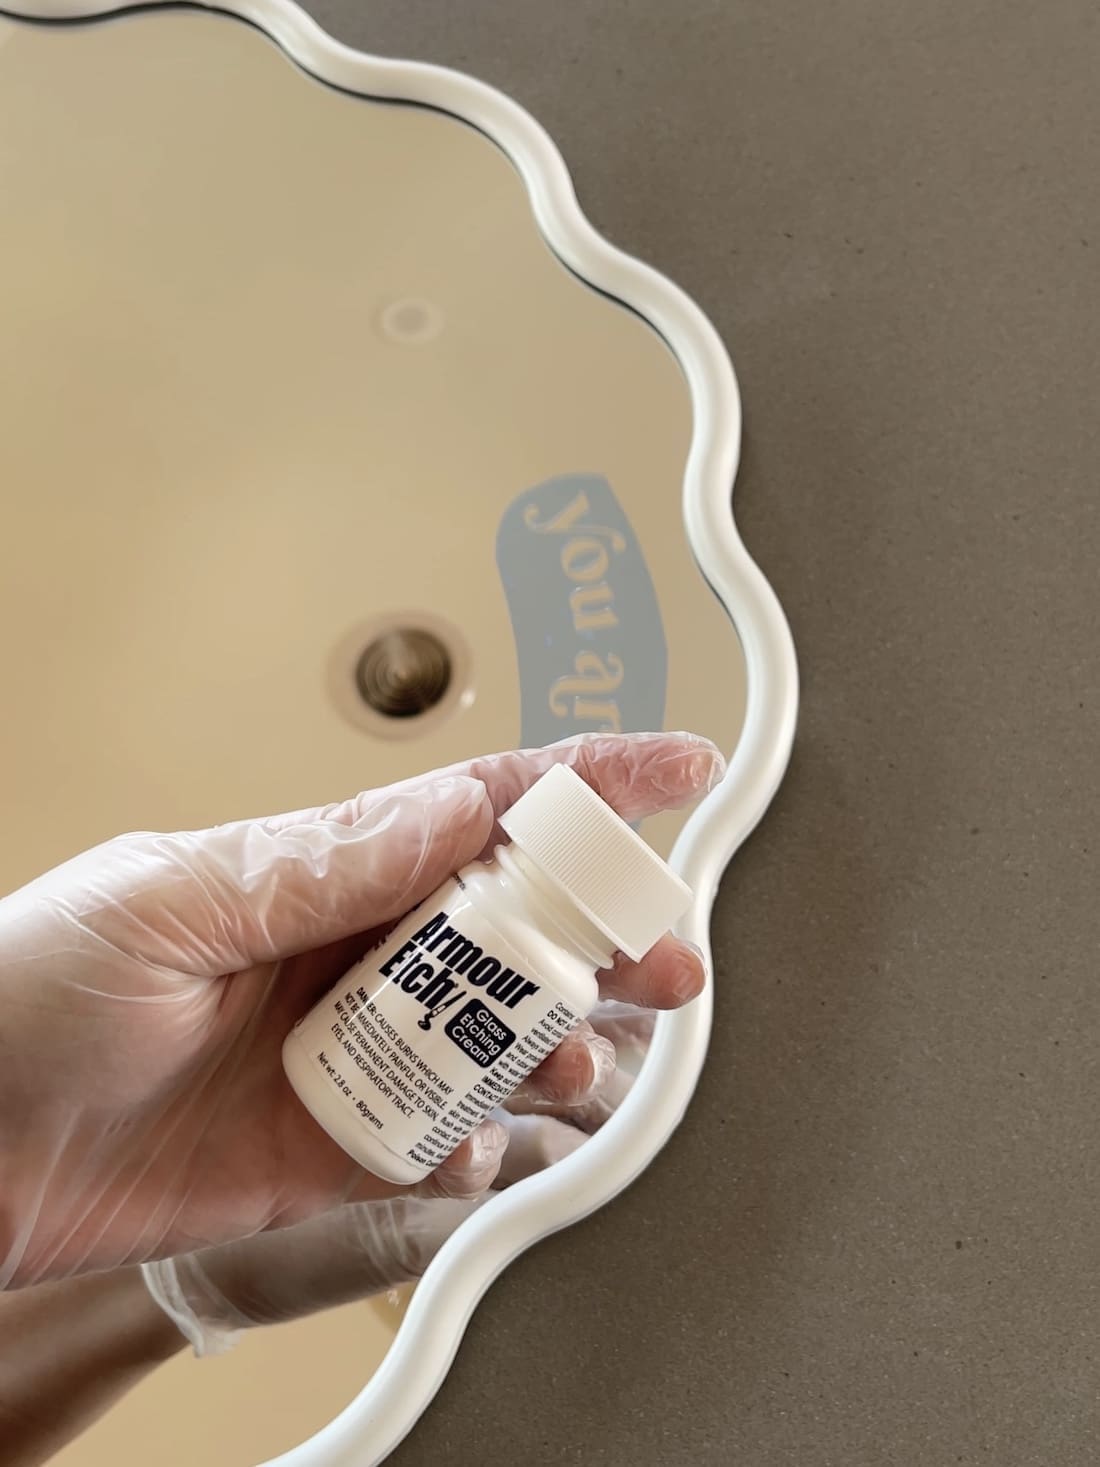
- Armour Etch glass etching cream
- Small paintbrush
Steps:
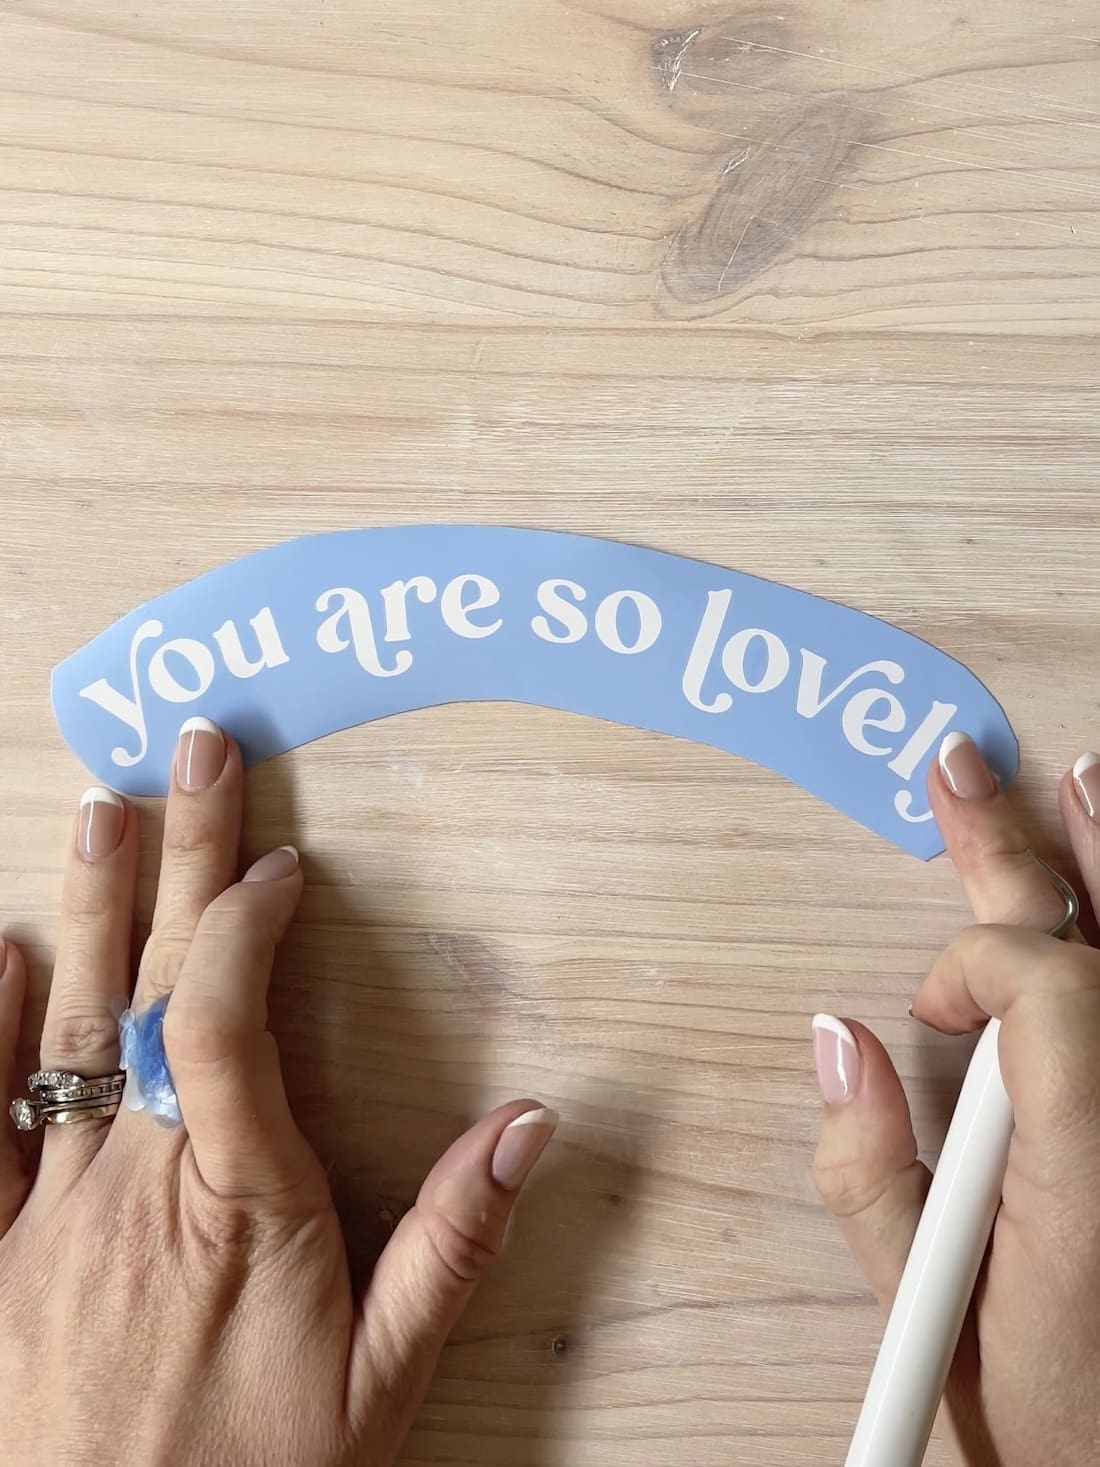
1. Create your design in Cricut Design Space or you could also upload your ready-made design into Cricut Design Space. You can select from dozens of fonts and also design the words to curve.

2. Once you’re happy with your design, load Cricut Smart Stencil Film into your Cricut machine and ‘cut’ it out.
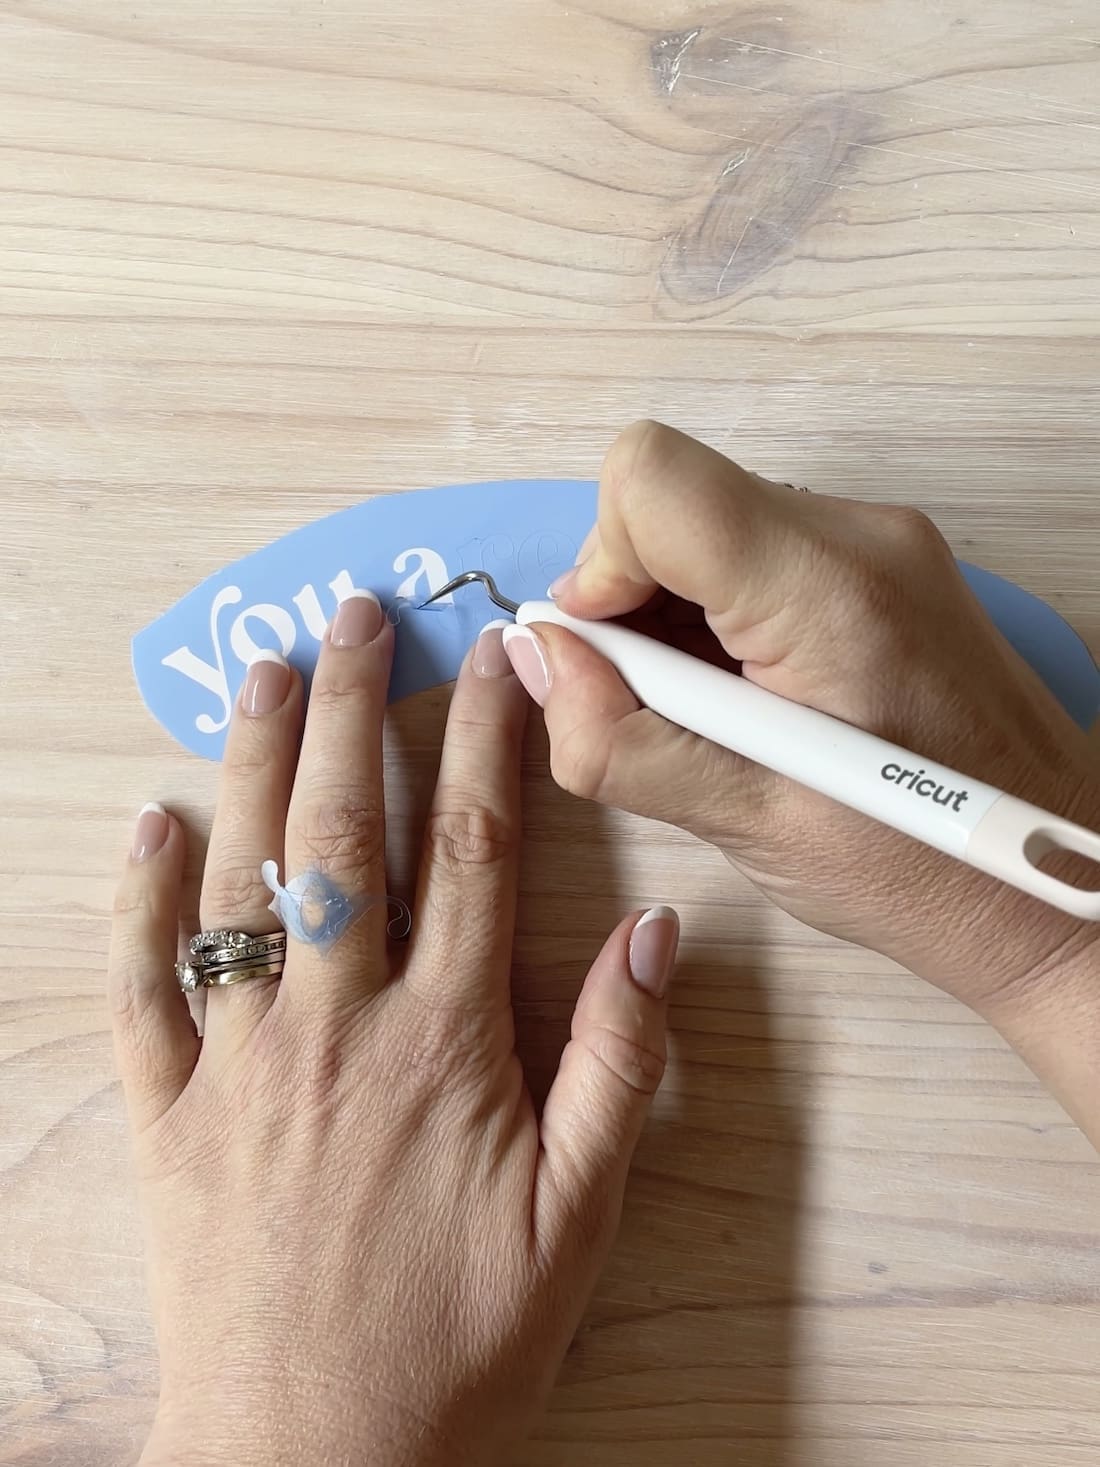
3. Next, use your weeding tool (looks like a hook) to remove the letters from your affirmation to create the stencil. This is because for this DIY you’ll need to create an inverse stencil.
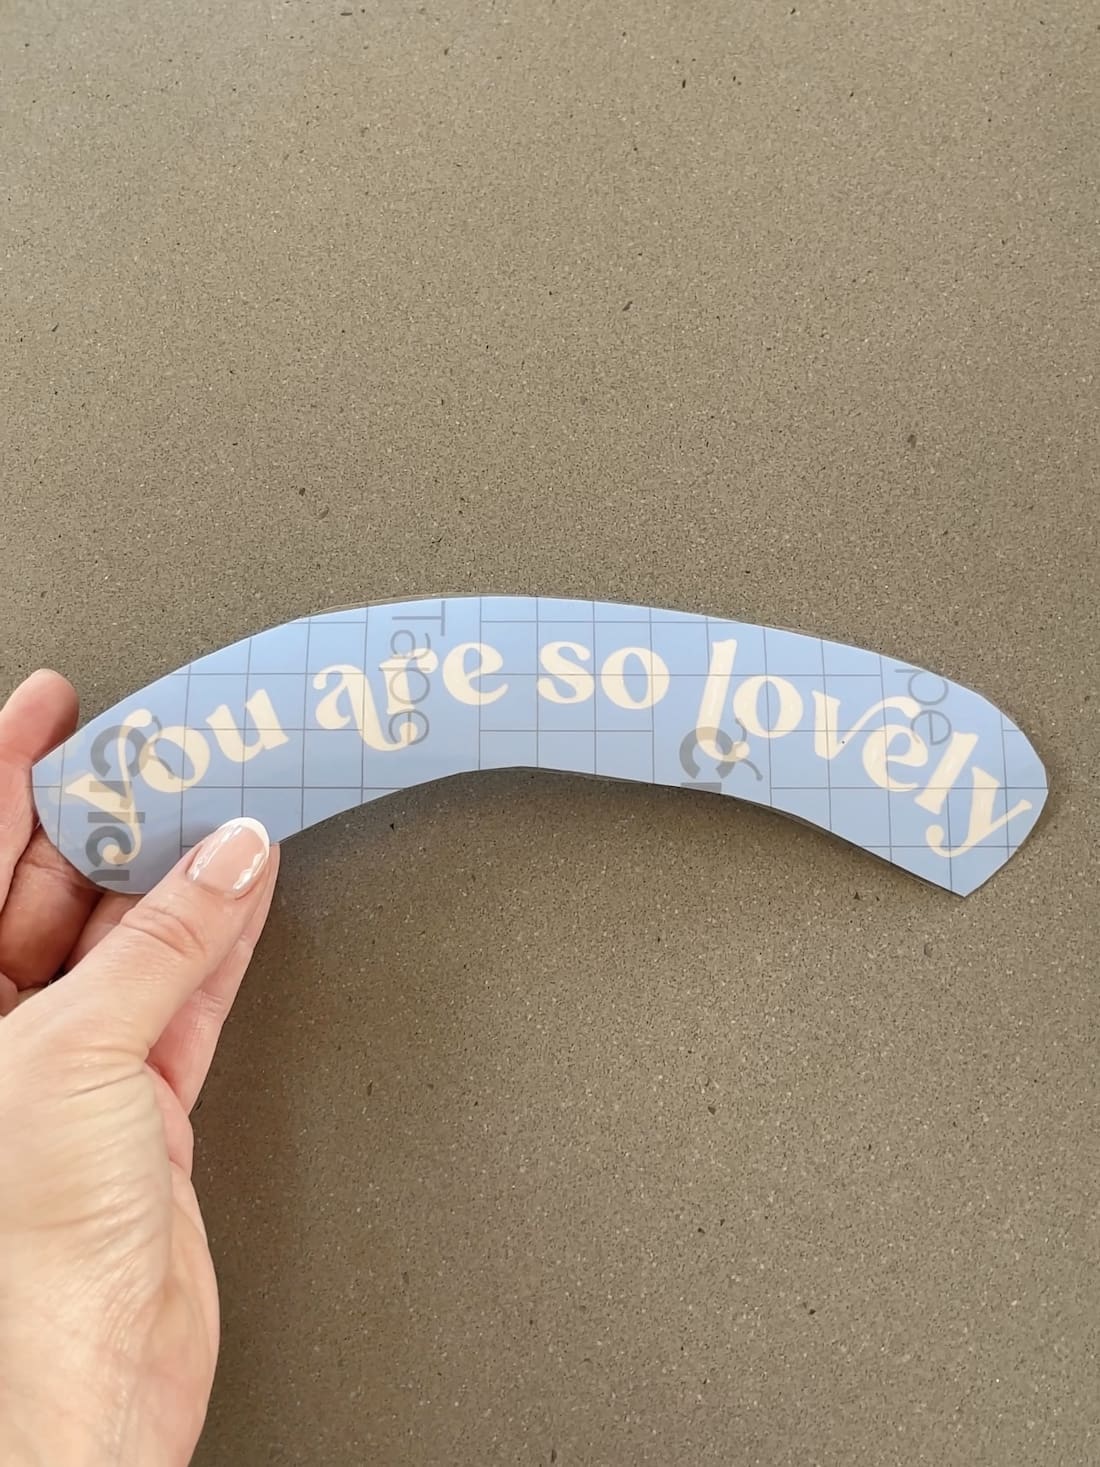
4. For this next step you’ll need Cricut Transfer Tape. Cover the stencil in the transfer tape and then use the scraper tool to throughly burnish the tape to the stencil. Then cut away the excess transfer tape so it’s roughly the same size as the stencil (your stencil is now ready to be transferred).
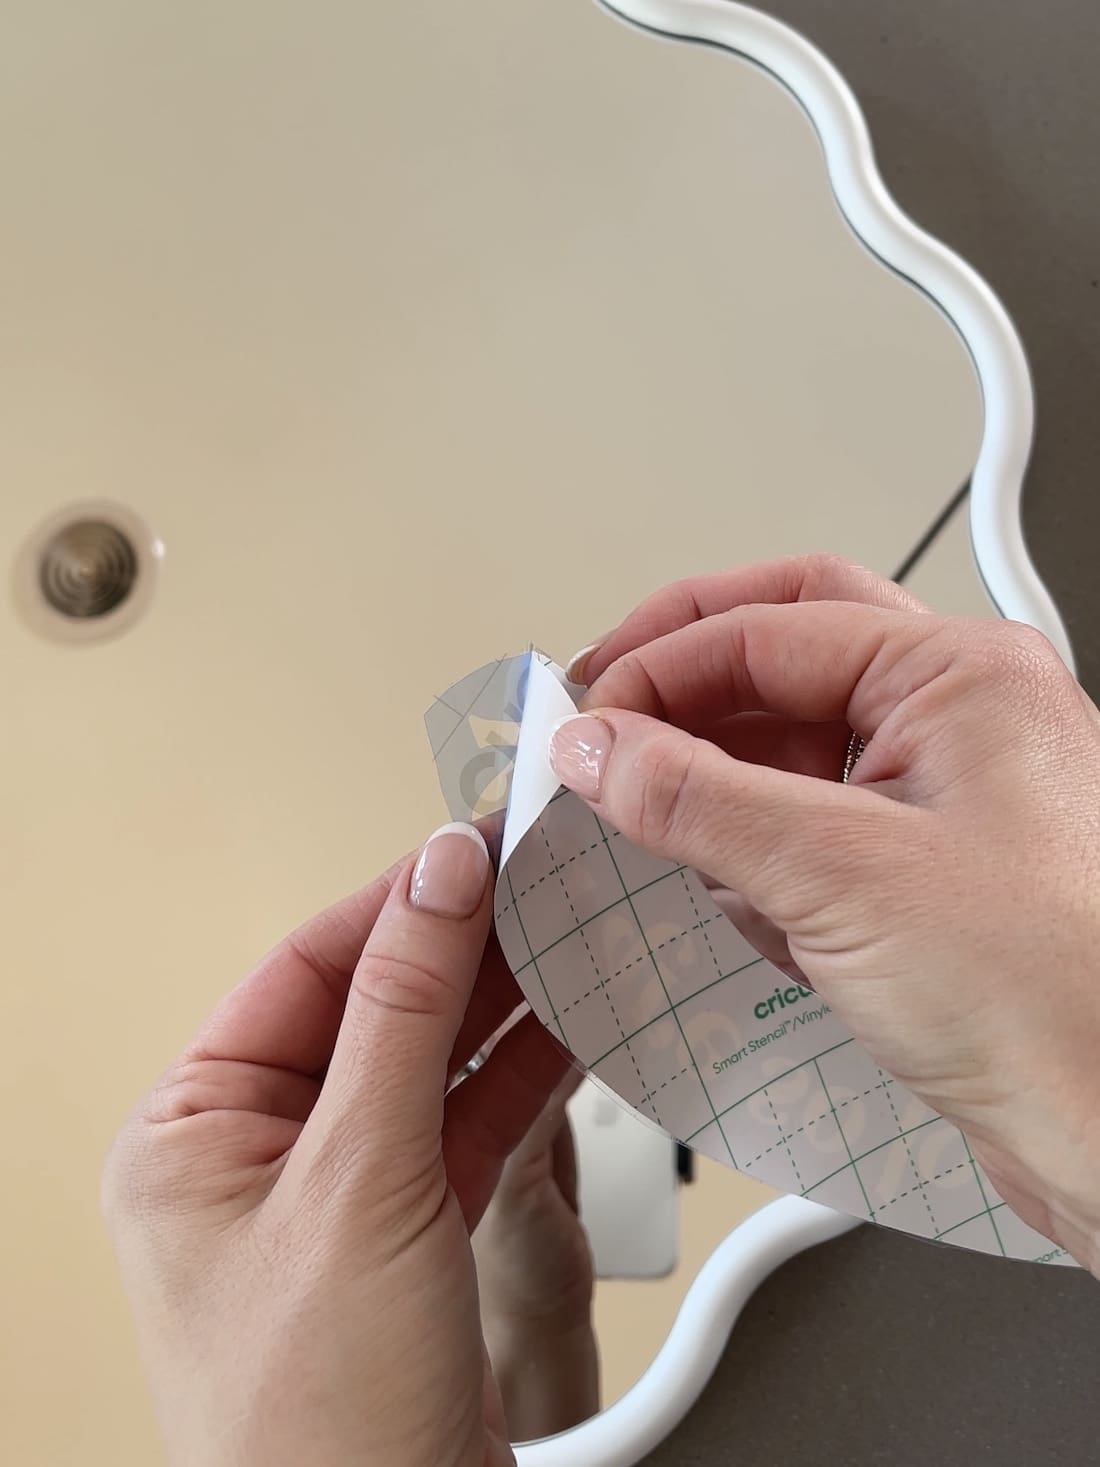
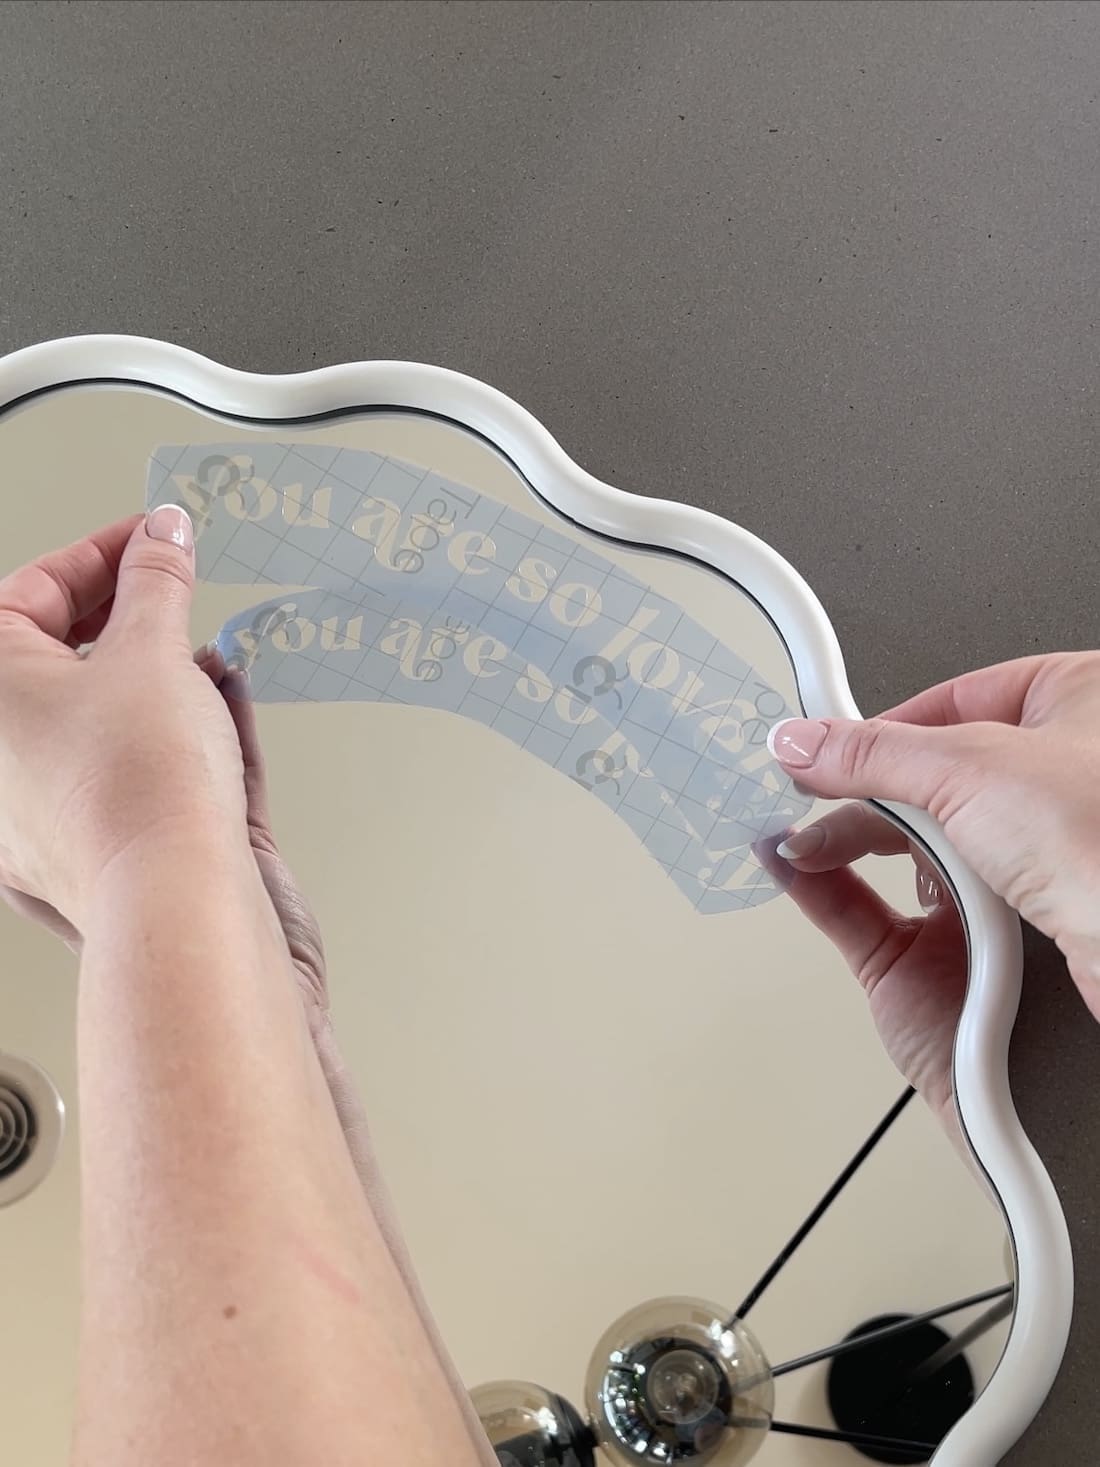
5. Next you’ll need to carefully peel away the backing layer from the stencil. Then carefully position the stencil onto the mirror surface and use the scraper tool to thoroughly burnish the stencil onto the mirror.
Tip: make sure you check where the hook is on the back of the mirror as this will determine the location of the stencil once the mirror is hanging.
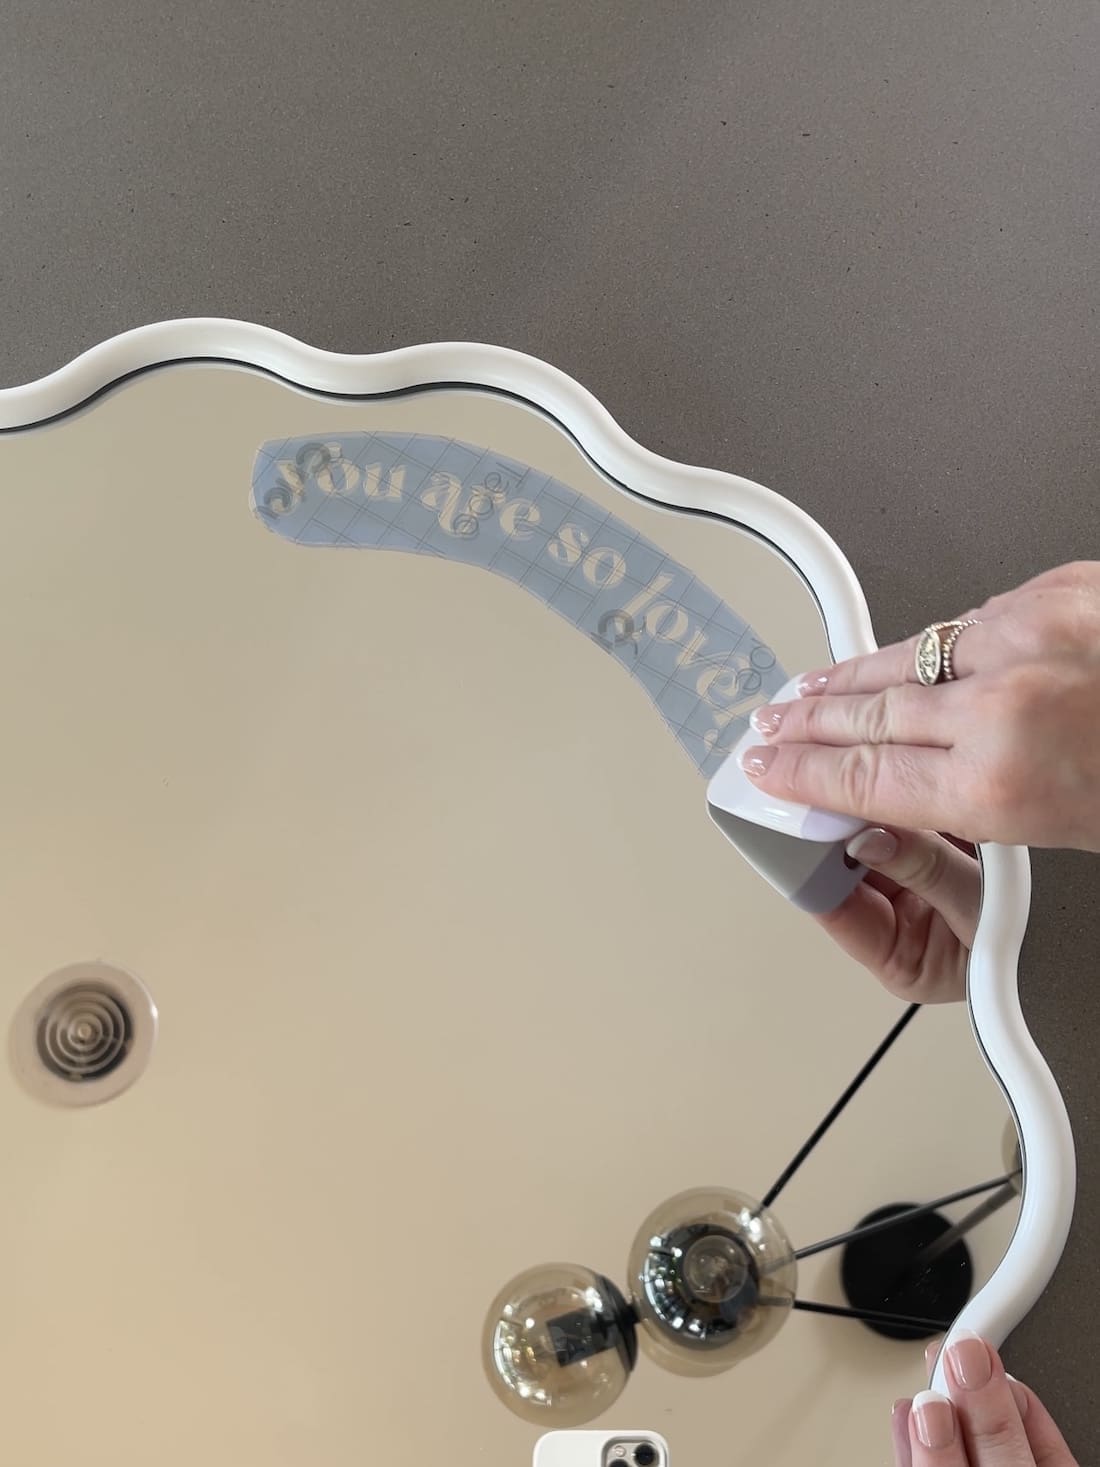
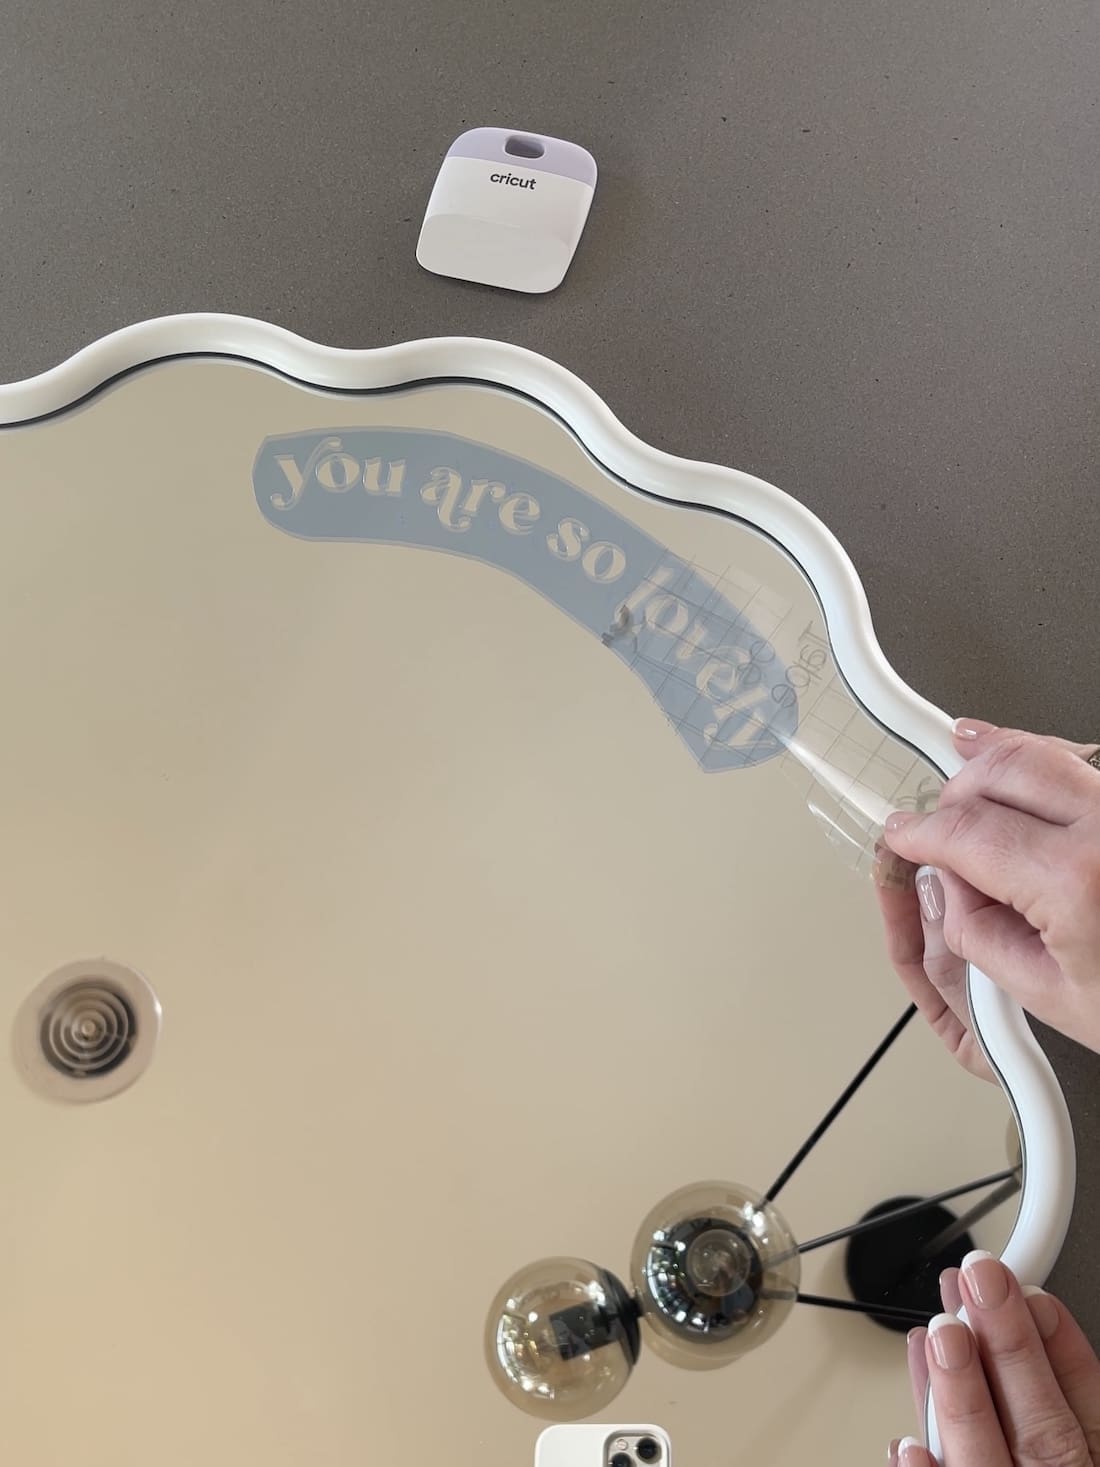
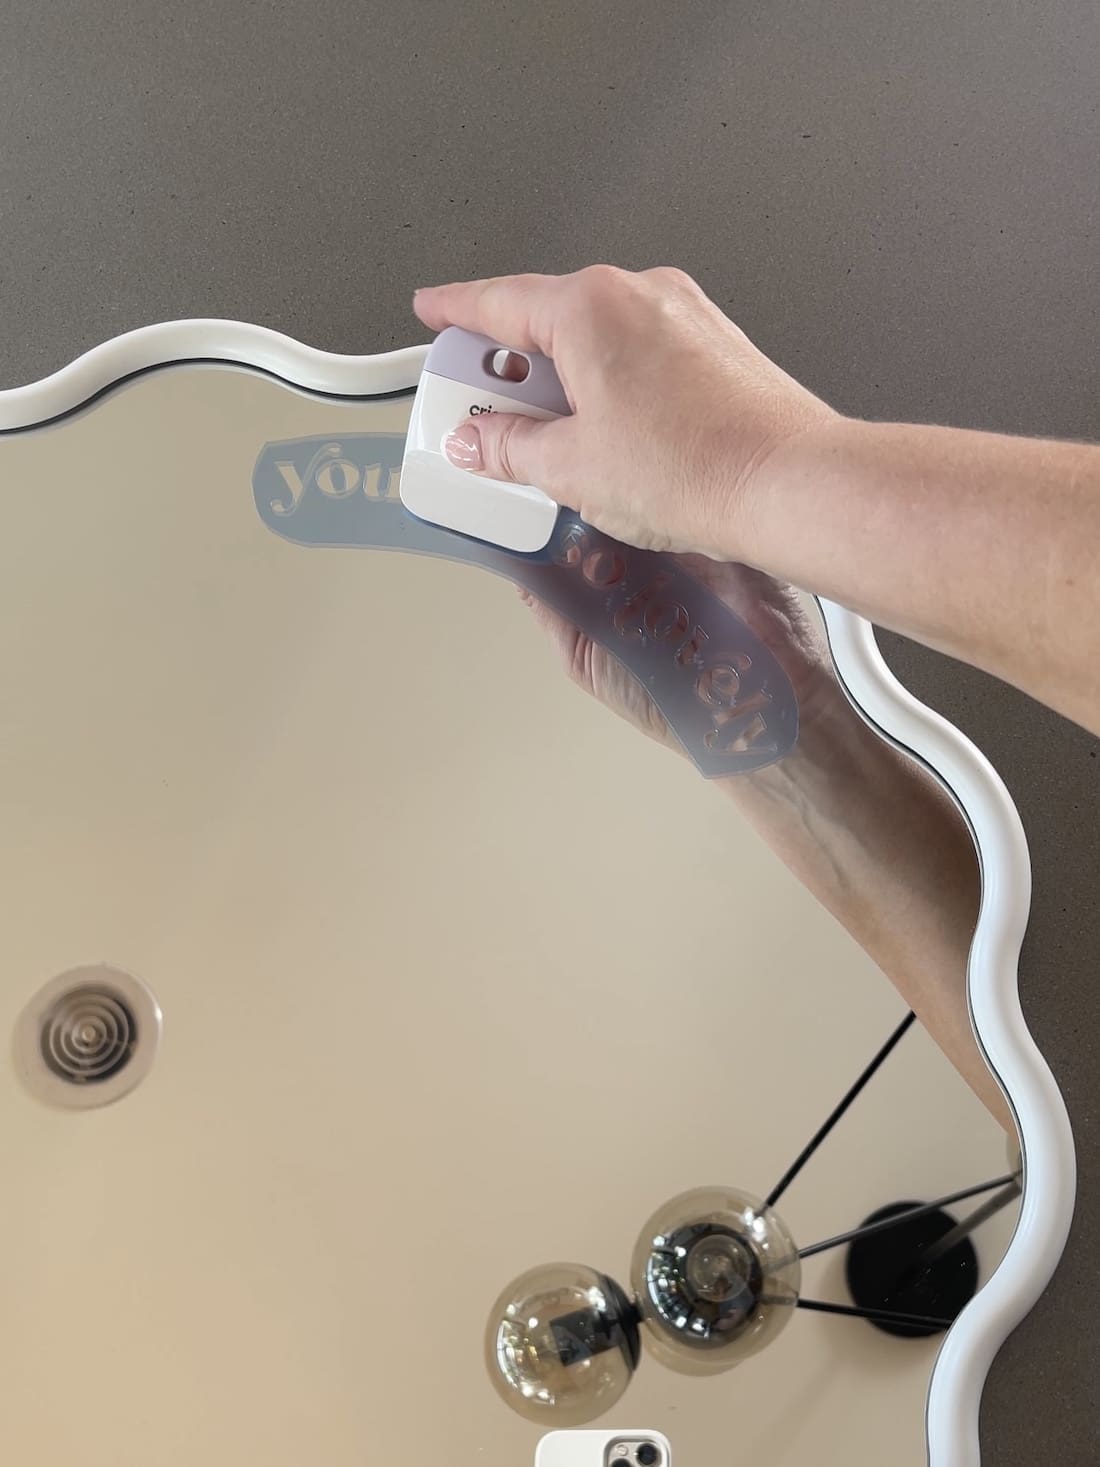
6. Carefully peel away the transfer tape layer and use the scraper one final time to burnish the stencil onto the mirror. This will remove air bubbles/gaps to give you the most precise letter etching.
Note: any air bubbles could cause the etching cream to bleed underneath, blurring the edges of your quote.
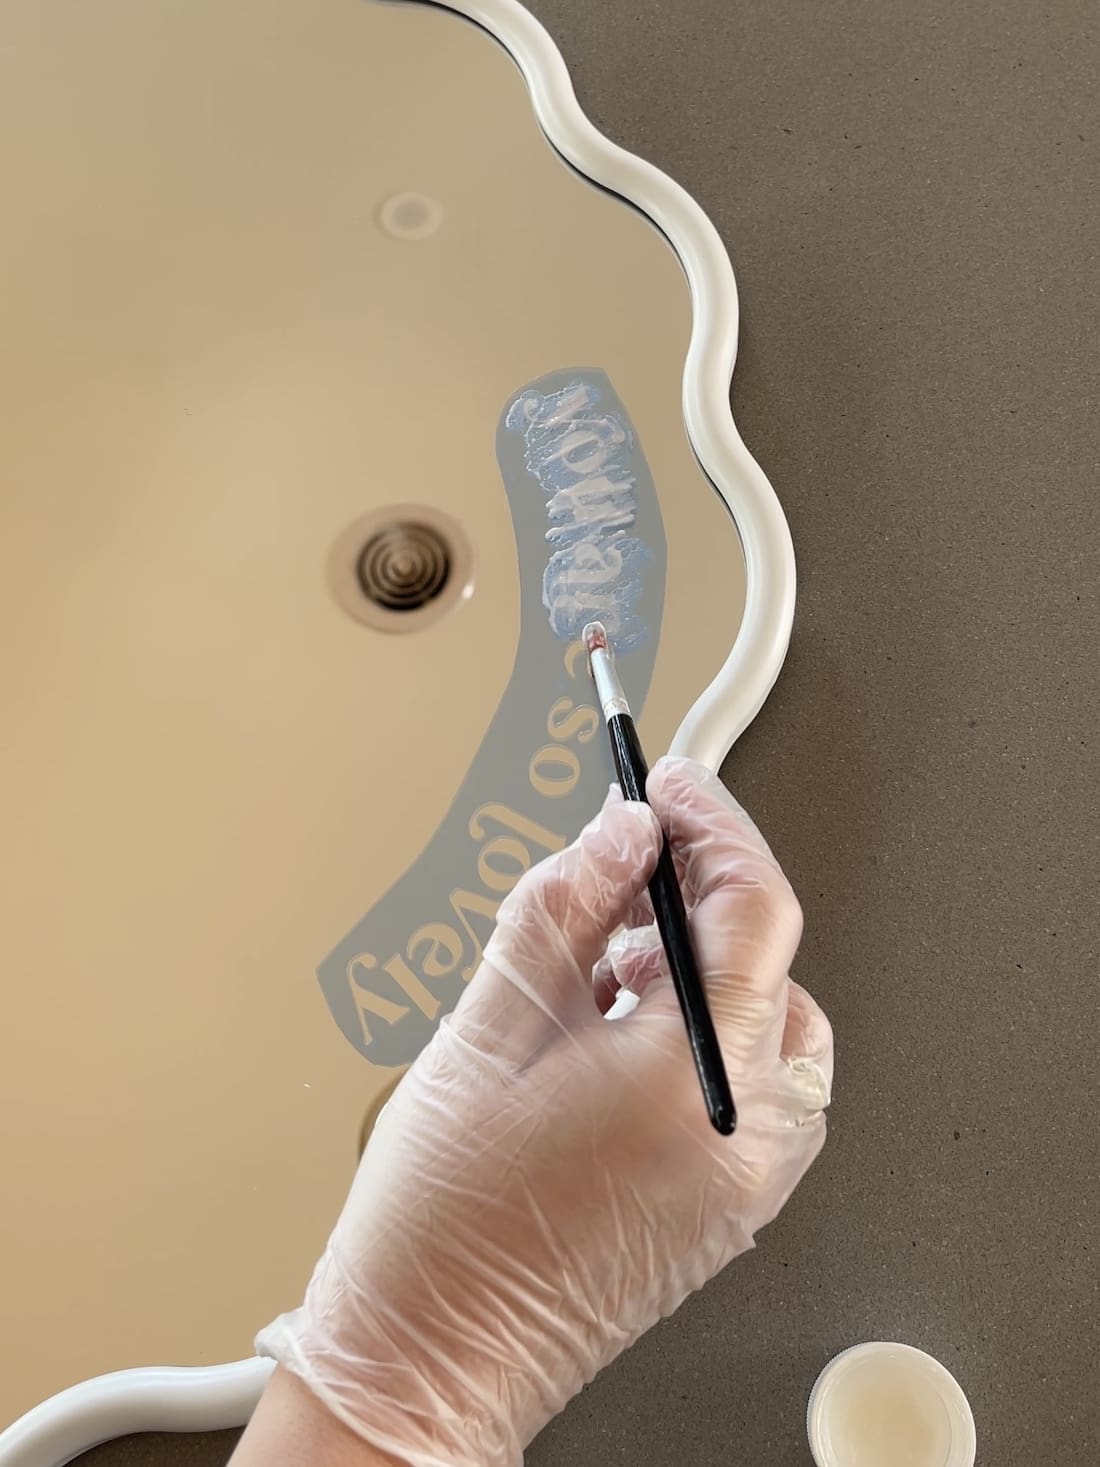
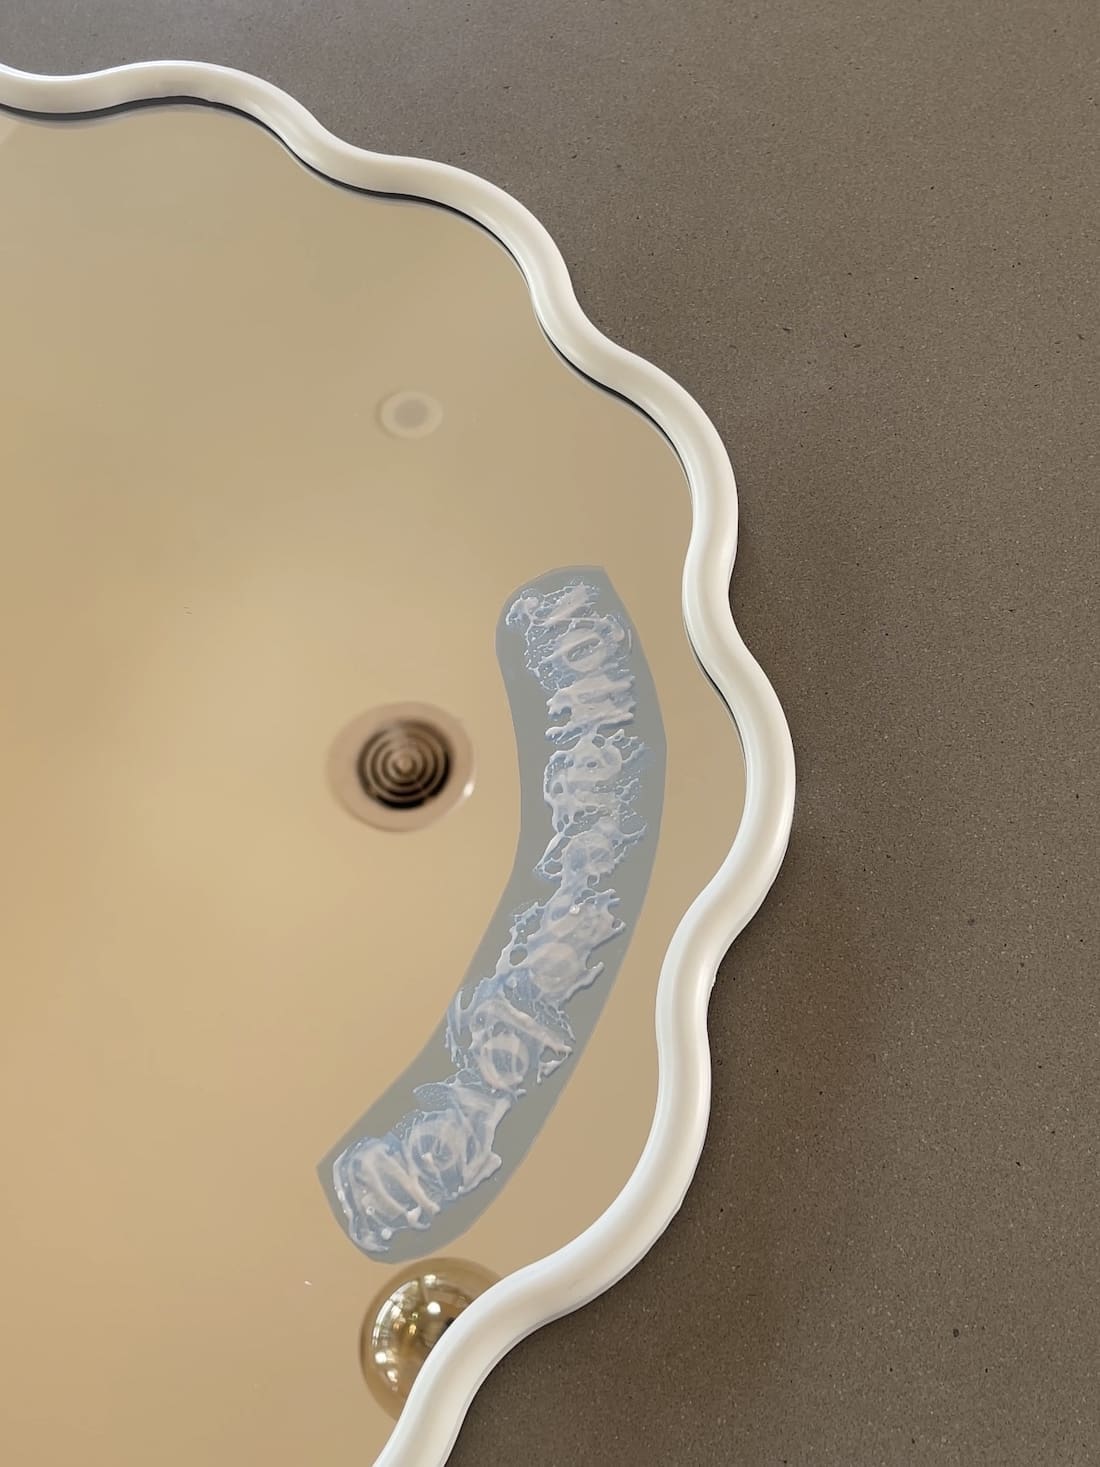
7. Then use a small paintbrush to apply a reasonably thick coat of Armour Etch glass etching cream to the cut-out parts of the stencil design. And leave it to sit for 10 minutes so the etching cream can do it’s thing!
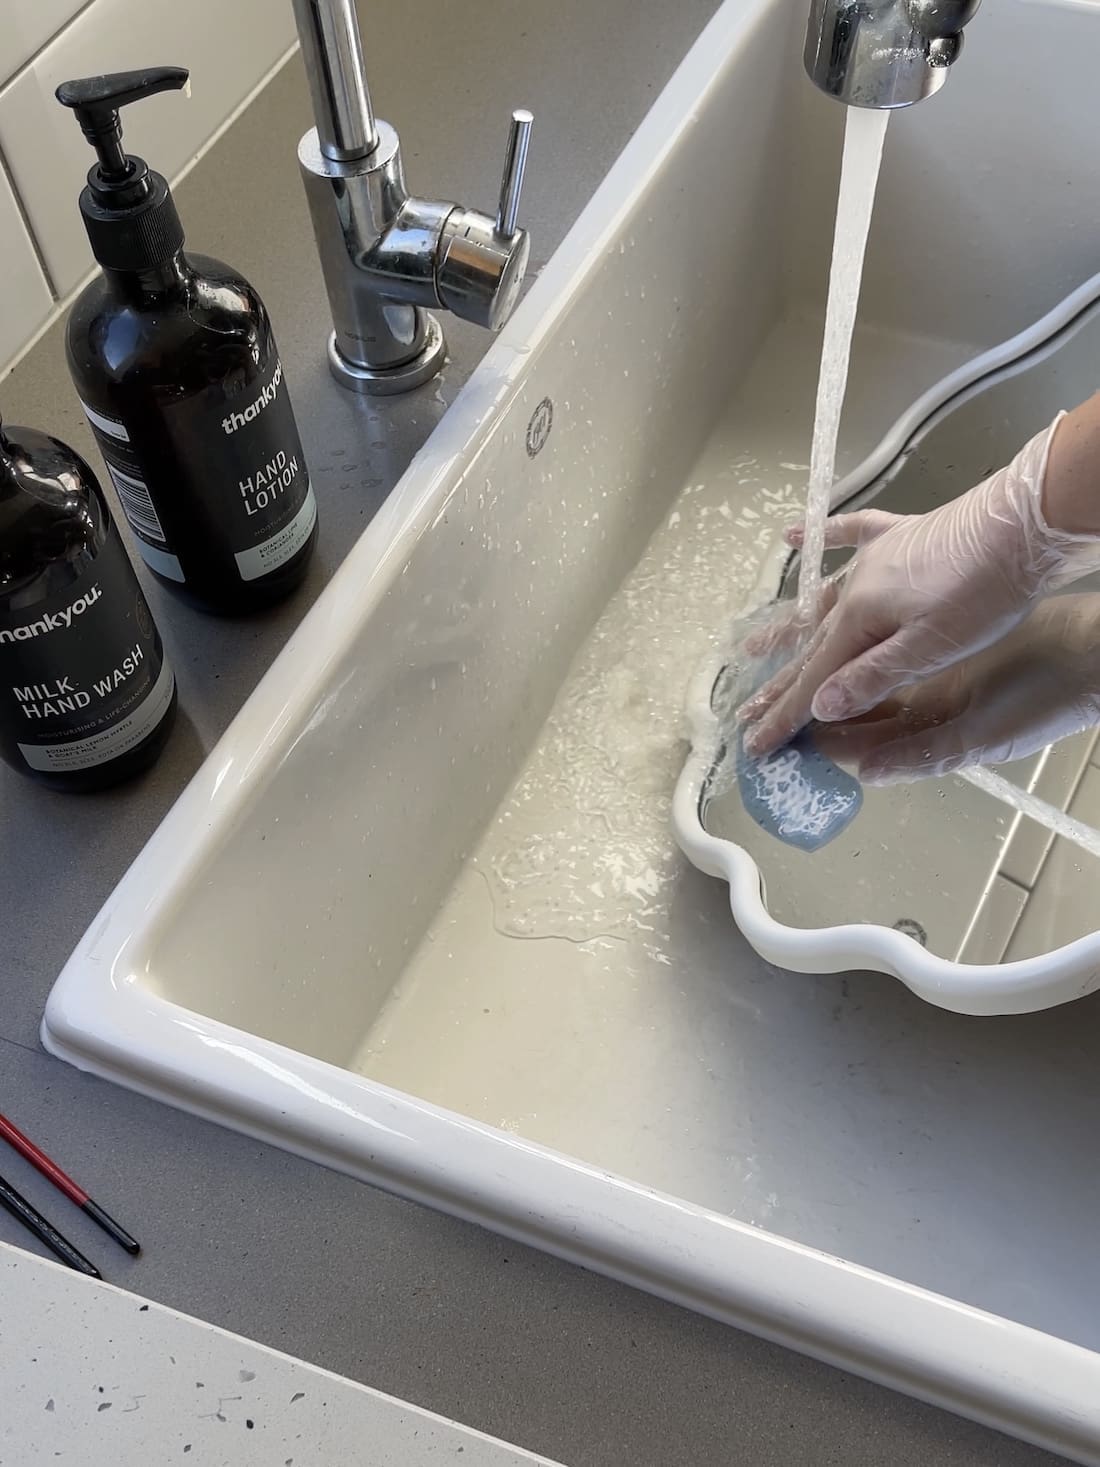
8. Once 10 minutes has passed, thoroughly rinse off all the etching cream in a sink using room temperature water (be sure to wear gloves!). Don’t be concerned if your quote isn’t visible right away as it’s difficult to see the etching when it’s wet/under water.
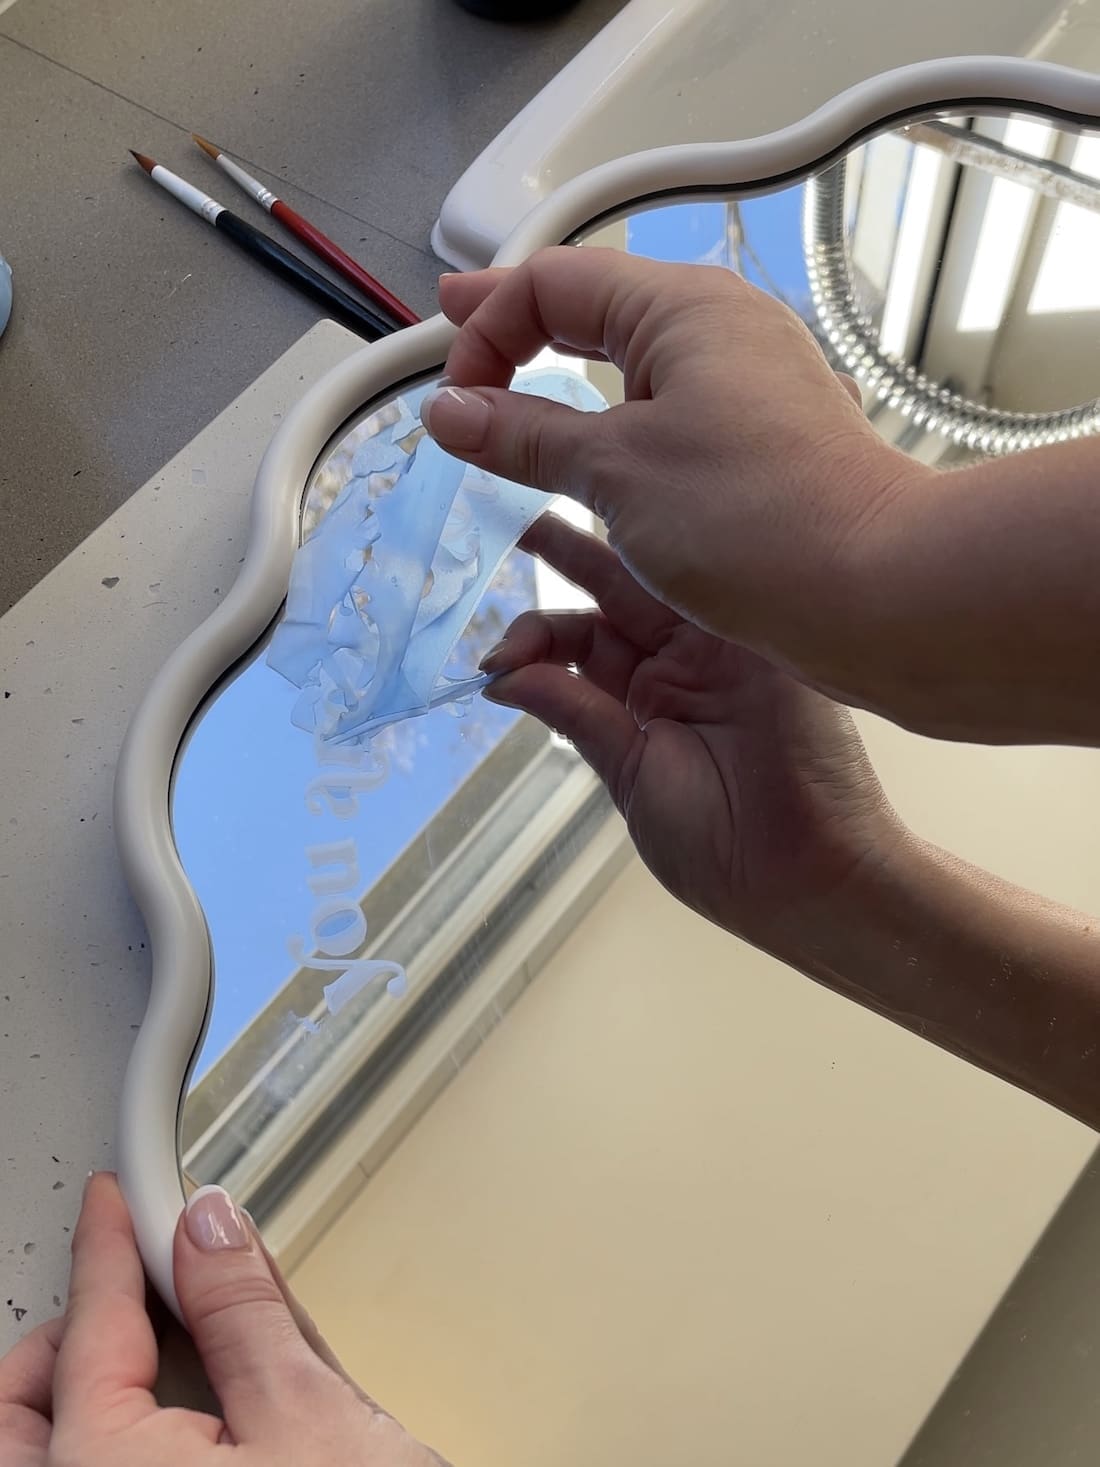
9. Finally, dry the mirror and peel away the stencil film to reveal the etching.
What do you think of this mirror affirmation etching DIY project? Are you inspired to make one for yourself or perhaps as a gift for a friend? Let us know in the comments below if you’ll make one and what quote you’ll use.
More DIY projects
About the author
From making stylish home decor, upcycling furniture and also baking the most epic kids cakes you’ve ever seen, Sophie is a queen of all things creative and DIY. Find her on Instagram at @nestihome and follow along for all her latest projects!


