I’ve been on a mission the past few weeks to get rid of the ugly around my home!
Sure, we’ve only been living in our new house for six months or so, but given the haste we moved in/being pregnant/becoming a mum, I let some things slide and before I knew it, we had some cringe-worthy pockets around the home such as by the garage door.
Related article: Hack your own pull-out laundry hamper
Related article: A laundry makeover that’s practical, functional AND beautiful
Embarrassingly I’m going to show you the before and after…
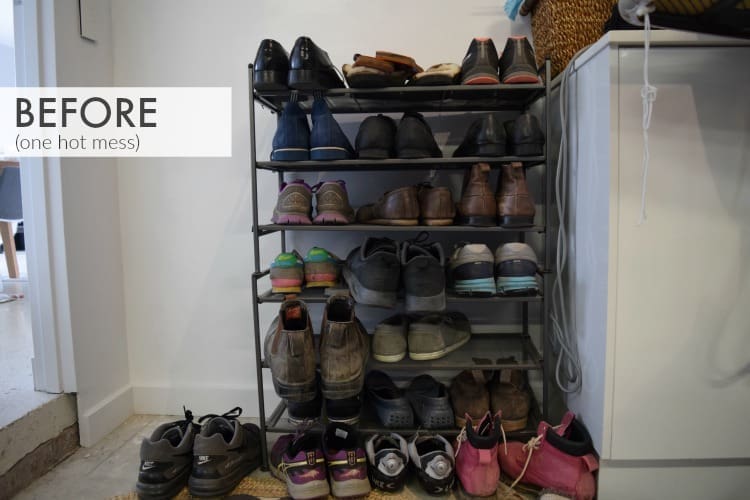
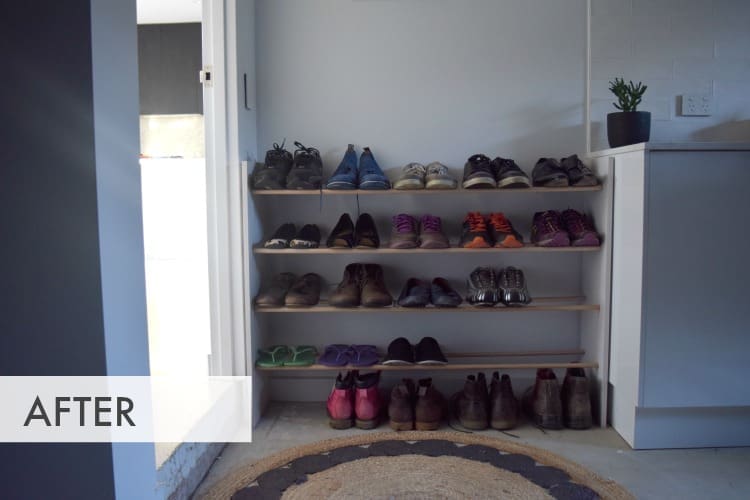
This DIY is super flexible so feel free to take the concept and change the measurements to suit your space. Perhaps a lower and longer shoe rack would look best in your space?
And now how to make it!
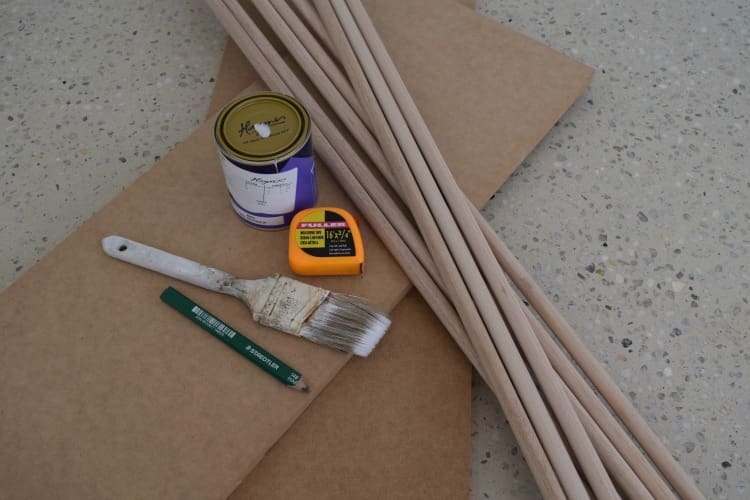
Items you will need:
- MDF board 900mm x 600mm x 16mm (cut down the centre length)
- 8 x dowel 16mm diameter x 1.2m length
- Drill
- 16mm spade drill bit
- Measuring tape
- Pencil
- Paint (we used Contemplate by Haymes)
- Paint brush or small roller
- Super glue
Steps:
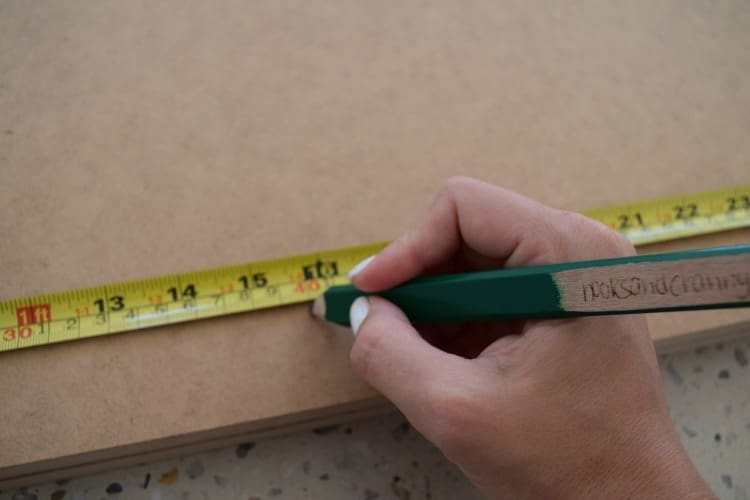
1. Measure the 8 drill holes on the MDF board — 20cm apart starting from the bottom and 6cm in from either side.
2. Using the spade drill bit, drill out the 8 holes on each piece of MDF.
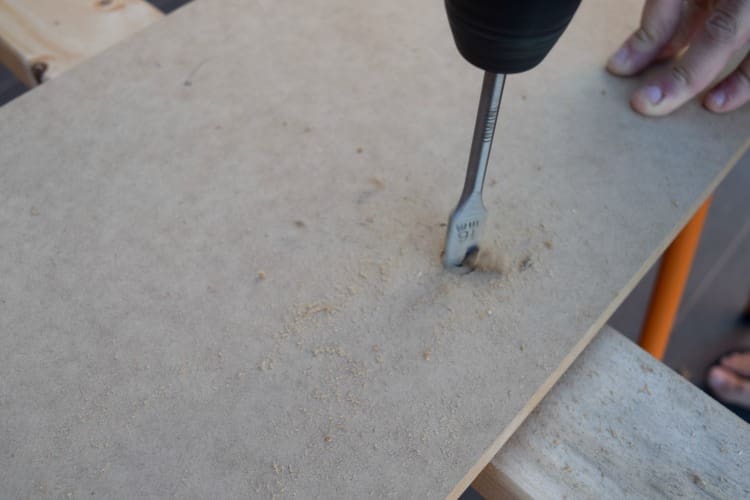
3. Paint the MDF in 2-3 coats of paint. We used Contemplate from Haymes which is a warm white/grey colour that looks fab with the natural oak dowel.
4. Construct the shoe rack by placing the dowel pieces in the corresponding holes in the MDF boards. You can add a small amount super glue in the holes for extra hold.
Presto! Your shoe rack is complete!
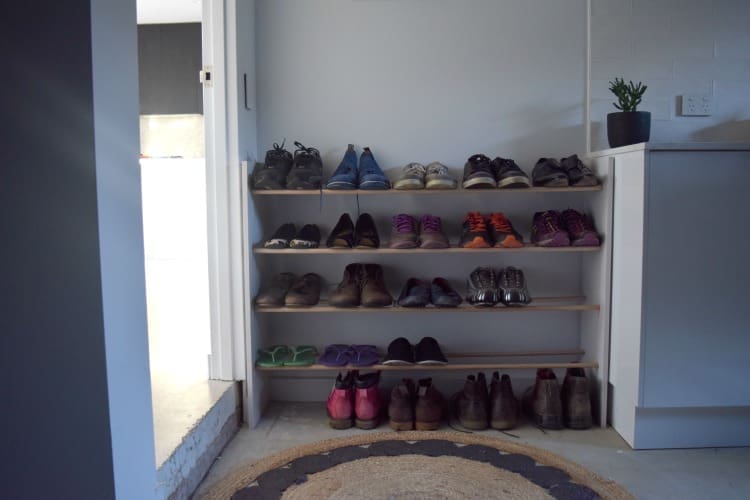
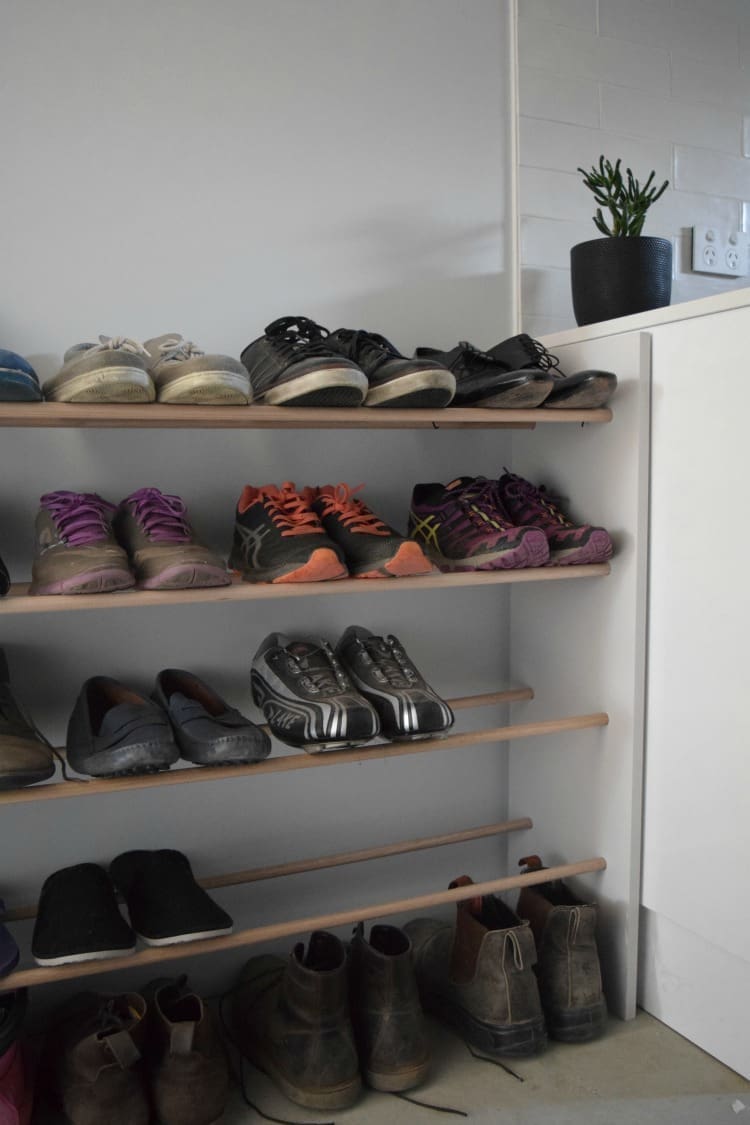
That’s one ugly corner of the home sorted 🙂 Has this DIY dowel shoe rack inspired you to make your own or fix up an area in your home? Tell me in the comments below!


