
Ever thought about starting a compost for your garden but just keep putting it off? Well, we’re here to help you get started with this simple step-by-step composting guide for beginners. From what you can and can’t compost, plus plenty of extra composting tips, keep scrolling for everything you need to know about how to compost.
Trust us, your garden is going to LOVE you for this!
Related article: In the garden: Spring gardening guide
Related article: How to choose the right mulch for your garden
Why compost?
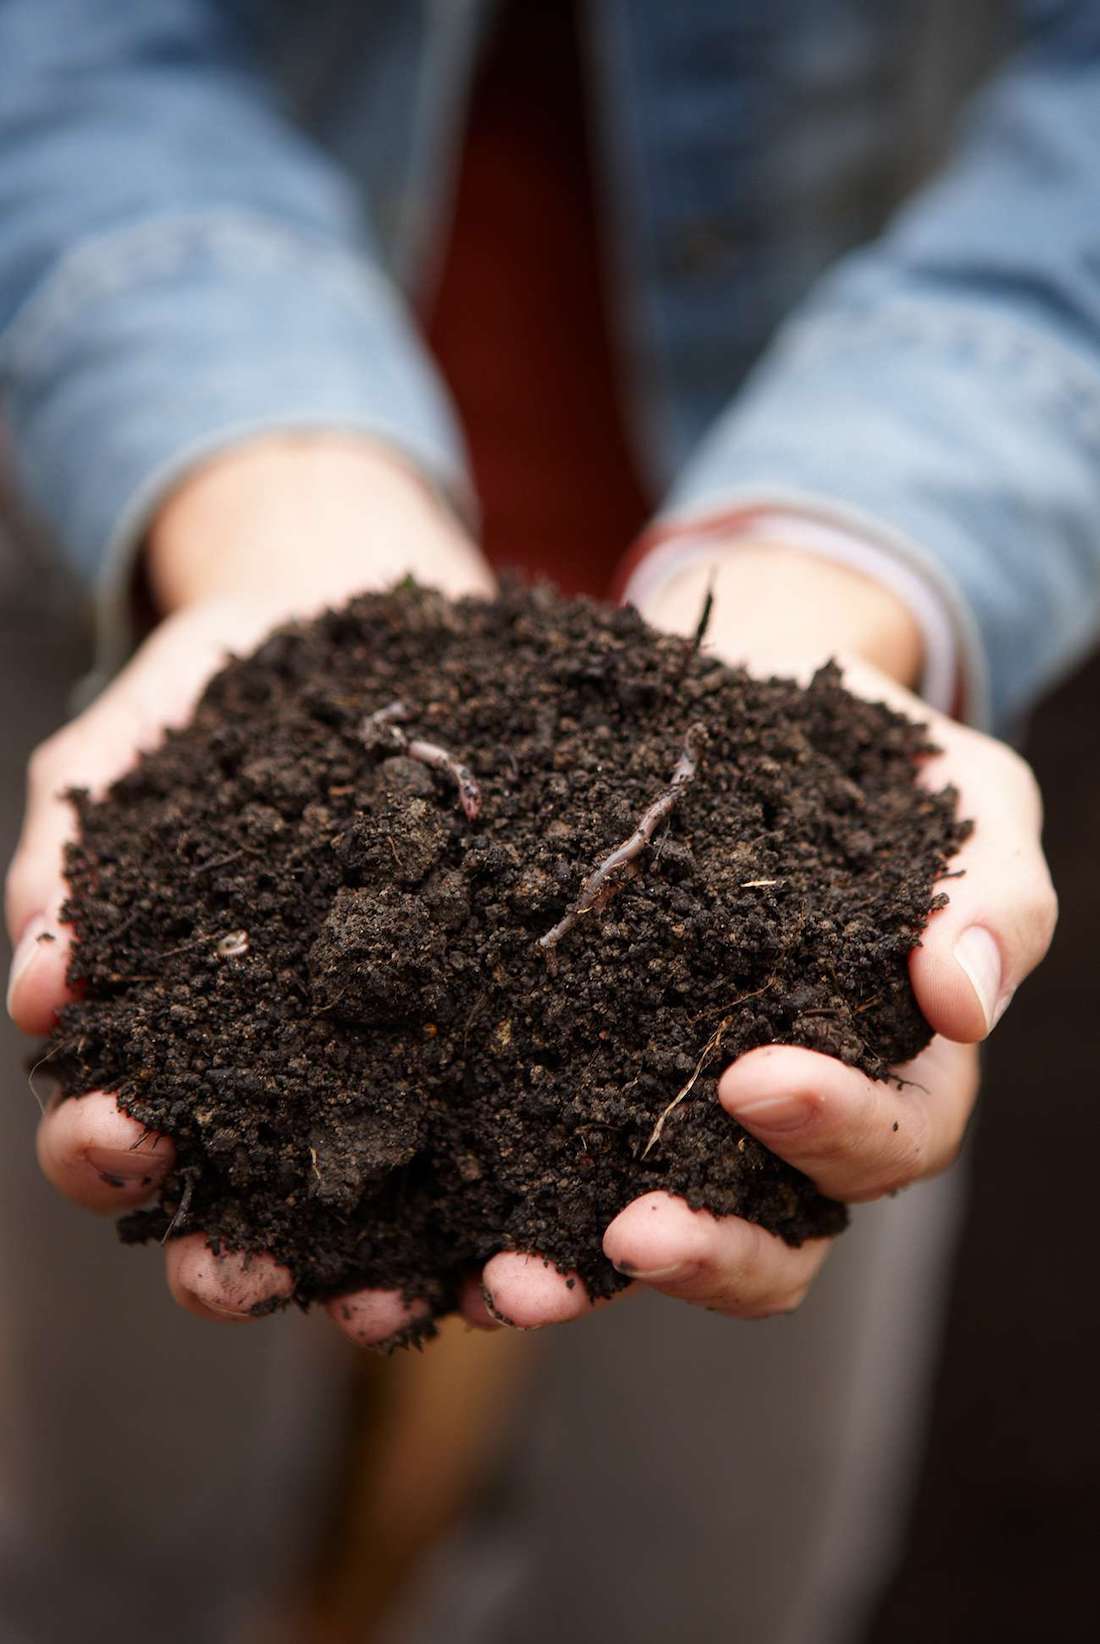
With so many people keen to reduce their household waste, starting a garden compost is a great idea. It’s relatively low-cost, simple and an eco-friendly way to reduce the amount of waste sent to landfill PLUS in return you get the best nutrient-dense soil for your garden. Talk about win win!
There are many benefits to composting. For starters, it’s cheap to start a compost and you can save money on buying fertilisers or soil conditioners as you’ll create your own nutrient-rich soil. Composting also diverts organic waste from landfills, reducing the volume of trash and methane emissions produced by decomposing organic matter in anaerobic conditions. This helps mitigate greenhouse gas emissions and minimises the need for landfill space. Composting also has many positive benefits for your garden, including promoting healthier plants and increasing crop yields.
Benefits of composting include:
- improving soil quality: compost is a great soil conditioner that adds rich nutrients to your soil
- introducing microscopic organisms: these little guys play a crucial role in garden ecosystems, such as helping keep pests at bay
- improving soil water retention: this means you won’t have to water your garden as often
- increasing disease-resistance of plants
- helping filter water runoff: this can help to prevent erosion and pollution.
Step 1: Choose a compost method
Depending on the size of your backyard, you can have an open-plan or contained composting system. In smaller backyards or urban environments (and for composting novices), it’s best to have a container system to avoid hungry nighttime visitors, insects and to keep the smells at bay. Most suburban residents with smaller backyards will stick with composting bins.
There are a LOT of bin options out there and it can get pretty confusing! Generally though, there are three kinds of compost bin designs.
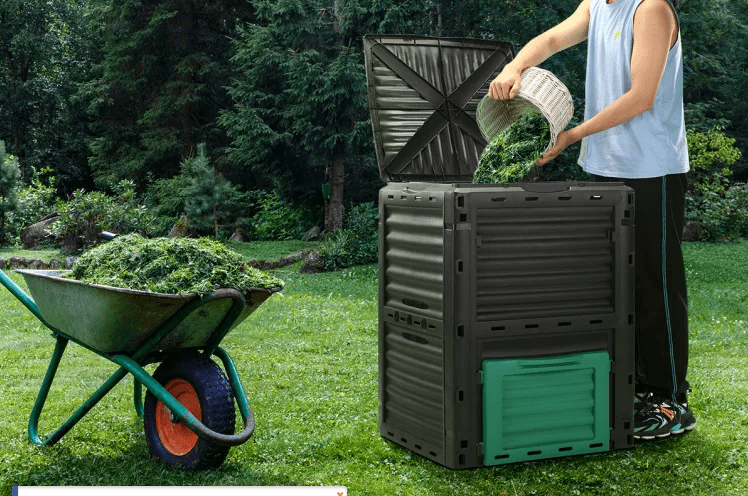
- A tumble bin is a great choice as it means you can simply turn the bin to mix up your compost. These are great for small backyards and are suitable for garden and food waste, and occasionally some cardboard.
- Standalone bins are also good, and often a lot cheaper, they just require a mix every so often (but we’ll get to that later). These bins are great for food waste and small amounts of garden waste.
- While every compost will have some worm inhabitants, a worm farm is another compact compost option. The farm can be stored just about anywhere. The worms will enjoy food waste and some paper.
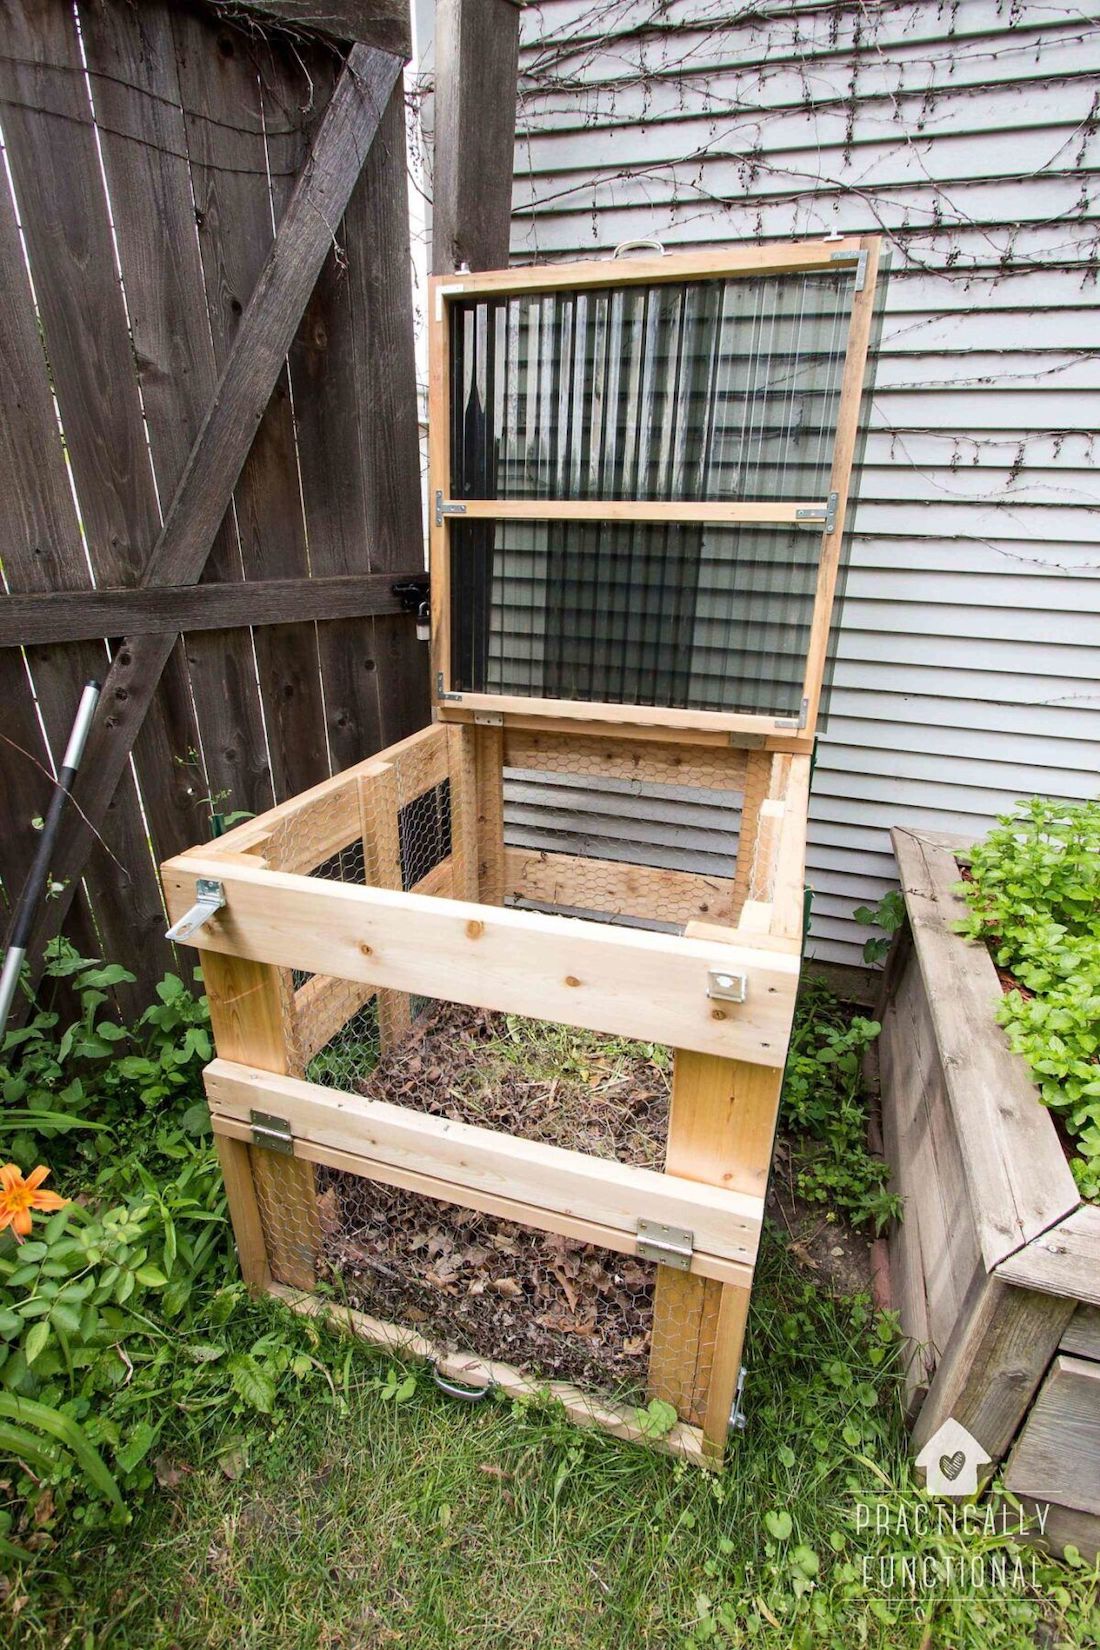
We explain the key differences to these composting bins in the infographic below. If you’re handy, you may also like to try your hand at making your own DIY compost bin!

Step 2: Decide on a location
Position your compost in an easy-to-access spot in your garden. You want it out of the way (because let’s be honest, they’re not the prettiest accessory for your garden) but still accessible so you’ll actually use it! Make sure the spot is nicely shaded, on level ground and has good drainage.
You want to avoid a spot that gets too much sun as this can dry out the material and affect the health of your compost.
It’s best placed on bare soil rather than concrete or pavers to ensure worms and other nice organisms can make their way into the pile.
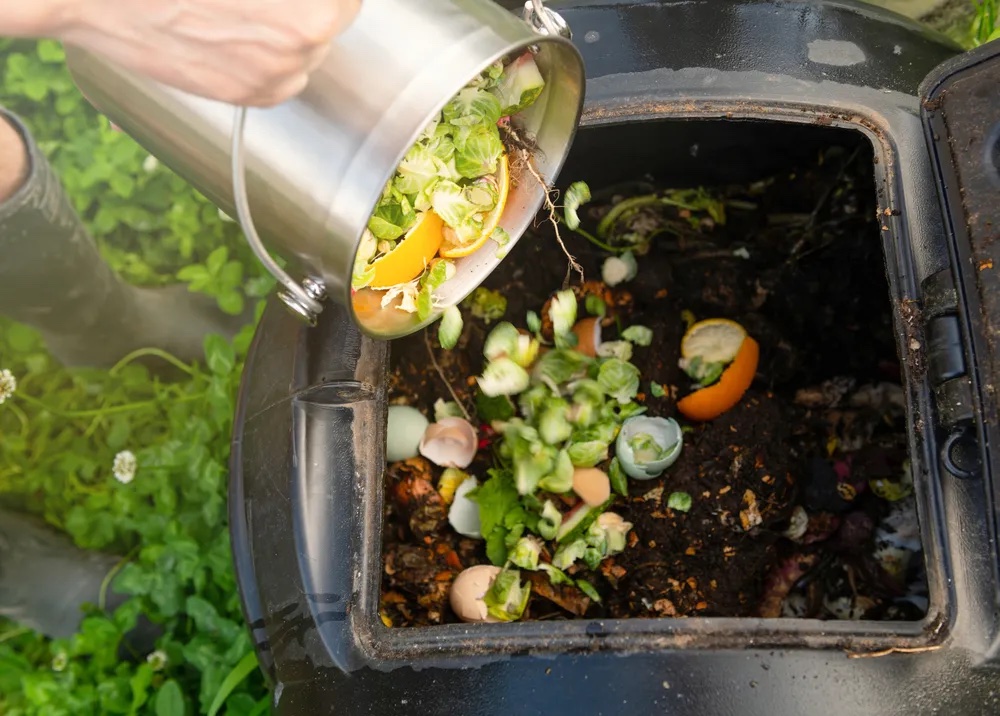
Step 3: Grab yourself a benchtop bin
Having a cute compost container on your kitchen benchtop encourages and reminds you to actually use it! It’s best to get a small one because it takes up less bench space and gets full quicker. This is important because it needs to be emptied daily, especially in summer!
We’d highly recommend getting a kitchen compost bin that comes with a filter. This will help mitigate some, or even all, of the smells if you forget to empty out the waste on time.


Step 4: Learn how to layer compost
The first thing you’ll read in any compost guide is the importance of a healthy carbon and nitrogen ratio. These two elements are the most important for any decomposition, especially compost.
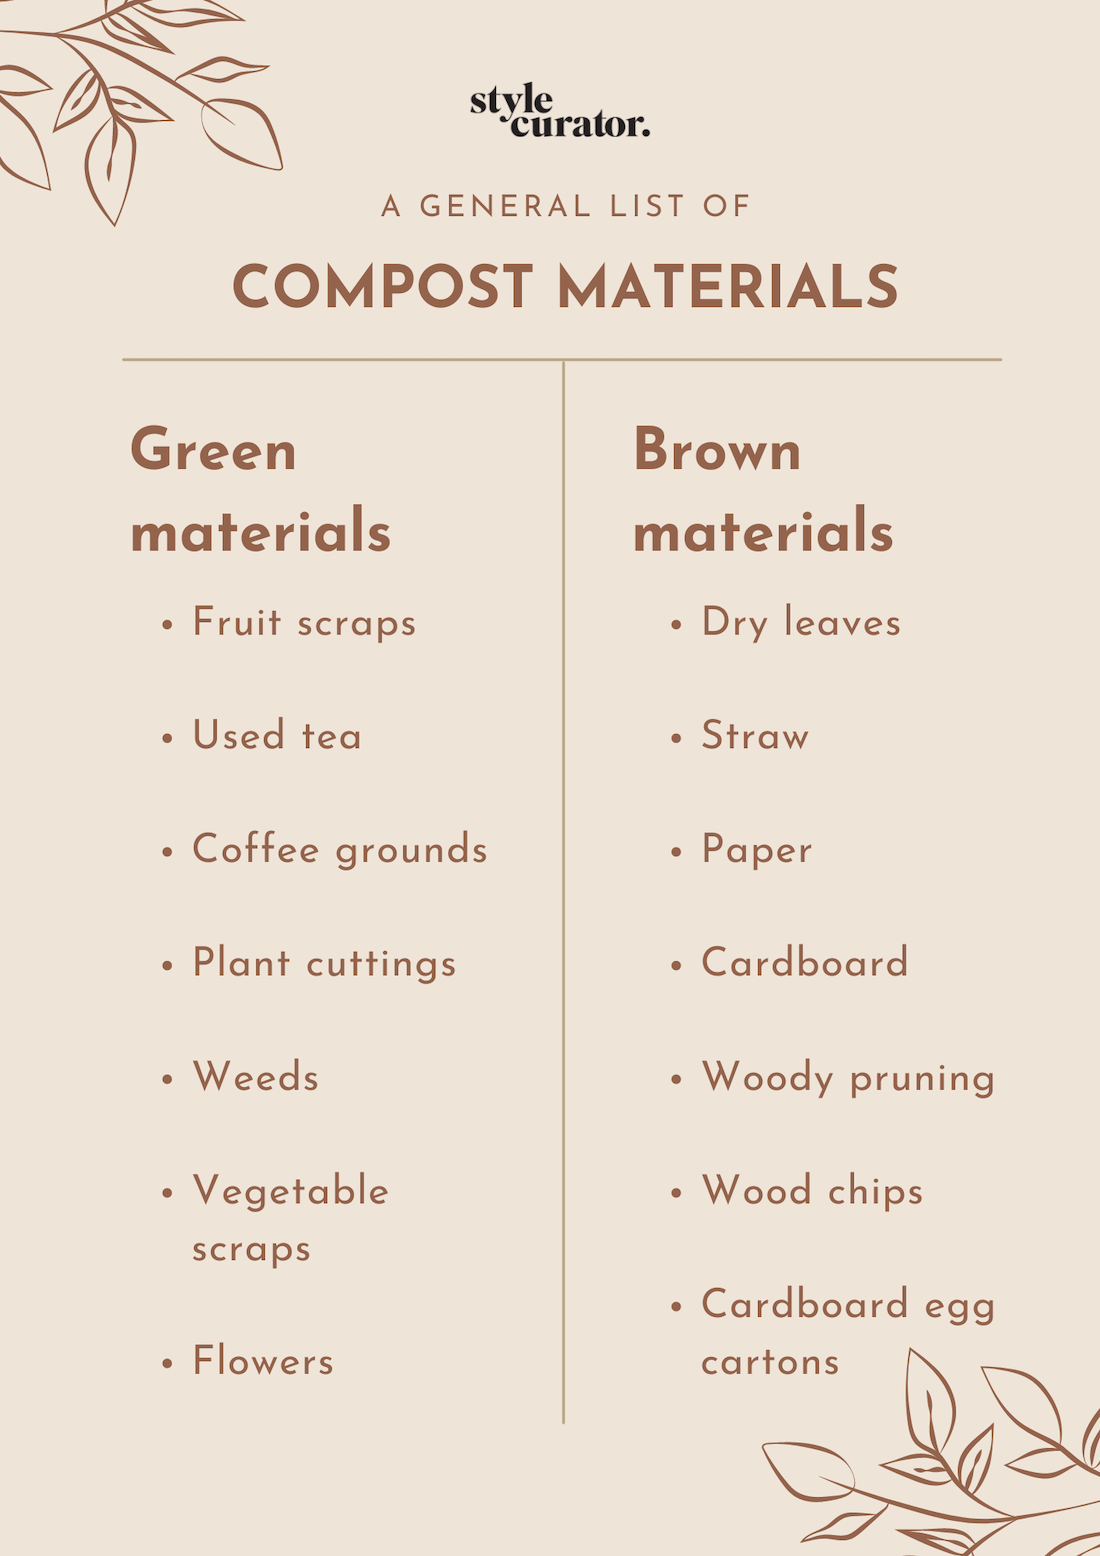
Carbon or brown waste
Carbon is the energy source for organisms that decompose your organic waste. High carbon materials are often referred to as brown waste and include items like paper, cardboard and straw.
By ensuring you have enough carbon rich materials in your compost, you will help feed the organisms living in your compost pile who will in turn break things down.
Nitrogen or green waste
While carbon provides the energy, nitrogen is the important component necessary for growing and reproducing the organisms who require energy.
Green waste includes coffee grounds, manure and kitchen scraps.
Layering your beginner compost heap
To get started, add organic compost and straw to your bin. Adding straw will allow for drainage. Then start to layer your brown and green waste.
Remember, your compost should be like a lasagna — nicely layered with newspaper, garden waste, kitchen scraps and grass clippings.
A healthy compost will have more carbon than nitrogen. While ratios are debated, a great rule of thumb for a beginner compost is one-third green nitrogen waste to every two-thirds of brown carbon rich material.
Of course, every compost is different and finding the right ratio may require a little trial and error on your part. Eventually, you’ll know your compost so well you won’t even need a guide anymore.
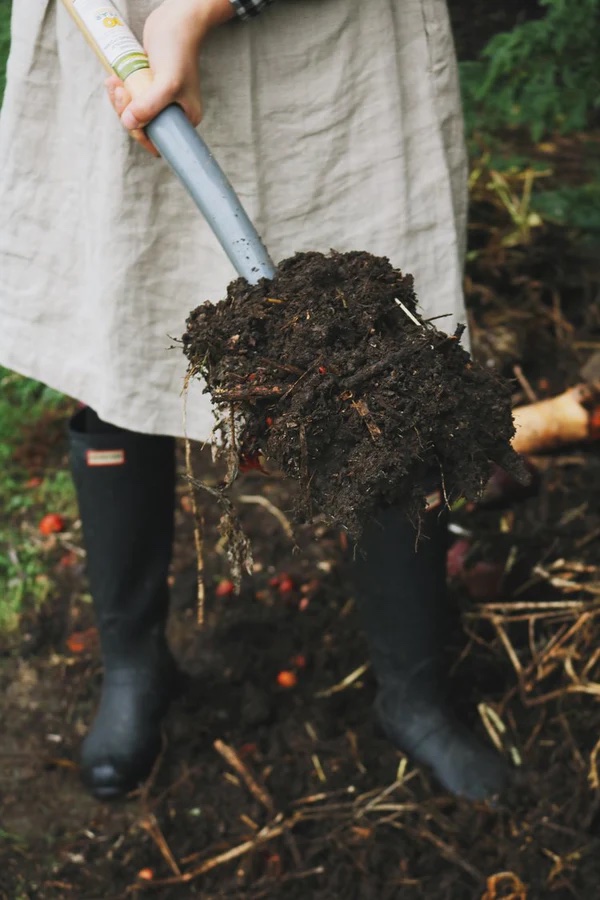
Step 5: Turn your compost
The third most important element in your compost is oxygen. By turning your compost regularly, you ensure you are oxidising the carbon which facilitates the decomposition process.
So, be sure to turn your compost to help your scraps break down faster. If you have a tumble-style bin, you simply need to spin the handle. For standalone bins, give it a mix with a compost turner or garden fork. Fortnightly is ideal but whenever you remember is better than never!
Beginner composting tips — know what’s good and what’s bad
One of the best composting tips we can give, is knowing what to avoid adding to your bin. There are a few fruits and veggies that take an eternity to break down or will make your precious compost soil too acidic so it’s best to avoid.
Our compost ‘cautious’ list
On our compost ‘be careful’ list we highlight some organic waste to be cautious of, such as:
- Citrus (this includes lemons, limes, oranges and mandarines) — the acidity in citrus peels can kill all the important microorganisms in your compost.
- Onions and garlic — similar to citrus, the natural acidity and chemicals in onions can really damage your composts’ system.
- Avocado skins and pit — avocado can definitely be composted however there are some extra steps that need to be taken. Avocado skins and pits take much longer to decompose so they can block up your compost. To minimise this, cut the peels and the pit (yes, the pit) into the small squares.
- Go easy on the coffee grounds — a little bit is great but too much can be a problem. Just like us, your compost shouldn’t have too much caffeine!
Our compost ‘avoid’ list:
- Tea bags — you can use the tea but unless you have a compostable teabag, it would be best to remove the tea from the plastic bag
- Pet waste — specifically dog and cat waste can be harmful to your compost so definitely avoid. There are other specific composting pet waste products available at your local hardware and gardening store
- Whole eggs — compost crushed egg shells but not the whole egg!
- Processed foods — may contain a lot of oils, fats or dairy which is not good for your compost. Same goes for pickled food products. Keep it simple, just use fruit and vegetable scraps!
- Weeds with seed heads — they can re-sprout in your compost and come back to haunt you
- Diseased plants — they may spread diseases to your compost and then your garden
- Meat, fish and bones — unless you have a specifically designed composter for these materials, avoid! They will attract all kinds of pests
- Dairy products — also a big no no. From odours to attracting rodents, there are a lot of reasons to avoid dairy products
- Glossy paper — paper that’s been treated with plastic coatings such a magazines should not be used as they won’t decompose properly and contain toxins
- Large branches — take ages to break down which will delay your ability to use the compost!

How to use your compost
Your compost is ready to use once it’s black, damp and looks and smells earthy, or like soil. It will probably take 3-6 months to reach this point. You can use it on the surface of your garden beds or work it in to the soil. However you use it, using homemade organic matter will enrich your soil and your plants will truly love you for it.
Thanks to all your hard work, your garden plants and landscape will grow healthier and stronger.
Common compost problems
If your heap isn’t smelling great or attracting the wrong kinds of critters like flies or maggots, it means something has gone wrong. Below are some of the most common compost problems and some tips to fix them.
Too wet
Bad smells are often a good indicator that your heap is too wet. It can be caused by a variety of factors such as lack of aeration, too much water (your heap is meant to be moist but not wet) or a carbon-nitrogen imbalance. To fix this, try and add a balanced mix of wet (fresh) and dry materials. This can include digging out and relayering the pile with more dry materials.
Too much acid
Too much acid can also make your compost smelly and slow down the decomposition process. Counteract this by adding more brown waste to the heap and fresh green material.
Too little oxygen
It’s important to regularly turn your compost. Aerating the pile gives the micro-organisms the oxygen they need to decompose your waste. Ensure you give the heap a little turn with an aerating tool or shovel every couple of weeks.
Too dry
You don’t want your pile to be wet but you don’t want it to be dry either. If your compost is too dry, the microorganisms will not be able to work effectively and this will slow down the composting process. Add a small amount of water or even more green ingredients.
Tips from our readers
Our original guide was super popular online, especially on Pinterest. So many of you have given your opinions on what to compost or not, and shared many other tips to creating a successful home compost. Here are some of our favourite tips.
Sleepydragon8791 suggests putting layers of scrunched up newspaper in between each new layer as it helps with the smells and prevents the heap from becoming too wet.
Destinedtochang made a batch of compost comprising of only green (nitrogen) waste. It “had a nasty smell. Flies and maggots took over. I dug a hole and dumped it all out had to start over again.” So you want to ensure you’re adding brown carbon-based waste.
Prairiebucki also suggests drying and chopping citrus peels and avocado skin to aid breakdown.
There is an abundance of information out there when it comes to home composting but we hope our simple composting tips have been enough to get you started! So has it encouraged you to get out into the garden and give it a go? Tell us in the comments below!
Find more garden related articles here

This article was first published in December 2019 and continues to be updated with latest information.

