If you’ve ever tried to create a gallery wall and ended up with something that felt a little… off, you’re not alone. Gallery walls such a beautiful way to showcase art, memories and inject more of your personal style into your home.
The good news? Creating a gallery wall that looks polished (not chaotic) comes down to a few simple tricks. Let’s walk you through how to get it right.
Related article: What is biophilic design?
Related article: Gallery wall inspiration: Round up of the best gallery walls
Step one: Decide on the location of your gallery wall
The first step is to decide on WHERE you will put your gallery wall. This will allow you to measure the space so you can choose the right frame sizes and create the best layout and for that custom look.
Ideally, you want put your gallery wall in a place where you will be able to appreciate it — somewhere you see every day — but not in direct sunlight or you may find over time artworks will fade or warp from sun exposure.
The best placement of your gallery wall isn’t always the most obvious one. If you’re thinking of putting it above your sofa, changing the placement to just one side for an asymmetrical look is an idea to mix things up.
Here are some popular places to hang a gallery wall:
- on the wall of a staircase
- above your console table in an entry
- behind an office desk
- above a bedhead
- down a hallway, or
- just about anywhere you want!
There isn’t really a right or wrong place to put a gallery wall but you should take a cue from your artworks. If you mainly want to hang smaller pieces, the scale might not be right for a large living room wall — instead finding a more intimate space around the home could be the way to go.
Step two: Create your composition
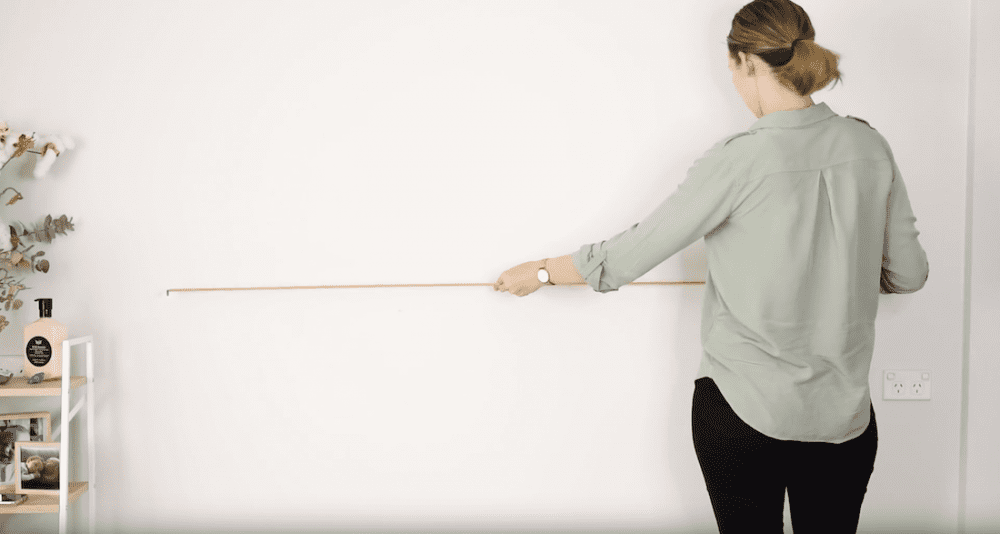
The best gallery walls get the scale and placement of frames just right — and this doesn’t happen by chance! So, before you begin hammering into your walls, take a moment to map out your composition.
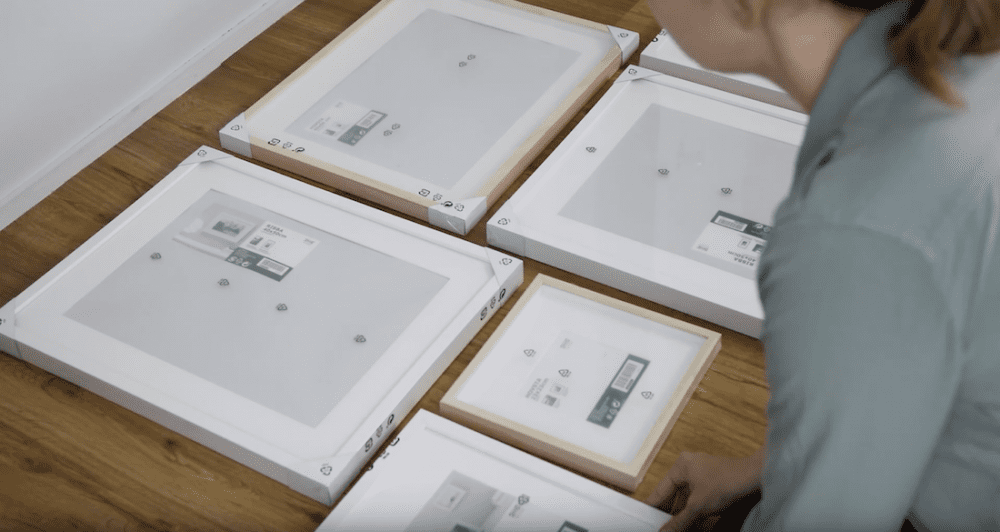
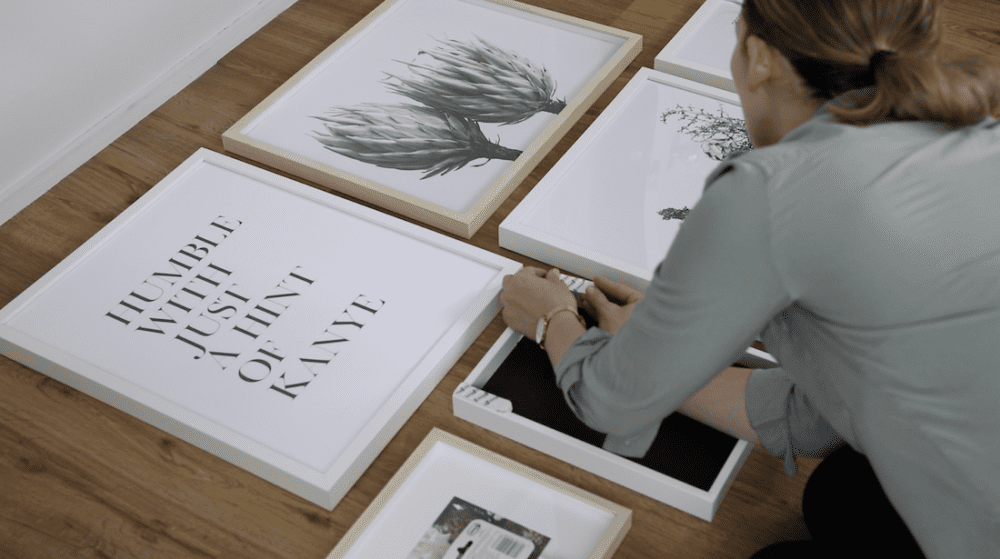
Some people do this by cutting out pieces of paper and masking taping them to walls to see what looks best. It’s a great idea but also a lot of effort so we cheat by simply placing frames on the ground and deciding what looks best from there. It’s also a lot easier to pick up and move a frame on the ground than it is to remove taped paper from a wall and re-stick it elsewhere.
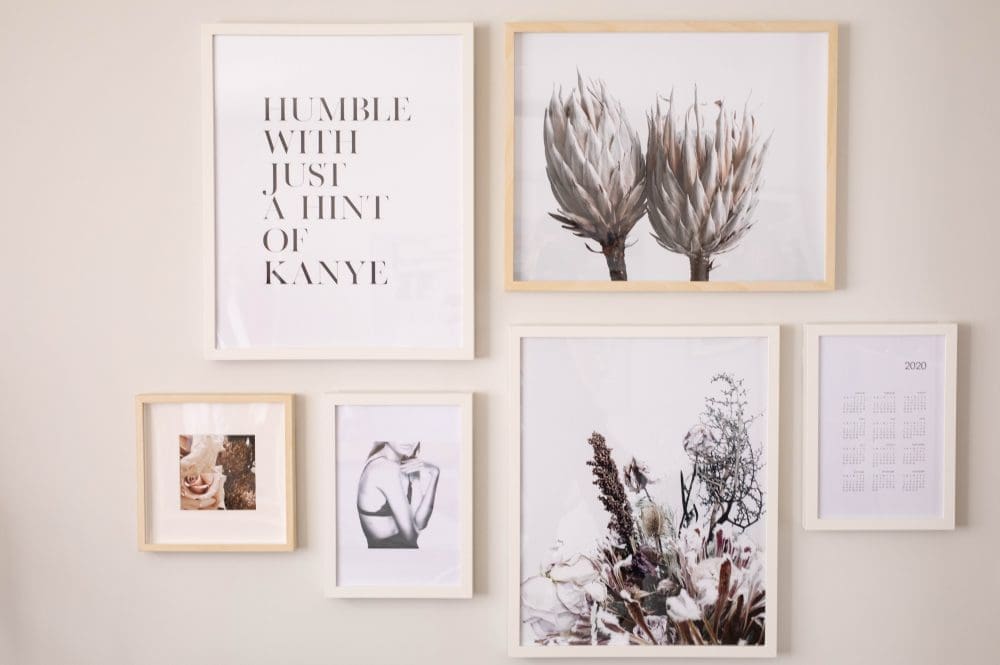
Tip: mix landscape and portrait orientation for interest, play with scale so you have a few larger and smaller frames in the mix, and try a few asymmetrical looks.
Once you’re happy, take a photo of the layout so you can use this as a guide to buy or source the right prints and photography.
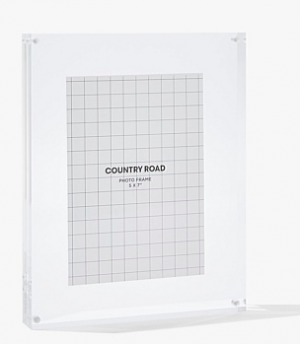
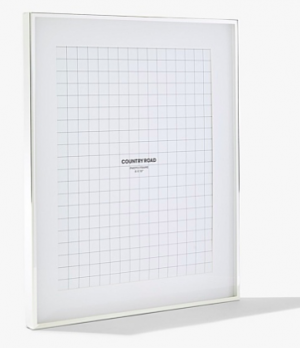
Shop our gallery wall essentials
Step three: Curate your collection
Now that you know what frame sizes and orientation you will use comes the fun step of deciding what to display.
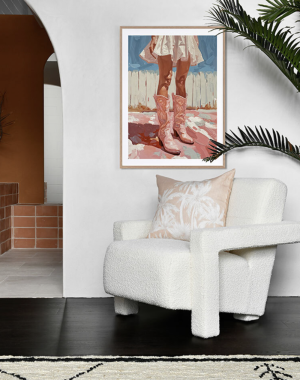
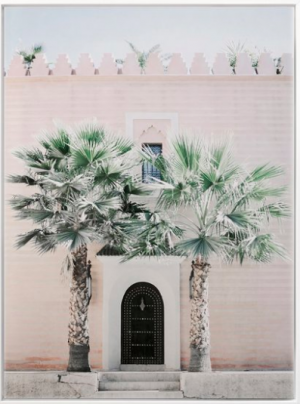
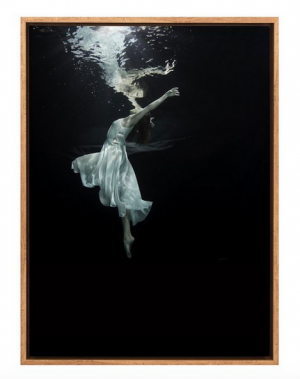
Avoid choosing prints that are all the same — mix up abstract prints with photography (landscape or portraiture), and throw in a few typography prints for fun.
Play with the placement of these so you don’t have similar pieces hanging next to each other — you want your whole gallery wall to tell a story and by sprinkling abstract or typography prints across the wall, your eye will naturally scan the whole wall.
Although we usually always say contrast is best, unless you’re going for a truly eclectic style, it is a good idea to look for some cohesiveness with your prints. Perhaps you’ll could stick to a similar colour palette (soft muted tones) or play with a theme (such as a coastal-inspired gallery wall).
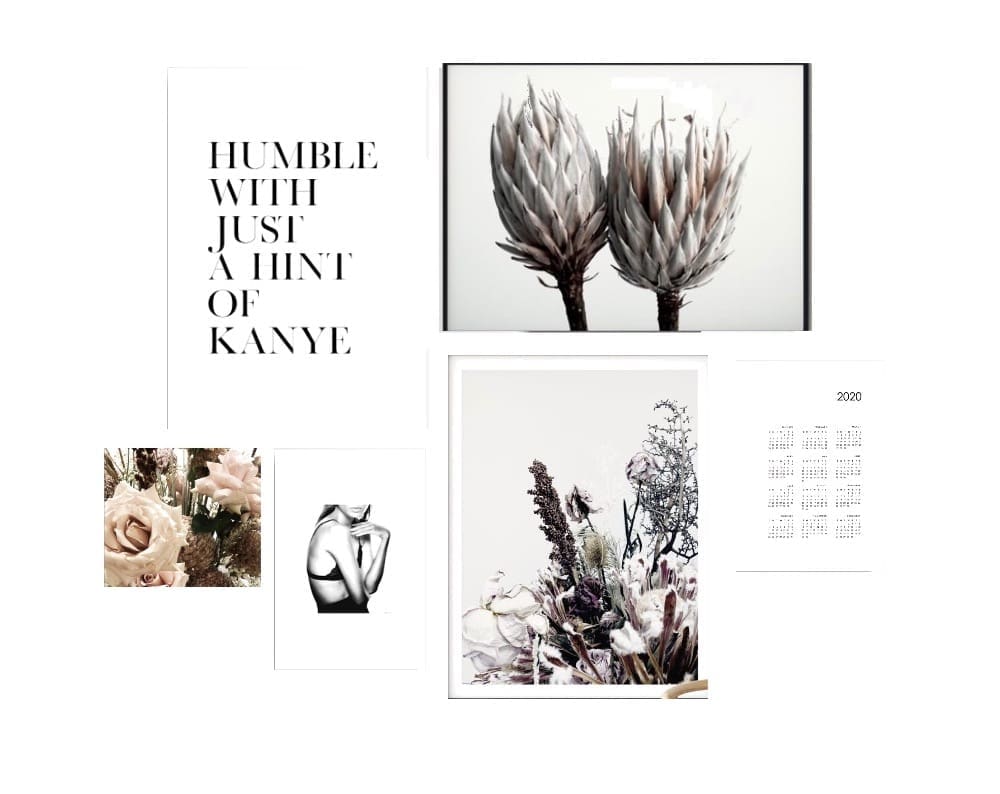
I used a mood board tool to create a rough composition of the artworks I picked to know what print sizes to order.
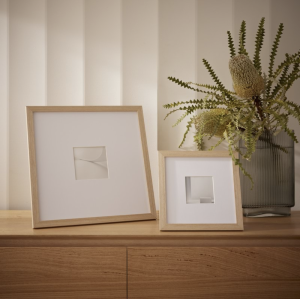
Step four: Select your frames
You know your sizing, you’ve curated your artworks, now it’s time to select your frames.
Often people will stick to all the same frames, such as those with a black border, but you can be a little more creative if you like. If you enjoy refreshing your artwork seasonally, a snap frame is worth considering, as the front-loading design lets you swap prints in seconds without removing anything from the wall.
Of course, if you’re going for a particular interior style, it may make sense to be a lot more playful with your frames and even scour op-shops to find one-off pieces.
Create a designer look gallery wall by considering the location of the gallery wall, selection of artworks/photography, proportions, spacing and frame selection.

Step five: Decide how to mount them
Just when you thought you’d made all the decisions necessary, guess again!
With brands like Command coming out with more picture hanging options than you can poke a stick at, this can feel like an overwhelming choice.
We suggest thinking about whether you want to mount your gallery wall damage-free, i.e. using removable hooks, or if you’re happy to nail into your walls.
The best damage-free options are either the Velcro strips from Command which simply click together and can hold over 7kgs of weight, or removable wall hooks that can catch the wire on the back of your frame.
Tip: not all removable hooks are made equally and some can remove paintwork. I’ve experienced this when using cheaper brands so beware.
For those who are happy to nail into walls, you can’t go wrong with a picture hanging kit. Attach your wires first so you can see how low they will hang, allowing you to measure exactly where your hook should be nailed.
Step six: Start mounting
It’s a good idea to start with one of your largest pieces so you can get the placement of it just right. This will act as your anchor for you to hang the other works around.
Then it’s a matter of adding the other works as you have already marked out in Step 2. Be mindful of spacing, you want the pieces to be relatively close together and for all the spacing to be roughly the same (around 5-10cm between frames is ideal). Use a spirit level as you go so you know all the prints are square.
These gallery wall ideas work in living rooms, bedrooms, hallways and more. No matter your budget, let this be your guide to create a gallery wall that feels curated… not cluttered!
We hope these tips help you create a gallery wall you love — one that feels personal, considered and perfectly you. If you’re looking for more home styling ideas, subscribe to Style Curator for our favourite styling tips, DIY projects and affordable ways to elevate your space delivered straight to your inbox.
Check out more styling ideas