Anyone who is furnishing a home knows just how expensive it is… particularly when you decide to change your interior style and feel like everything needs to be replaced!
Moving into our new house, I felt like nothing I owned suited the modern Australian style I wanted but I needed to be selective about what new pieces I bought as the build seriously stretched our budget.
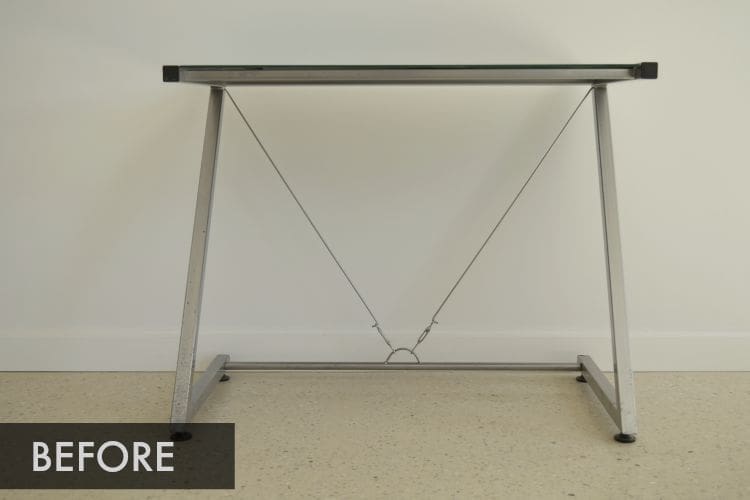
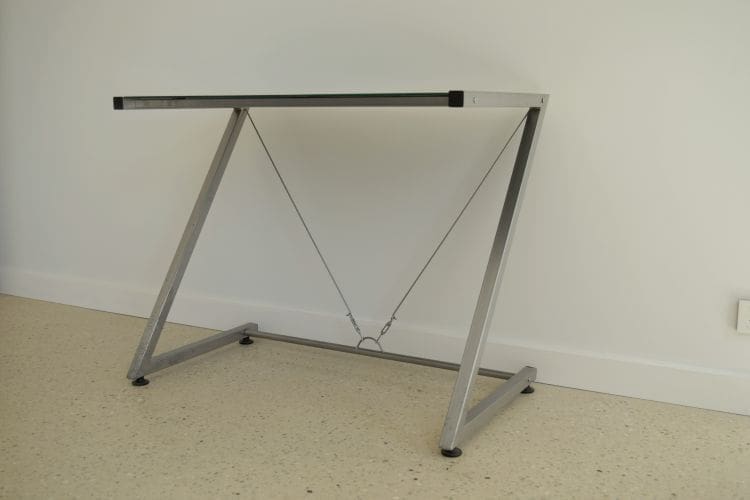
So when it came time to create my home office, I looked for a way I could make my daggy L-shaped glass and aluminium desk work. I took the corner piece out which left me with two identical individual desks (pictured below) and today I’m going to show you how I used these and just a few other materials to create one long, modern black and white desk.
Related article: Your guide to creating the perfect home office
Related article: 11 ideas for styling an empty corner of the home
Desk before…


Items you will need:
- Desk or other piece of furniture
- Piece of MDF board at the size of your new table top (mine is just over 2m long)
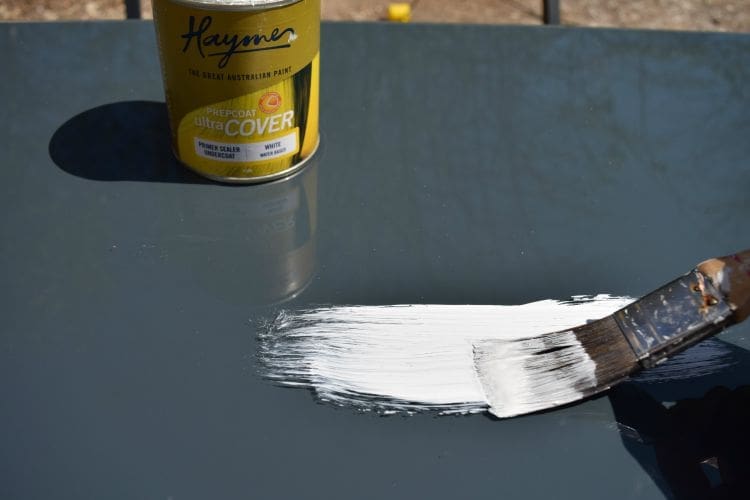
- Undercoat so the paint bonds to metal or glass surfaces (I used Haymes Ultracover)
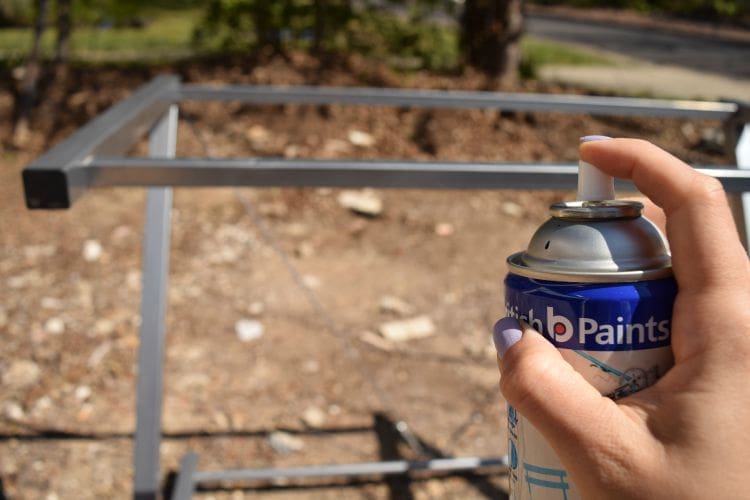
- Black spray paint (I used matte black)
- Paint brush
Steps:
1. Use undercoat to prepare any metal or glass surfaces for painting (I used two coats of Haymes Ultracover to completely cover the glass top and aluminium legs).

2. Spray paint the frames in 2-3 light coats of black paint. It’s better to do more light coats than load the paint on to prevent runs or cracks.

3. Once the legs were completely dry, I placed these side by side along a wall in my office and measured the length of the table top I wanted.
4. Finally, cut your MDF board to size or have this done at the hardware store and place it on top of your legs.
Voila, you’re done! Now I have an extra large, custom-made upcycled desk that looks fab in my new office!
Desk after…


The MDF board was an inexpensive alternative to a new desk (especially one of this size) and offers durability and easy cleaning.
I hope this black and white desk makeover has given you some ideas on how you could rework an old piece of furniture. Upcycling furniture rather than buying new is more sustainable and can also save you money!
More DIY ideas


This post was originally published on 17 September 2015 but was updated with new steps and photography by Thorson Photography.


Wow, this turned out great! I have an old side table that could do with this kind of freshen up. Thanks 🙂
Yay, glad it helped inspire a DIY project of your own!