Christmas is coming around quickly this year and before you know it, it will be time to put up the Christmas tree and begin bringing that festive cheer into our homes. Yet many of us simply don’t have the time or space to put a Christmas tree up in our homes… or do we?
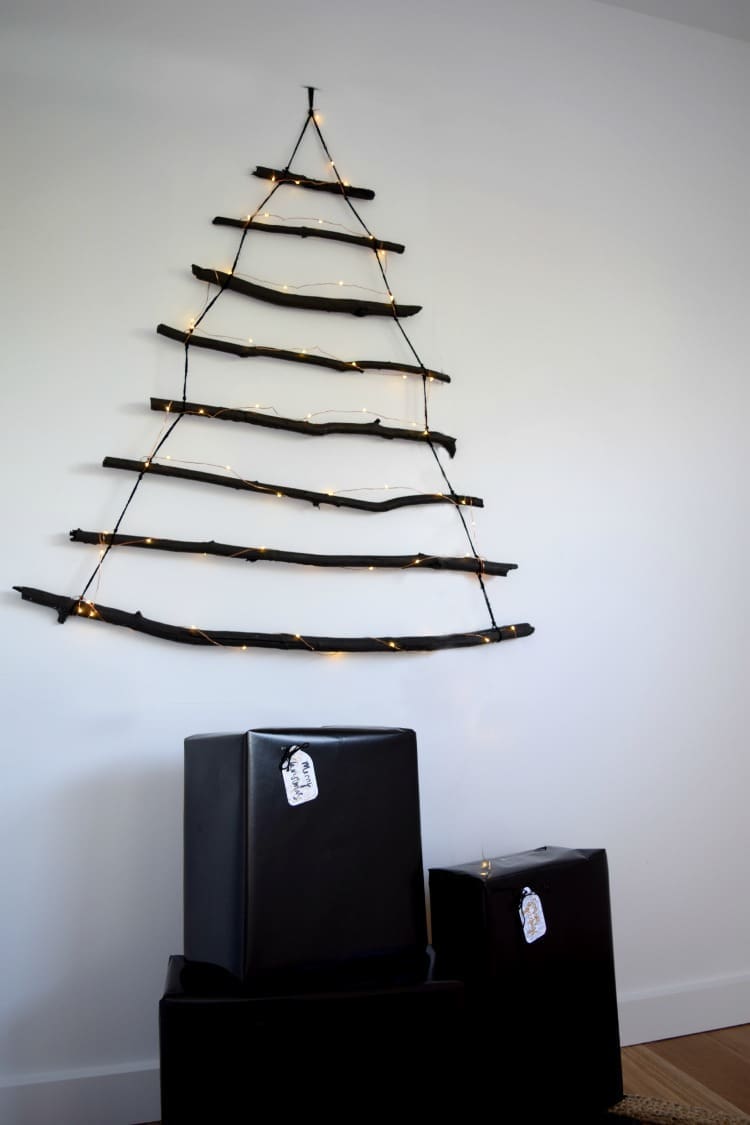
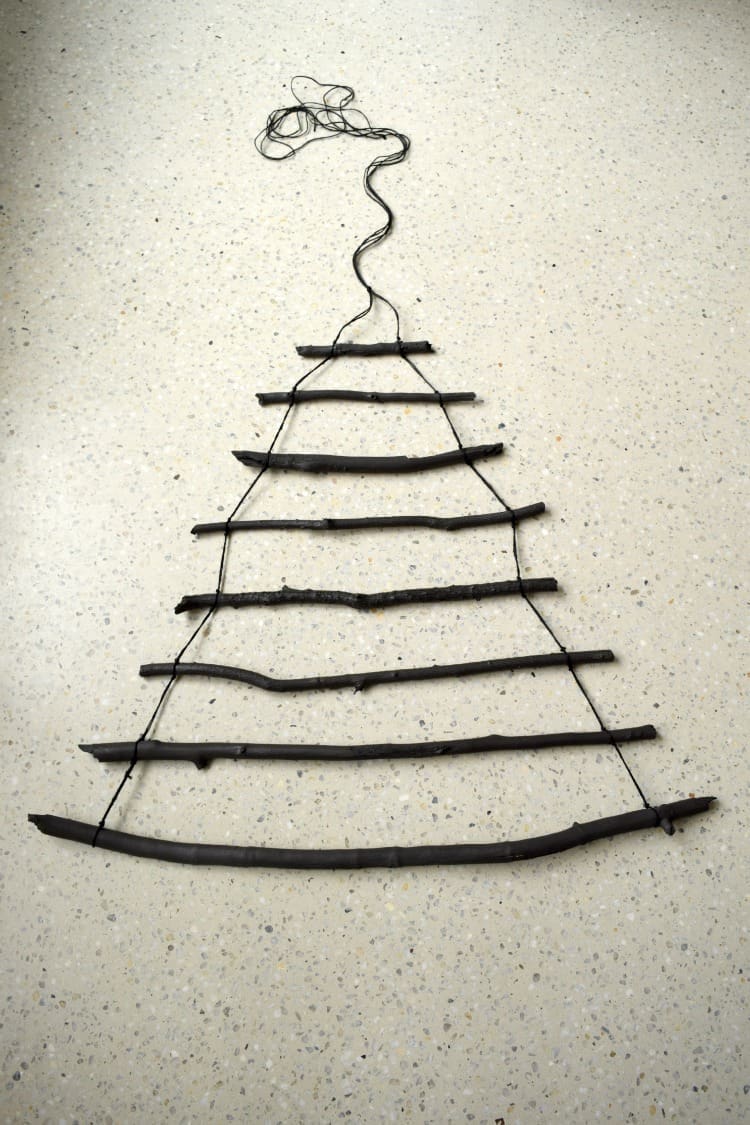
Today we’re going to show you how to make a stylish, simple and also affordable DIY branch Christmas tree that takes seconds to put up and uses next to no space. You can hang this tree on a wall hook or over a door.
Related article: 17 space saving Christmas trees: Alternative Christmas tree ideas
Related article: The most beautiful Christmas wreaths you can actually DIY!

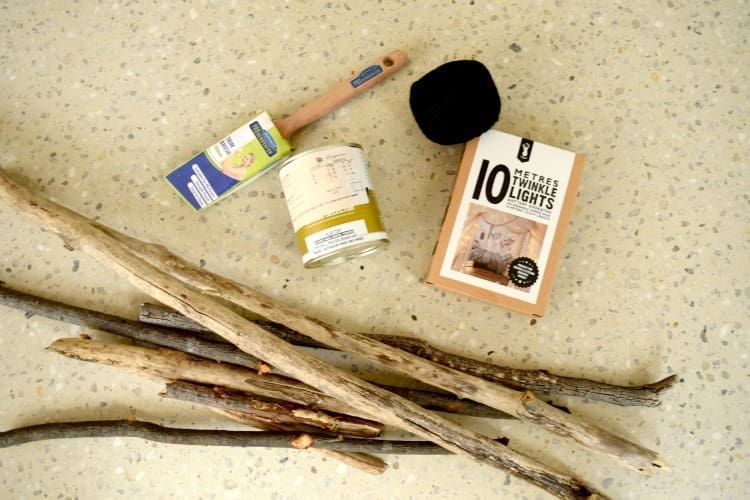
Items you will need:
- 8 branches
- Hand saw
- Black paint (we used Black Pitch by Haymes)
- Paint brush
- Black twine
- Fairy lights or ornaments to decorate
Steps:
1. Firstly, lay your branches on the ground and cut them down to size. It’s up to you how large you make your tree but for ours the top branch is 25cm and the lowest branch is 110cm.

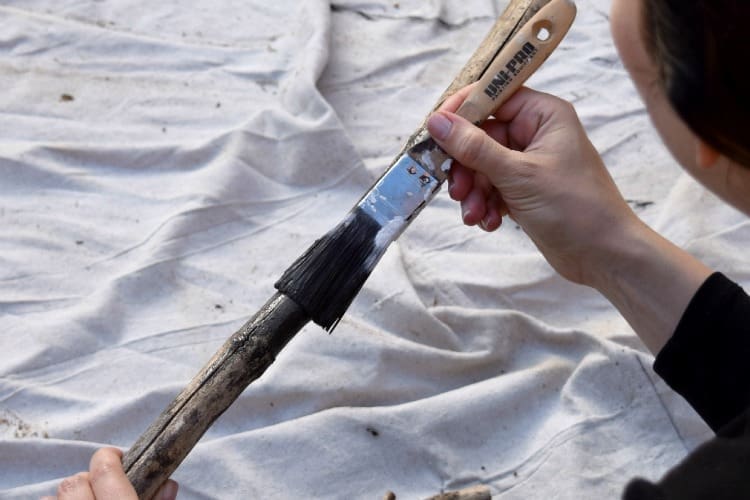
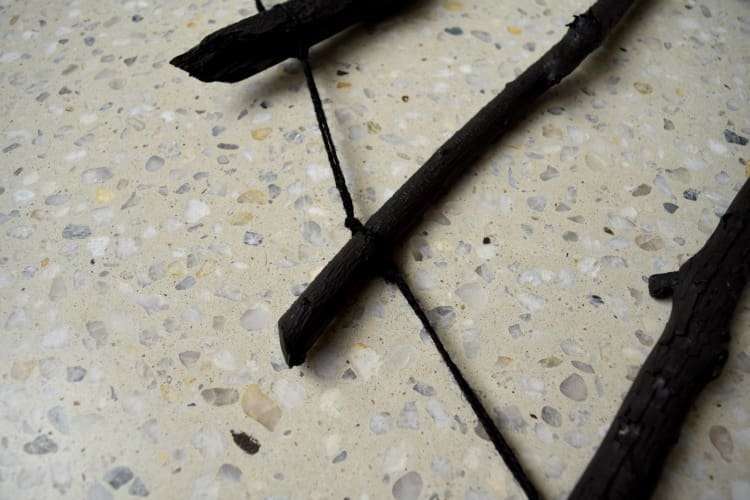
2. Paint the branches if you like or you can keep them natural (just with a light sand) for a more coastal aesthetic. We used ‘Black Pitch’ paint by Haymes as we love the contrast of the decorations against black branches.
3. Once dry, place the branches in order of smallest to largest and use twine to tie them together. You can space the branches as close or as far apart as you like. Simply cut two long lenghts of twine (around 2 metres) and begin at the left side of the largest branch, then work your way up along one edge to the top of the tree by tying a knot below and above each branch. Repeat this on the other side and finish by tying the top two strands of twine together.
4. Then all that’s left to do is decorate. You could keep your decorations minimal with just some string LED lights or go all out and dangle ornaments from the branches too.
If you like this Christmas tree tutorial, you may also like to check out our pallet Christmas tree tutorial or concrete Christmas tree tutorial.
We’d love to see your version of this branch Christmas tree. Tag us if you share a pic online @stylecuratorau or email photos of your tree to hello@stylecurator.com.au 🙂
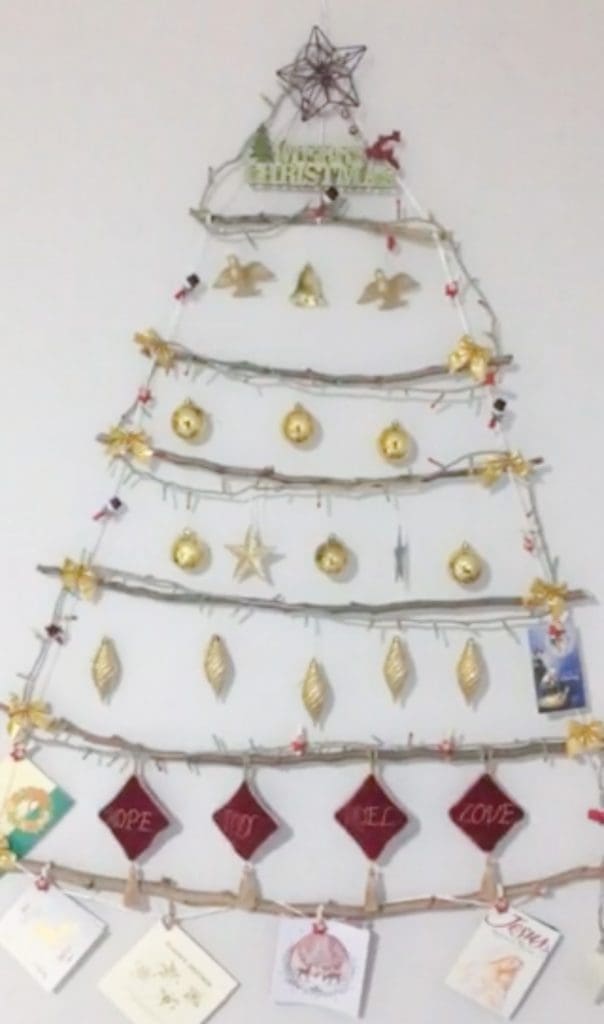
Reader DIY
It makes us so happy when you guys send in photos of how you tackled our DIYs — and even more so when you do a better job at it than us! Just check out this stunning branch Christmas tree that Margaret in Singapore made. Living in a 45m2 apartment, our DIY means she could have all the festive cheer of a traditional tree without taking up valuable space. And as if it doesn’t look pretty enough in the pic below, she’s also installed Christmas lights for an impressive light show!