

Supported by Monsta Shop
My dog Arnie is a great dog 99.99% of the time but when it comes to beds… he has issues!
I’ve lost count of the number of times I’ve found him in a snowfield of stuffing strewn all over the house or yard.
We’ve tried dog houses, trampoline beds, dog floor cushions, dog mattresses… honestly I feel we’ve tried everything but nothing lasts long or he rejects the idea immediately!
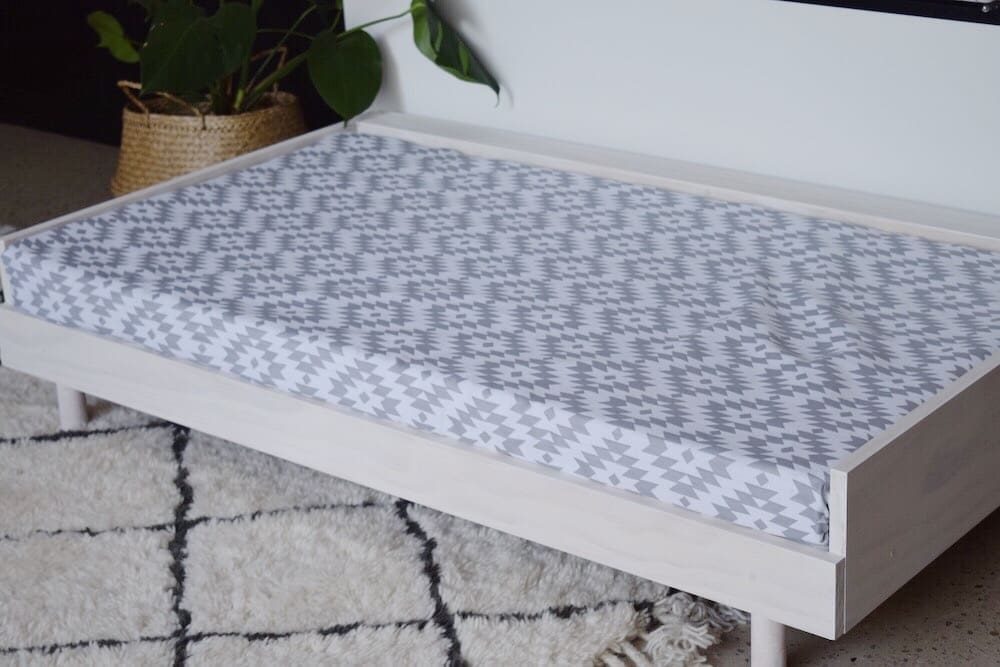
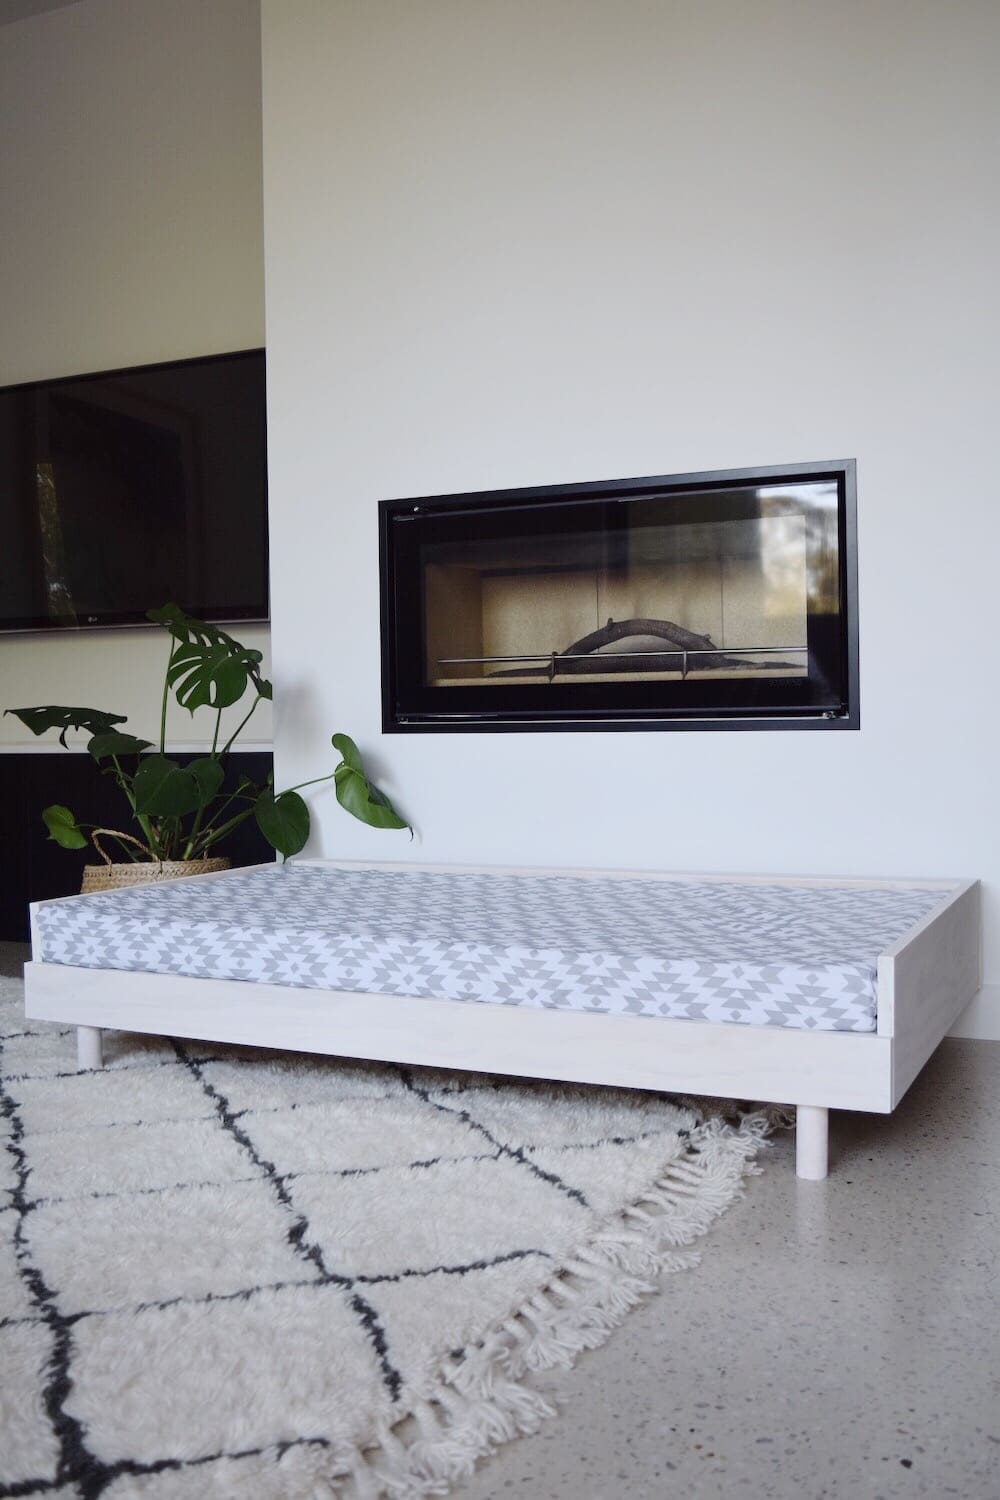
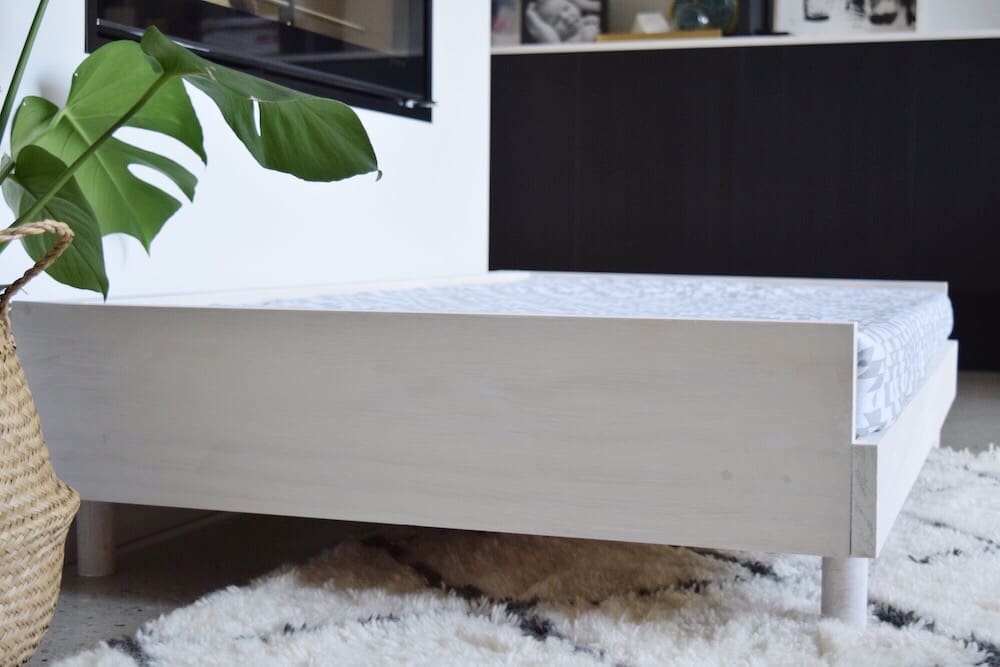
So in a last ditch attempt to get him to sleep on a bed and off the floor (which I know can be terrible for arthritis), I designed a stunning Scandinavian style dog bed that hubby helped me make. Oh ok, I lie; he did it all except paint it.
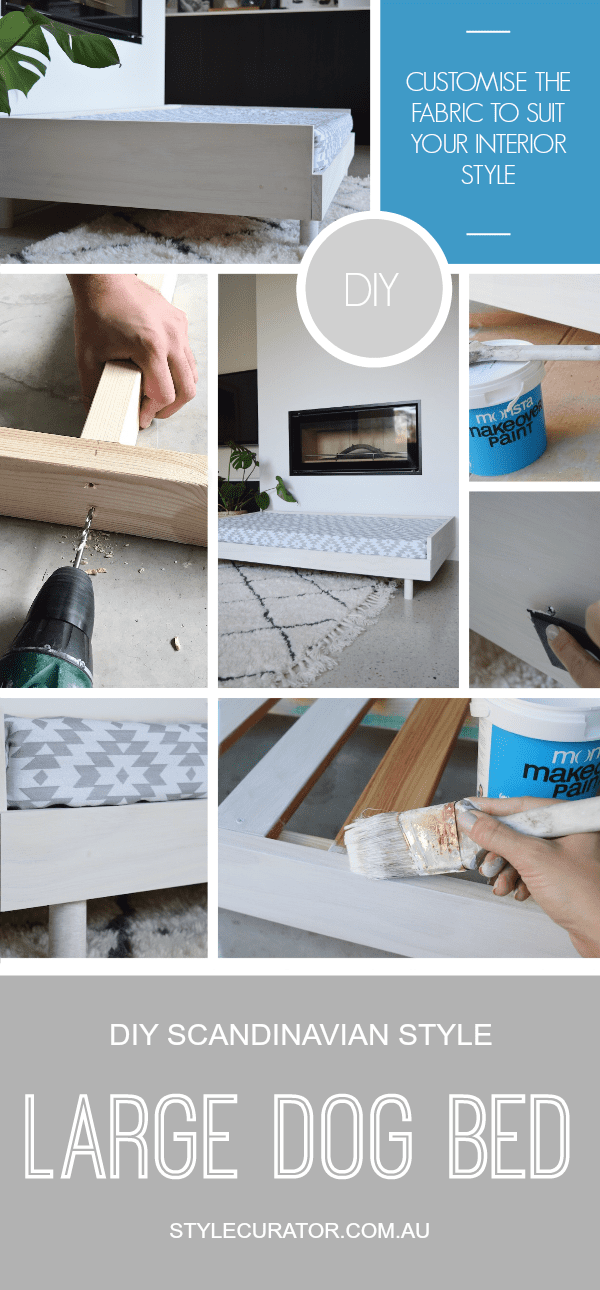
This Scandinavian style large dog bed DIY is a collaboration with the newly launched Monsta Shop — a go-to destination for DIYers to get top quality materials at affordable prices. We’ve also used a white paint from their newly launched ‘Colour Wash’ range, to give our dog bed a white wash effect and distinctly Scandinavian feel.
Related article: House plants safe to have around pets (and which ones to avoid)
Related article: Are you making one of these rug mistakes? Top designers share their rug pet peeves!
Items you will need:
- Cot mattress and cover
- 3m of 18.5cm width ‘Dressed pine’ timber*
- 2.7m of 9cm width ‘Dressed pine’ timber*
- 132.5cm of 4.2cm width ‘Dressed pine’ timber*
- 8.6m of 6.5cm width timber*
- 5.5m of 3.5cm width ‘Framing’ timber*
- 4 x furniture legs (select legs that will complement the Scandinavian style)
- Saw or have timber cut to size at hardware store*
- Electric drill
- 40mm timber screws
- White wash paint (we used Monsta ‘Colour Wash White’)
- Paint brush
- Clamp
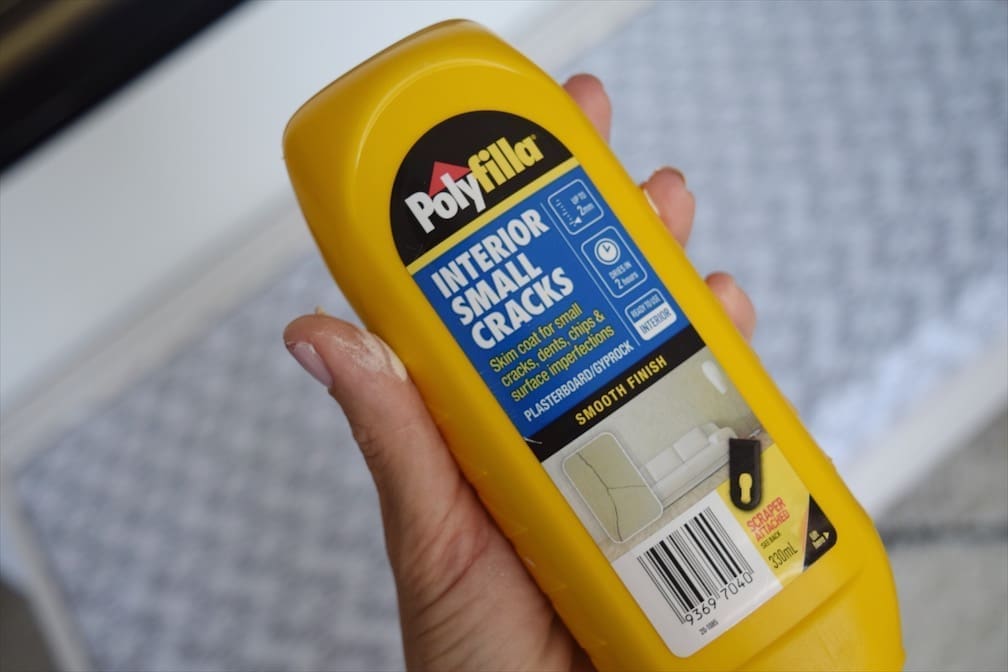
- Polyfilla or other gap filler
- Measuring tape
- Pencil
*See Step 1 for exact details of what cuts to make these timbers and how they will be used.
Steps:
1. Begin by cutting all your timber to size so you can work quickly to put the bed together.
Here are exact details of all the timbers and sizes you need:
Bed base
2 x ‘Framing’ timber cut to 132cm lengths (the lengths of your bed base)
1 x ‘Framing’125cm length (the support beam in your bed base)
2 x ‘Framing timber’ cut to 71.5cm (the inner sides of your bed base)
11 x 6.5cm width timber cut to 78cm lengths (these will be the bed slats)
Bed sides
2 x 18.5cm width ‘Dressed pine’ timber cut to 78.2cm (the two outer sides of your bed)
1 x 18.5cm width ‘Dressed pine’ timber cut to 136cm (the tall back piece of your bed)
1 x 9cm width ‘Dressed pine’ timber cut to 136cm (the lower front piece of your bed)
Bulkhead
1 x 4.2cm width ‘Dressed pine’ timber cut to 132.5cm (the top of the bulkhead)
1 x 9cm width ‘Dressed pine’ timber cut to 132.5cme (the face of the bulkhead)
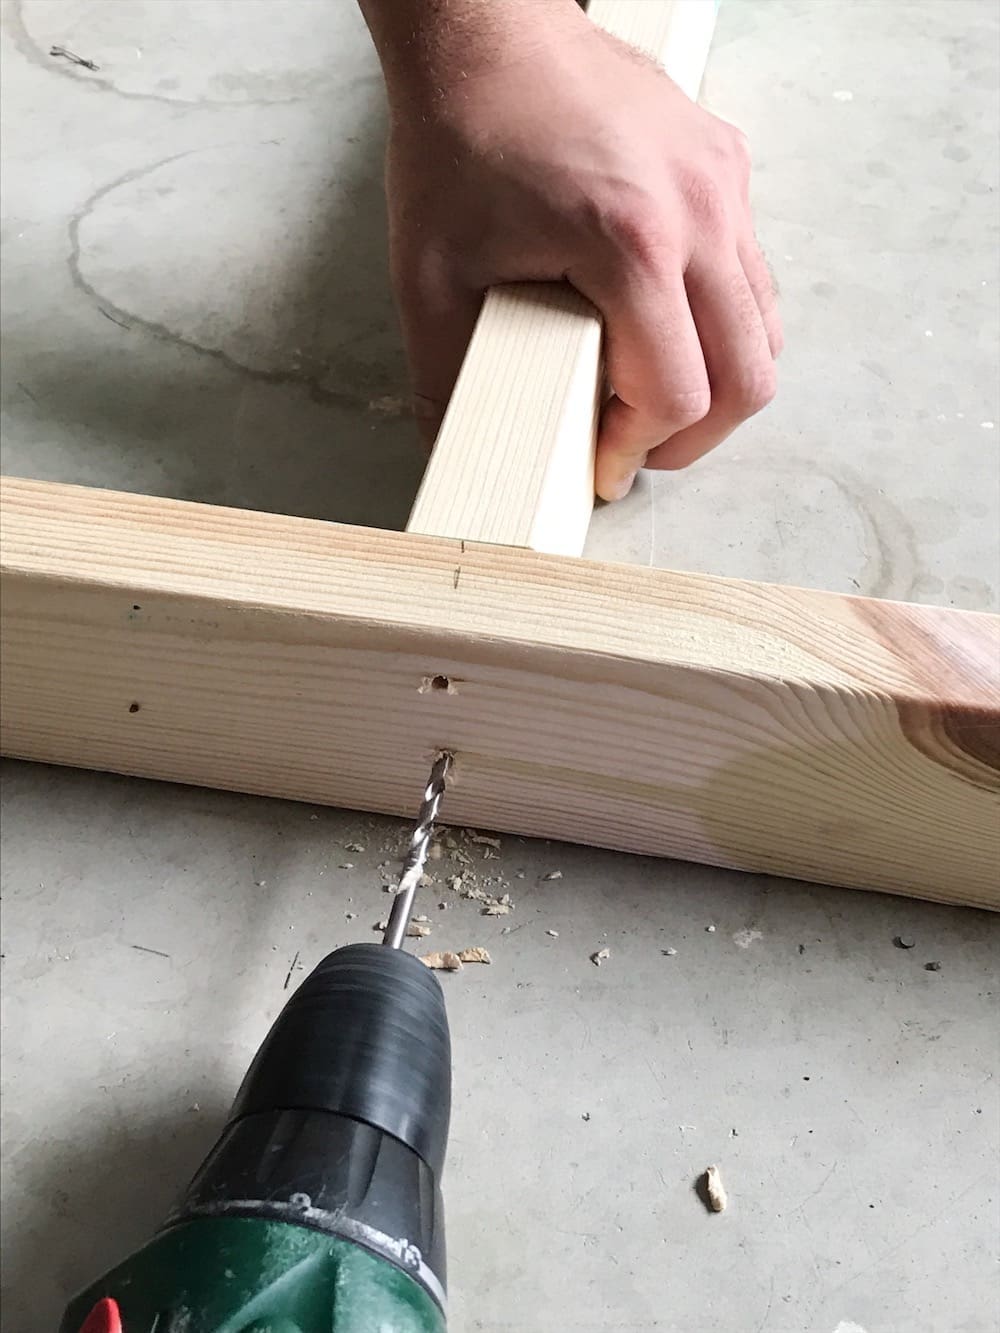
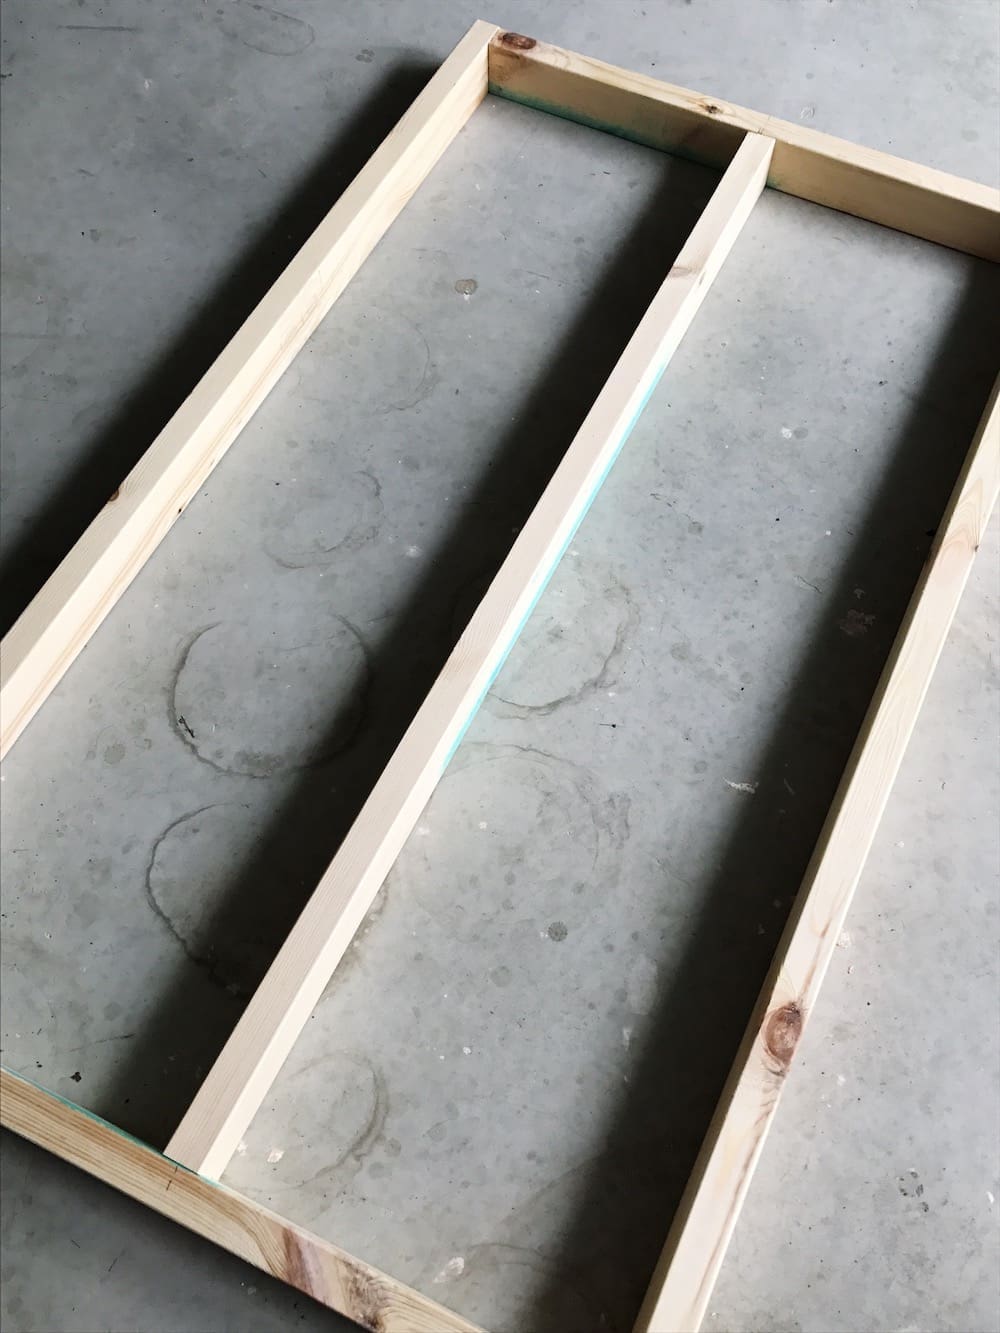
2. Construct the bed base using the ‘Framing’ timber you’ve cut to size. Place the timbers on the ground to create a rectangle that is 132cm long by 78.5cm wide. Ensure the two widths sit inside the two lengths and the support beam is positioned in the centre. Screw these timbers in place.
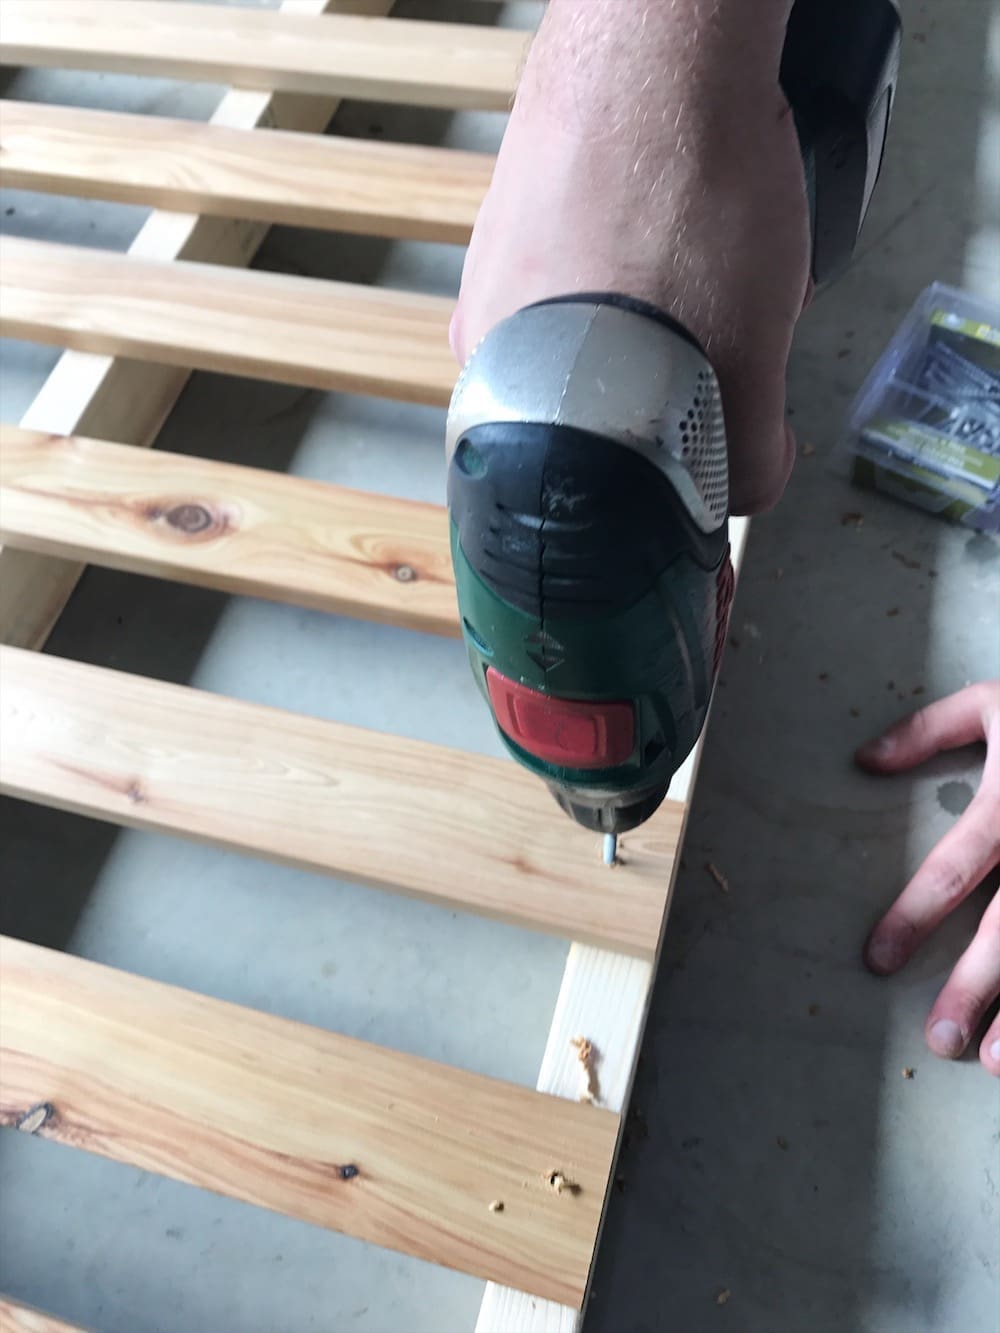
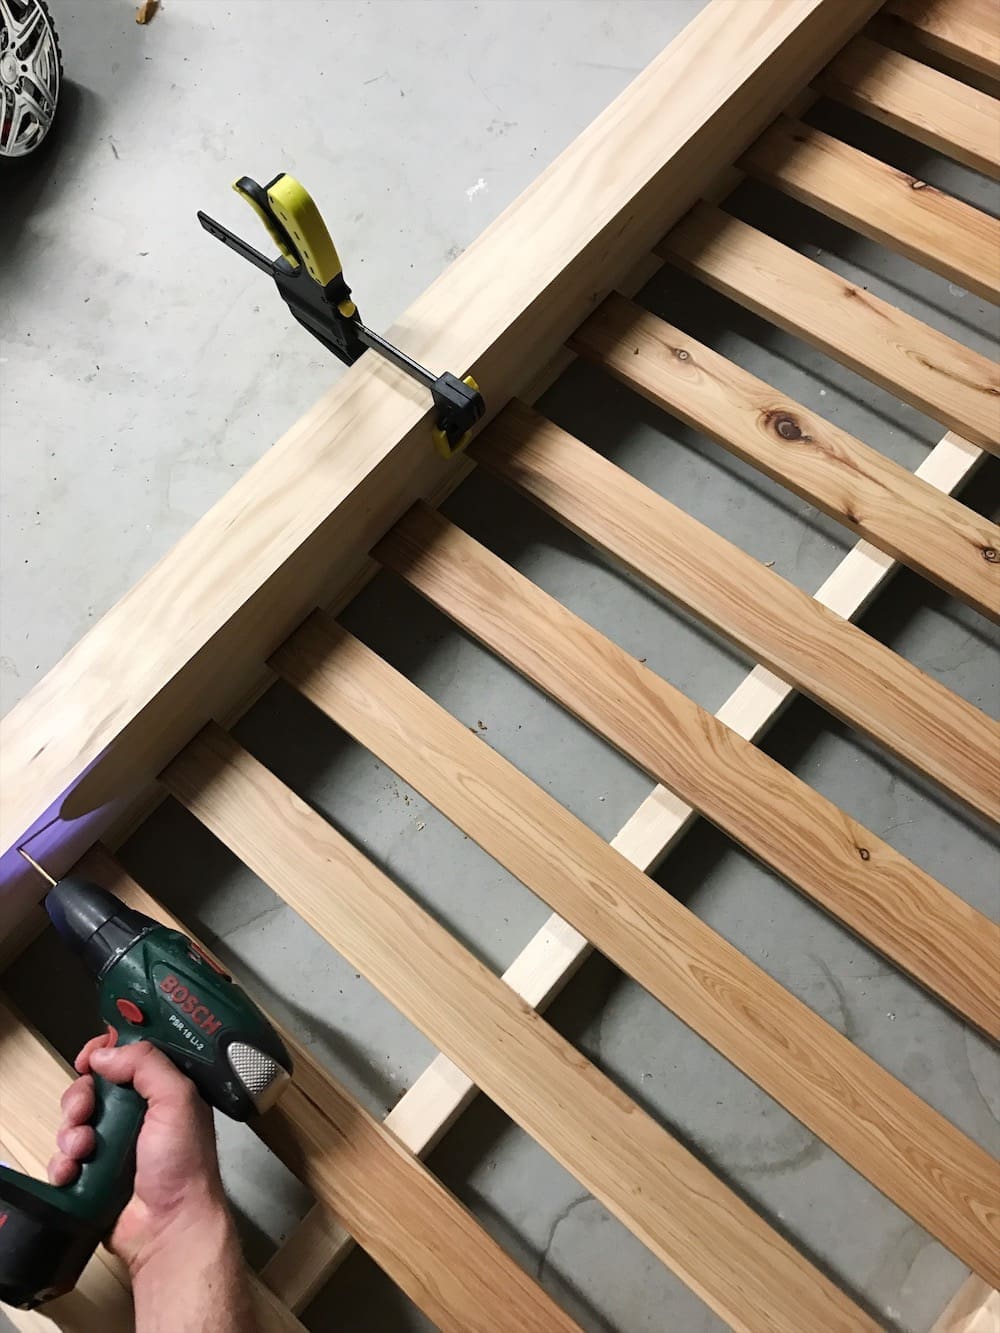
3. Finish making the base by screwing timber slats approximately 6.5cm apart across the width of the frame. It should now look like this.
Tip: the slats are 0.5cm shorter than the width of the frame so there’s a narrow clearance along the front and back of the frame. This will prevent any slats from pushing on the outer pieces of the bed later on.
4. Now it’s time to put the sides of the bed on. This design uses 18.5cm width timber along the sides and back so the timber comes flush with the top of the mattress and a 9cm width timber across the front so it’s easy to step into the bed.
Tip: it’s easier and more precise to screw the back piece on first, and then the two side pieces, and finally the front piece. This way you will guarantee the back of the bed ,which is more visible, will be in line and square.

Now it’s starting to come together…
5. Your dog bed should be looking pretty schmick right now but it will look even more amazing once you finish this step to make the bulkhead. Simply create a small stack of offcut timbers against the back piece of the bed until the top piece of the bulkhead (the 4.5cm width timber you already cut to size) sits flush with the back of the bed. Rest the front of the bulkhead in place and securely clamp these timbers together while you screw them together.

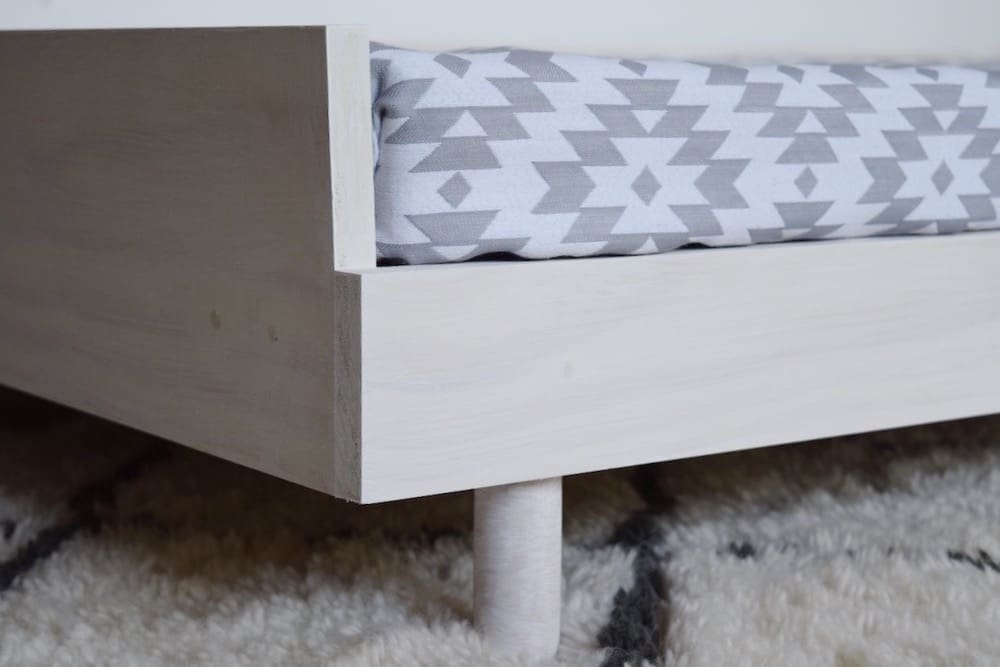
6. To finish the timber work, screw on 4 furniture legs. Ours are 10cm in from the outer frame and 10cm tall. You can buy furniture legs at most hardware stores or find a wide range of styles on eBay and Etsy.
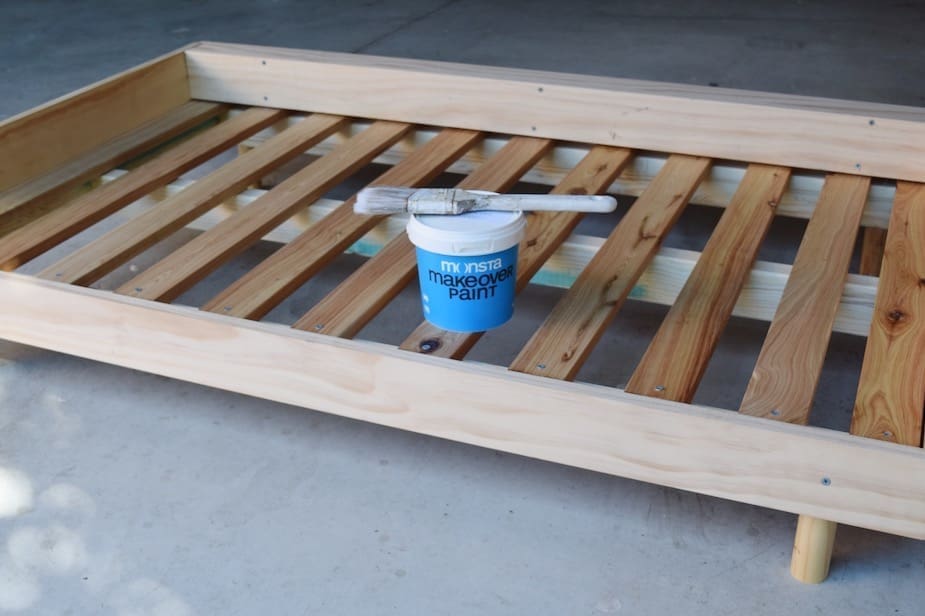
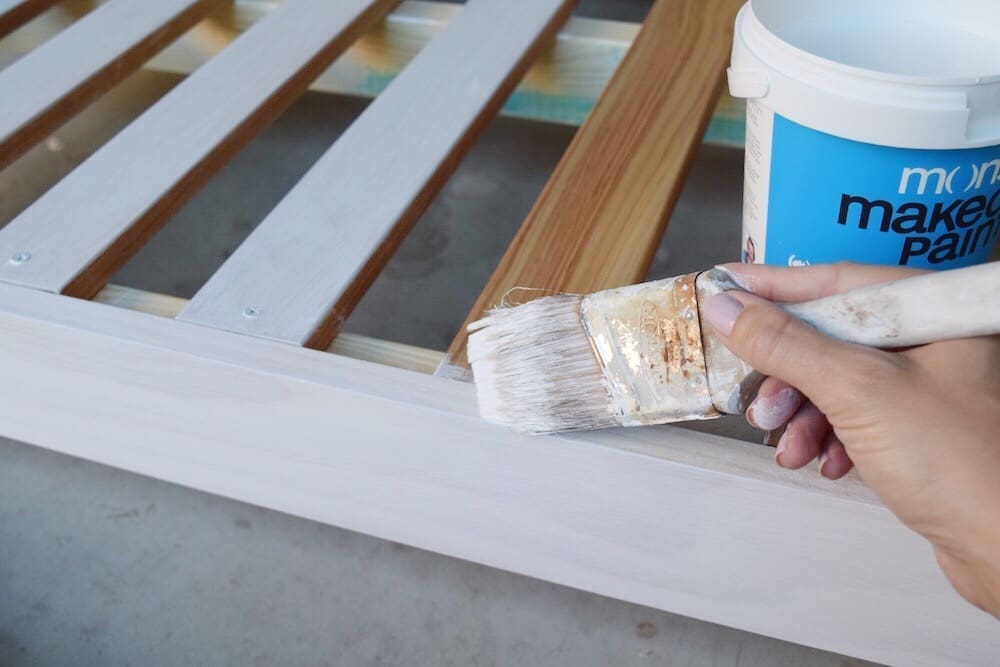
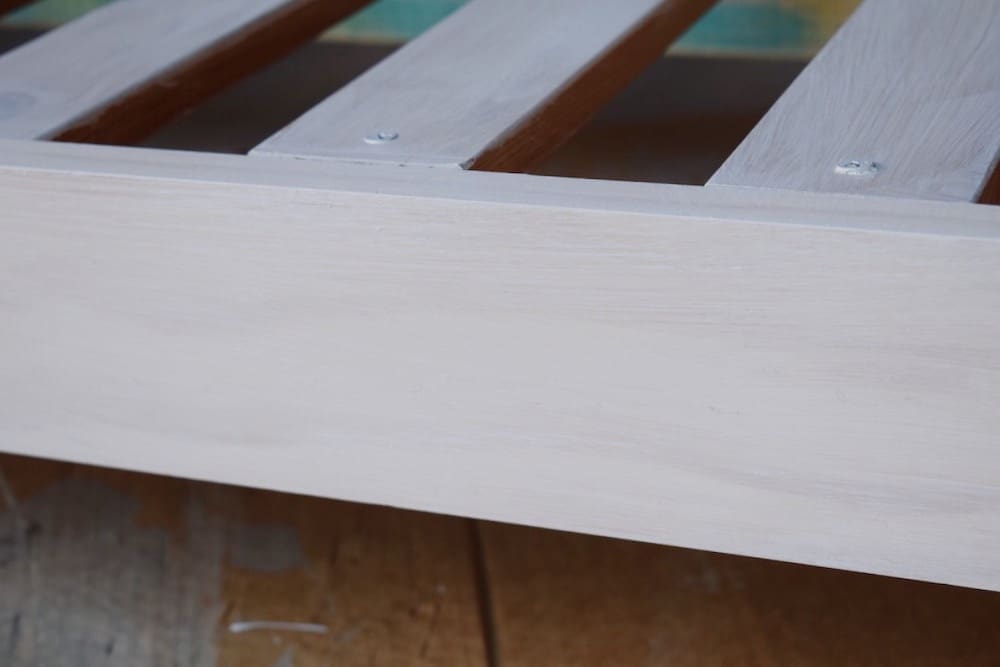
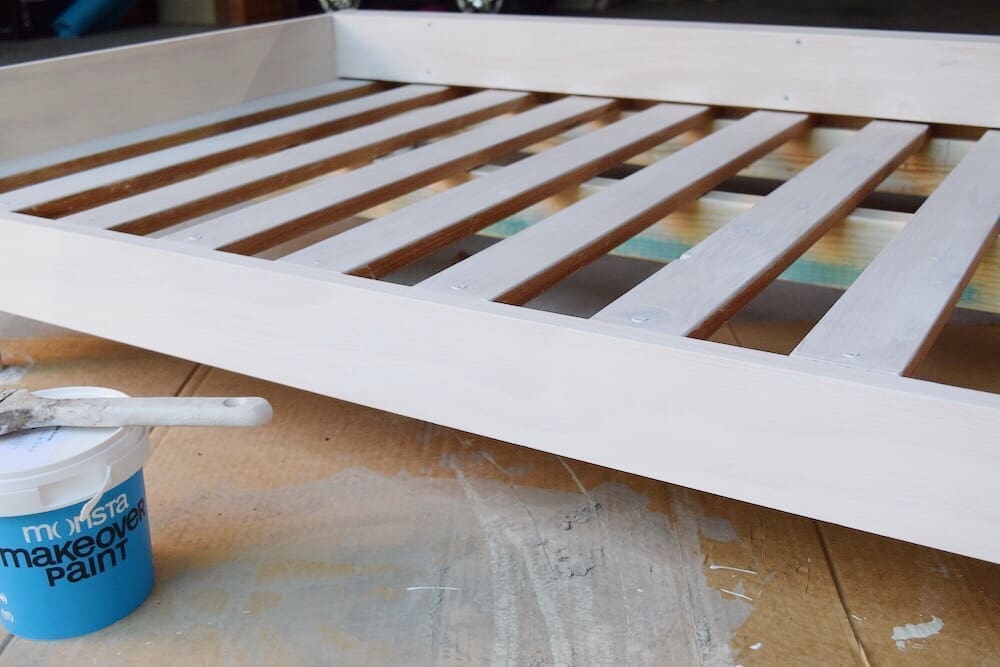
7. Now that your dog frame is complete, it’s time to really give it that Scandinavian feel by applying a white wash paint. Using the newly launched Monsta ‘Colour Wash White’ paint, I applied a light coat directly onto the timber (no need to prep or prime) and worked quickly to get a smooth even coverage over the dog frame. I was really impressed with the velvety texture of the paint and the gorgeous white wash effect it created.
In the past we’ve tried to create a white wash paint by watering down regular white paint but it can be hard to get a consistent product and watering down paint can compromise it’s ability to adhere to surfaces so I will definitely be using this Monsta product in future to create all my white wash effects.
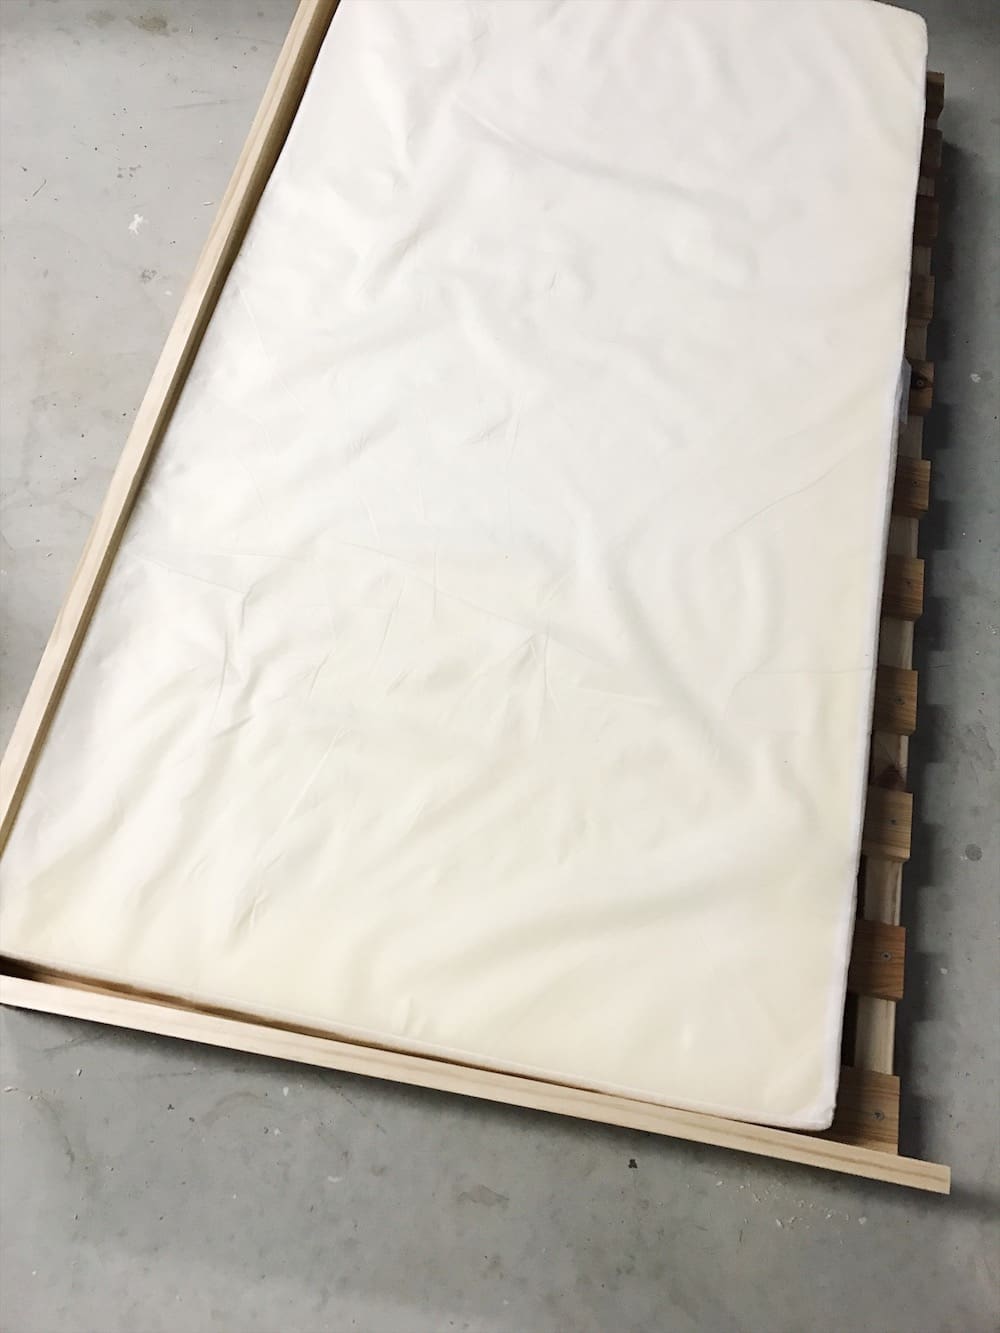
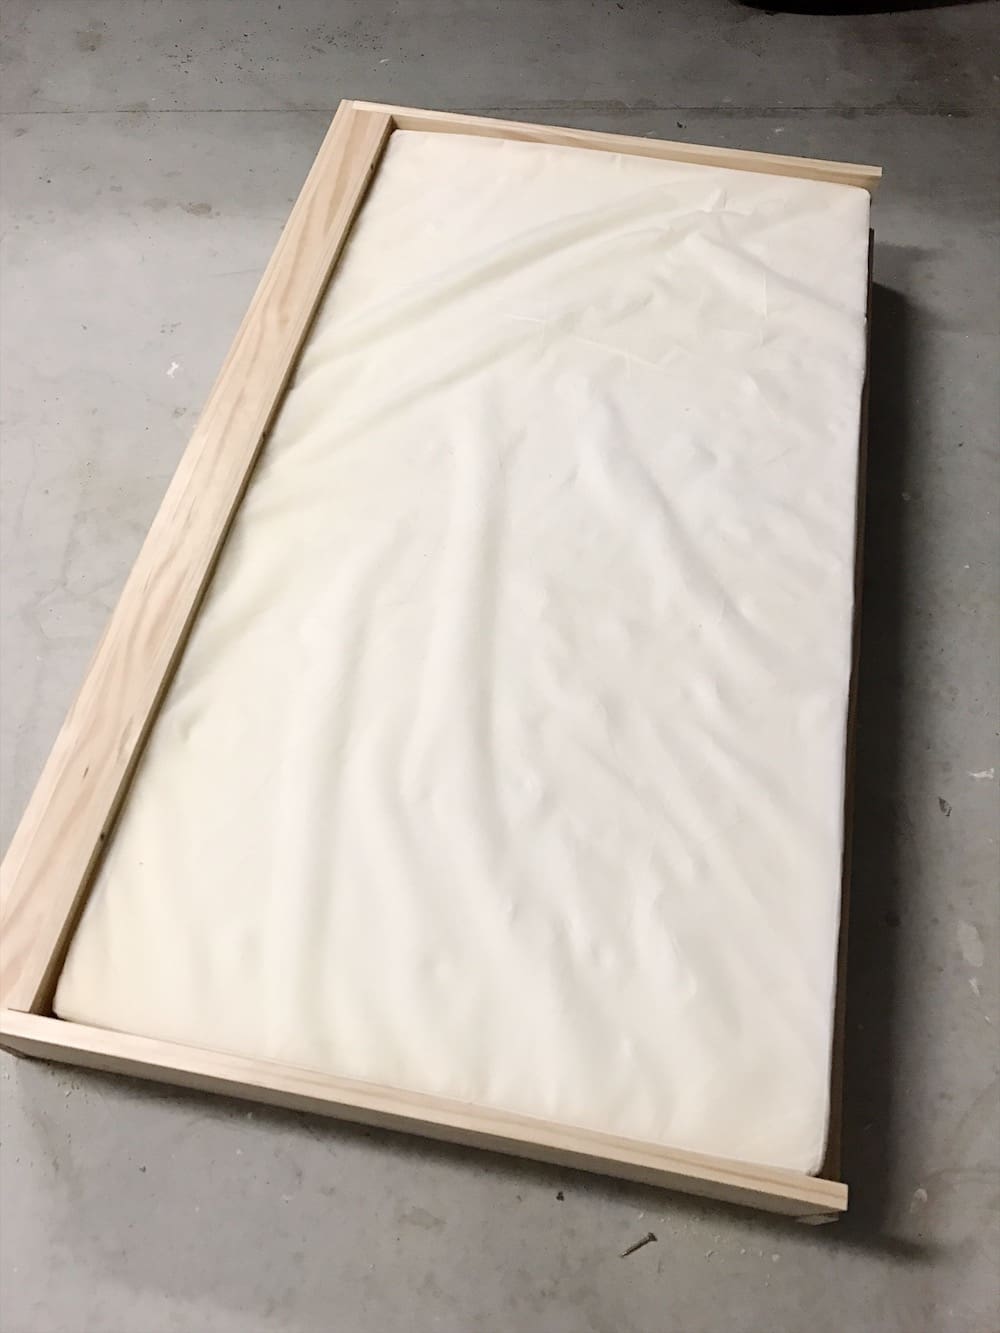
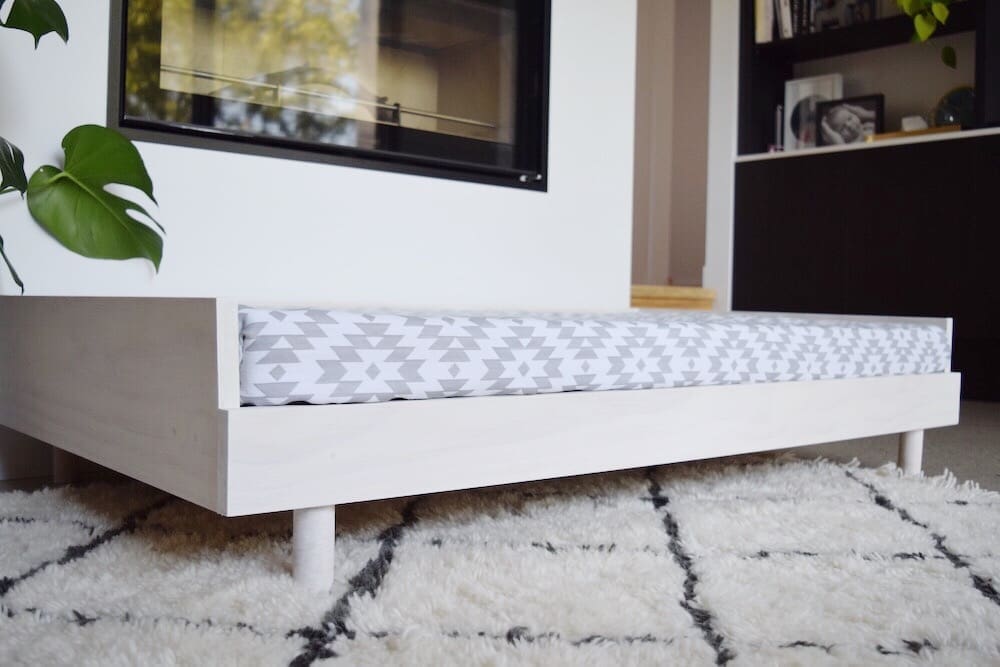
8. Next step is to put a cover over the mattress. Because this dog bed is made to fit a regular cot mattress, you could buy a ready-mad cot sheet to fit your colour direction or style but I just couldn’t go past this Aztec style fabric and made my own cot sheet out of it.
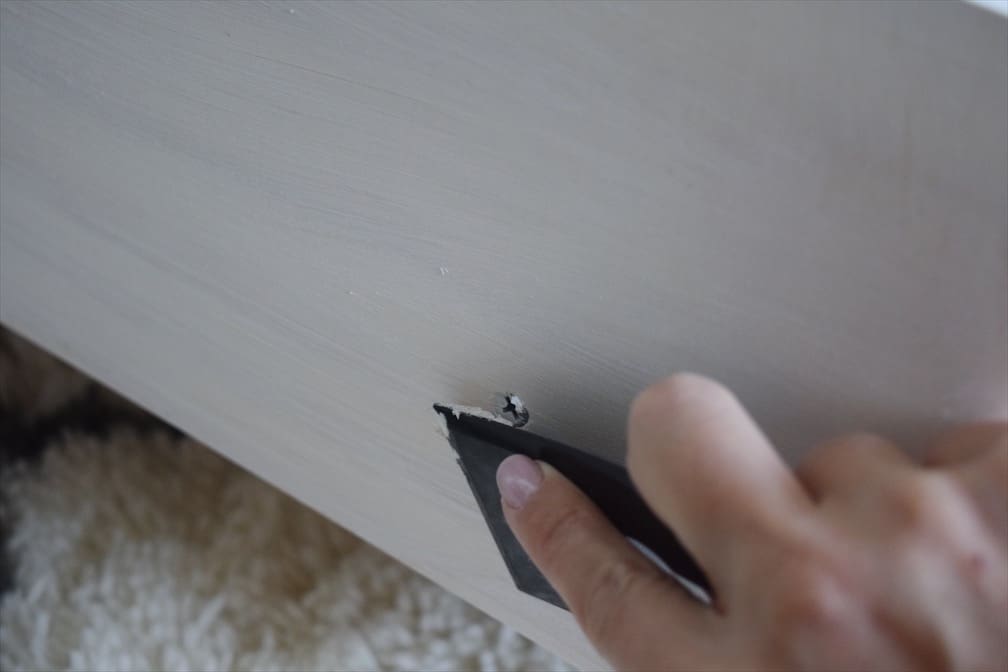
9. Lastly, do any final touch ups that may be needed. I used a gap filler to cover over the screws and in some of the timber joins where there was a slight gap.
Optional step: if your dog bed will be on smooth flooring like mine, you may like to put furniture protector stickers under the furniture legs to protect your floors and reduce slipping.
Now for the test… will Arnie sleep on his new dog bed???
Unfortunately not! After all this work and creating such a gorgeous dog bed, Arnie rejected it straight away ☹ I am going to screw carpet squares to the bottom of the furniture legs to help them grip to the floor as I think the slight movement of the bed when he gets off the bed is what has frightened him and will update you on whether or not that’s fixed the problem.
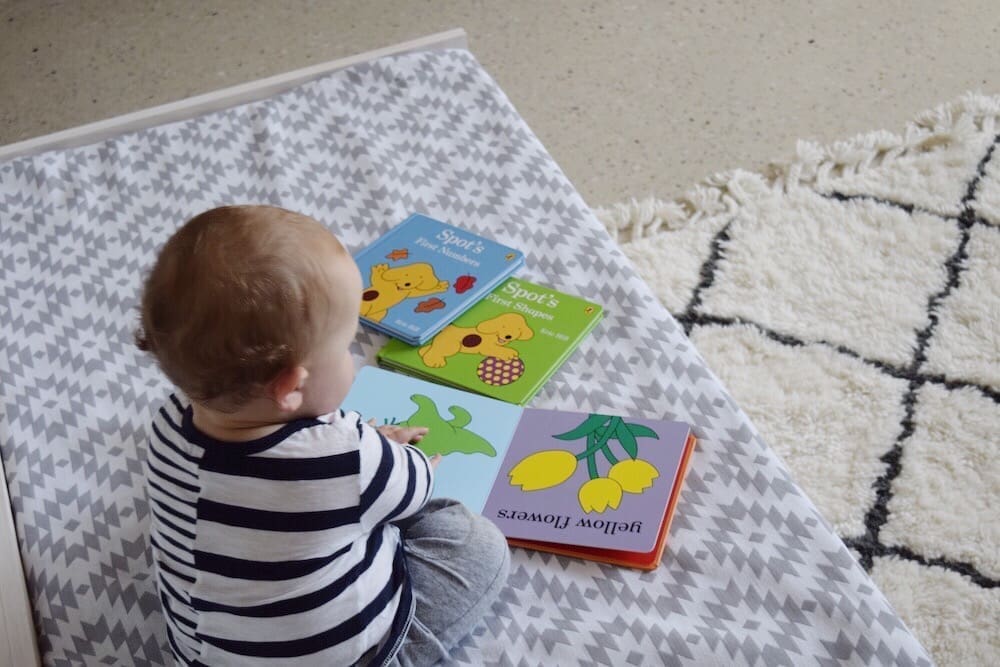
At least I know Patrick loves the bed because he can easily crawl up onto it and enjoys playing with toys and books up there so worst case scenario, it can become a toddler day bed.
Provided your dog doesn’t have OCD issues like Arnie, this is a fab DIY Scandinavian style large dog bed tutorial and makes an incredibly sturdy (supports my weight) and stylish dog bed!
If you make this DIY Scandinavian style large dog bed, be sure to tag us @stylecuratorau on Instagram, Facebook or Twitter so we can see!
More DIYs here


Such a cool dog bed Gina! At least one member of your family can appreciate good design 😉
He he, I know right?!! Arnie can be so ungrateful, ha ha!