Instagram is full of the latest hacks and DIYs and this easy budget alfresco makeover by Jaimie from @reside_at_seventeen immediately caught our eye. Inspired by a laundry design, Jaimie has come up with this outdoor hack, transforming her tired alfresco into a beautiful outdoor living space using stencils.
Read on as we chat with Jaimie to get all the info on this clever budget alfresco makeover so you can do your own!
Related article: How to paint walls like a professional: House painting tips and tricks
Related article: Top interior designers share their tips on building a Hamptons style home
Items you will need:
- Concrete and paving paint (Jaimie used White Knight Ultra Pave)
- Stencil (Jaimie used MoyMir’s “Moroccan/Encaustic style tile stencil” in the 12′ x 12′ size. Find plenty of tile stencils on Etsy here)
- Roller kit (Jaimie used Paint Partner’s mini roller kit from Bunnings)
- Uni-pro roller on pole with extendable handi-pole and tray
- Masking tape
- Baby wipes/damp cloth
- Small paint brush
Getting started
“This project doesn’t take too much time, I completed it over three days. There were a lot of gaps between to allow the cement and the paint to dry.
“I recommend selecting colours that represent your goals for the space well and fit with your specific style. I chose the classic white and grey because it ties in nicely with the rest of our house. The alfresco can be seen from all of our living areas which are all predominantly black, white and grey. Don’t overthink it — you can paint over it and start again!”
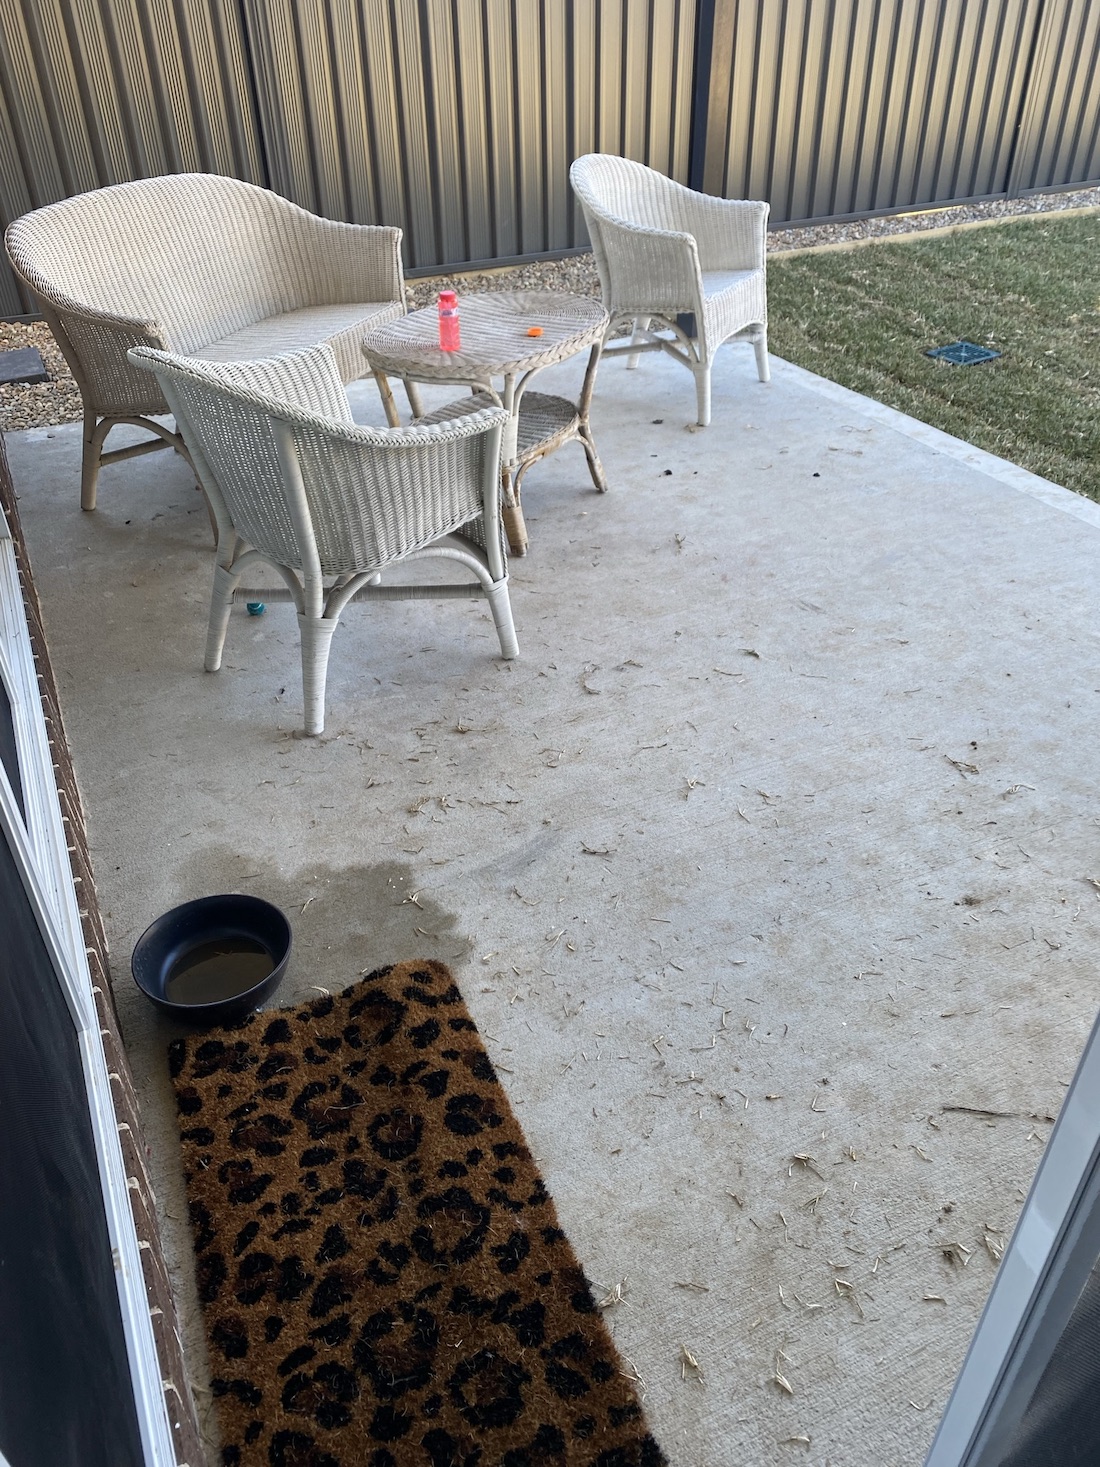
Step 1
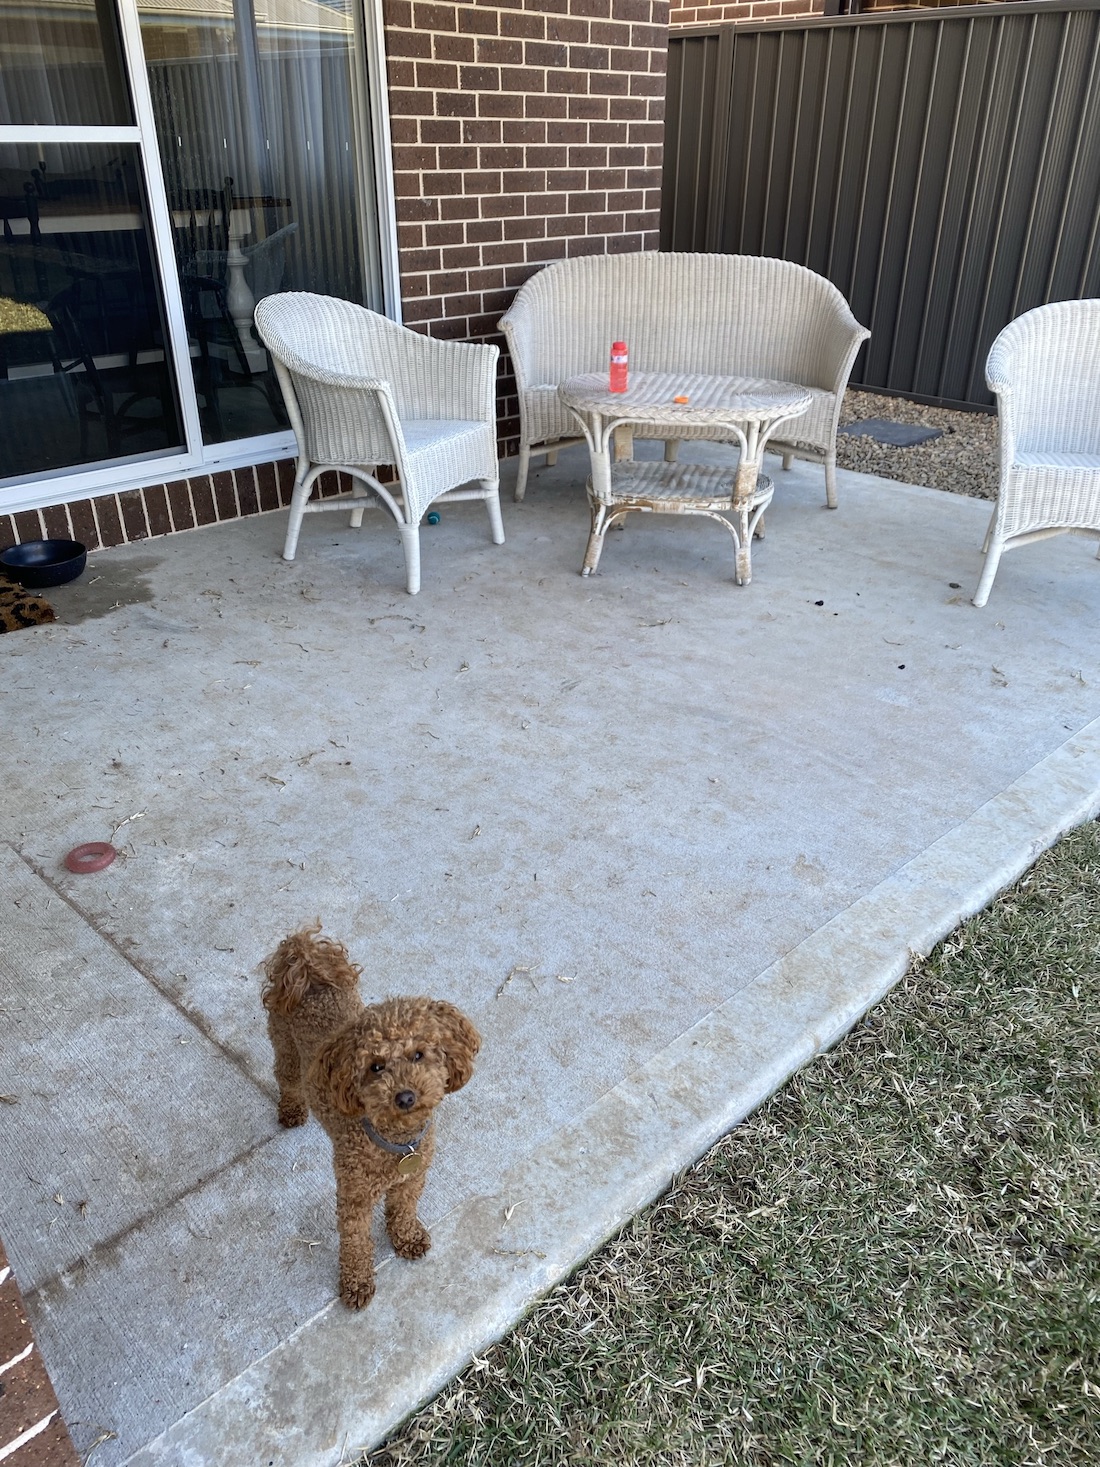
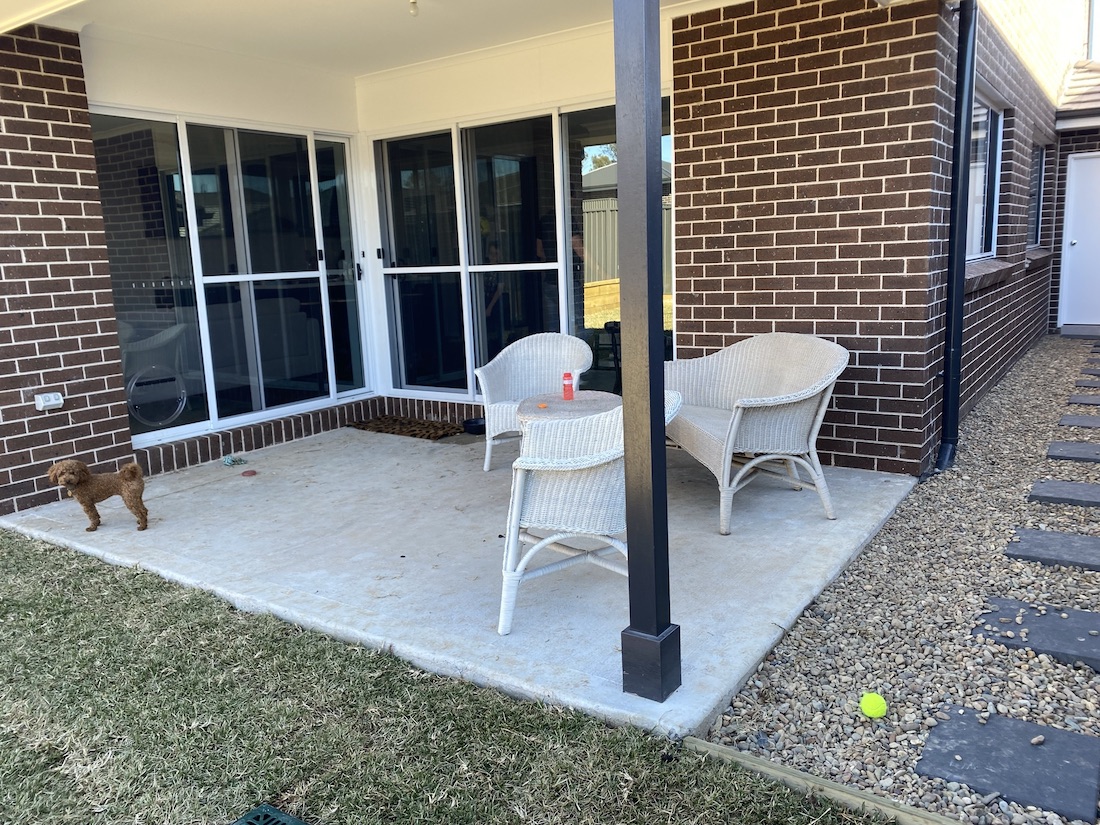
Remove all furniture and clean the cement, leaving to air dry.
“I used a high pressure cleaner to completely clean the cement and left it for the day to dry. You need to make sure your cement is really clean and dry before you start painting over.”
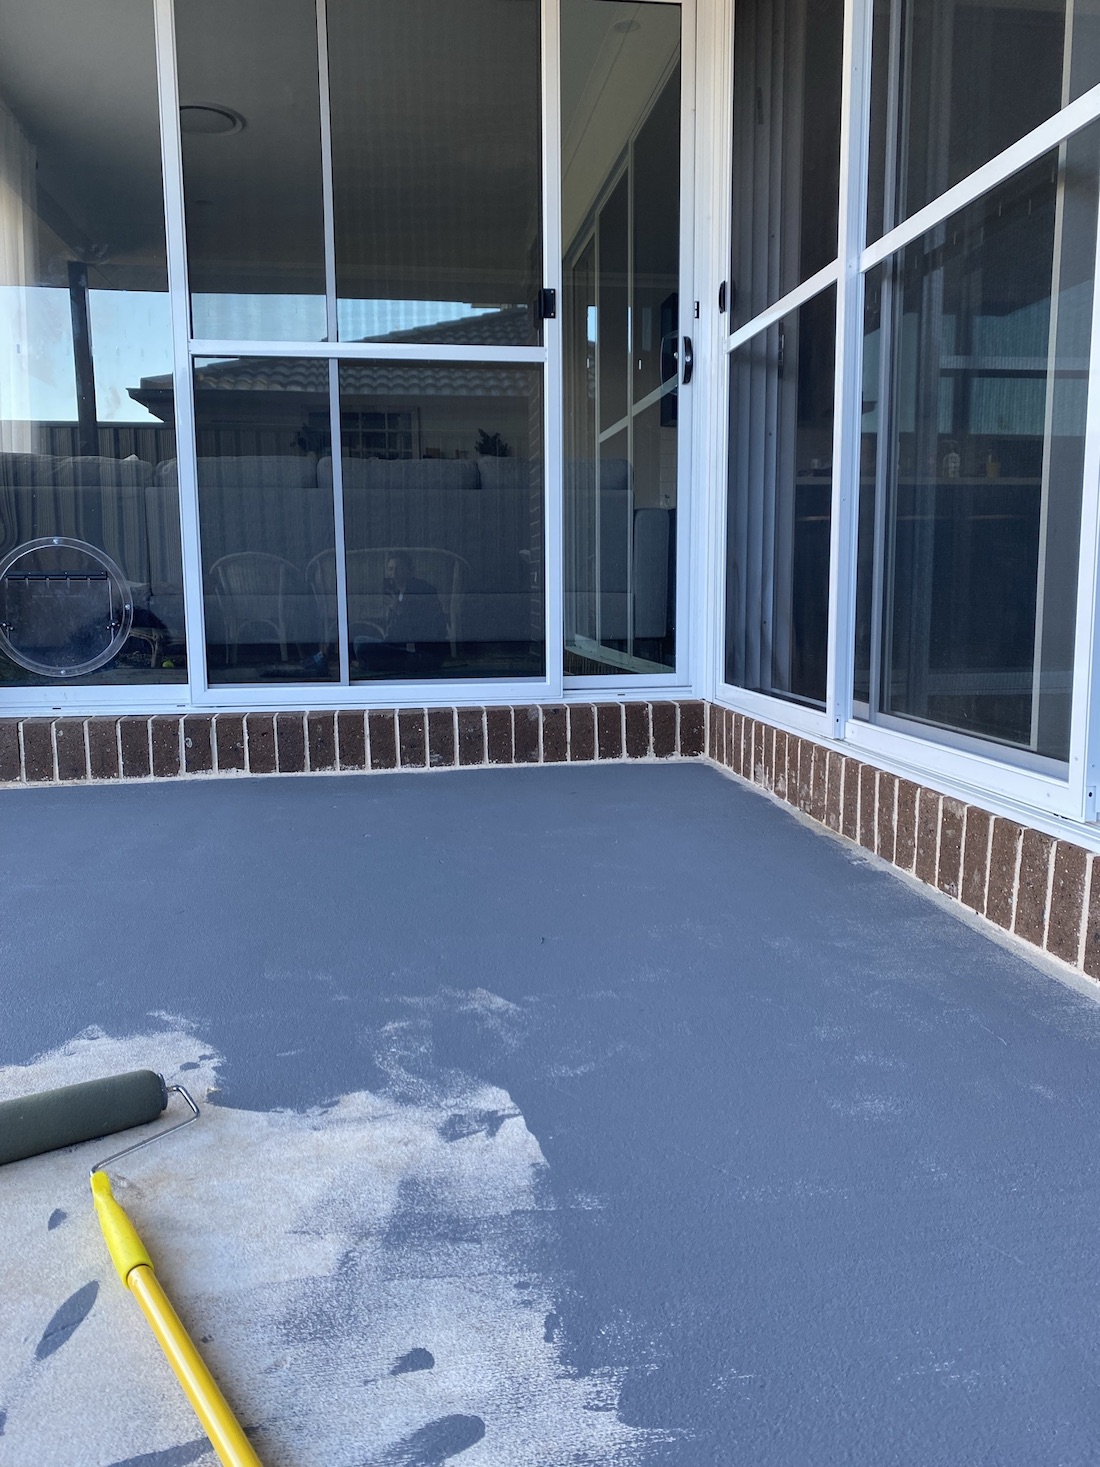
Step 2
Apply your base colour paint and leave to dry.
“I applied two coats of the grey paving paint — one in the morning and the second coat after lunch. I then left it to dry for the rest of the day.”
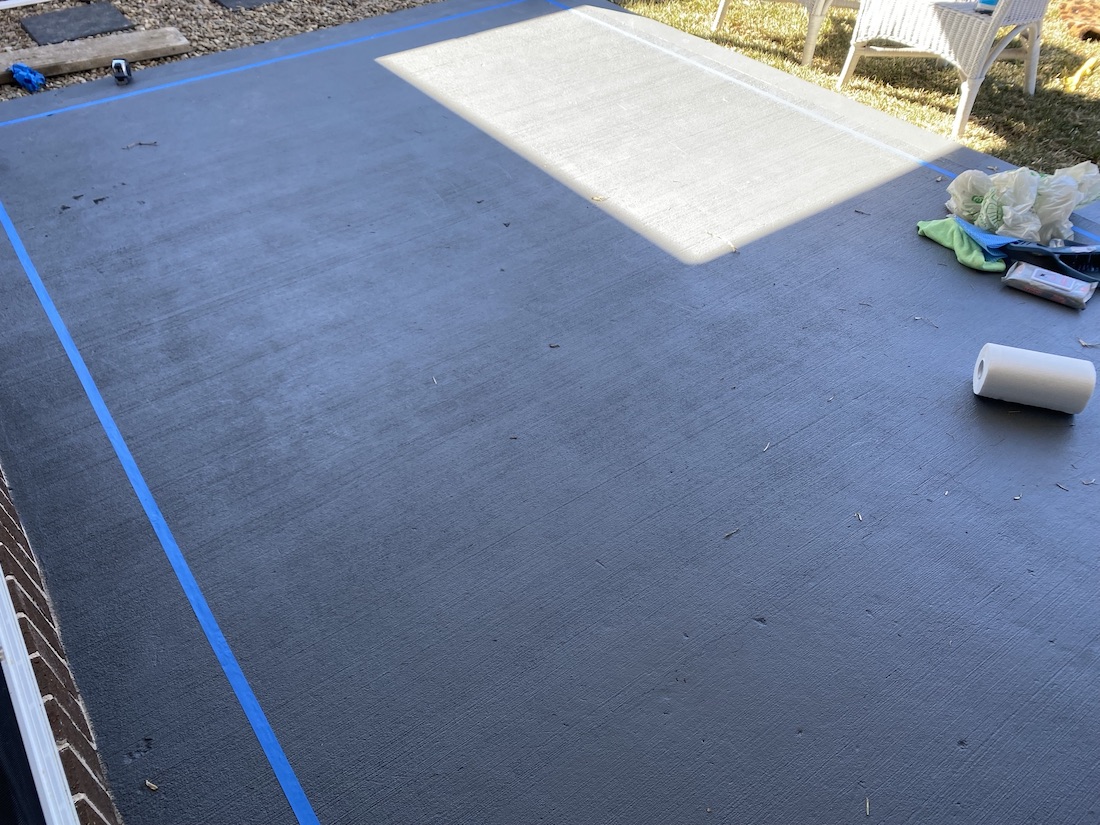
Step 3
Using masking tape, mark where you want the stencils to go.
“If I were to do it again, I would mark down exactly where I wanted each stencil line to start on the edge lines of masking tape that I had put down. I didn’t think about doing this until after I finished but it would have made it so much faster.”
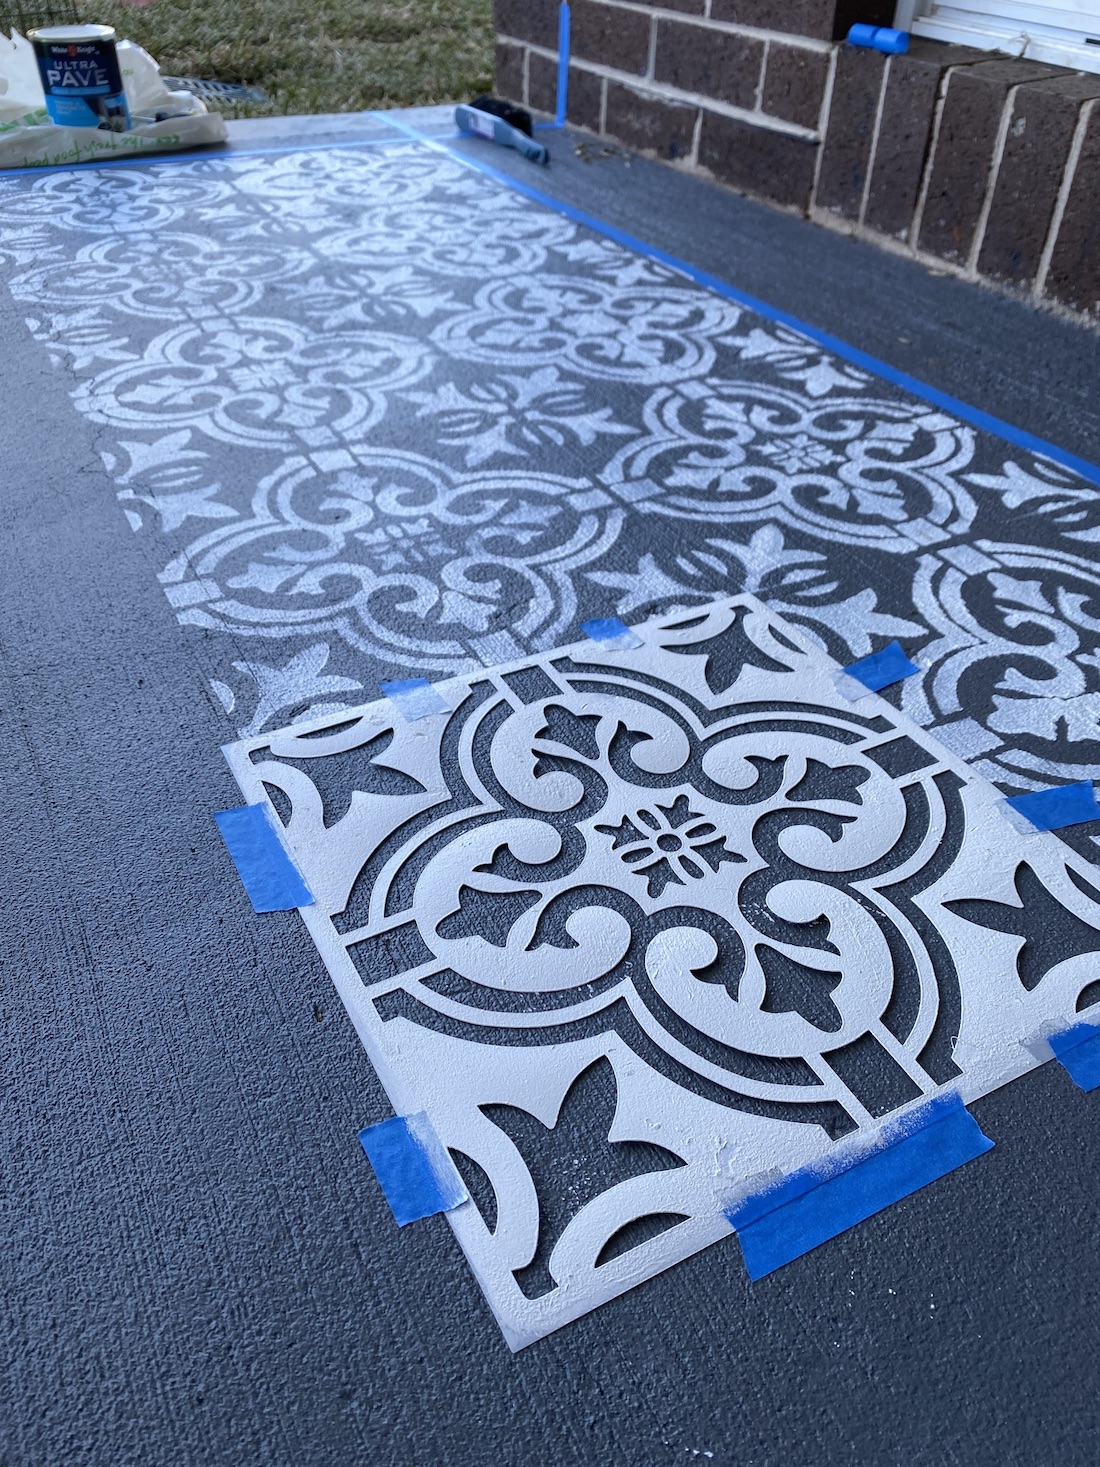
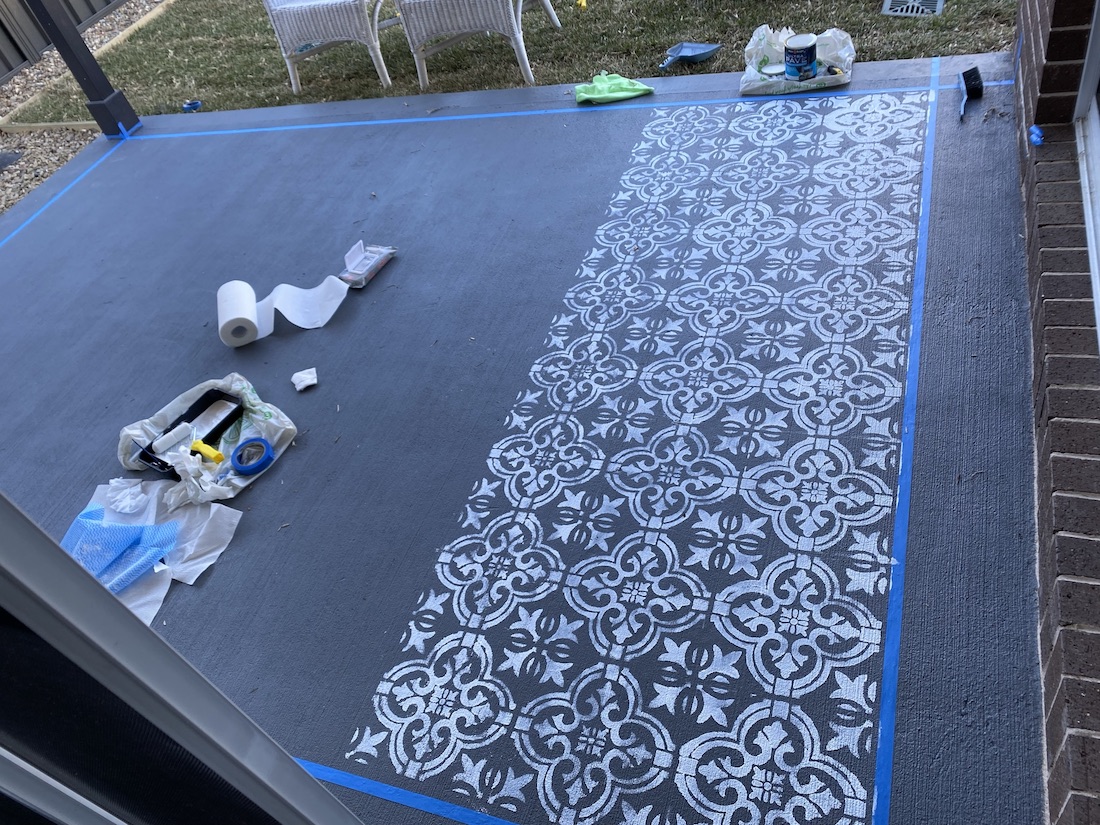
Step 4
Start applying the stencil paint colour in your marked areas.
“Top tip! When you apply the stencil, don’t saturate the roller with paint because it will bleed through under the stencil and leave the transfer clumpy — instead do gentle slow rolls and use a small paint brush to touch up any areas that need it.”
Step 5
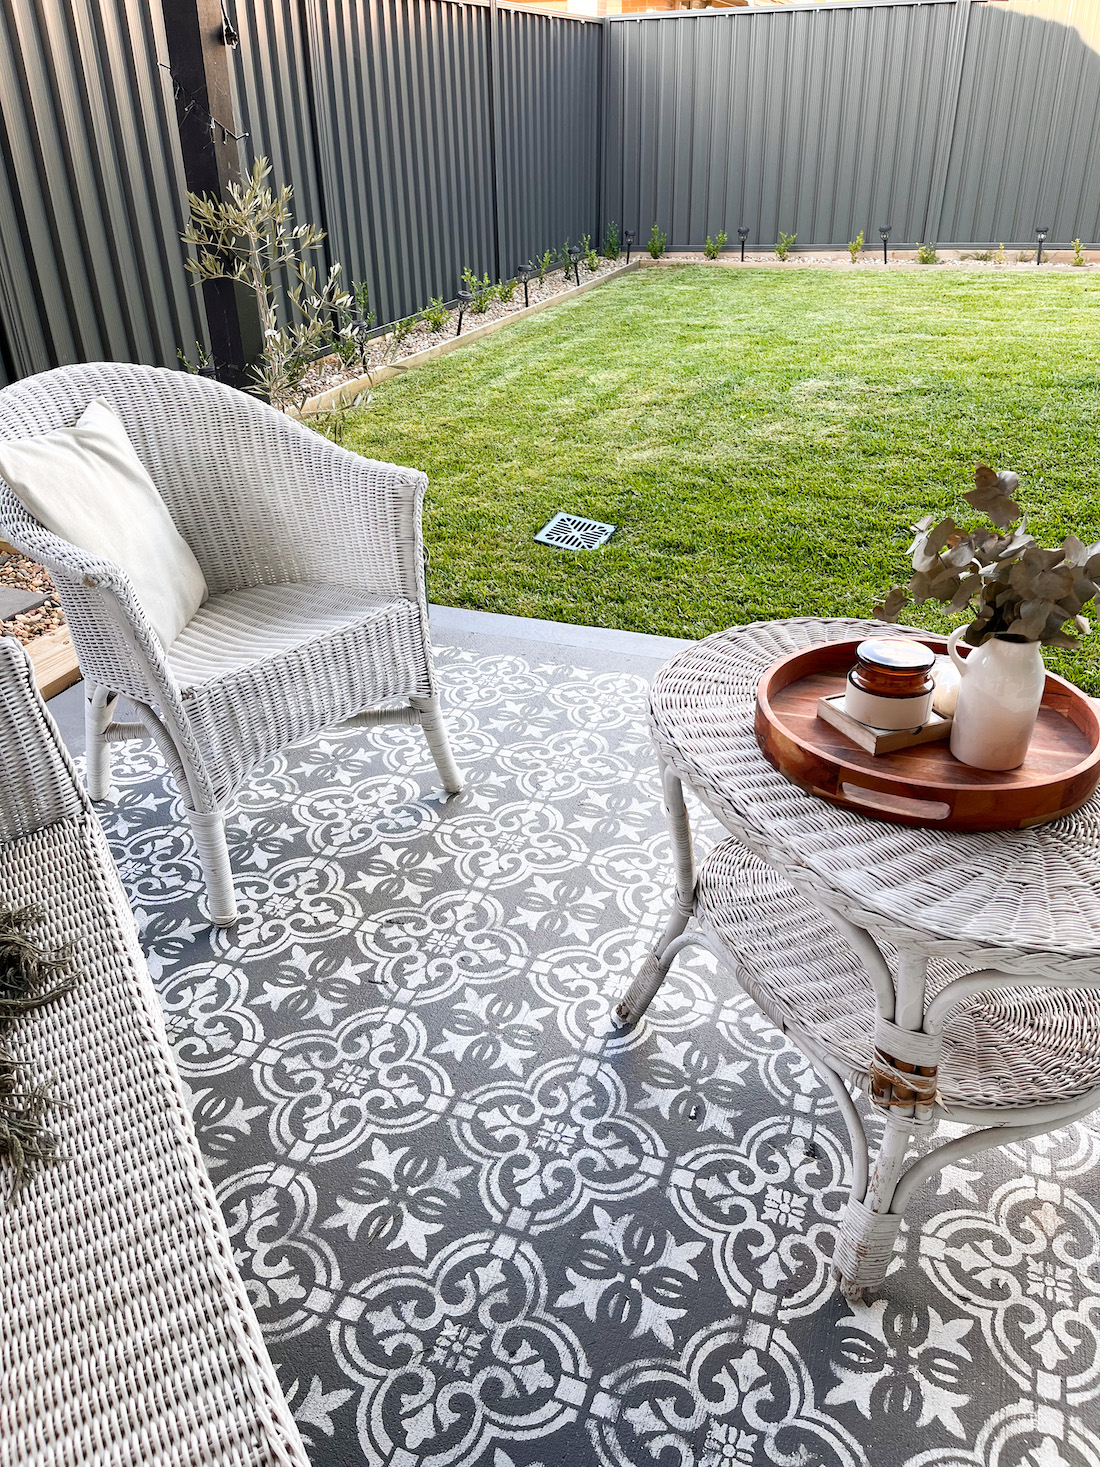
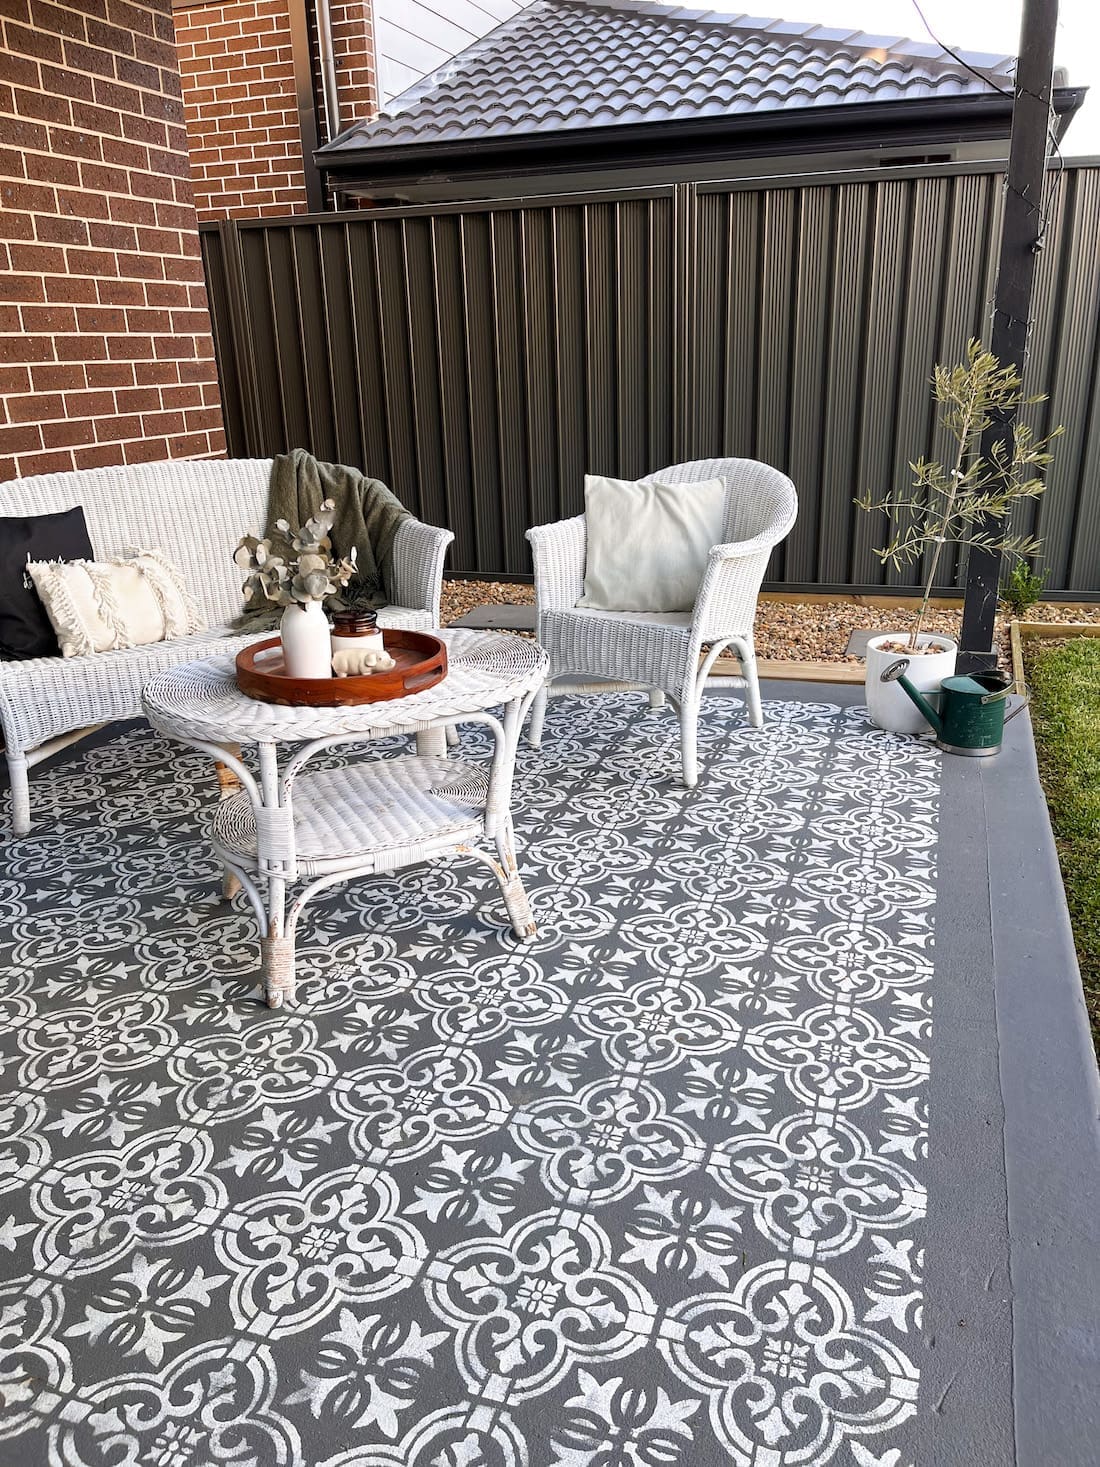
Once your painted concrete floor is dry, style your space and enjoy your gorgeous new alfresco area!
Tip: For longest lasting results, you can also apply a sealer over the paint. For example, the Crommelin 4L Natural DiamondCoat Paving And Concrete Sealer from Bunnings will make your painted cement more stain resistant while not changing the appearance.
We’d like to thank Jaimie for taking the time to share her easy budget alfresco makeover with us. Follow her on Instagram for more clever hacks and design inspo. Do you have any questions about this makeover? Have you tried something similar? Do you have a particular stencil design in mind for your alfresco area? Let us know your thoughts in the comment section below!
Find more DIYs here