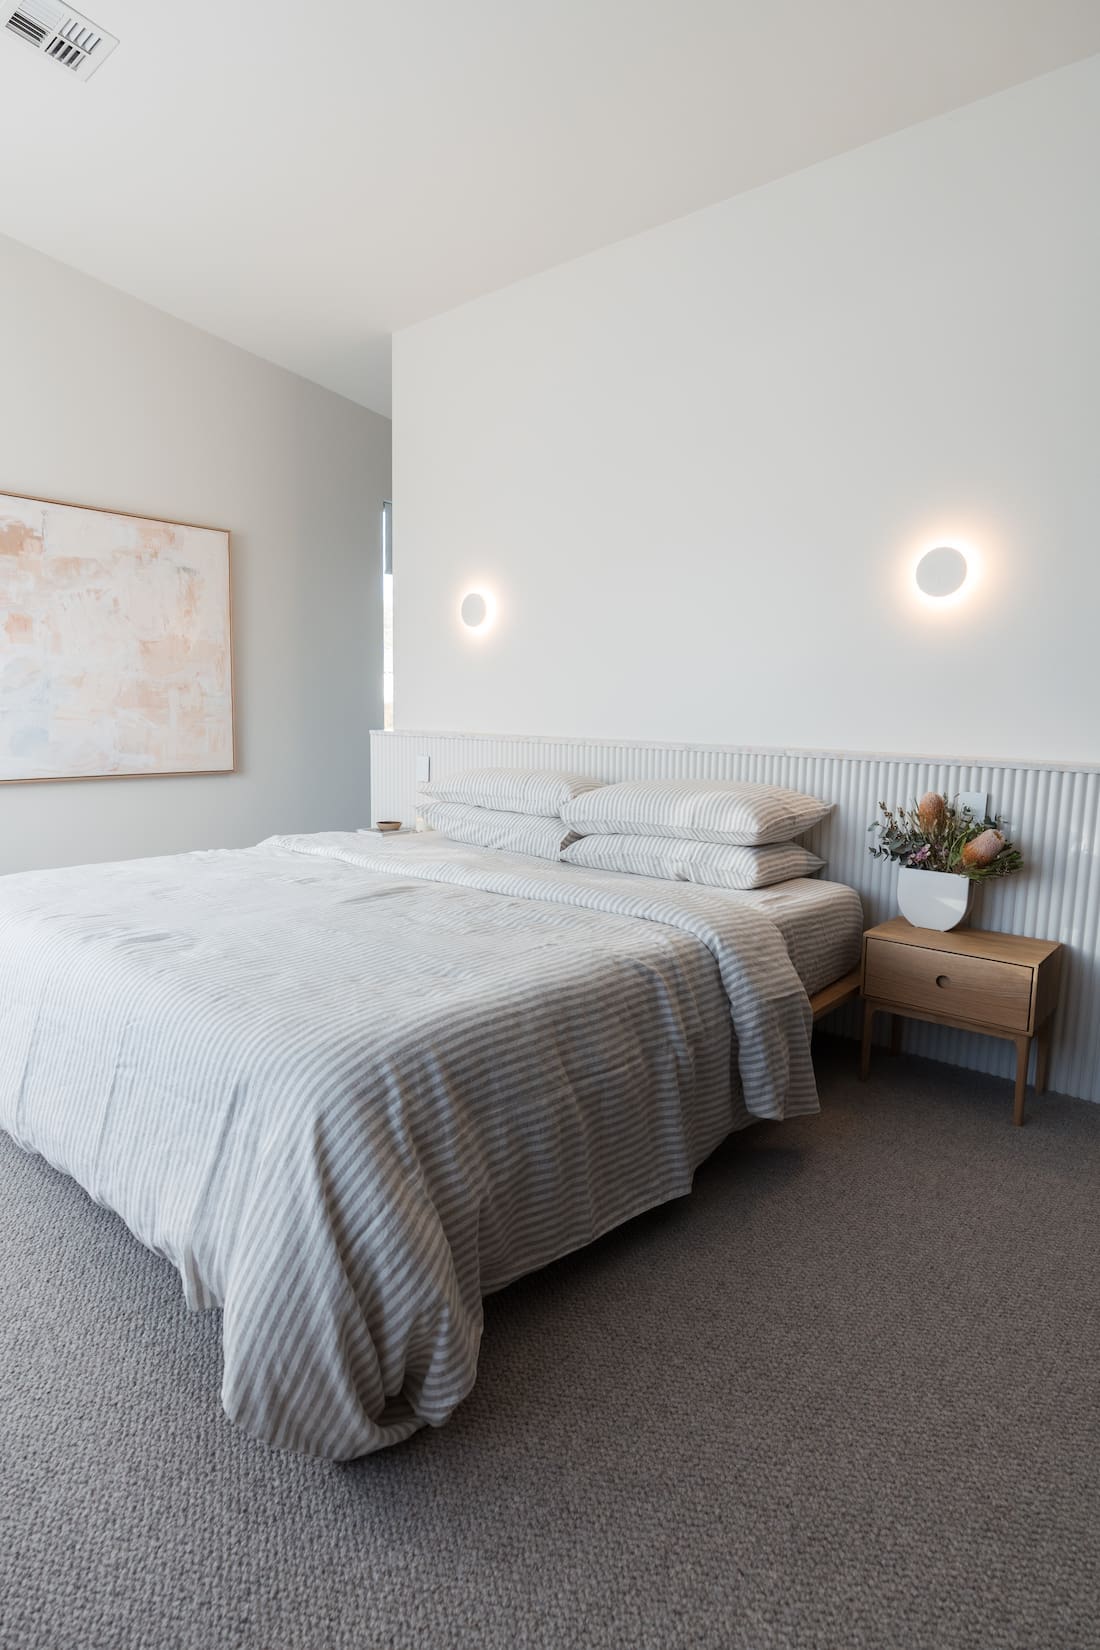
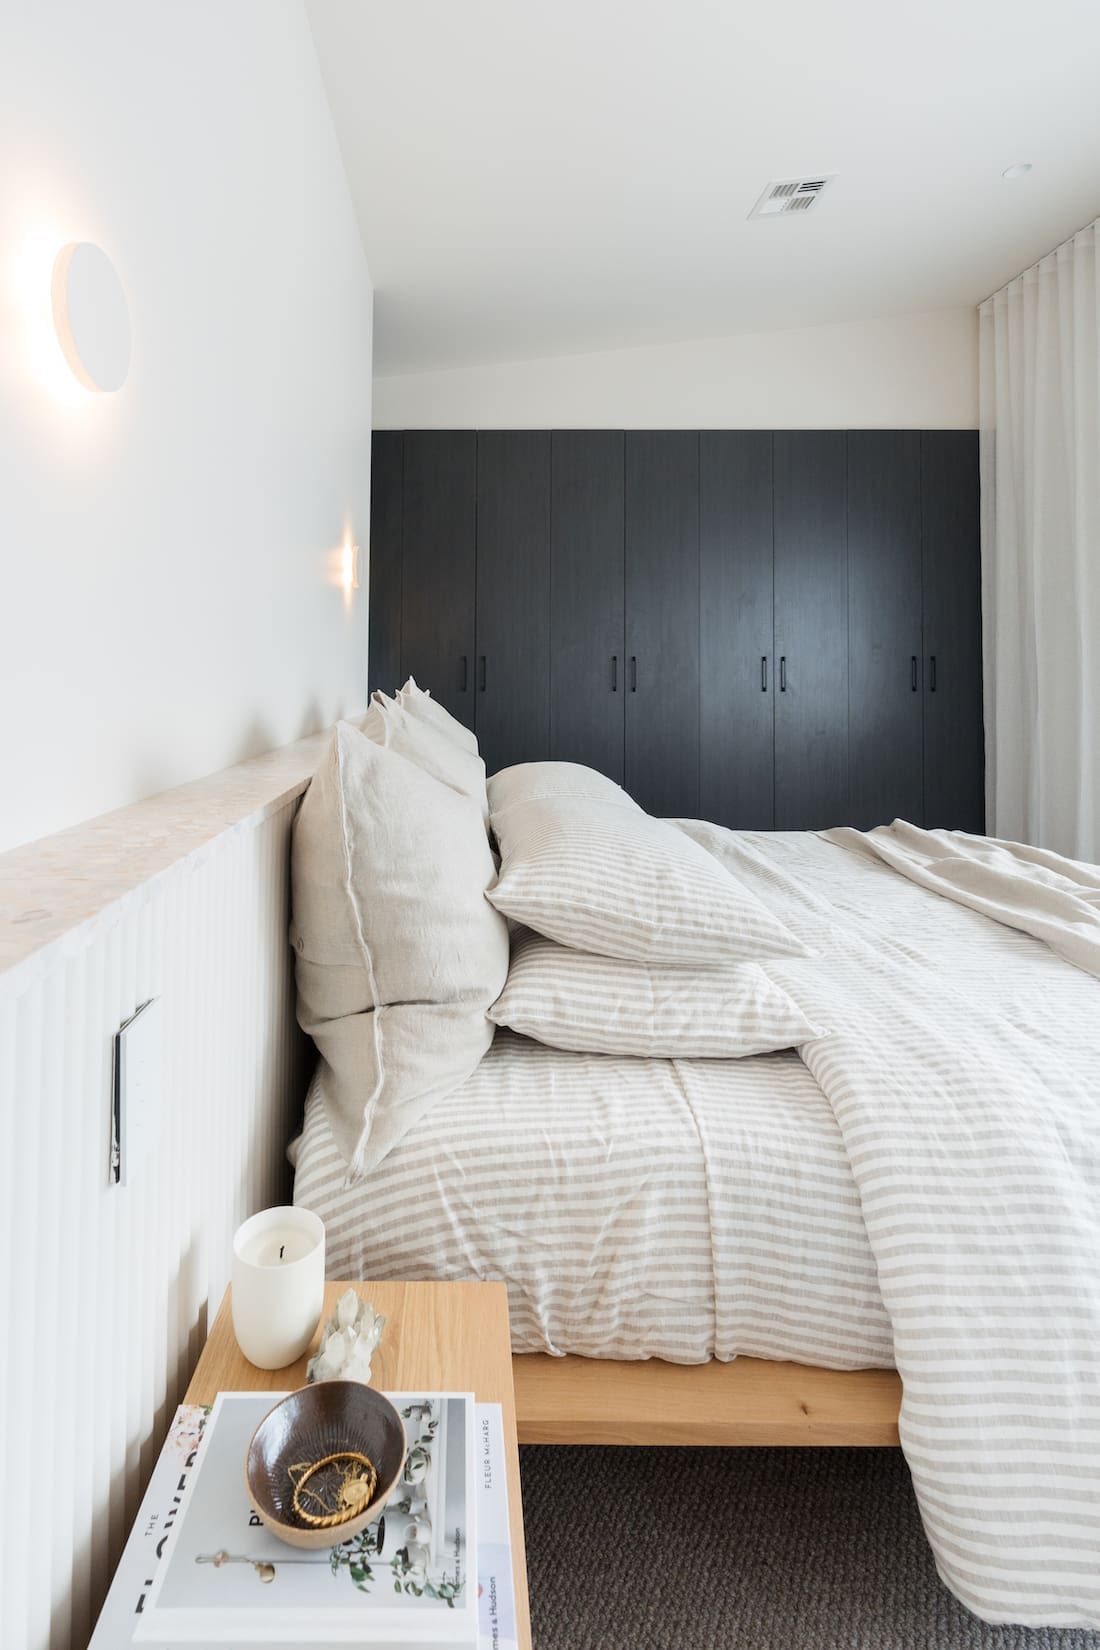
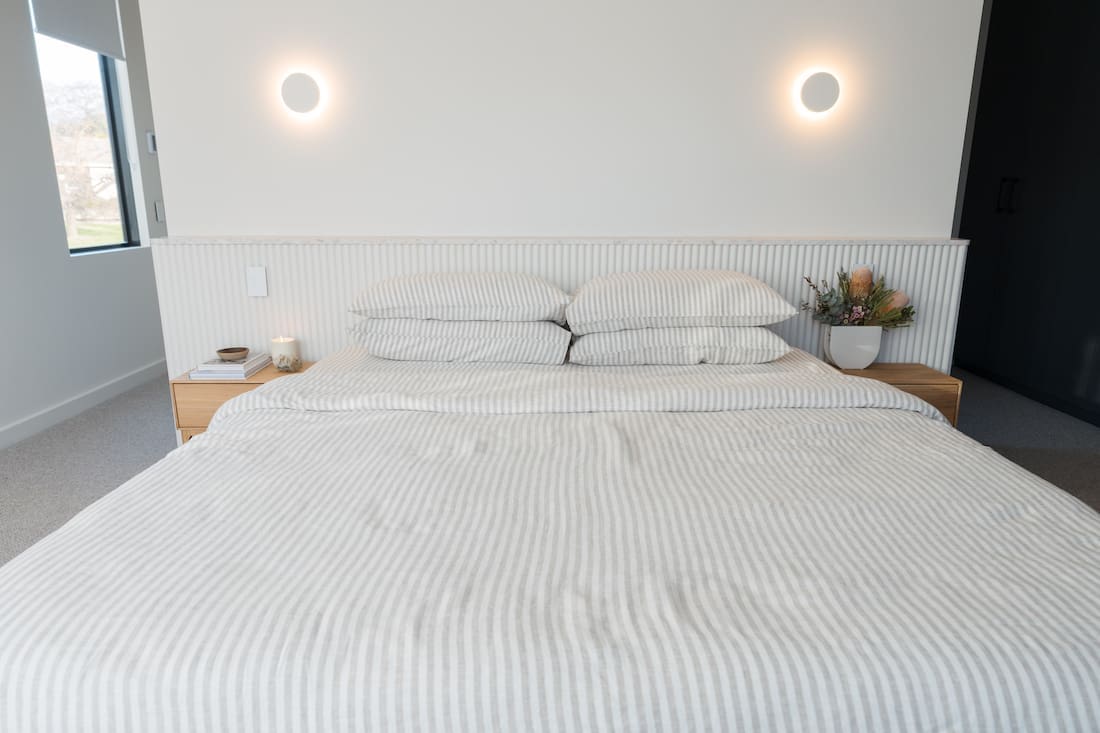
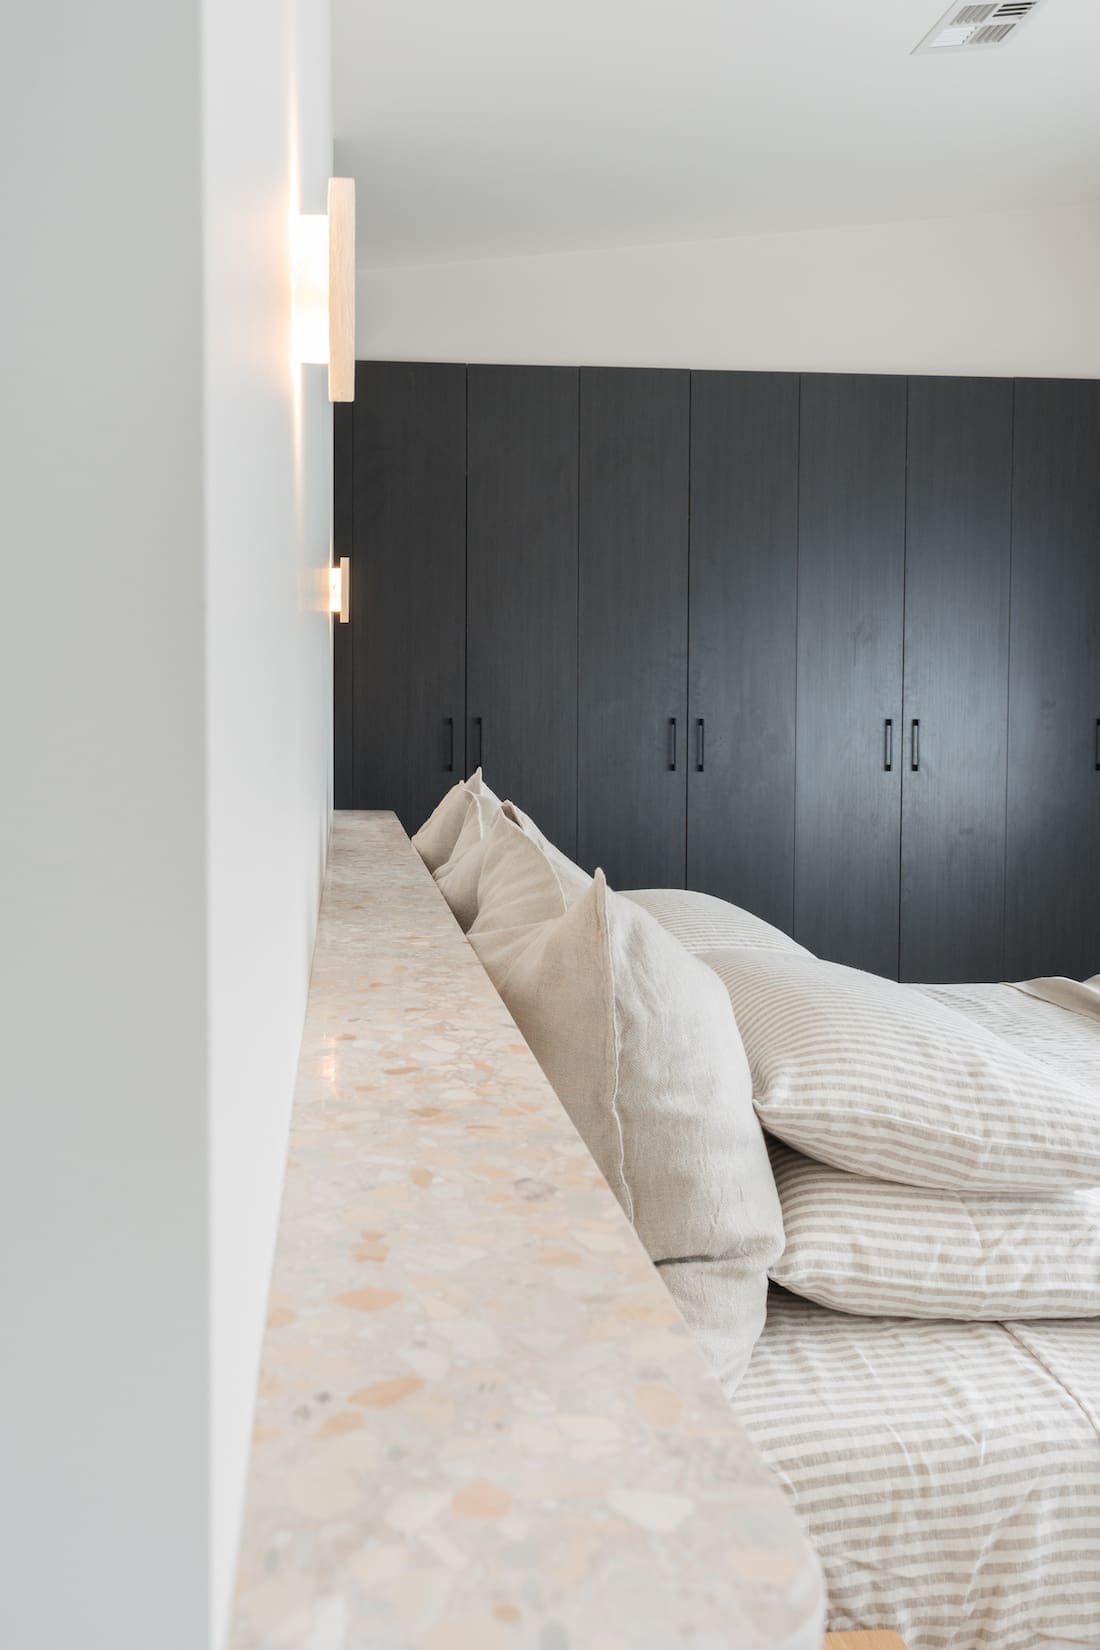
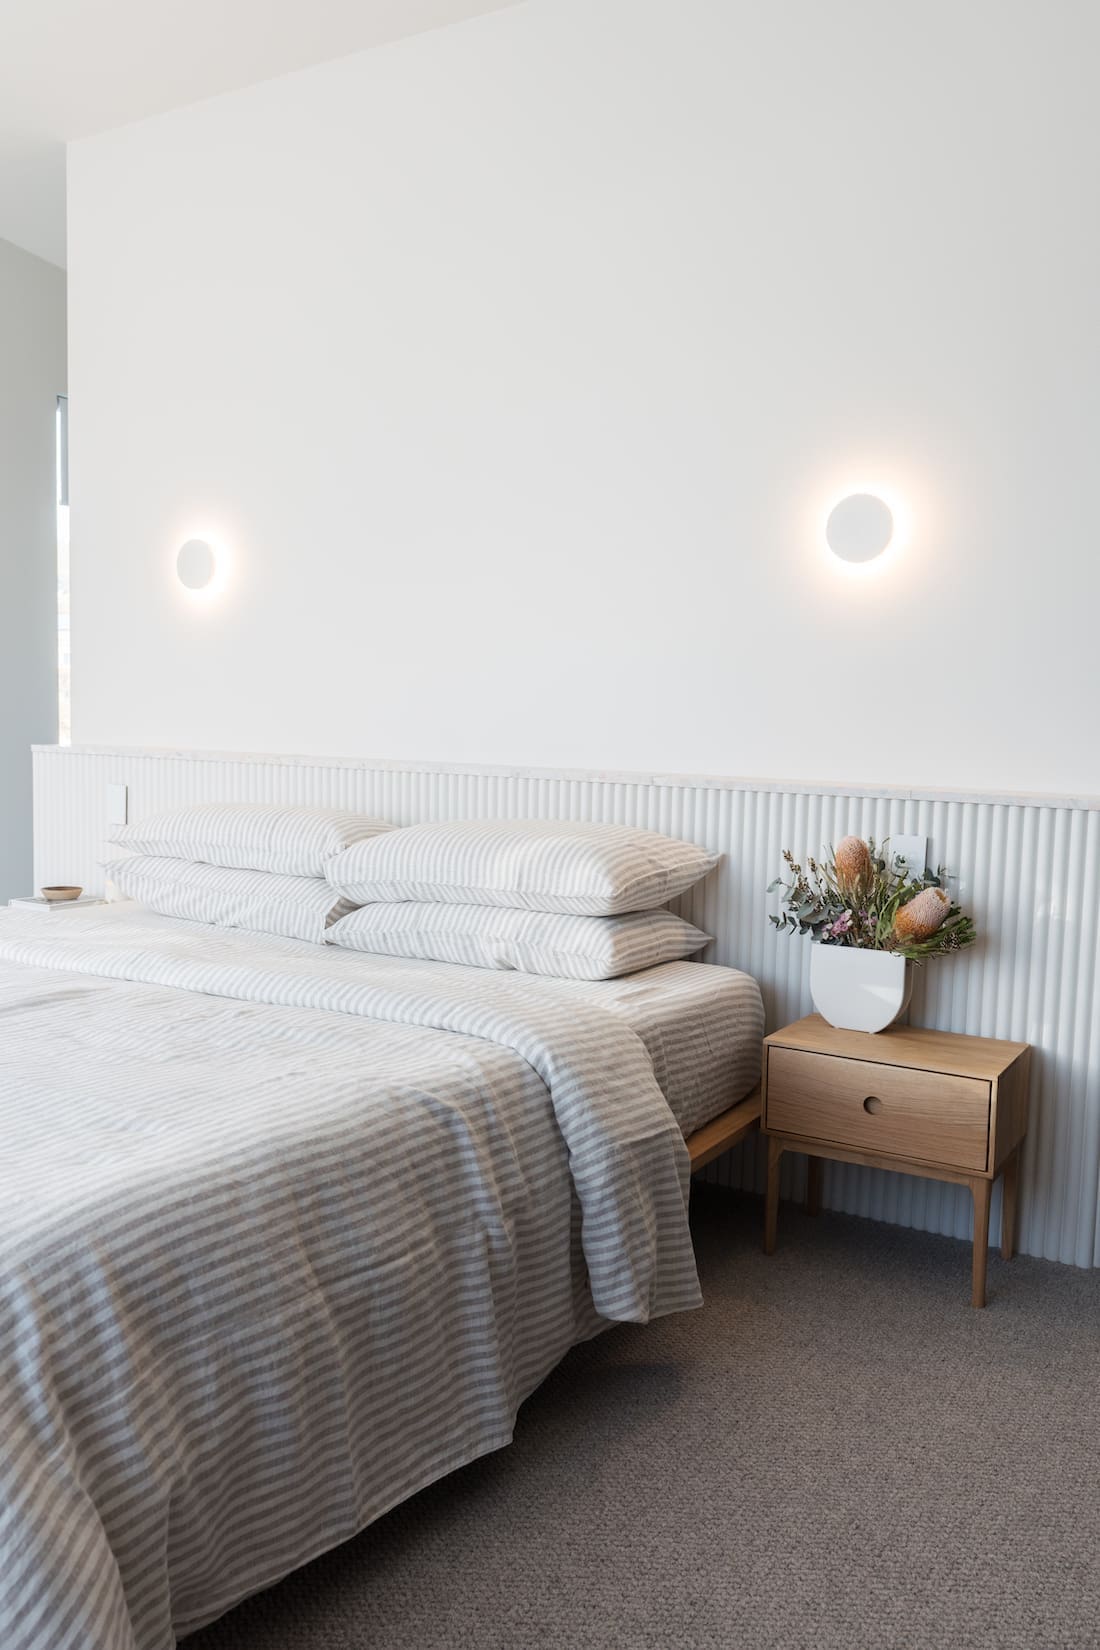
If you follow me on Instagram, this week you may have seen our master bedroom makeover. I transformed our grey (and let’s be honest, drab!) room into a modern minimalist bedroom. To give the room interest and for plenty of styling opportunities, I designed a ledge wall to run behind our bed. Like a built-in bedhead of sorts.
Determined to give this project a go myself, I pulled out the power tools and got my DIY on… Although full disclaimer, I had ZERO idea what I was doing and my technique is definitely not best practice. But it worked. And I love it. So I’m sharing how I built a ledge wall in our bedroom in case any of you feel inspired to create something similar.
Related article: Gina’s bathroom renovation reveal: Take a peek around my new bathroom
Related article: Gina’s alfresco makeover: Taking my front balcony from drab to fab!
Items you will need:
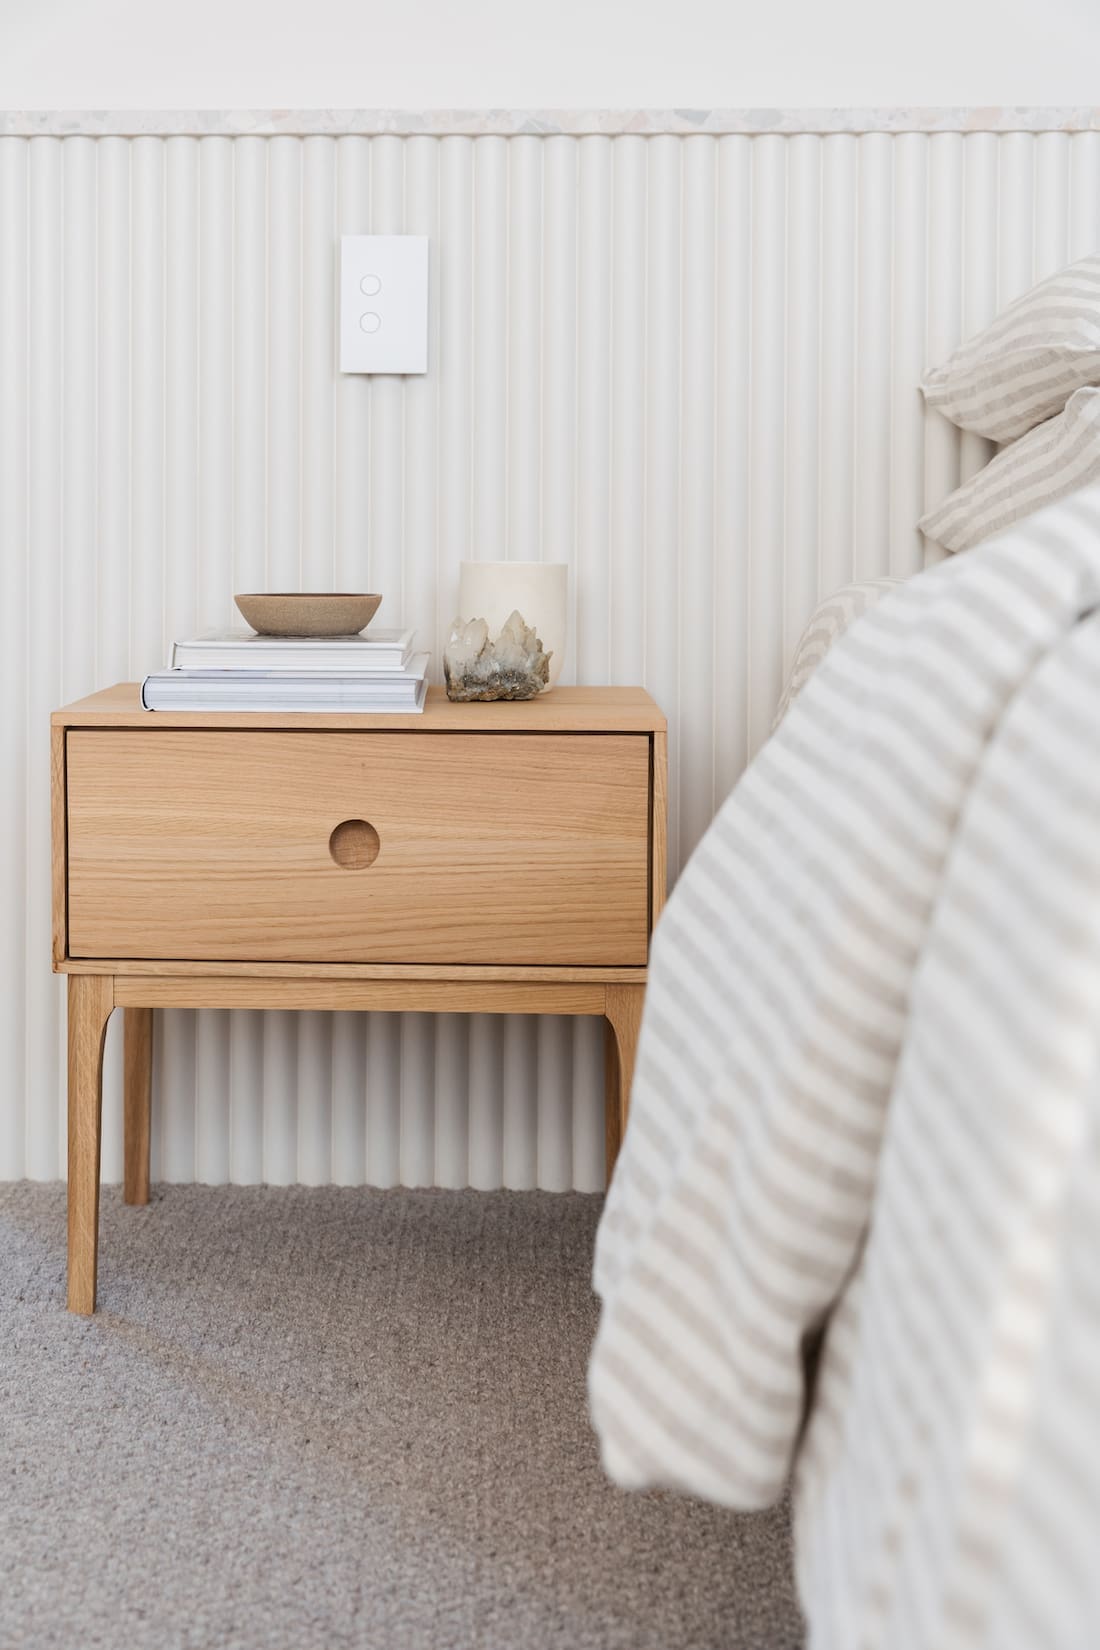
- Convex wall panels (I bought 3 pieces of 900mm x 1200mm Easycraft ‘Convex 30’ from Bunnings)
- Framing timber (can be bought in varying lengths from Bunnings in the timber yard)
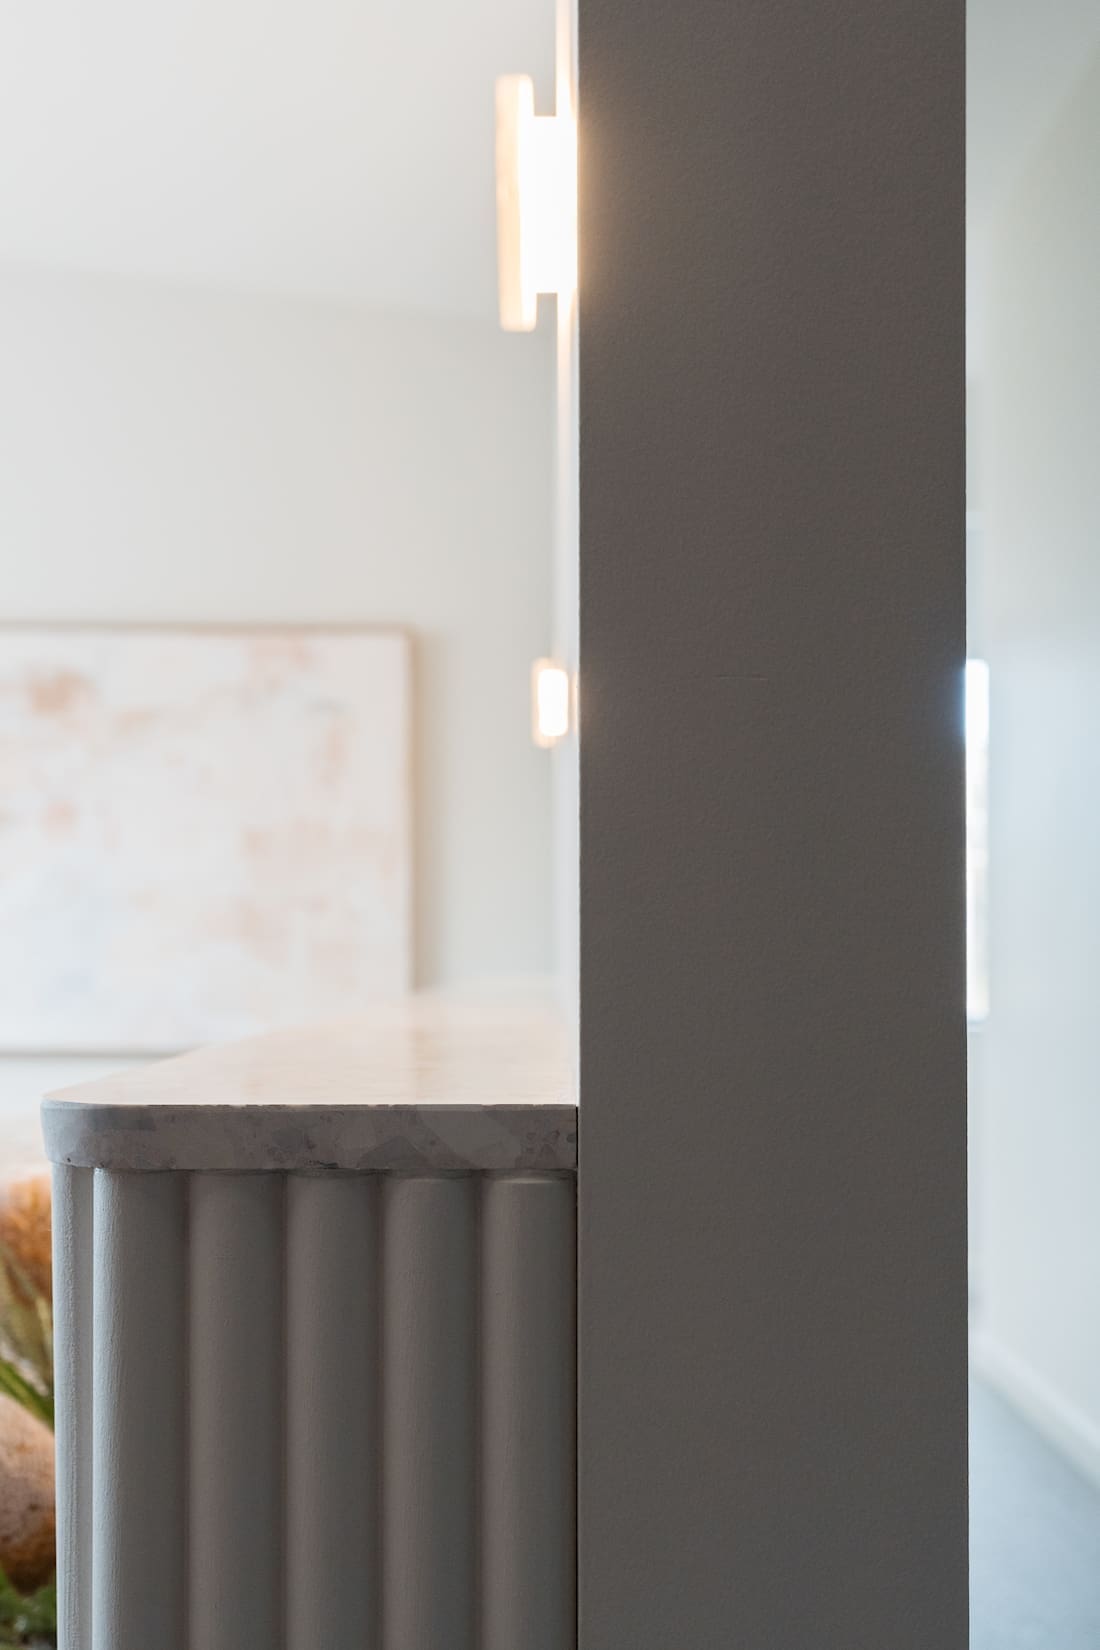
- Terrazzo tiles (this one is from Vulcano Design)
- Drill (it helps to have two drills so you can use one to drill pilot holes and one to screw)
- Screws
- TRex or super strong timber glue
- Paint (this colour is ‘Organic 2’ by Haymes)
- Paint brush
- Silicone (‘Titanium’ colour by Soudal)
- Gap filler
Steps:
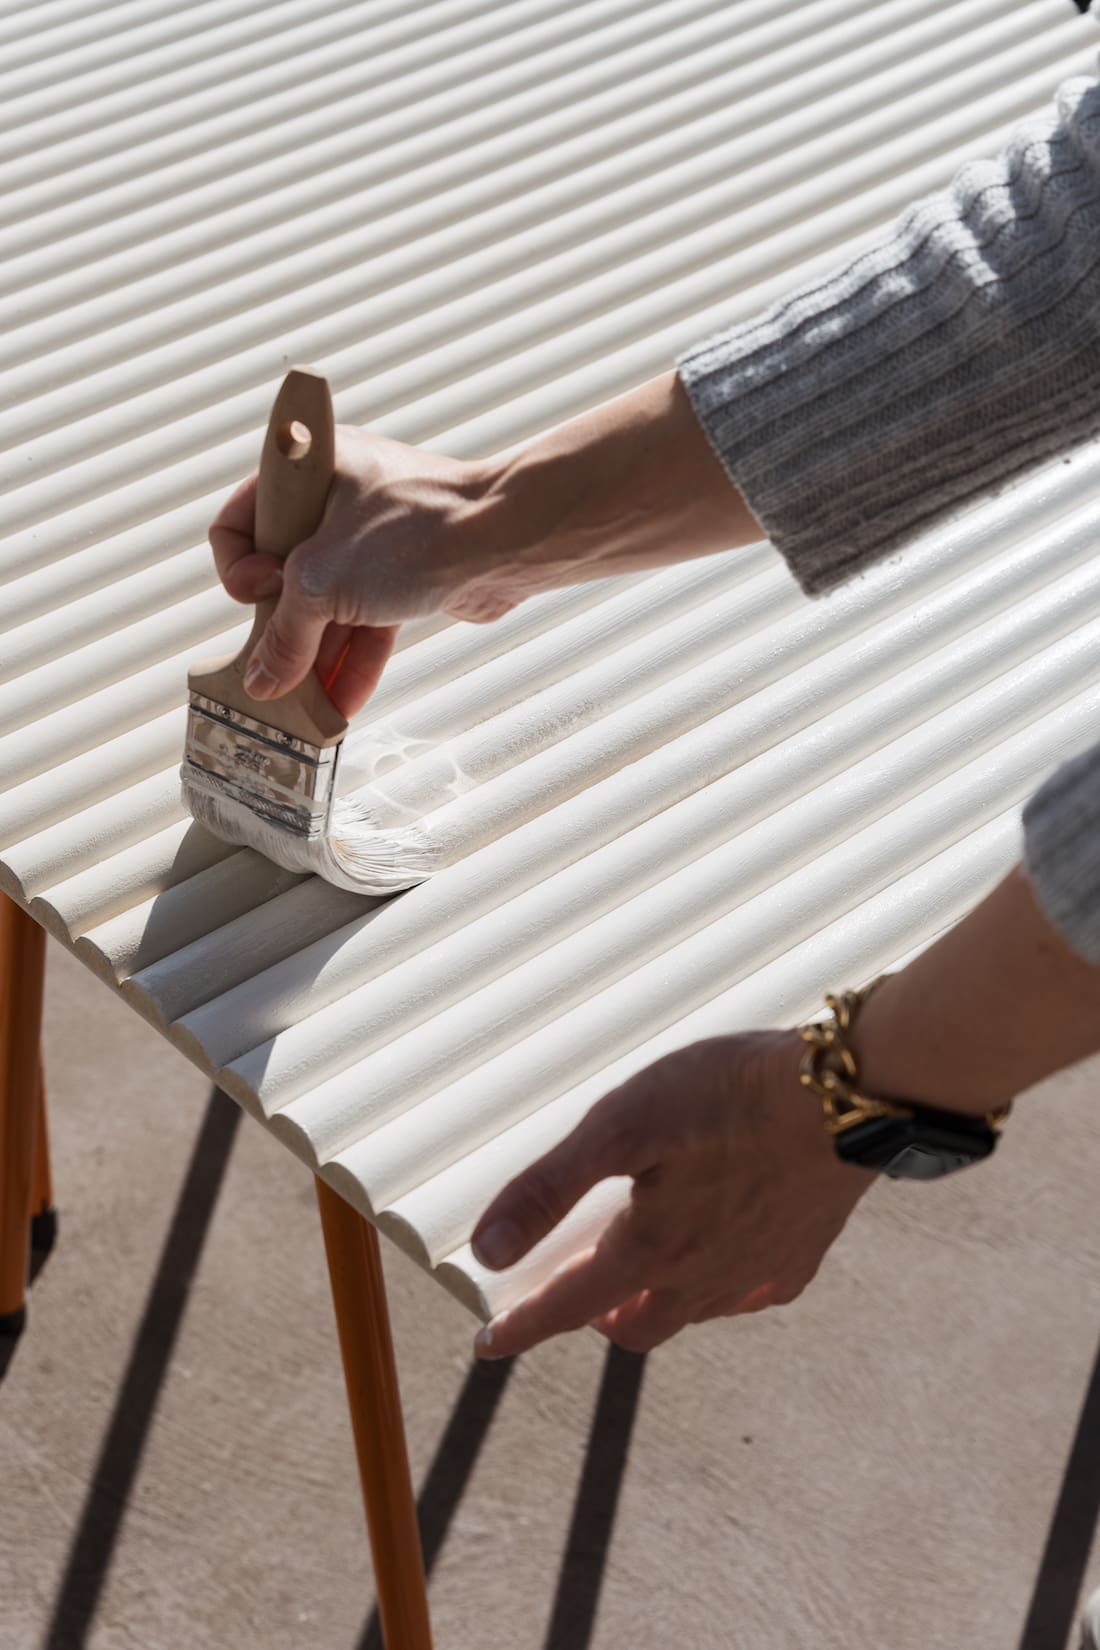
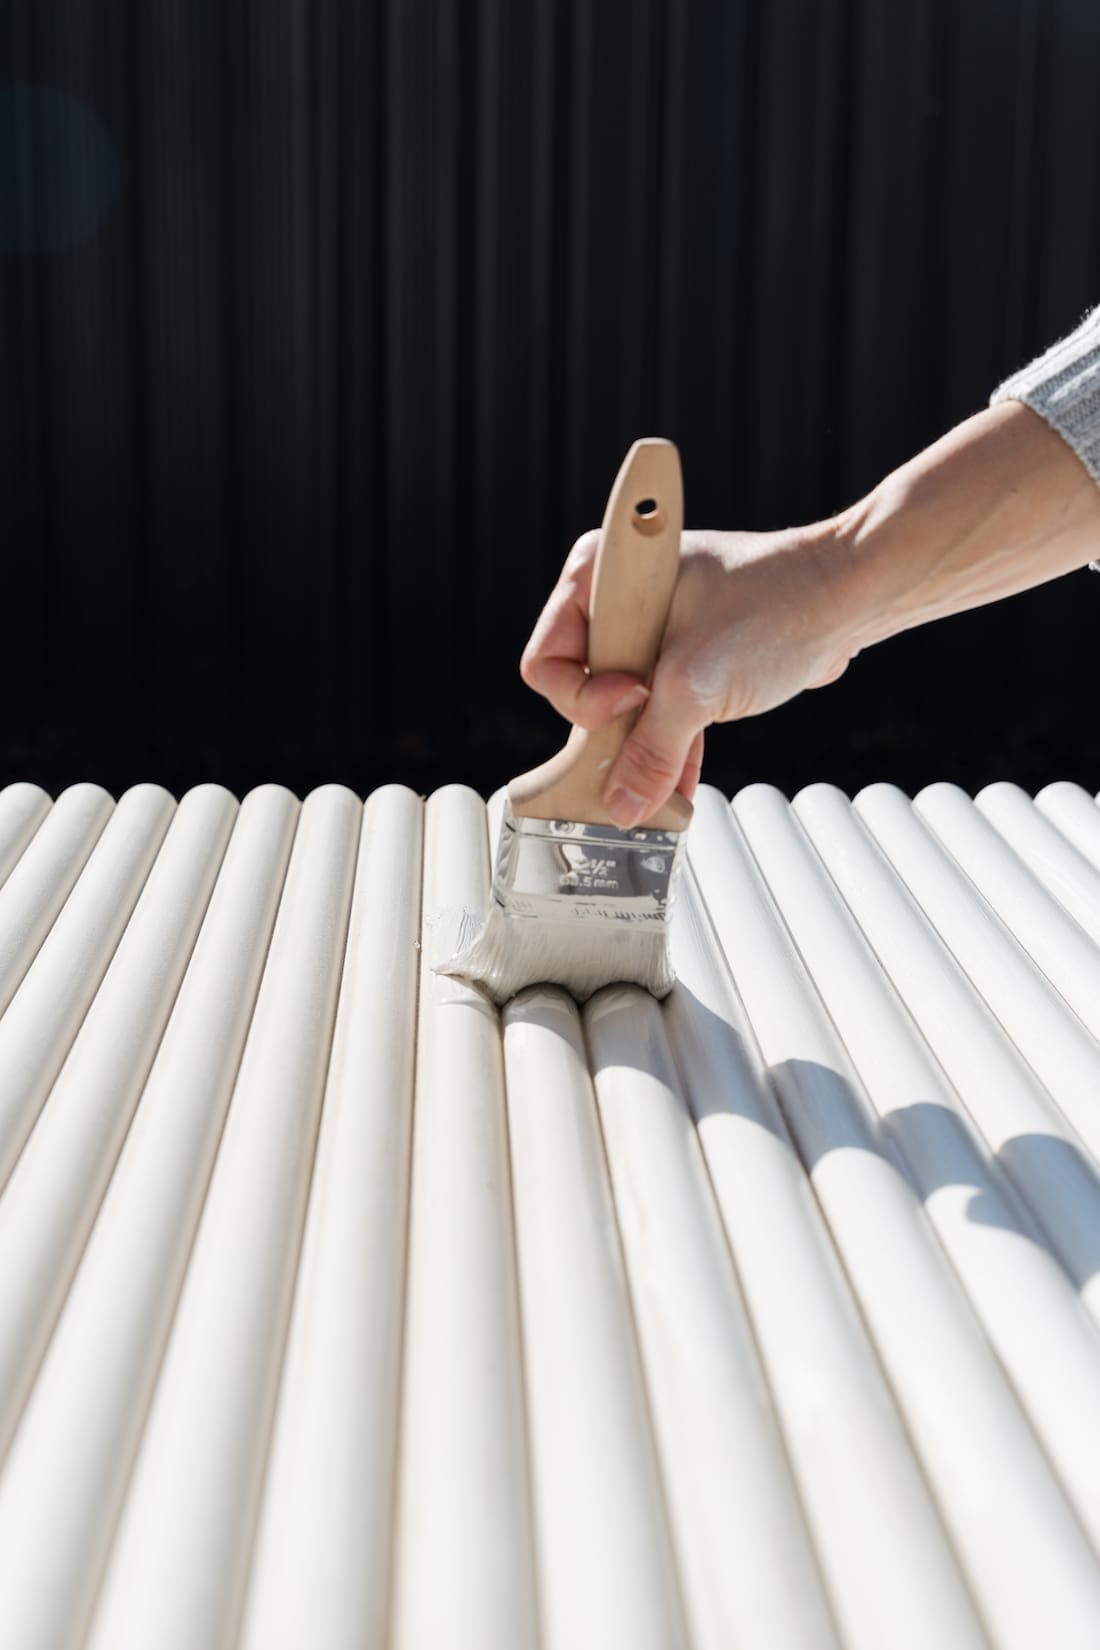
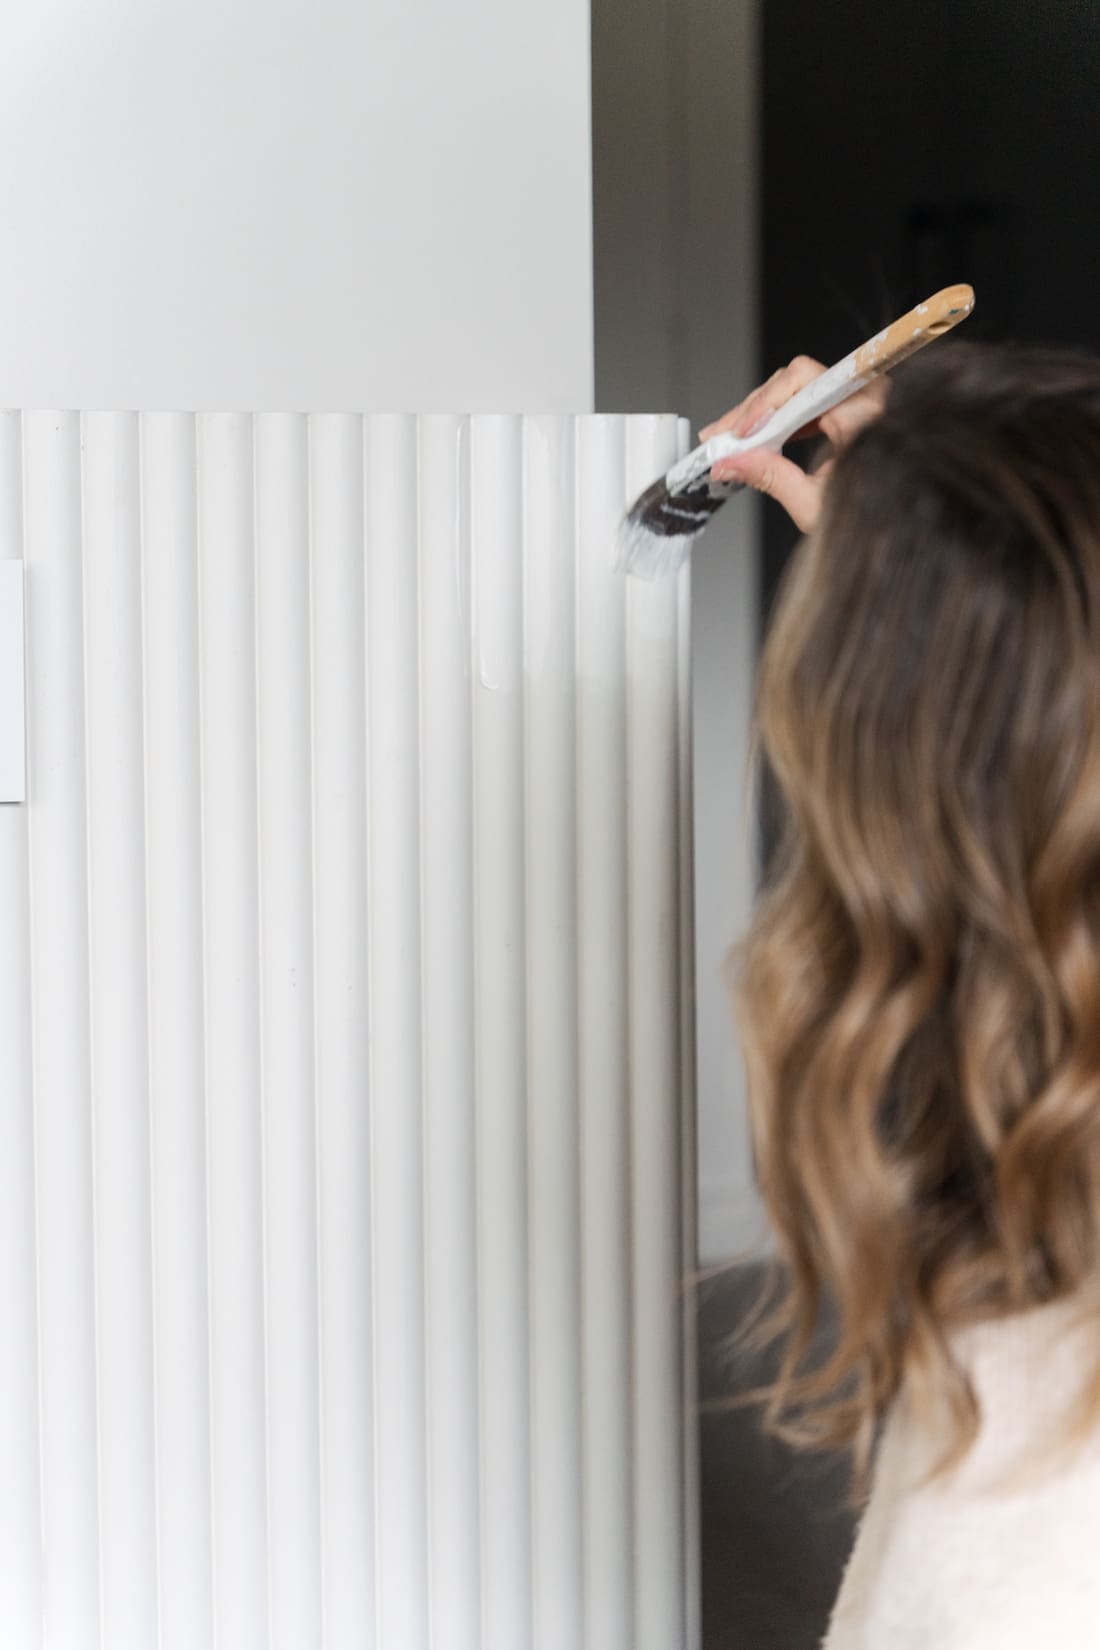
1. Start by painting all of the decorative MDF Convex wall panels with undercoat.
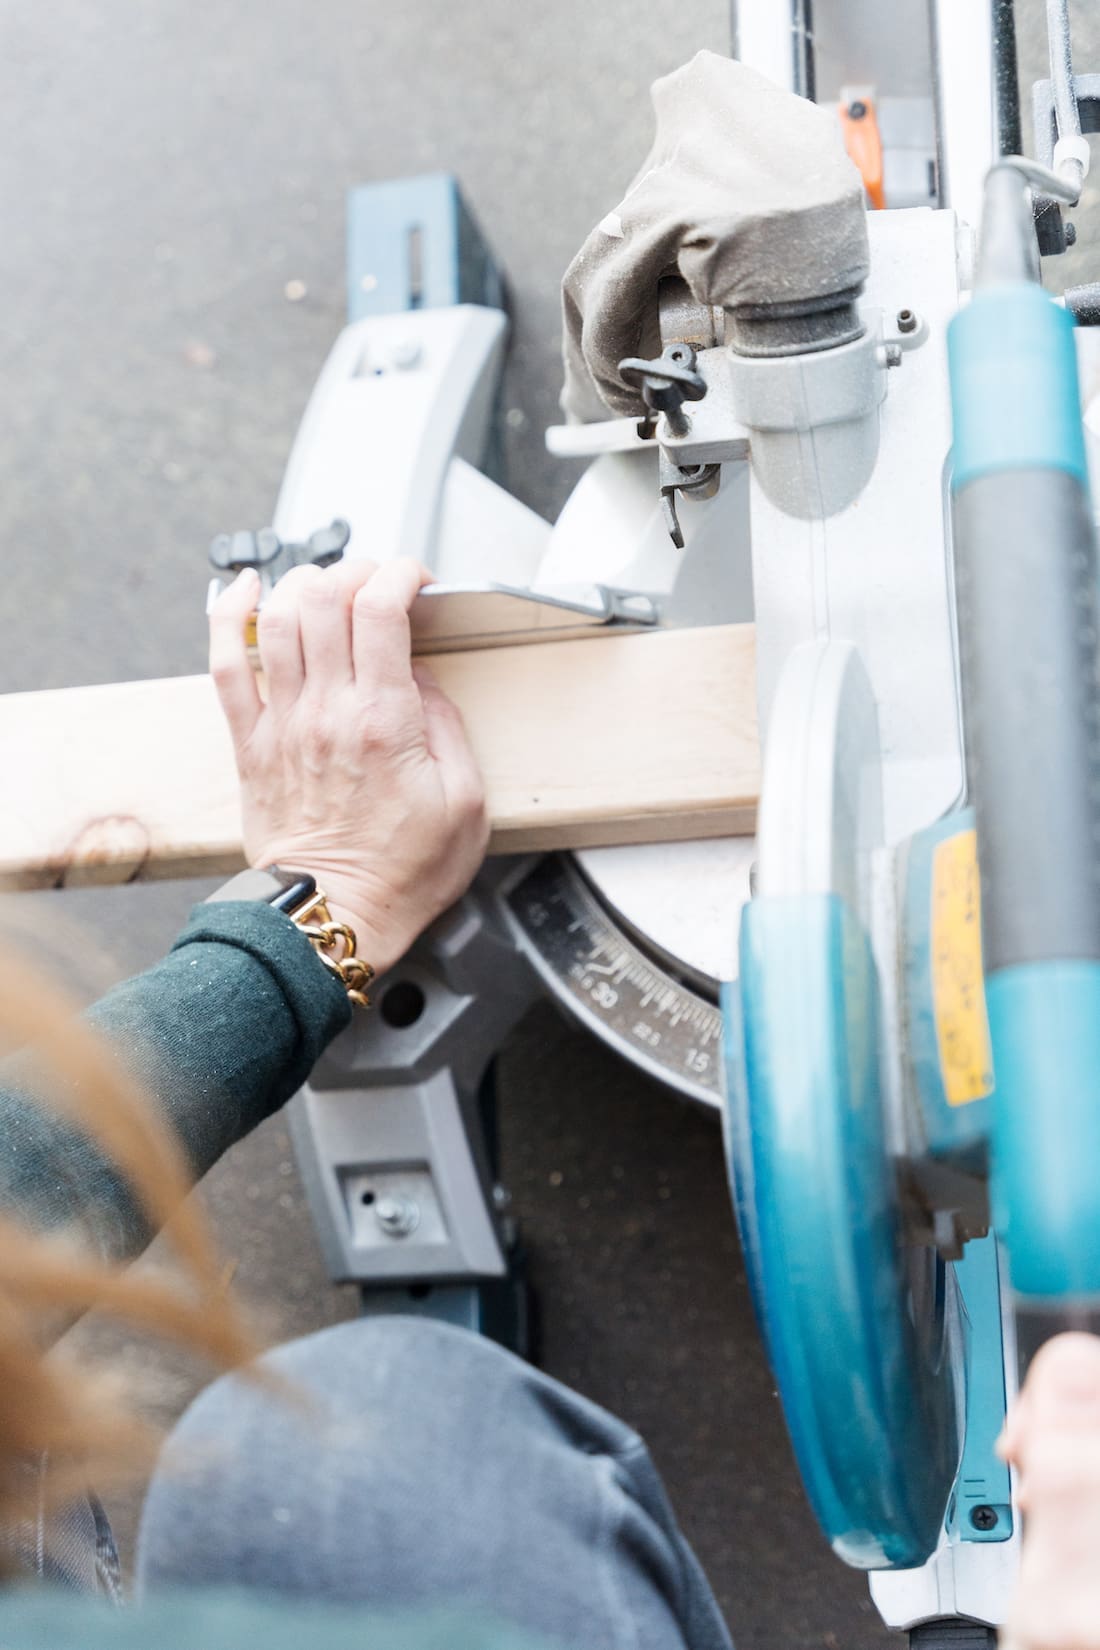
2. Once dry, I began work on the timber frame. This is where I was majorly winging things. In hindsight I probably should have watched a few YouTube videos on how to build a timber frame but I figured it would all work out.
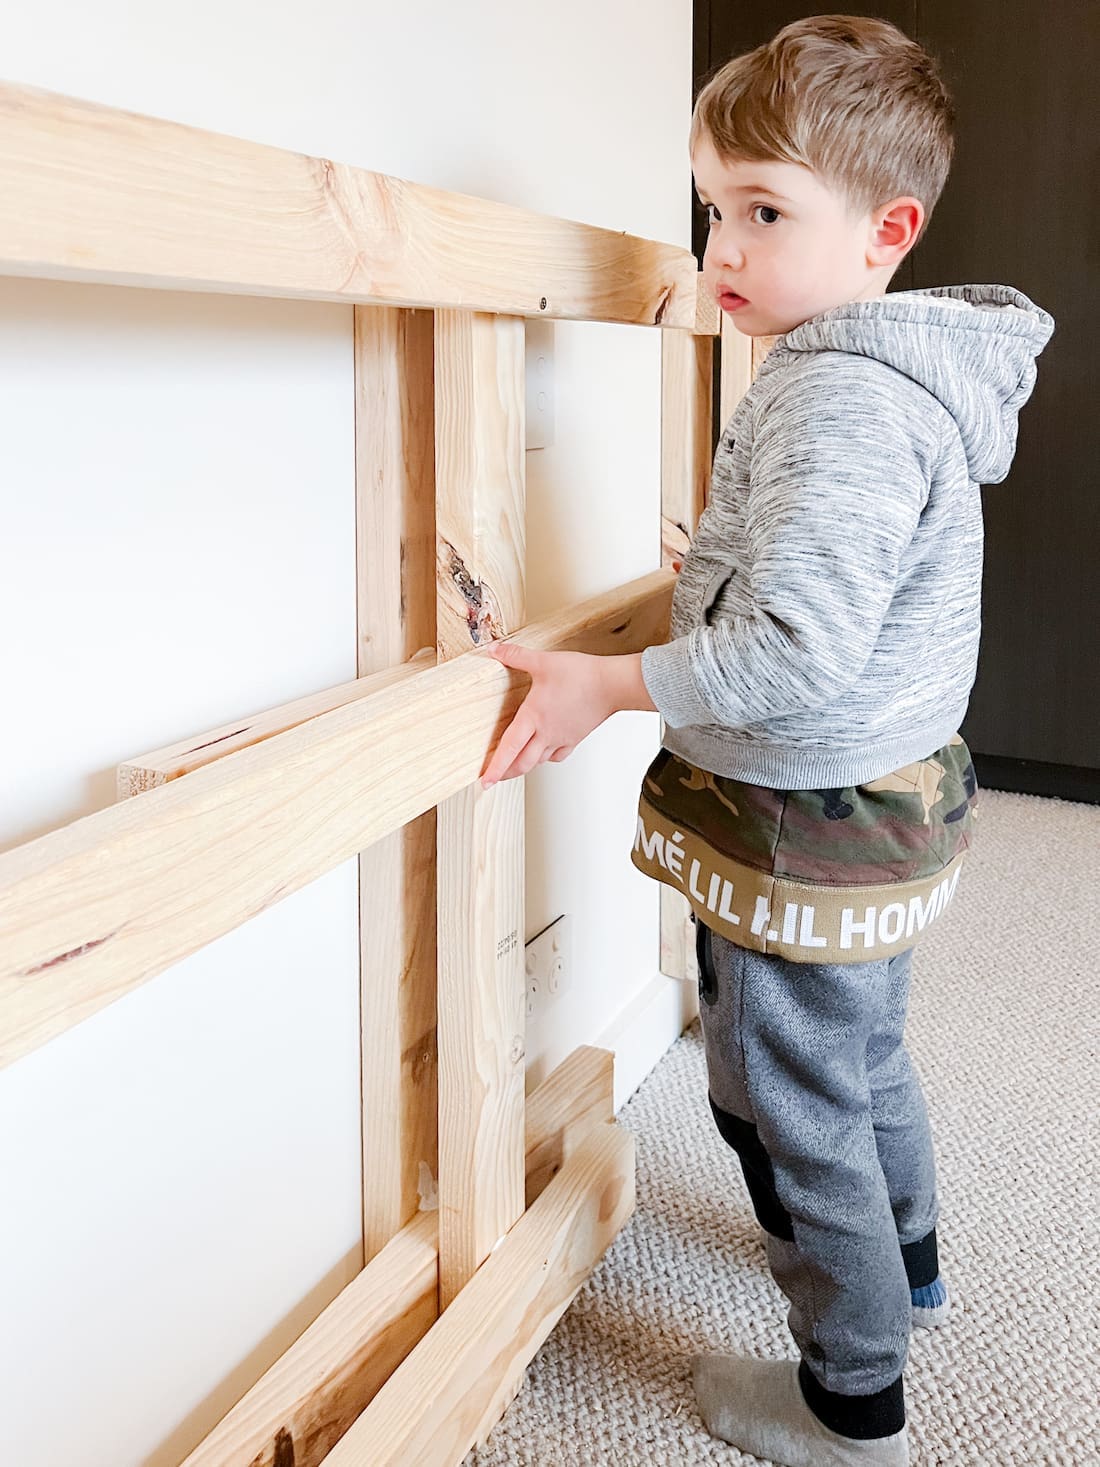
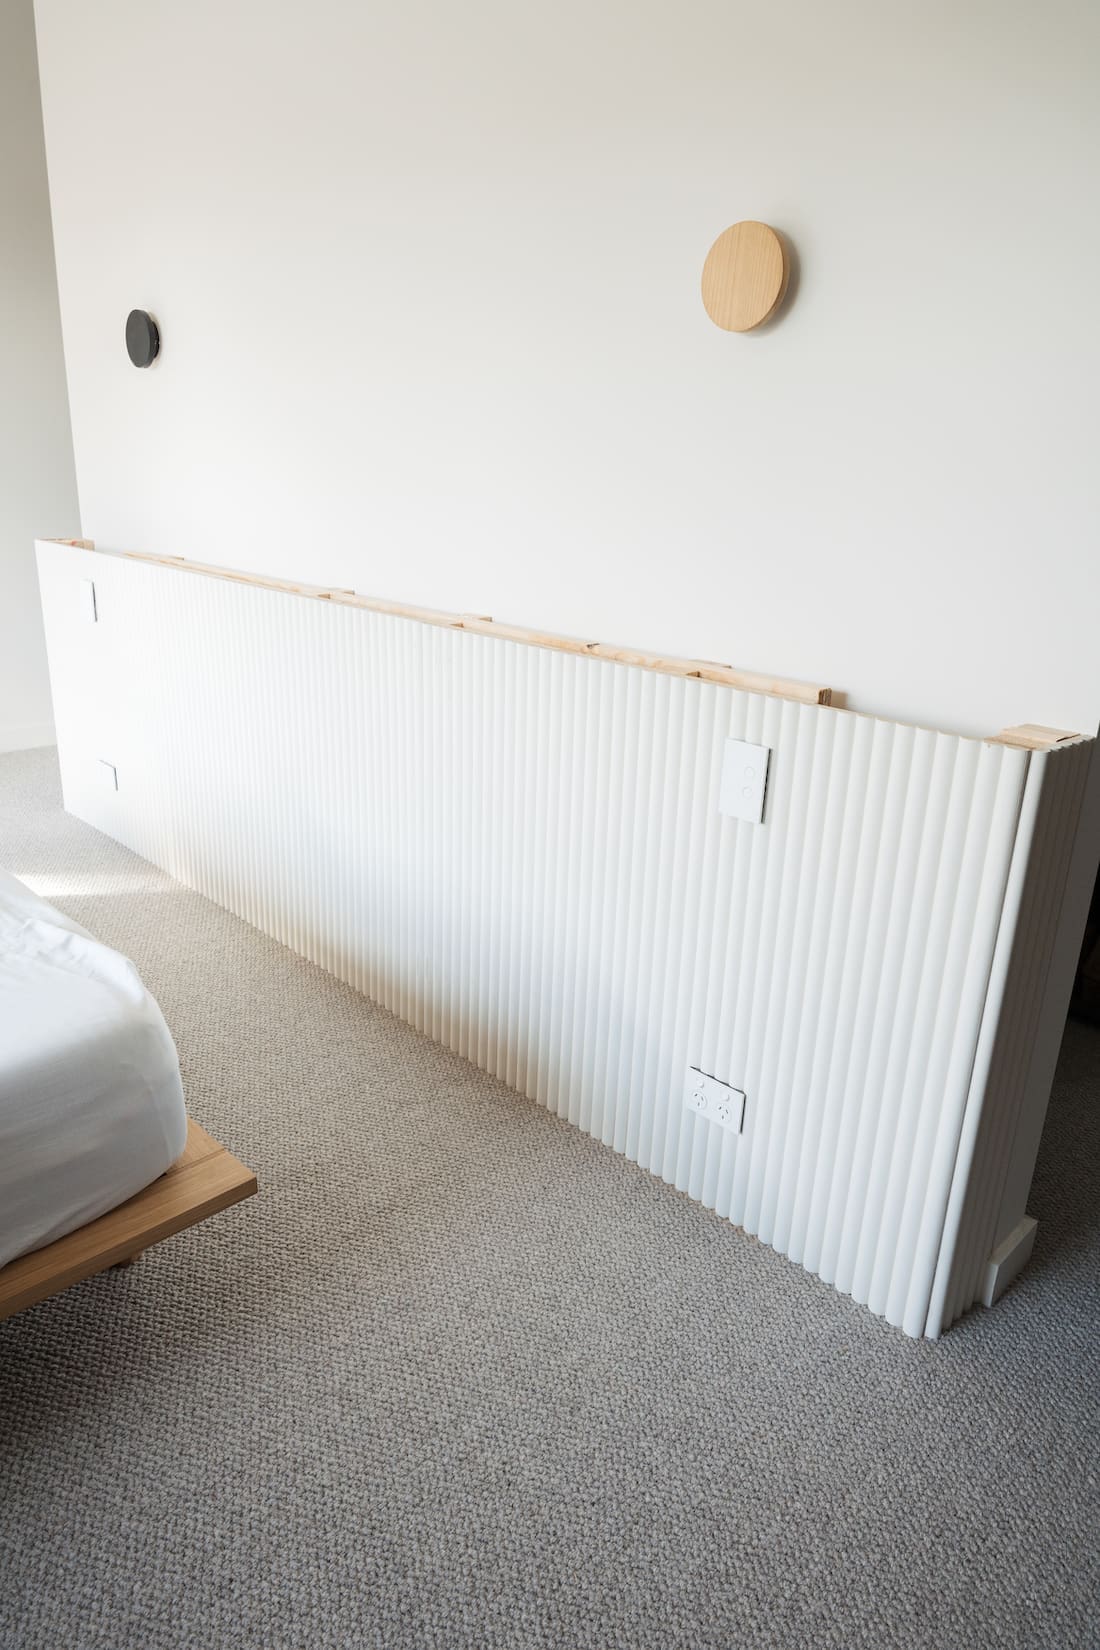
The first thing I did was cut down 6 pieces of framing timber. I wanted these to sit directly on the wall (ie above the skirting) and have a height of 900mm from the ground.
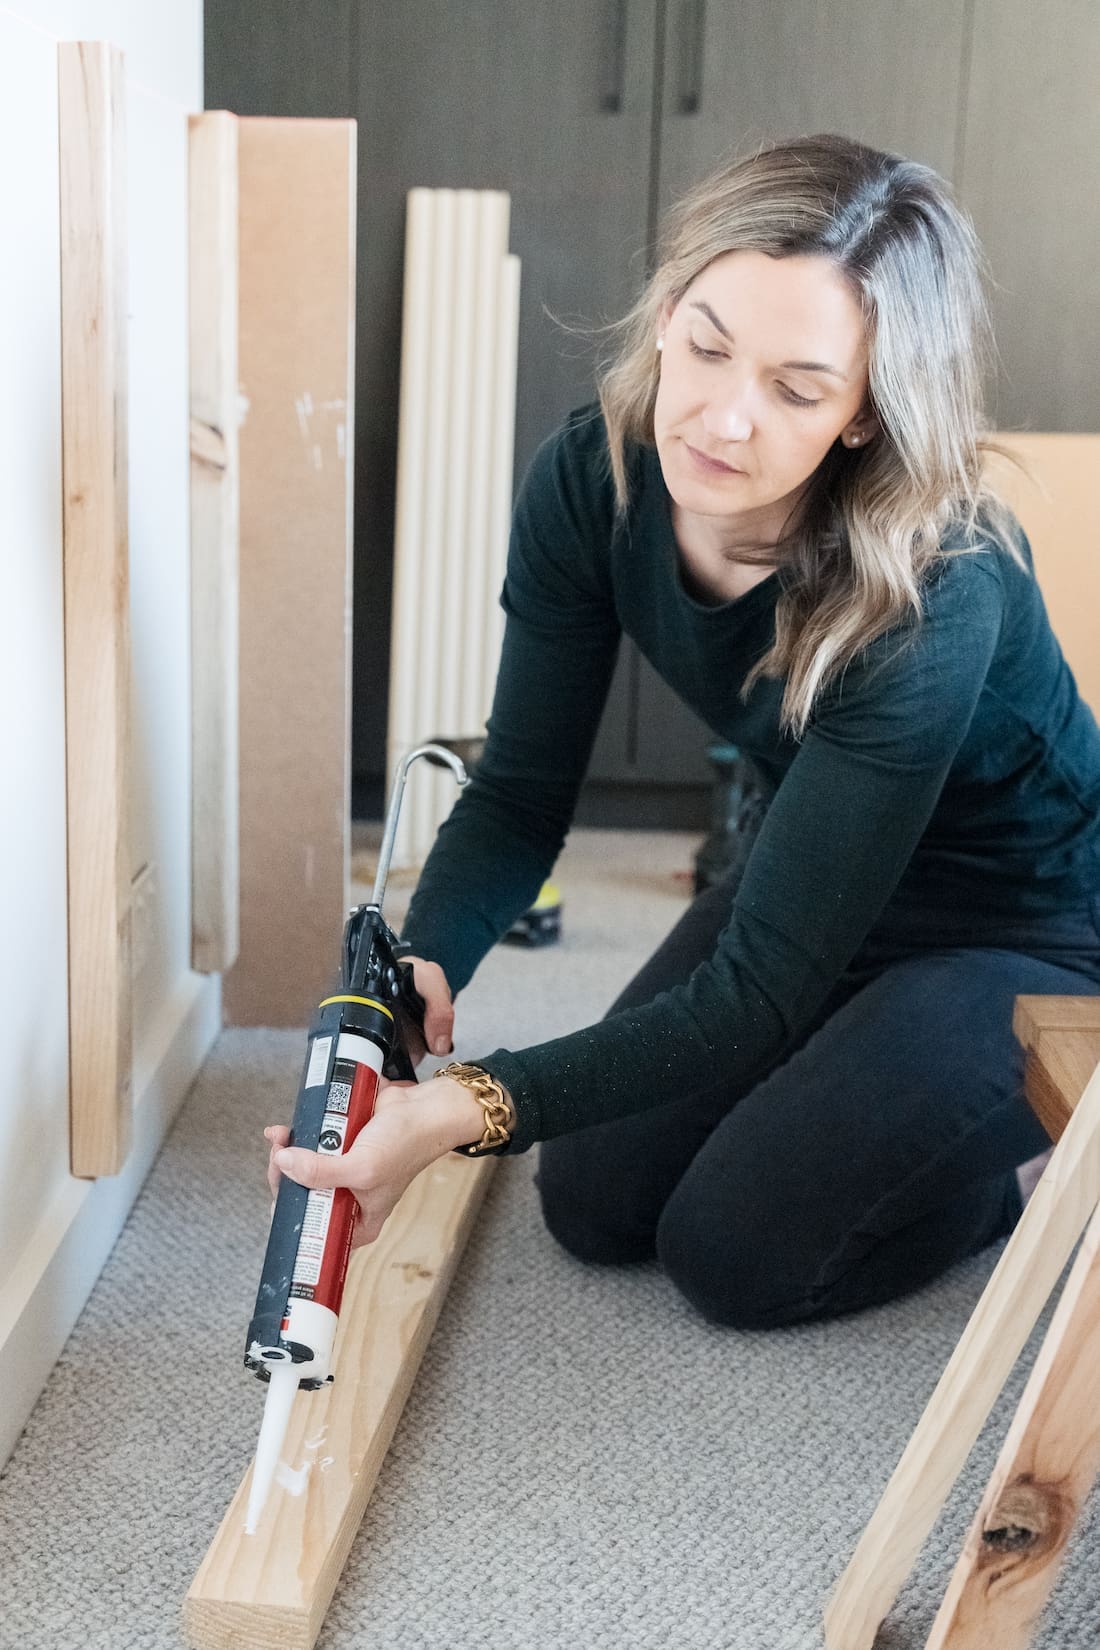
Then I attached these directly onto the wall at equal distances of around 500mm apart. I used a combination of TRex glue and timber screws to secure them onto the wall (see second image below).

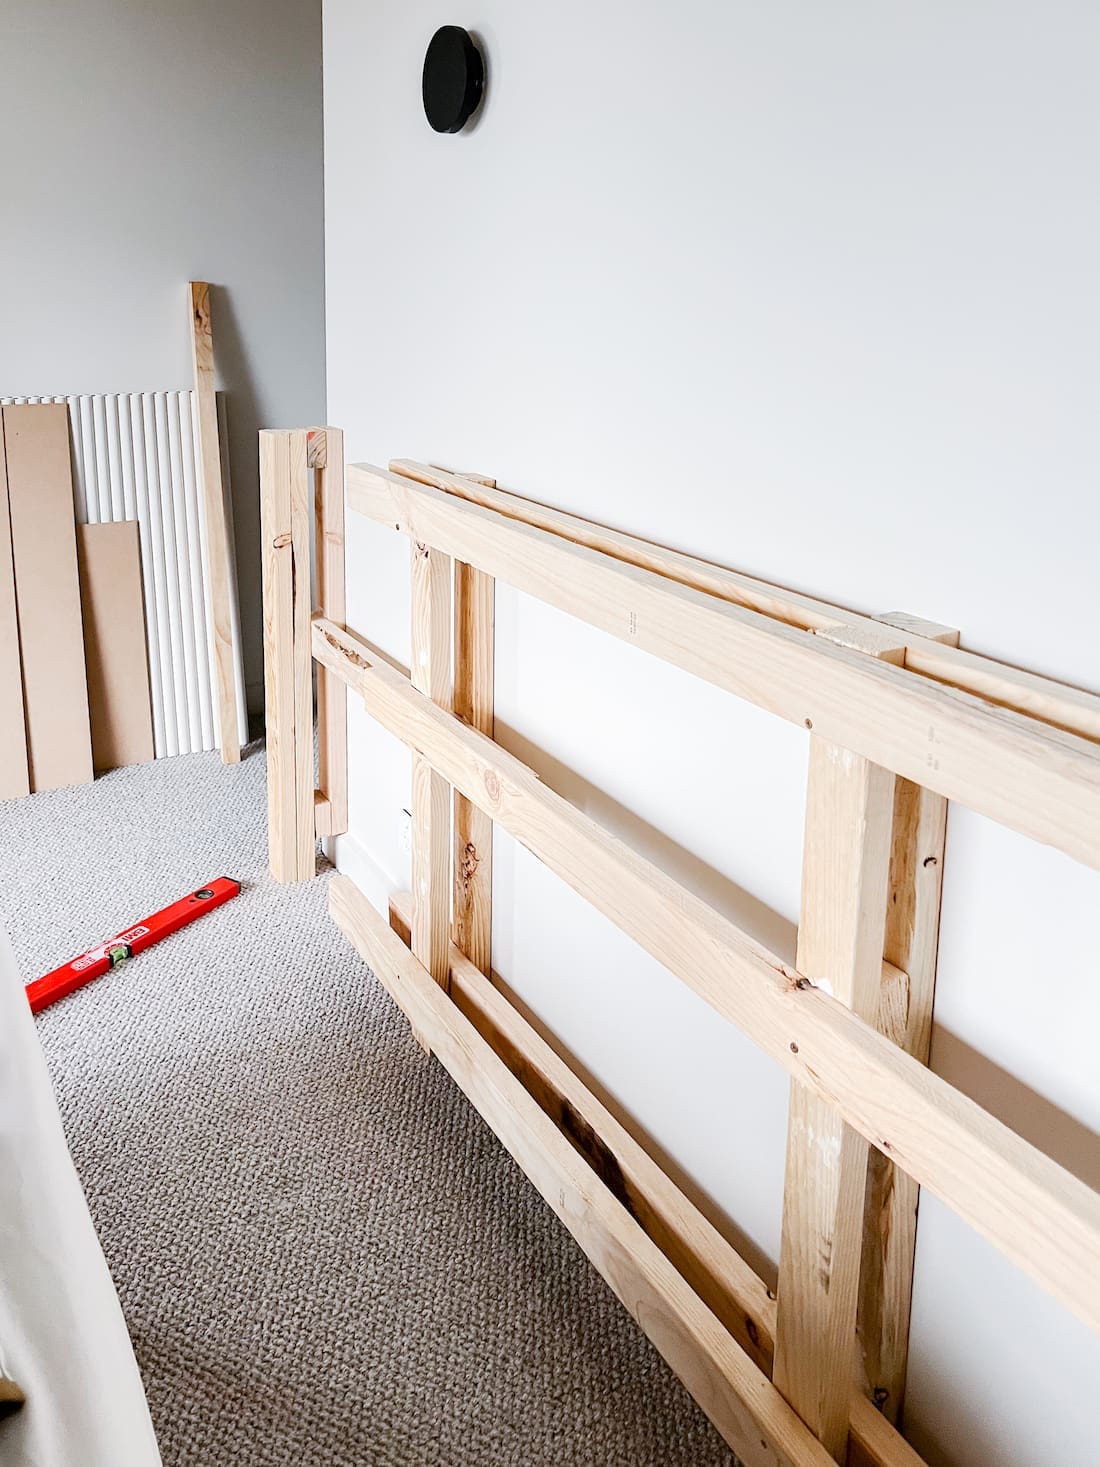
3. Then the puzzle work of timber framing began. And there’s no need to come at me for my technique. I know how I built this ledge wall isn’t how any qualified carpenter would tackle the project.
Personally, I found it easier to work in a bits and pieces approach because I was building the wall myself (with the occasional assistance of my gorgeous little apprentice Alexander). Without a second set of hands to accurately measure the full wall width and height etc, I chose to slowly build out the wall by adding timber frame on top of timber frame. So that’s exactly what I did.
In the end, I used 4 pieces of timber frame on top of each other to create the wall depth I wanted. For stability, I ran the timber in alternating directions, and used screws and super strong glue to secure them onto each other.
The images below show the process I used to build the timber frame.
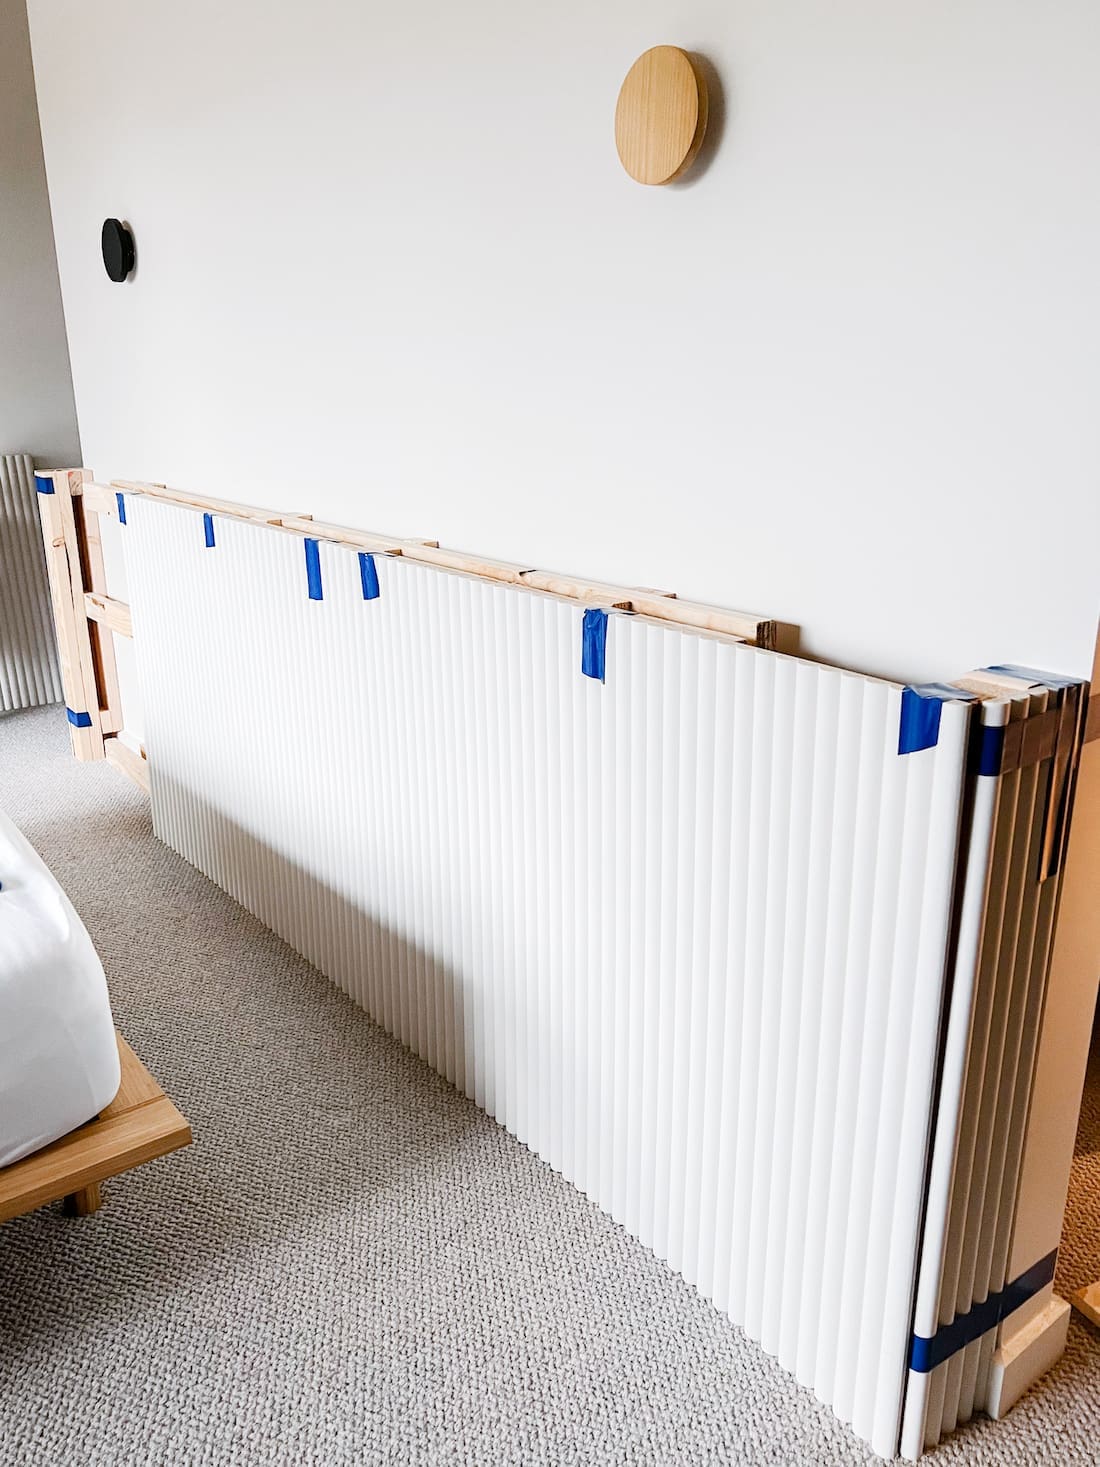
4. With the frame complete, I started work on adding the decorative panels.
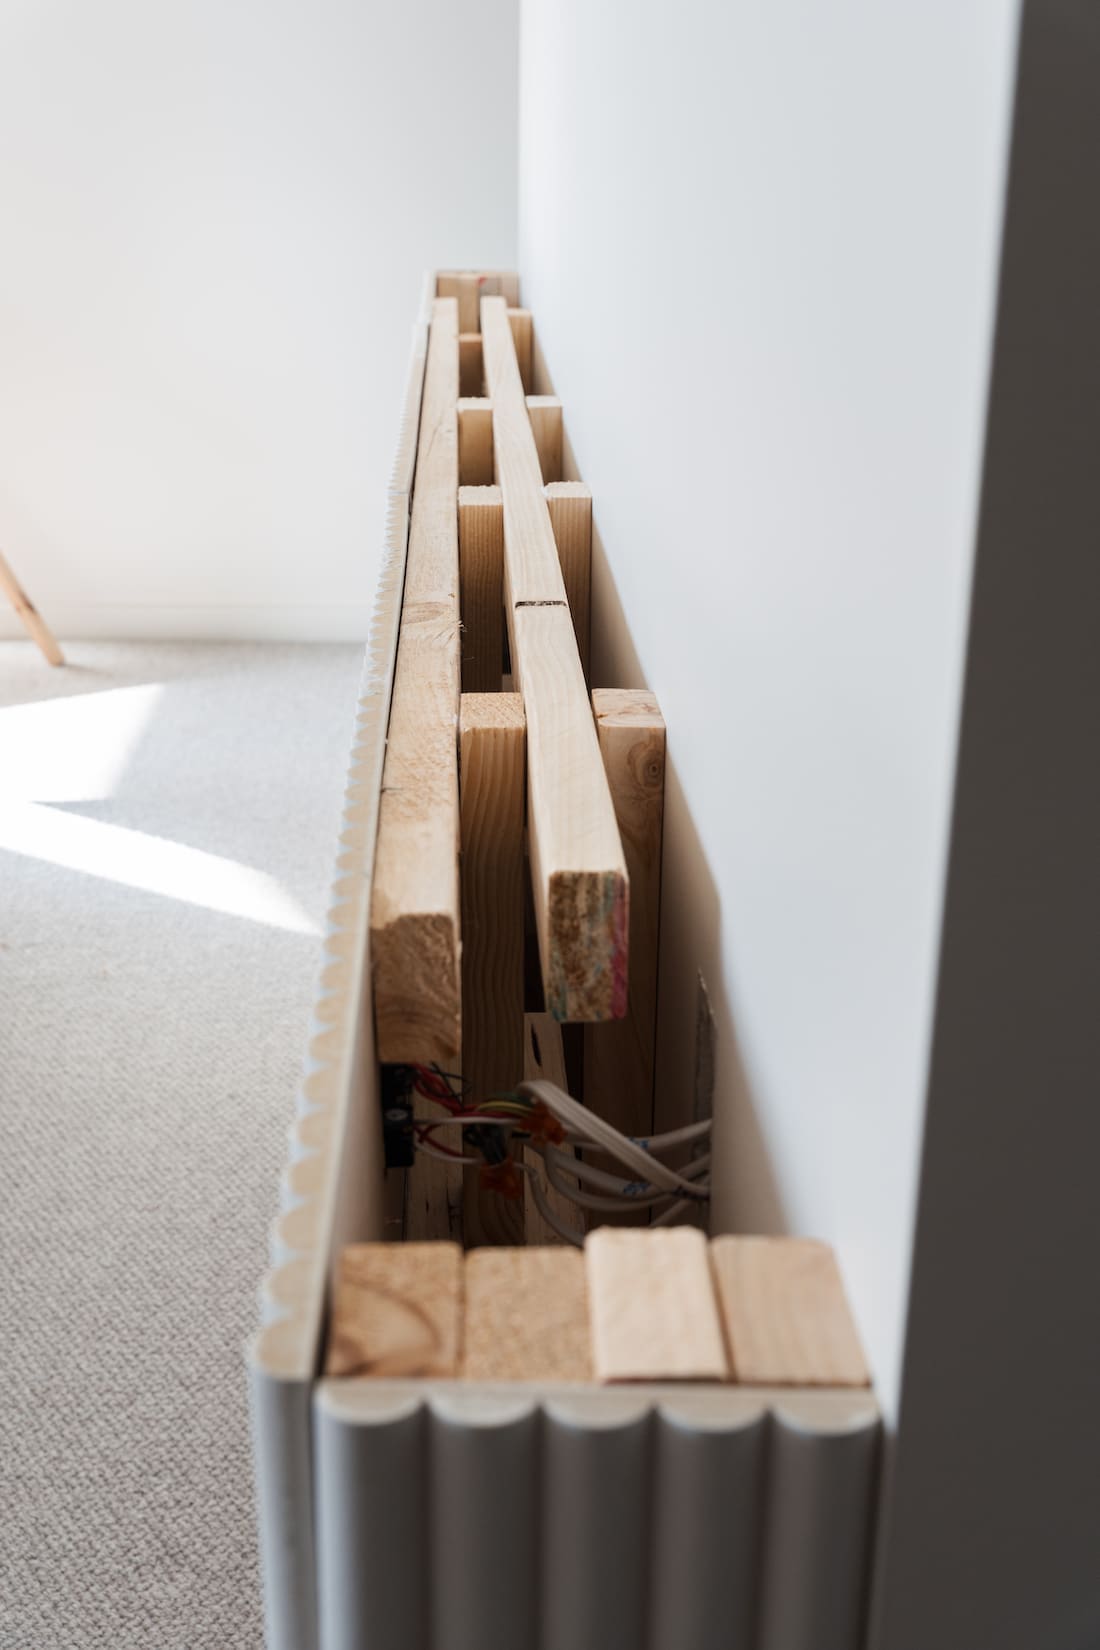
Because I wanted to run electrical through the shelf wall, I simply used electrical tape to hold the boards in place. This allowed me to check the length was perfect while still making it possible for my electrician to get in behind to remove power points and switches.
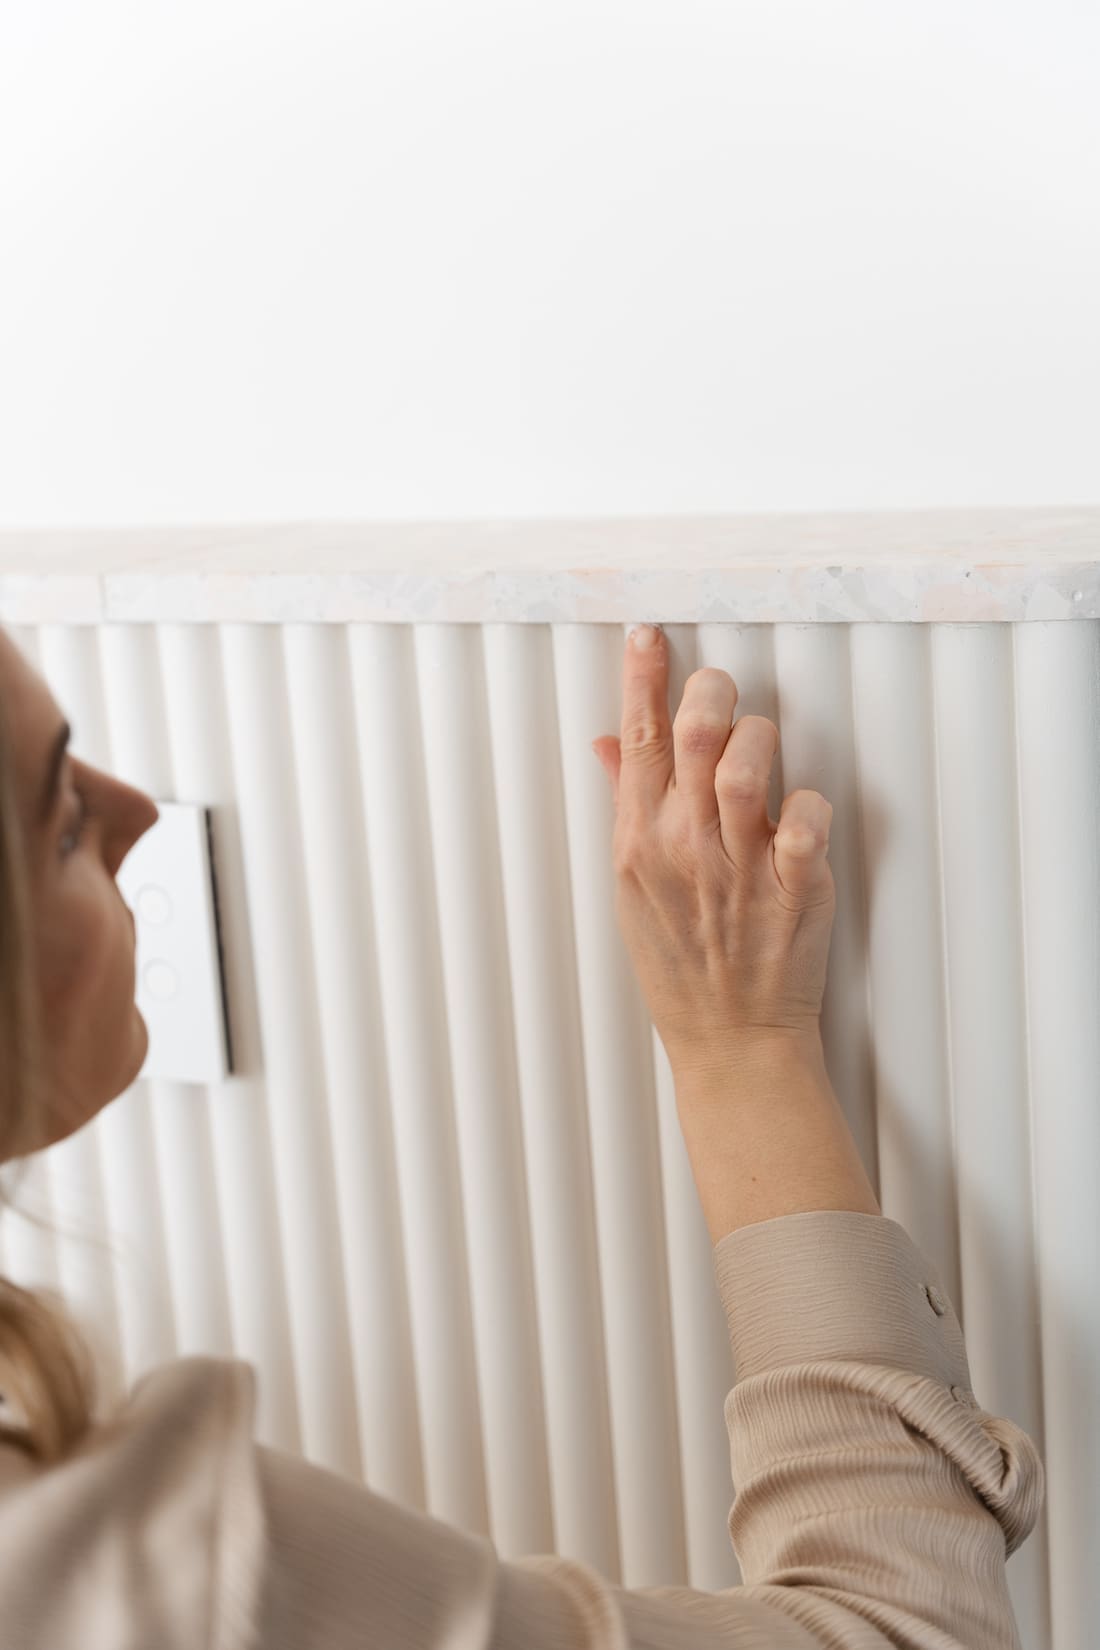
5. Then the electrician came and moved the light switches and power points onto the face of the decorative wall panel.
6. With the wiring complete, I then went ahead and glued all of the decorative panels in place by using TRex glue. I used a lot of electrical tape to strap the panels in place while they dried.
The next day I checked on the job and noticed a little bit of bowing. So I added more glue and secured the boards in place once again with tape until dry.
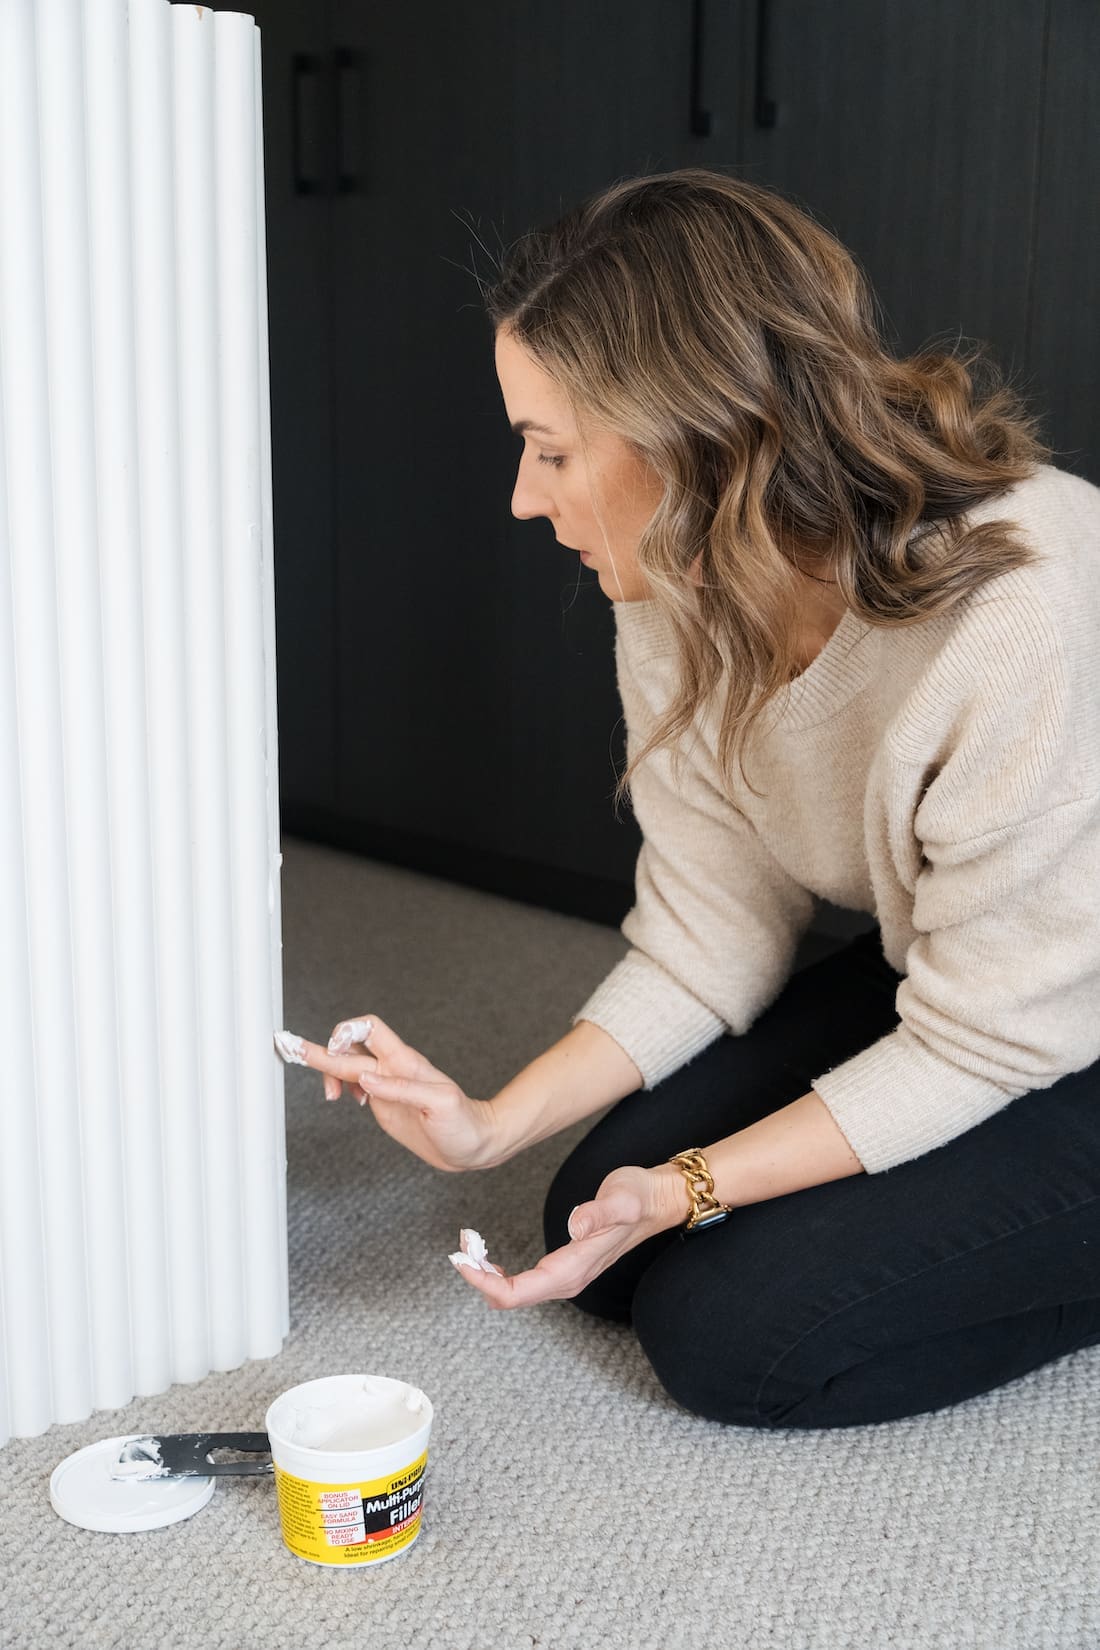
7. Then it was on to touch up. I filled in any small gaps with gap filler and once dry, I painted the panel with low sheen paint.

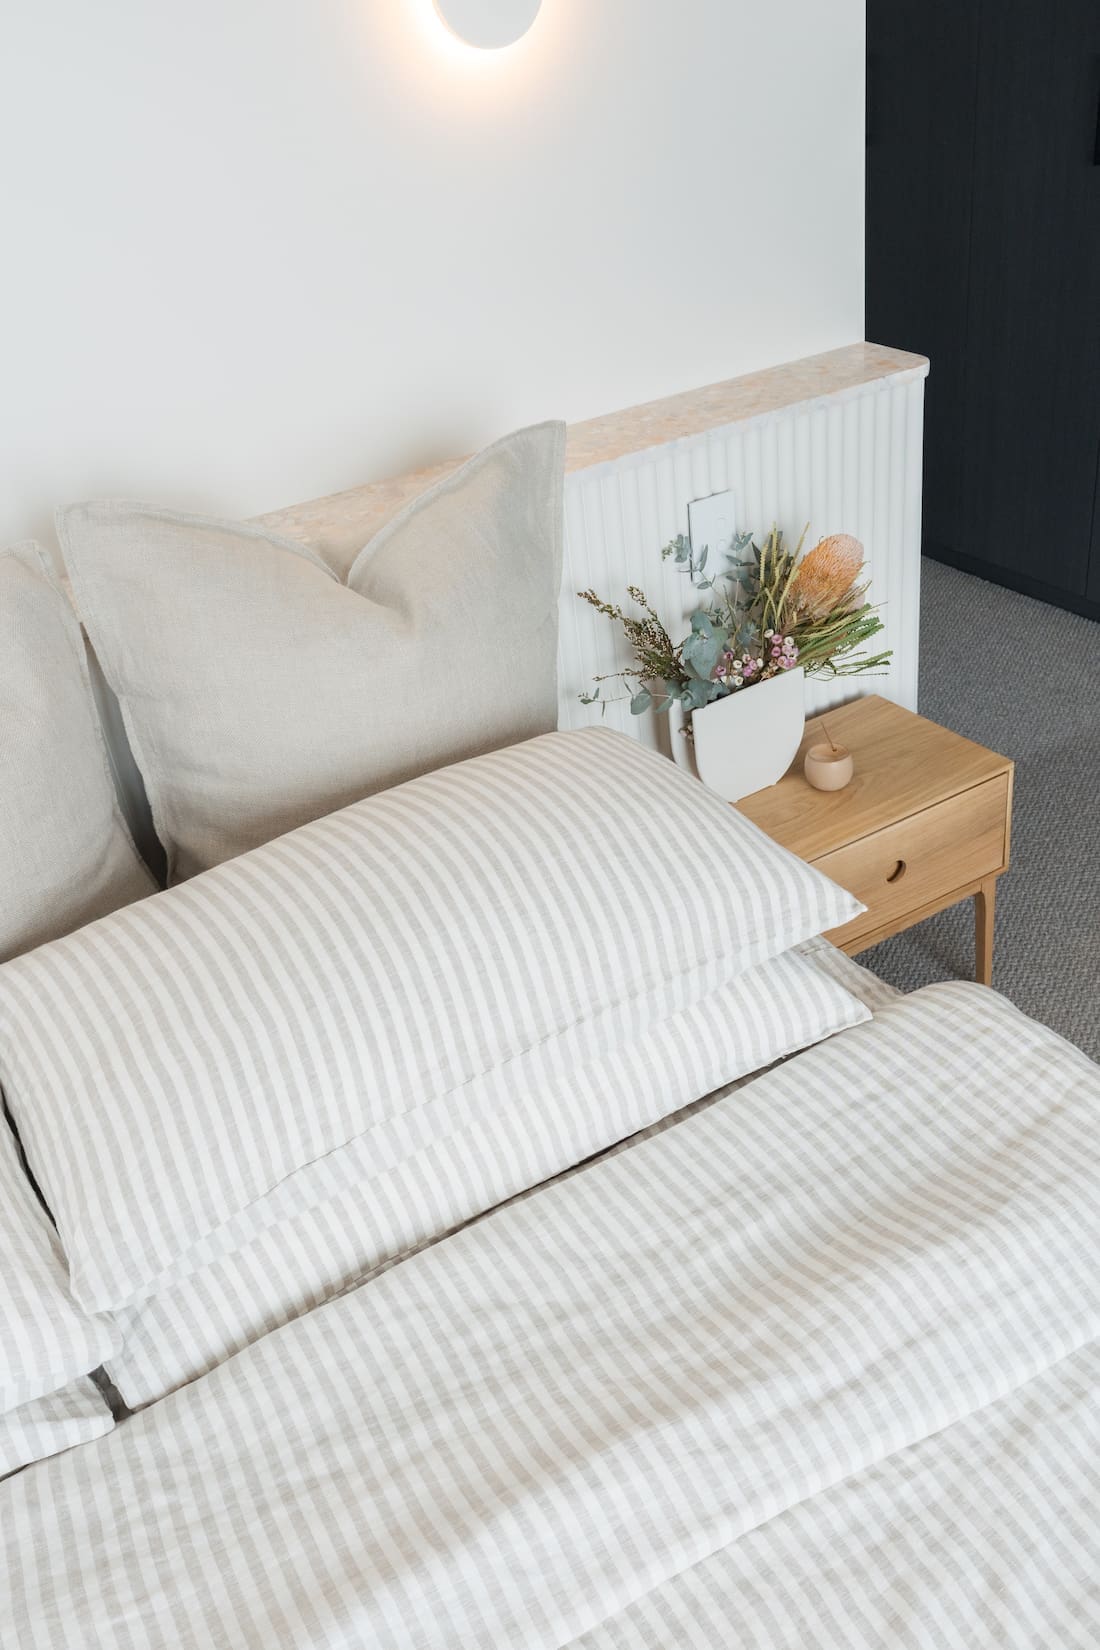
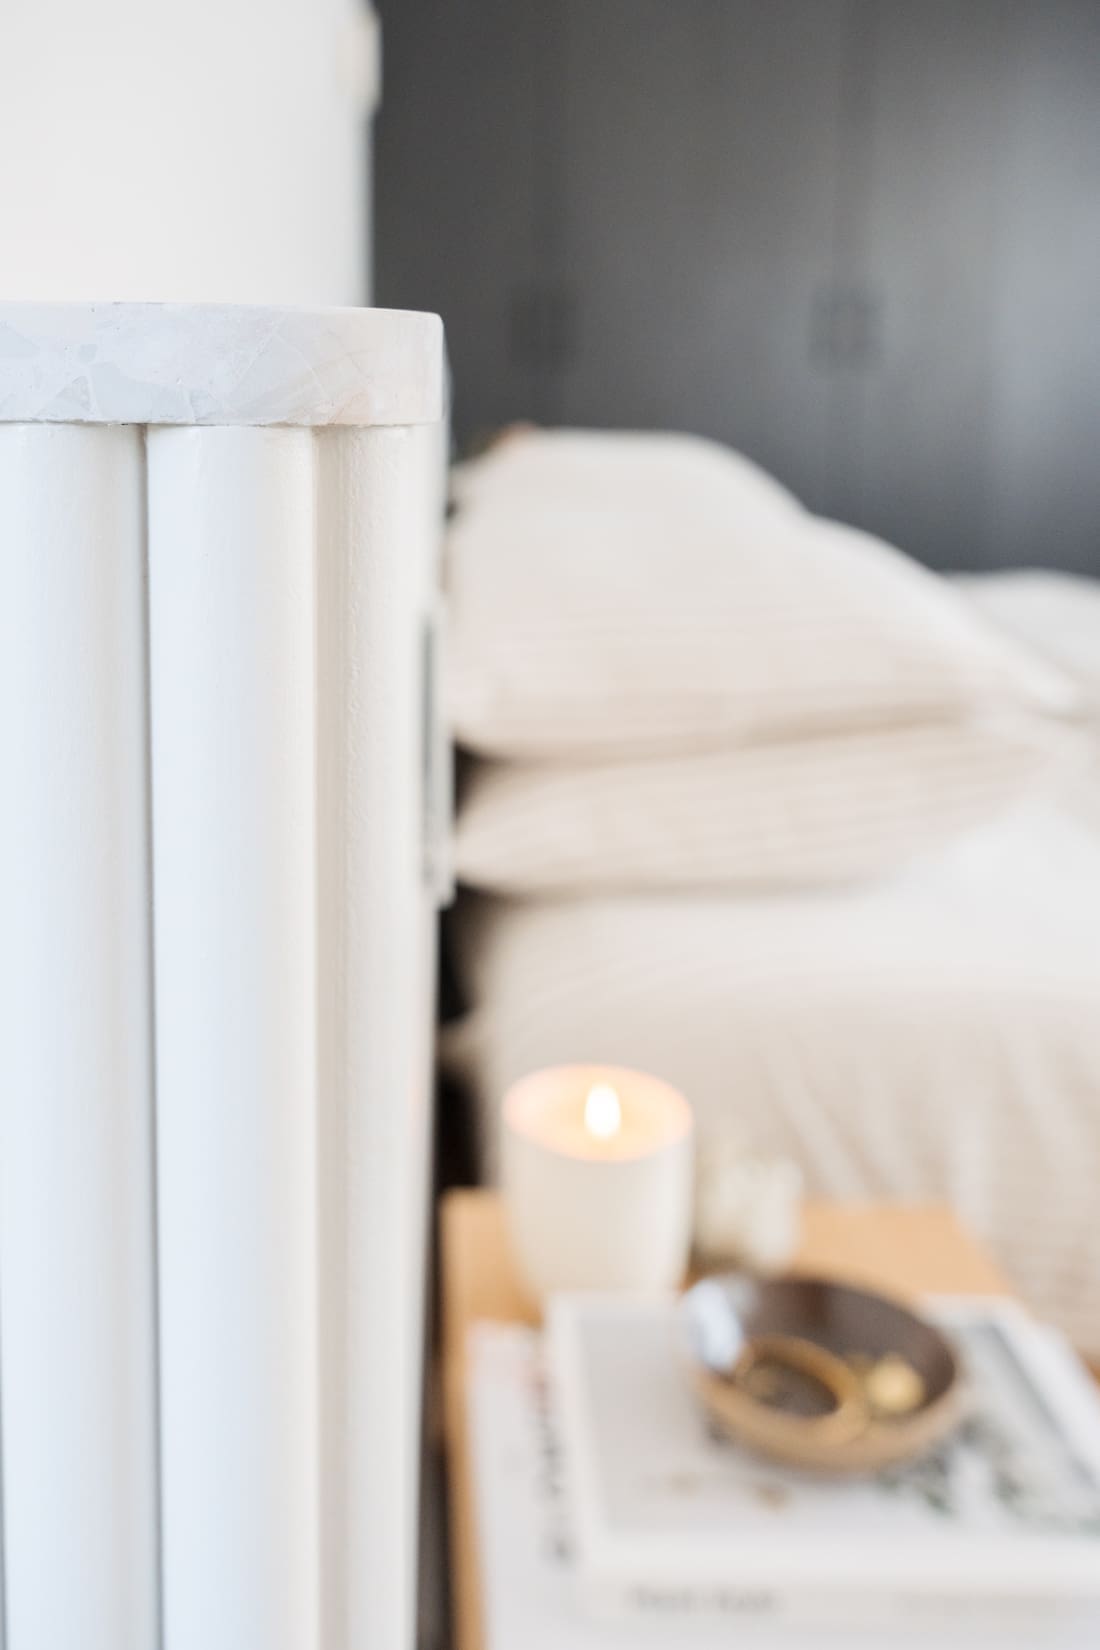
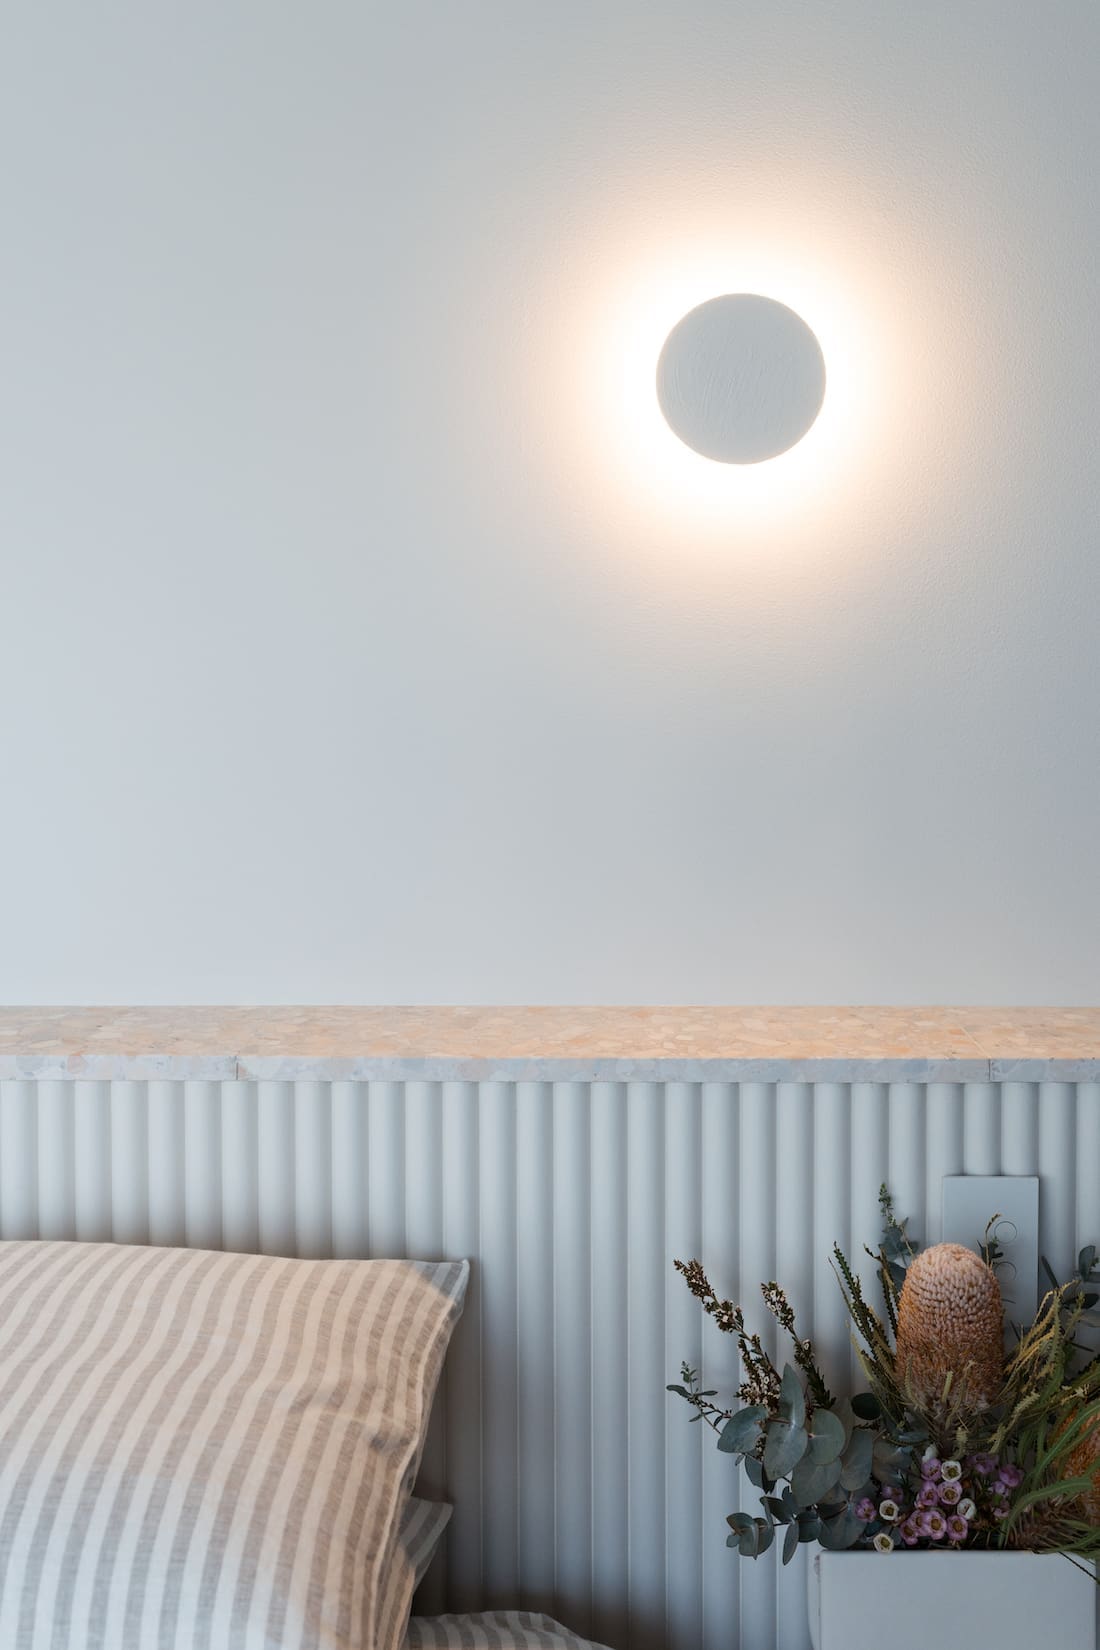
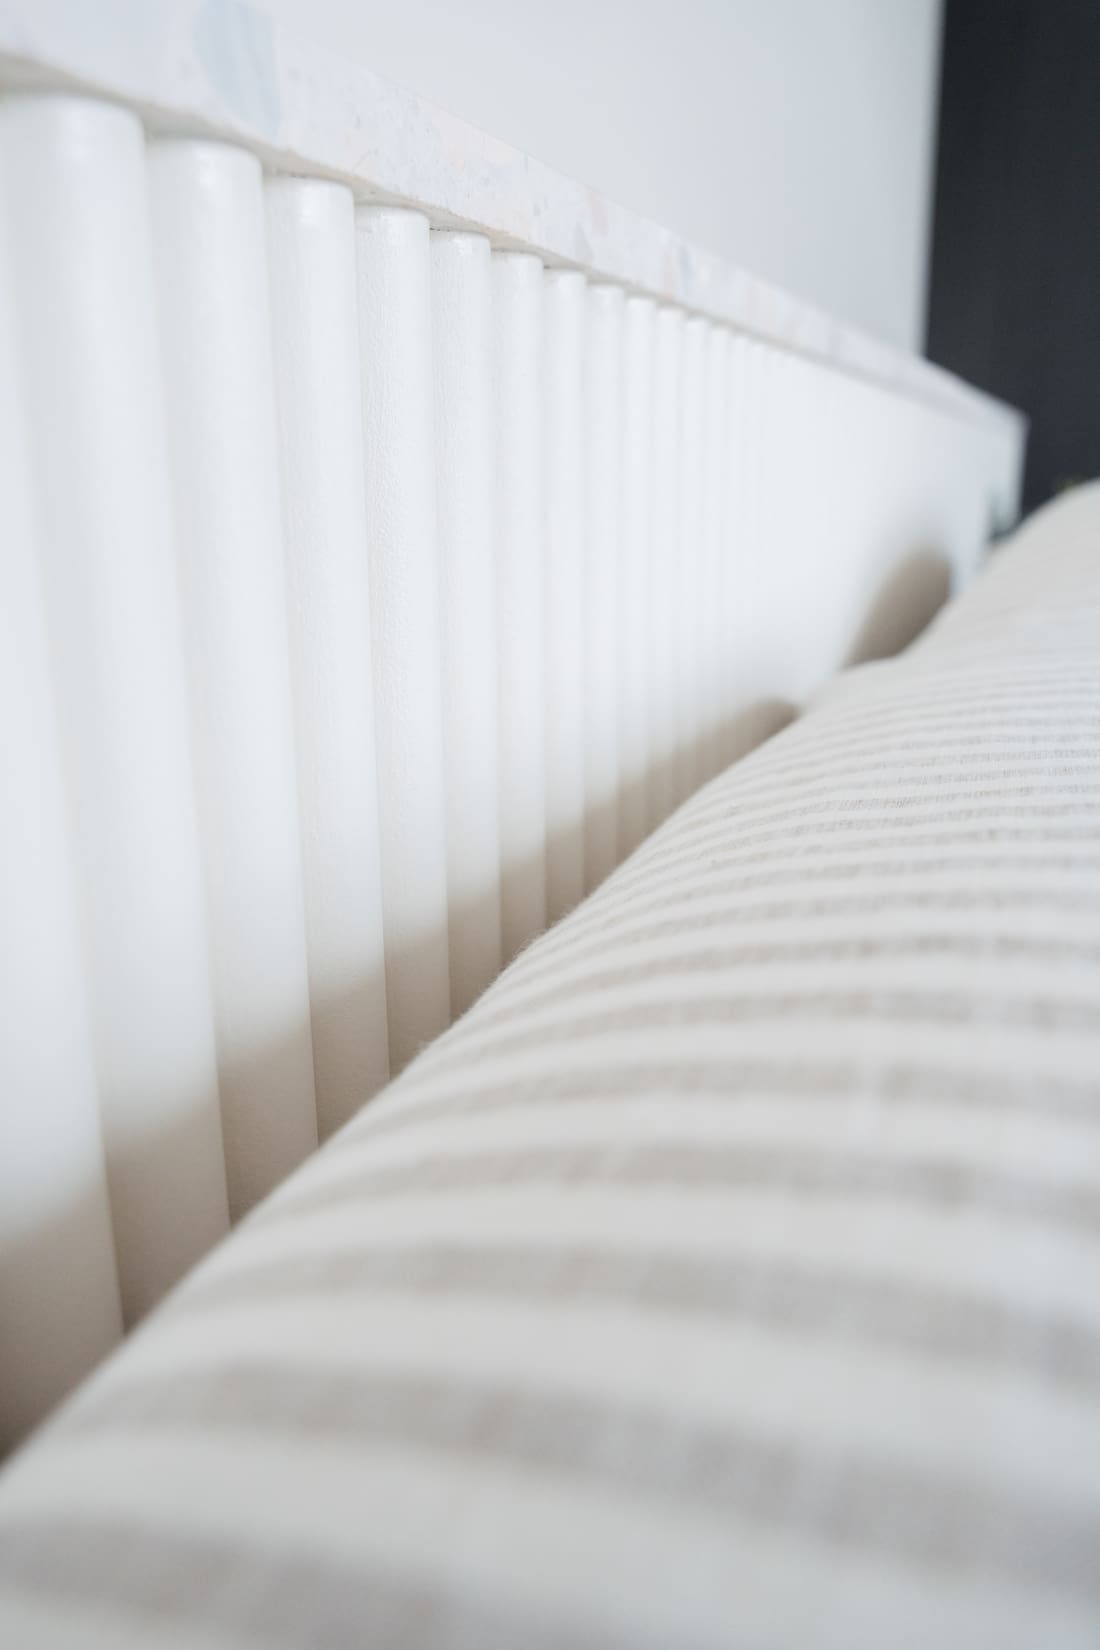
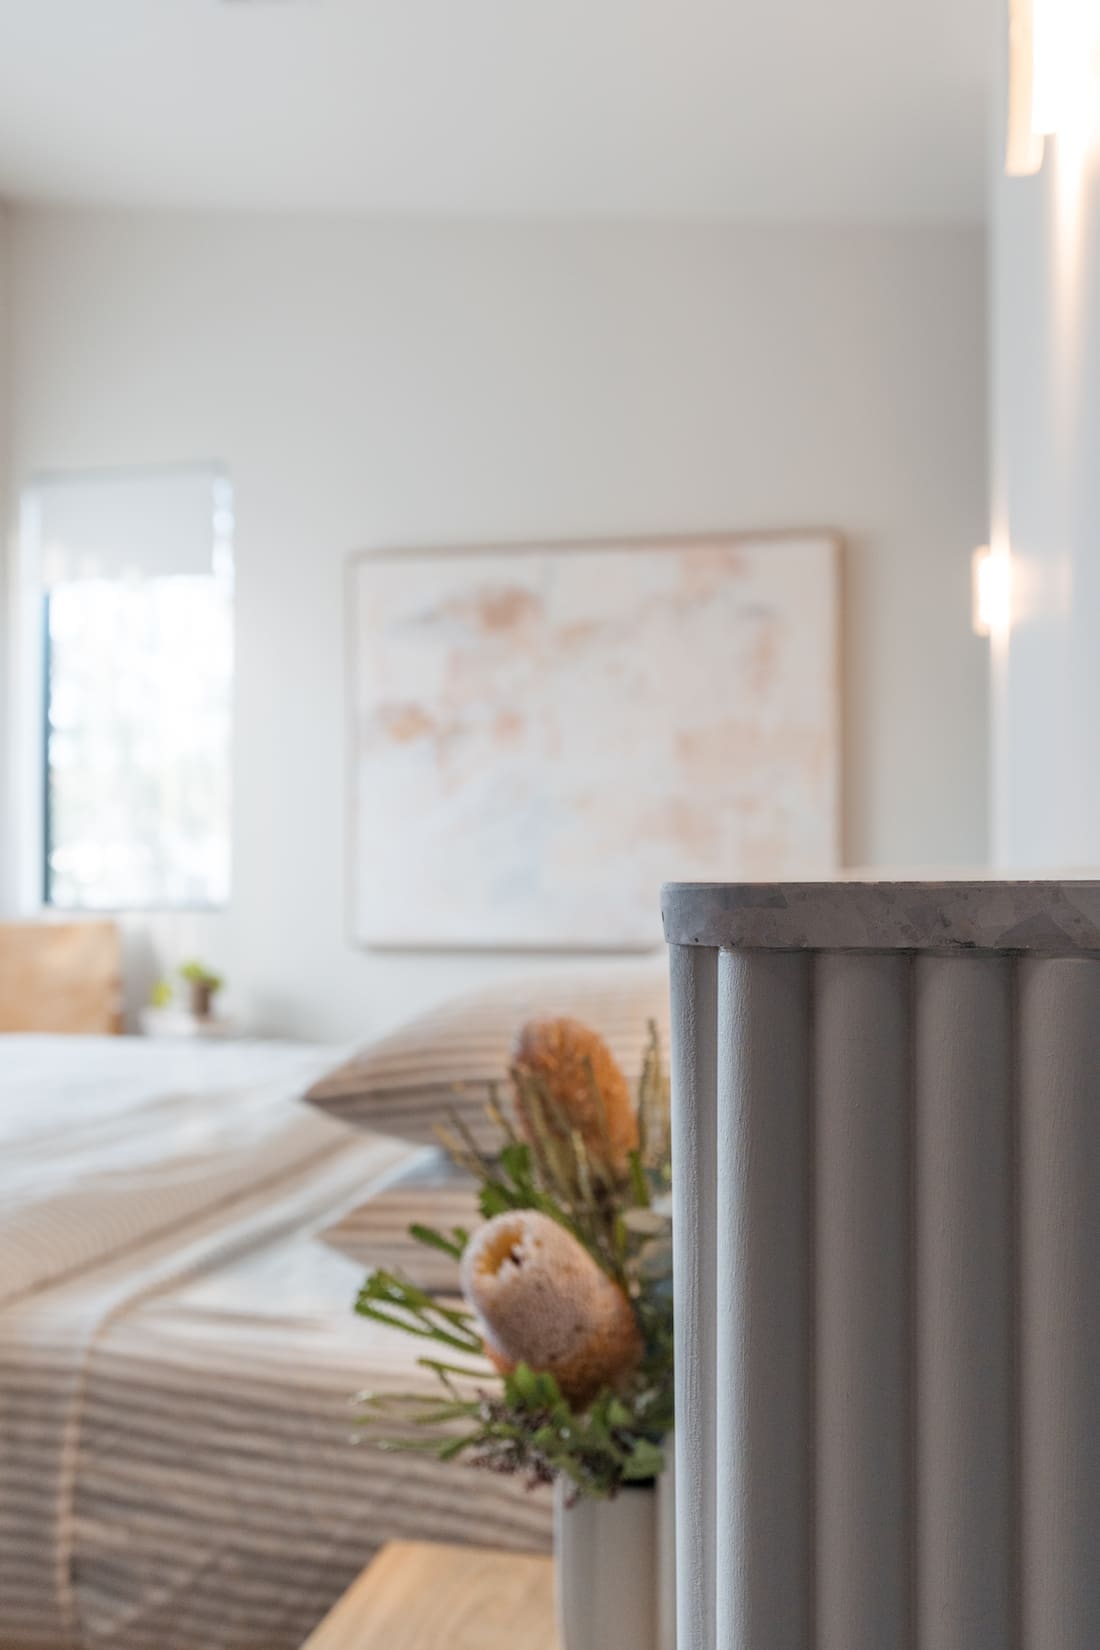
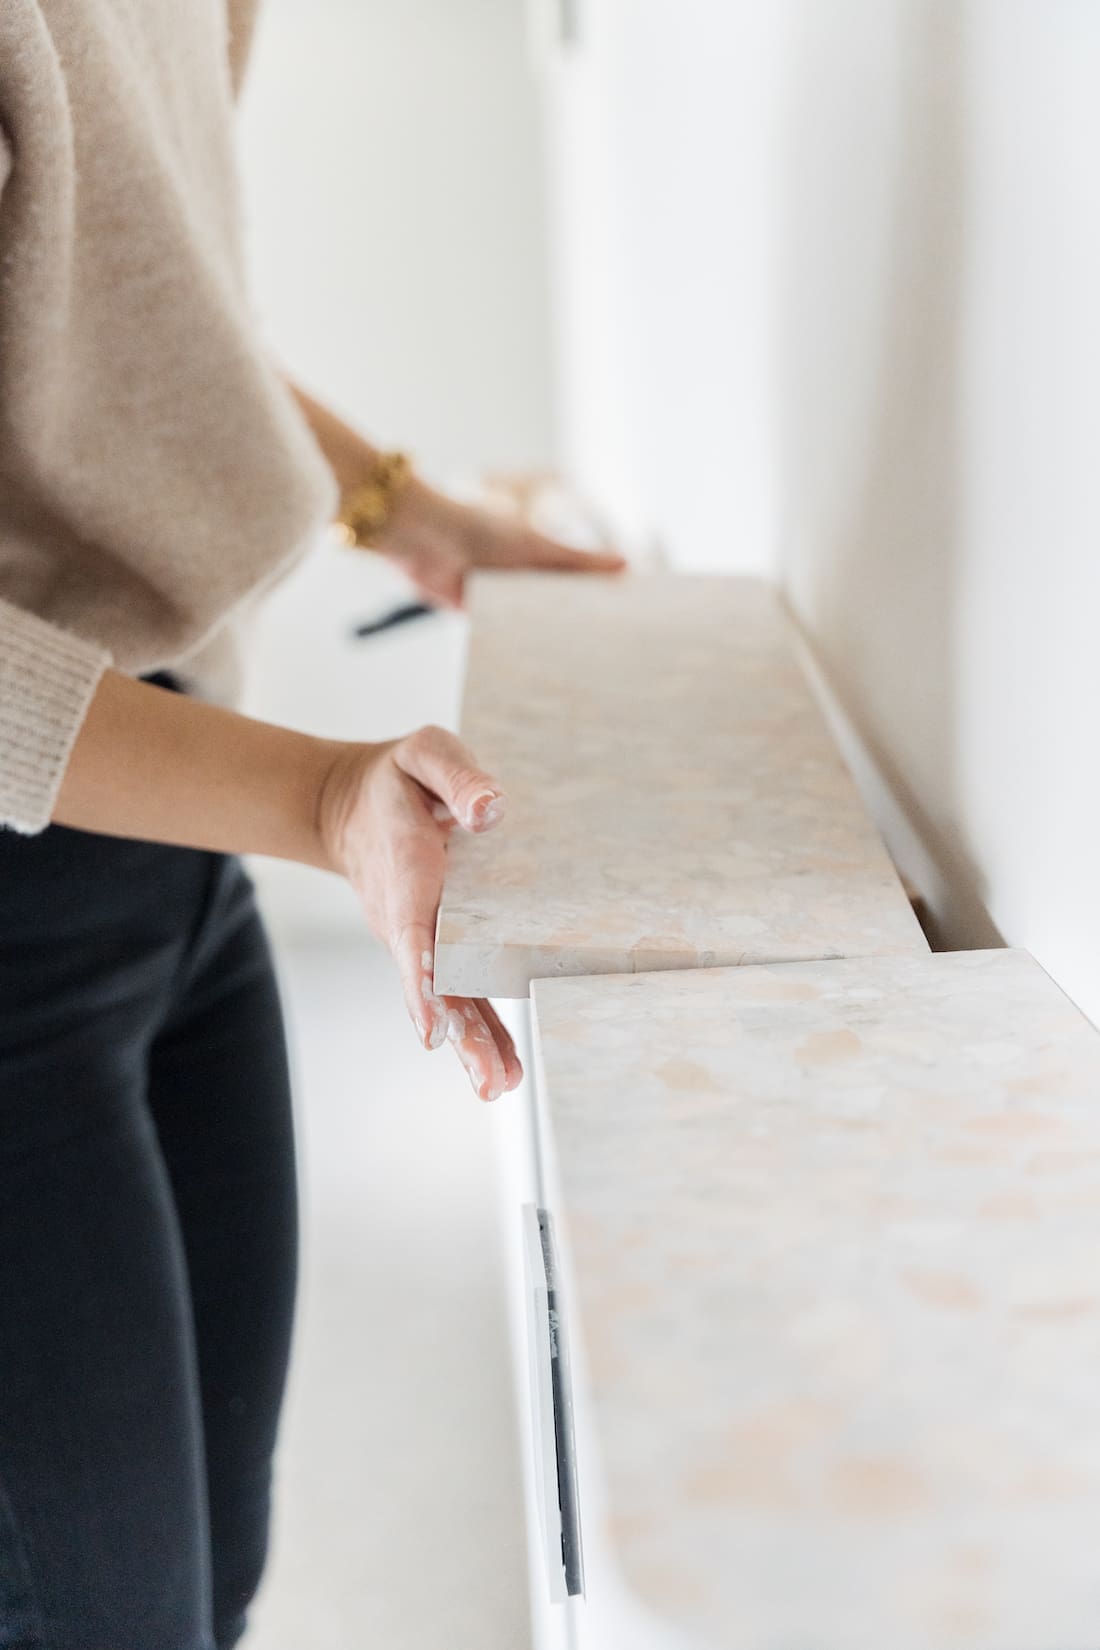
8. To give this shelf wall a little somethin’ somethin’, I picked out a gorgeous peachy-pink terrazzo tile as the top. It’s difficult to cut real terrazzo (you need a wet saw) so I had a builder friend do this for me at a depth of 175mm. Because I have young kids and I didn’t want any sharp edges in my bedroom, I also had the end pieces rounded.
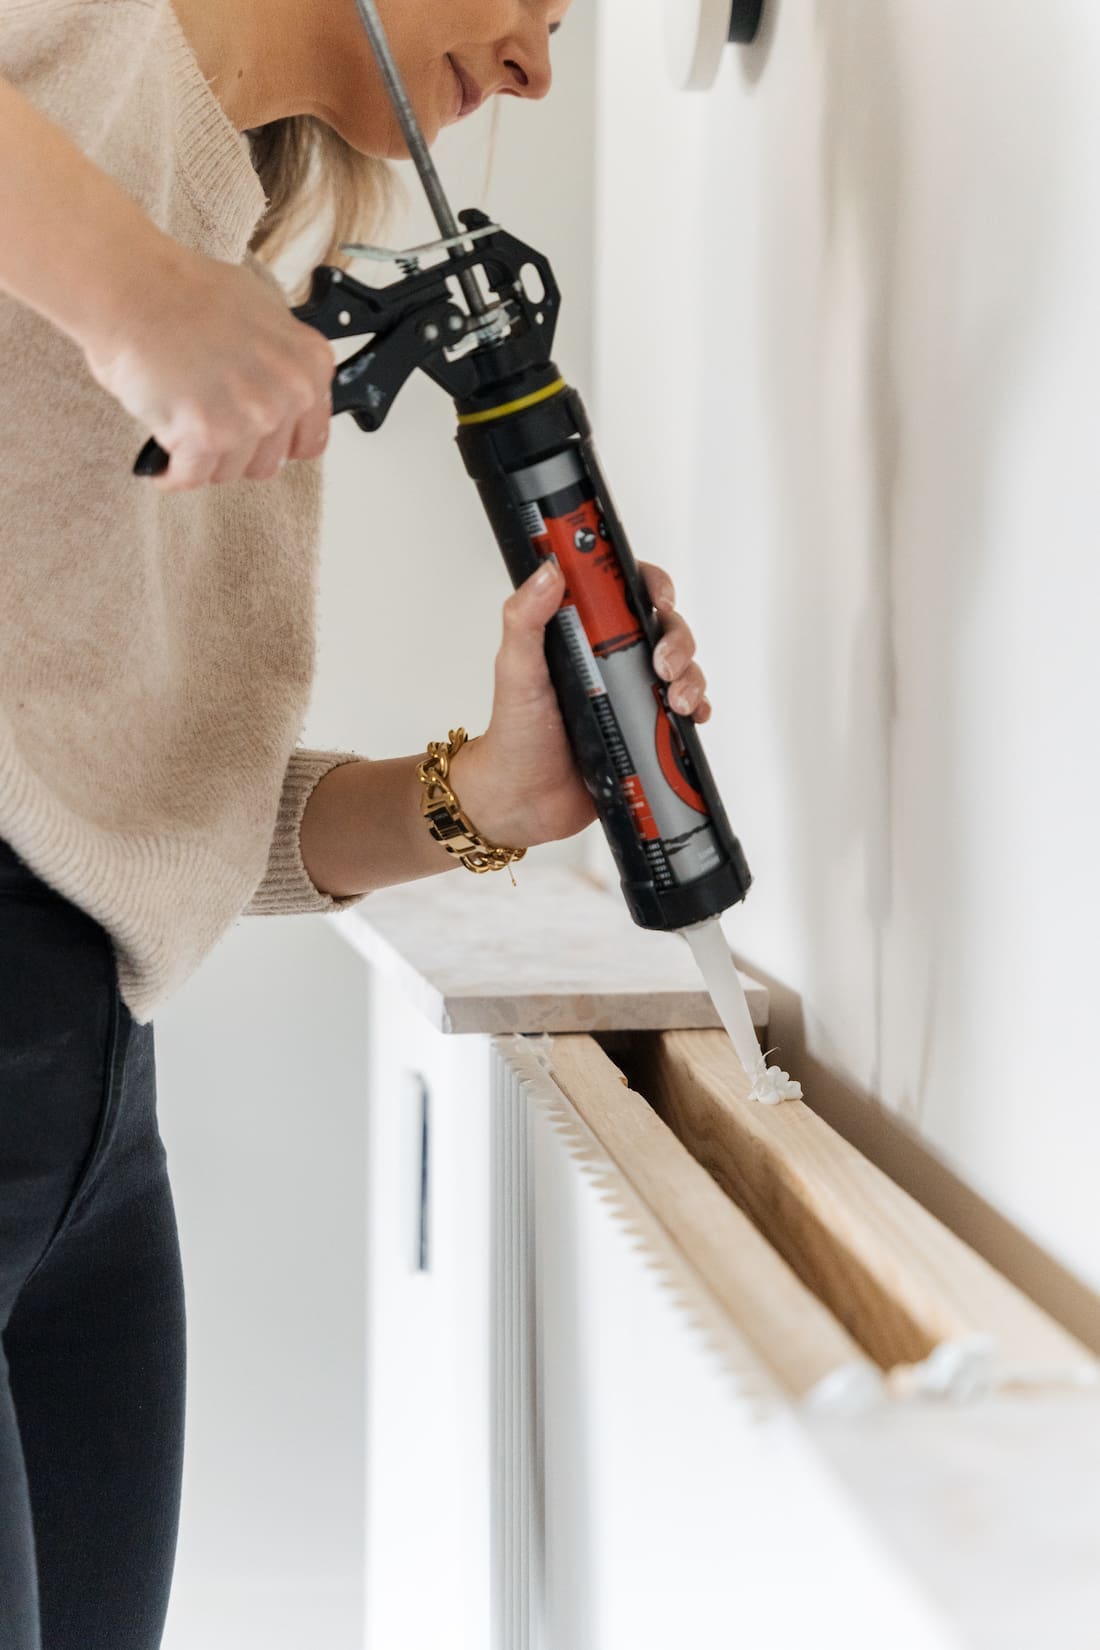
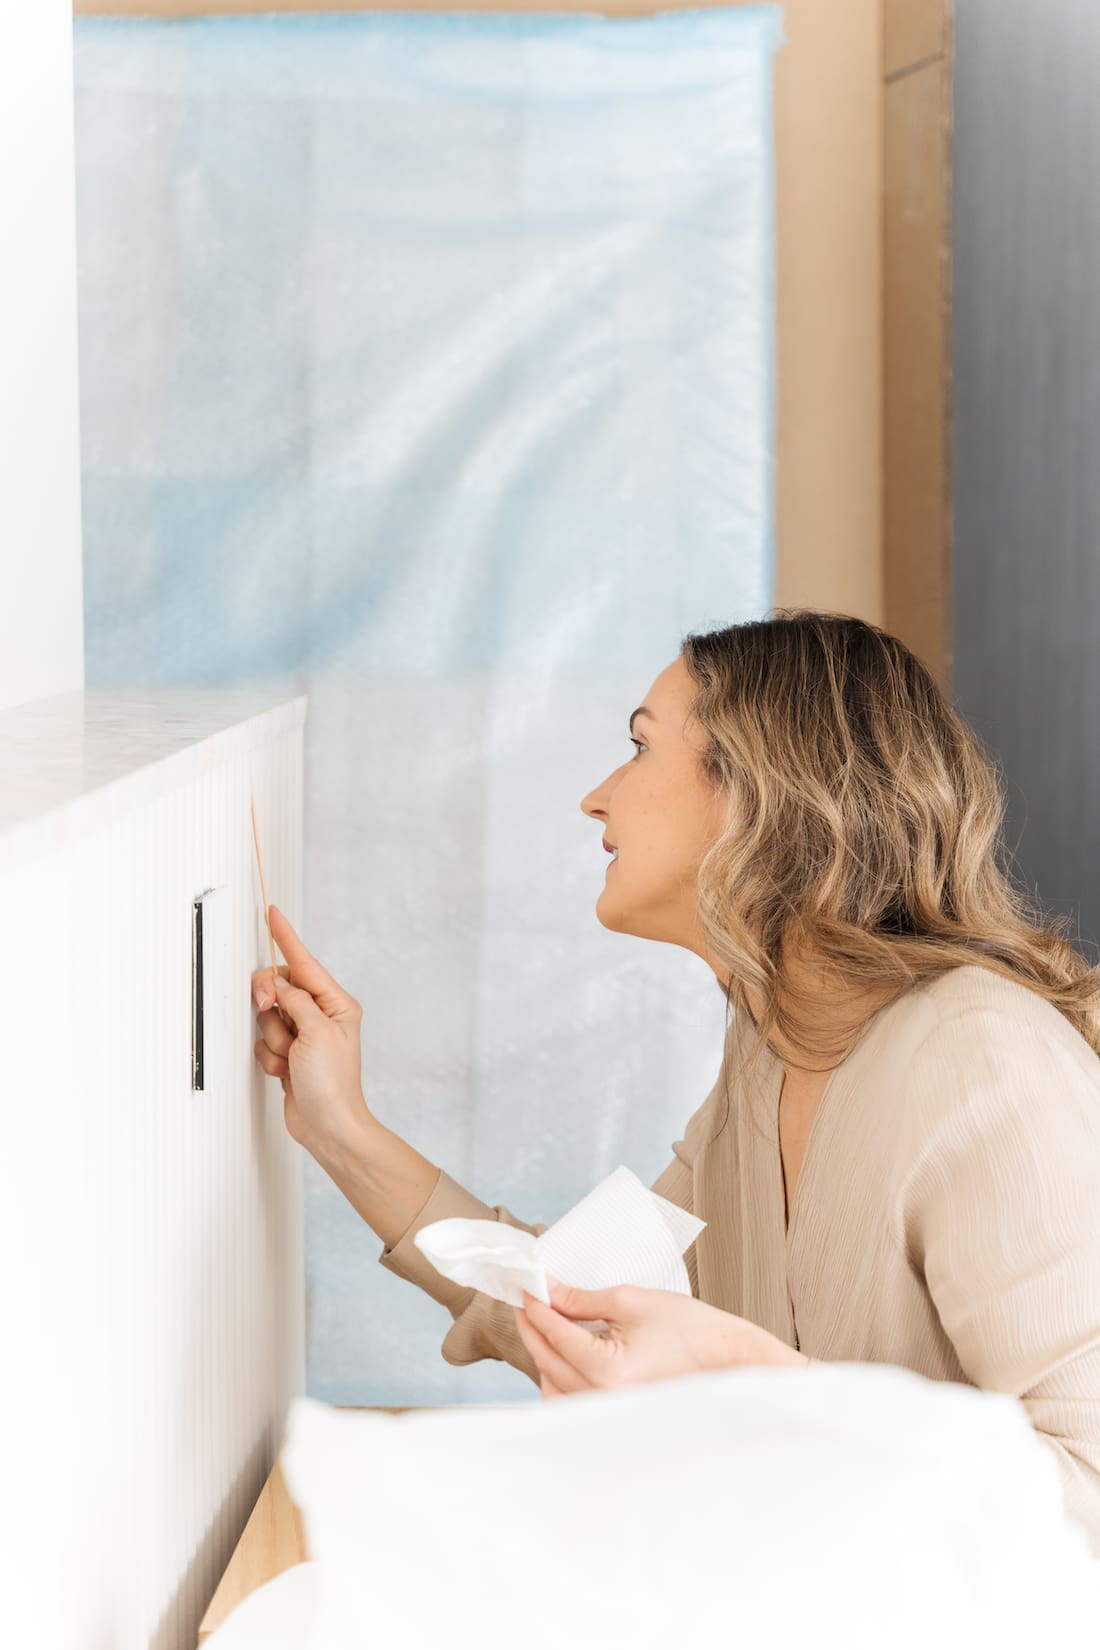
9. Finally, I filled in any gaps around the terrazzo with silicone. The trick to controlling silicone is to use Windex and a small paddle-pop stick.
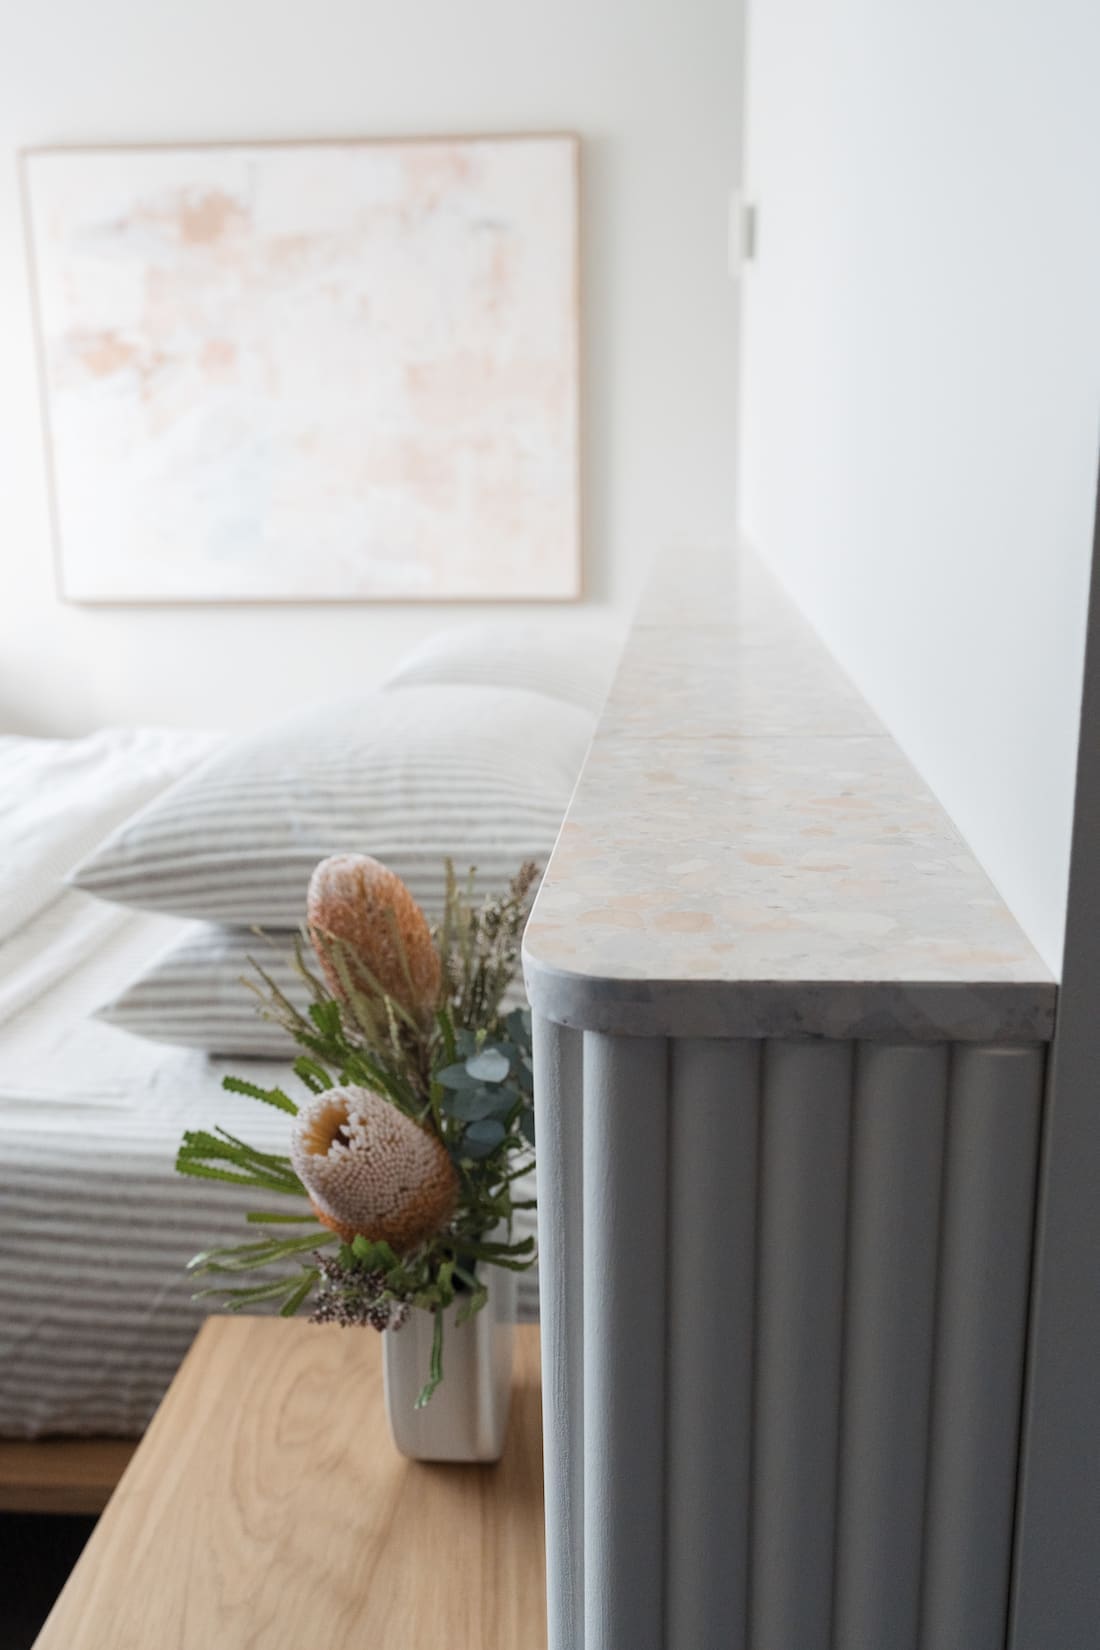
And that’s it! Despite the hot mess of timber work behind the panel… you can’t tell now that it’s finished.
I’m beyond thrilled with this DIY home renovation project! Thankfully this home improvement idea turned out just how I imagined and it’s completely elevated the look of our bedroom.
If you have any questions about how I built this ledge wall, pop them in the comments below and I’ll get back to you asap. While I wouldn’t say this is an easy DIY home reno idea, it is still an achievable home improvement project for beginners.
More home reno inspo