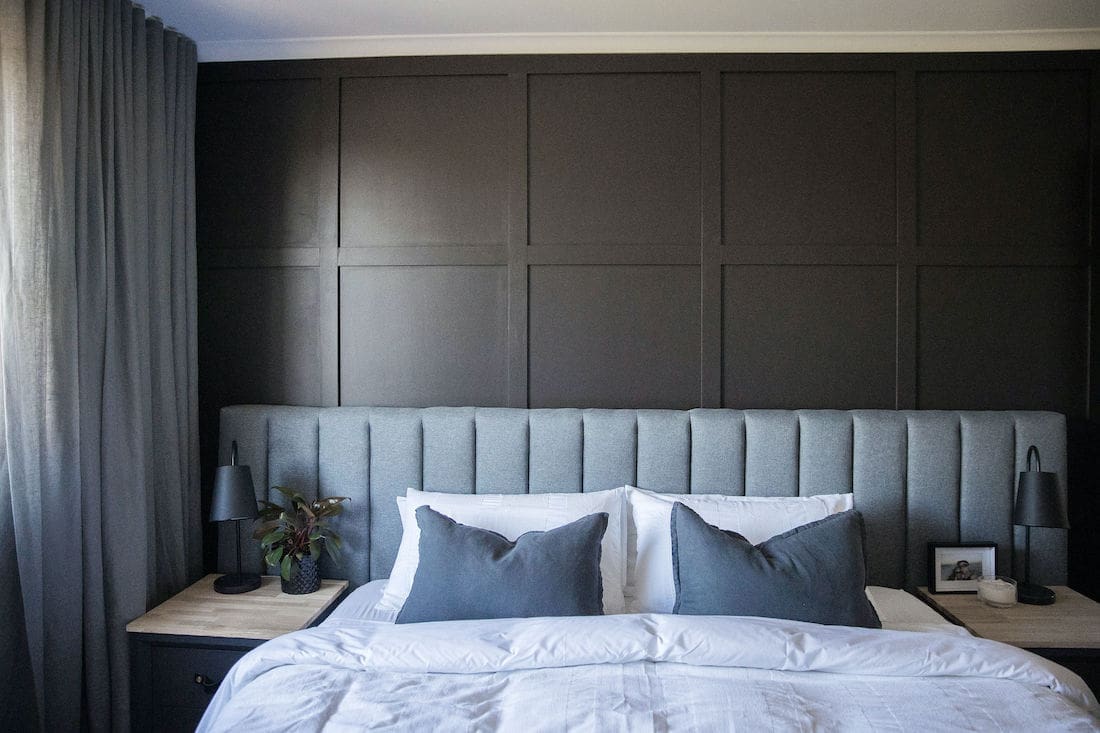
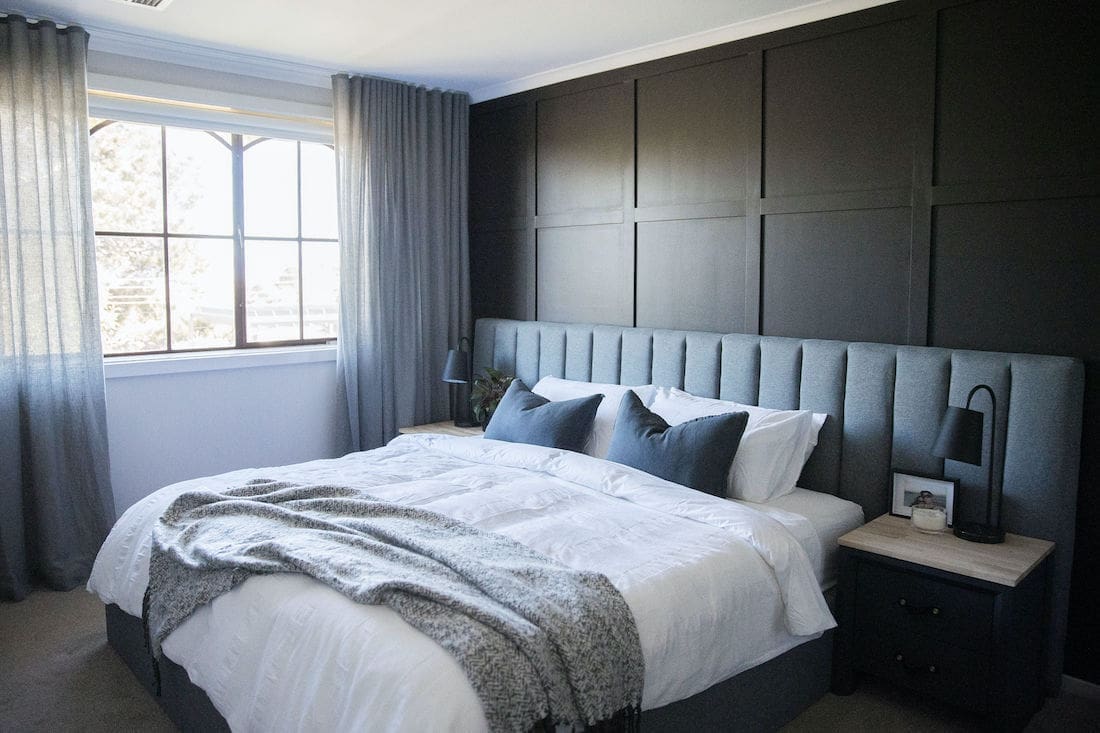
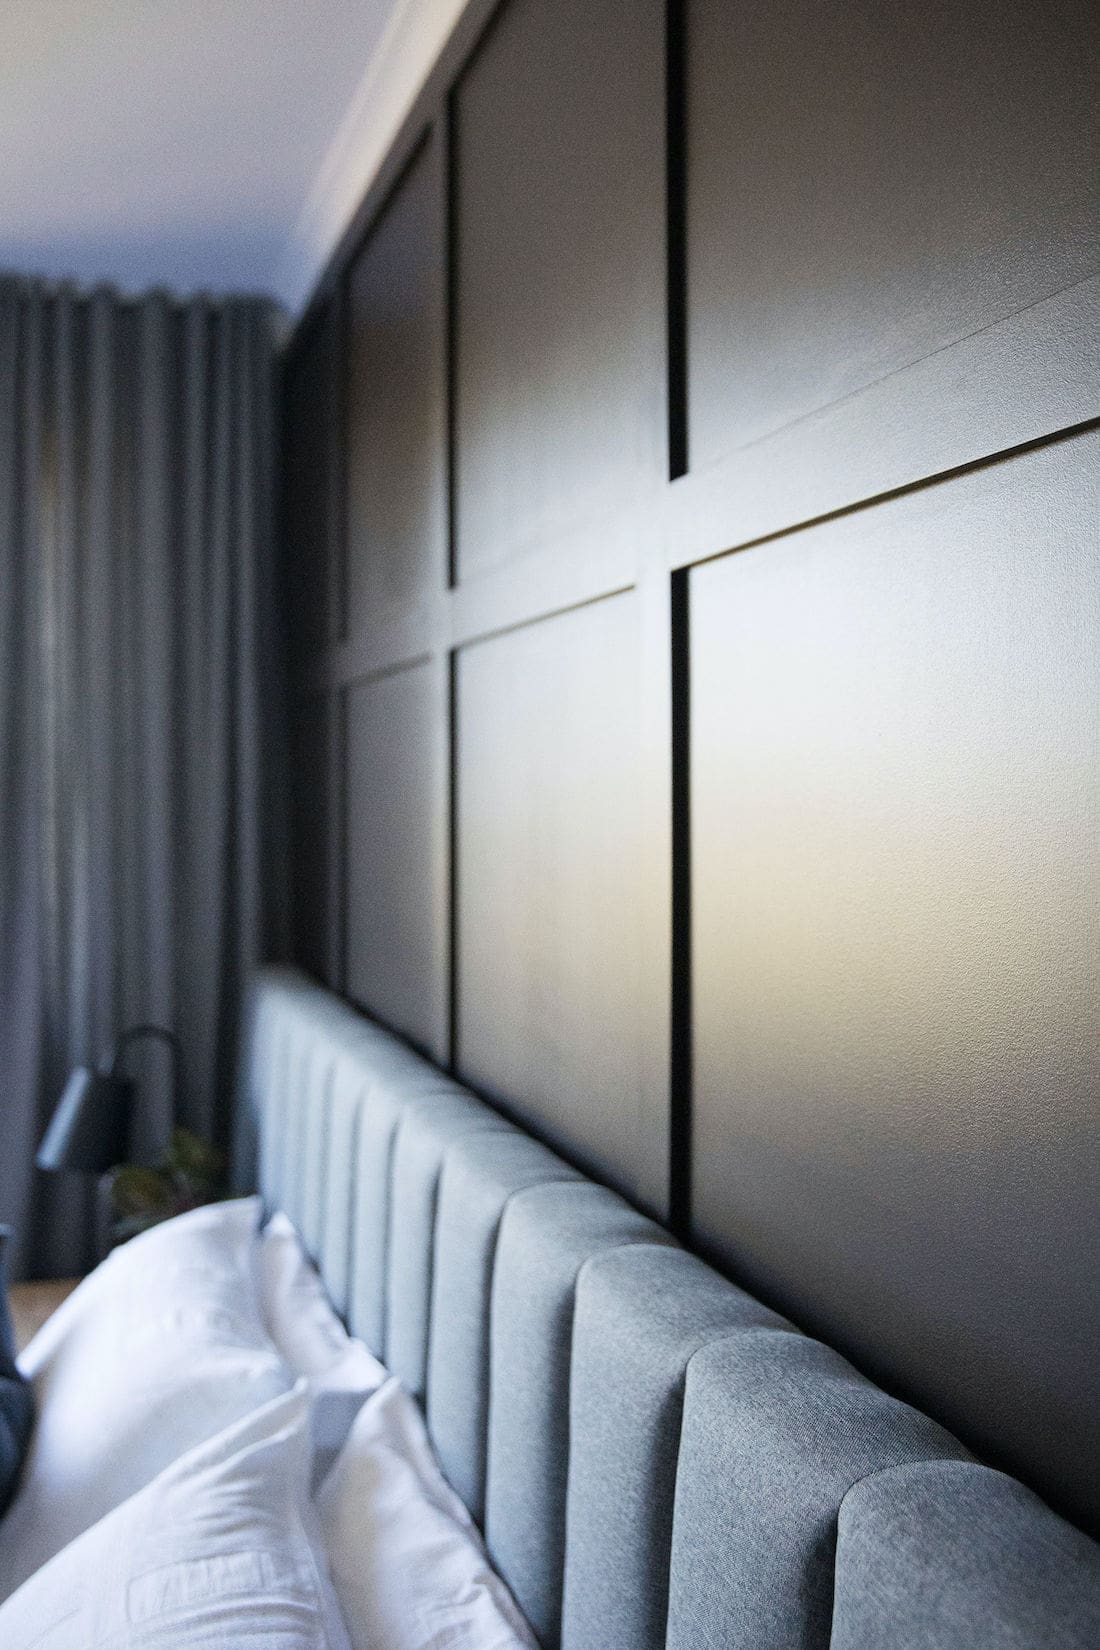
Looks like the favourite part of the recent bedroom makeover I did was that square panel feature wall! I’ve had loads of questions about how I created it so I hope this step-by-step guide helps anyone who wants to do the same in their home. Keep reading for all the materials you’ll need and steps to create a square panel feature wall.
Related article: Inspiration gallery: VJ panel living room walls
Related article: DIY wall panel bedhead
Items you will need:
- Timber panels (I used these panels from Bunnings that are 11mm wide)
- Drop saw
- Nail gun
- Liquid nails
- Laser level
- Pencil and measuring tape
- Paint (I used ‘Black felt’ by Dulux)
- Paint roller and cutting brush
- Gap filler
- Sandpaper
- Sugar soap
- Bucket
Steps:
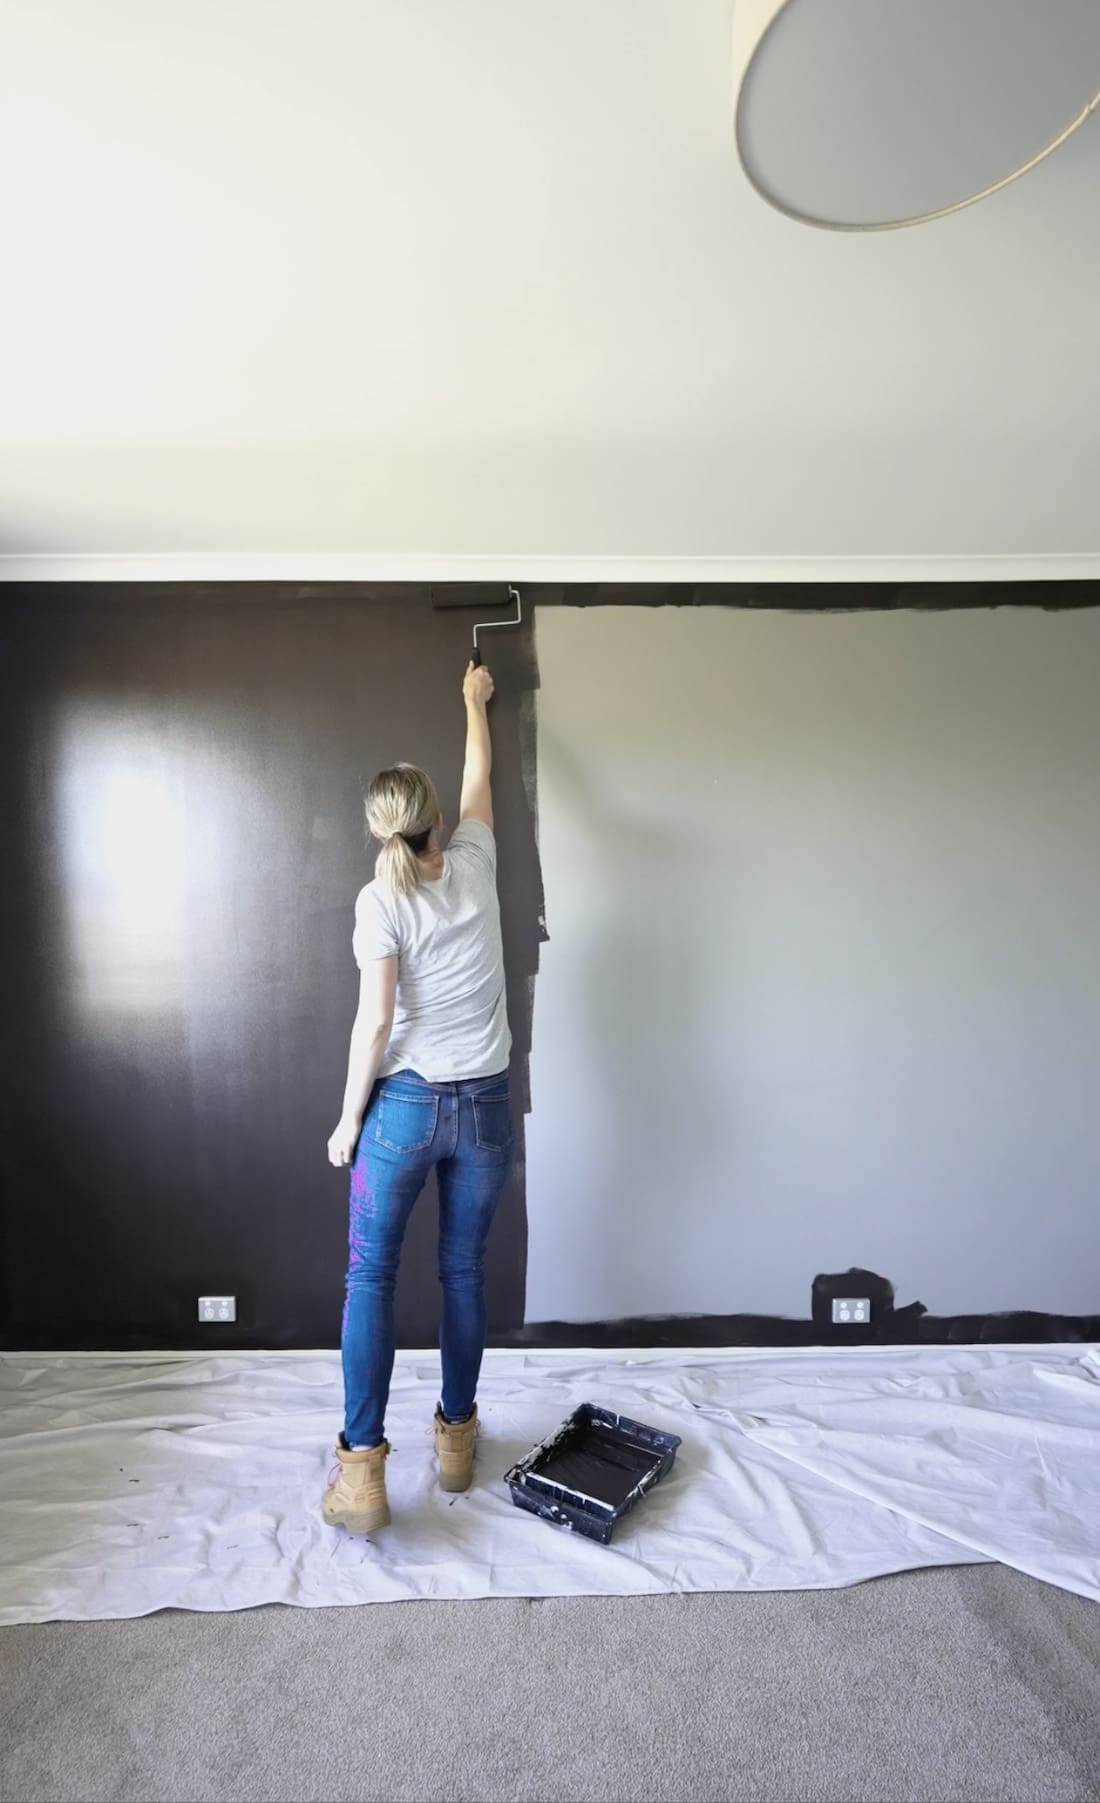
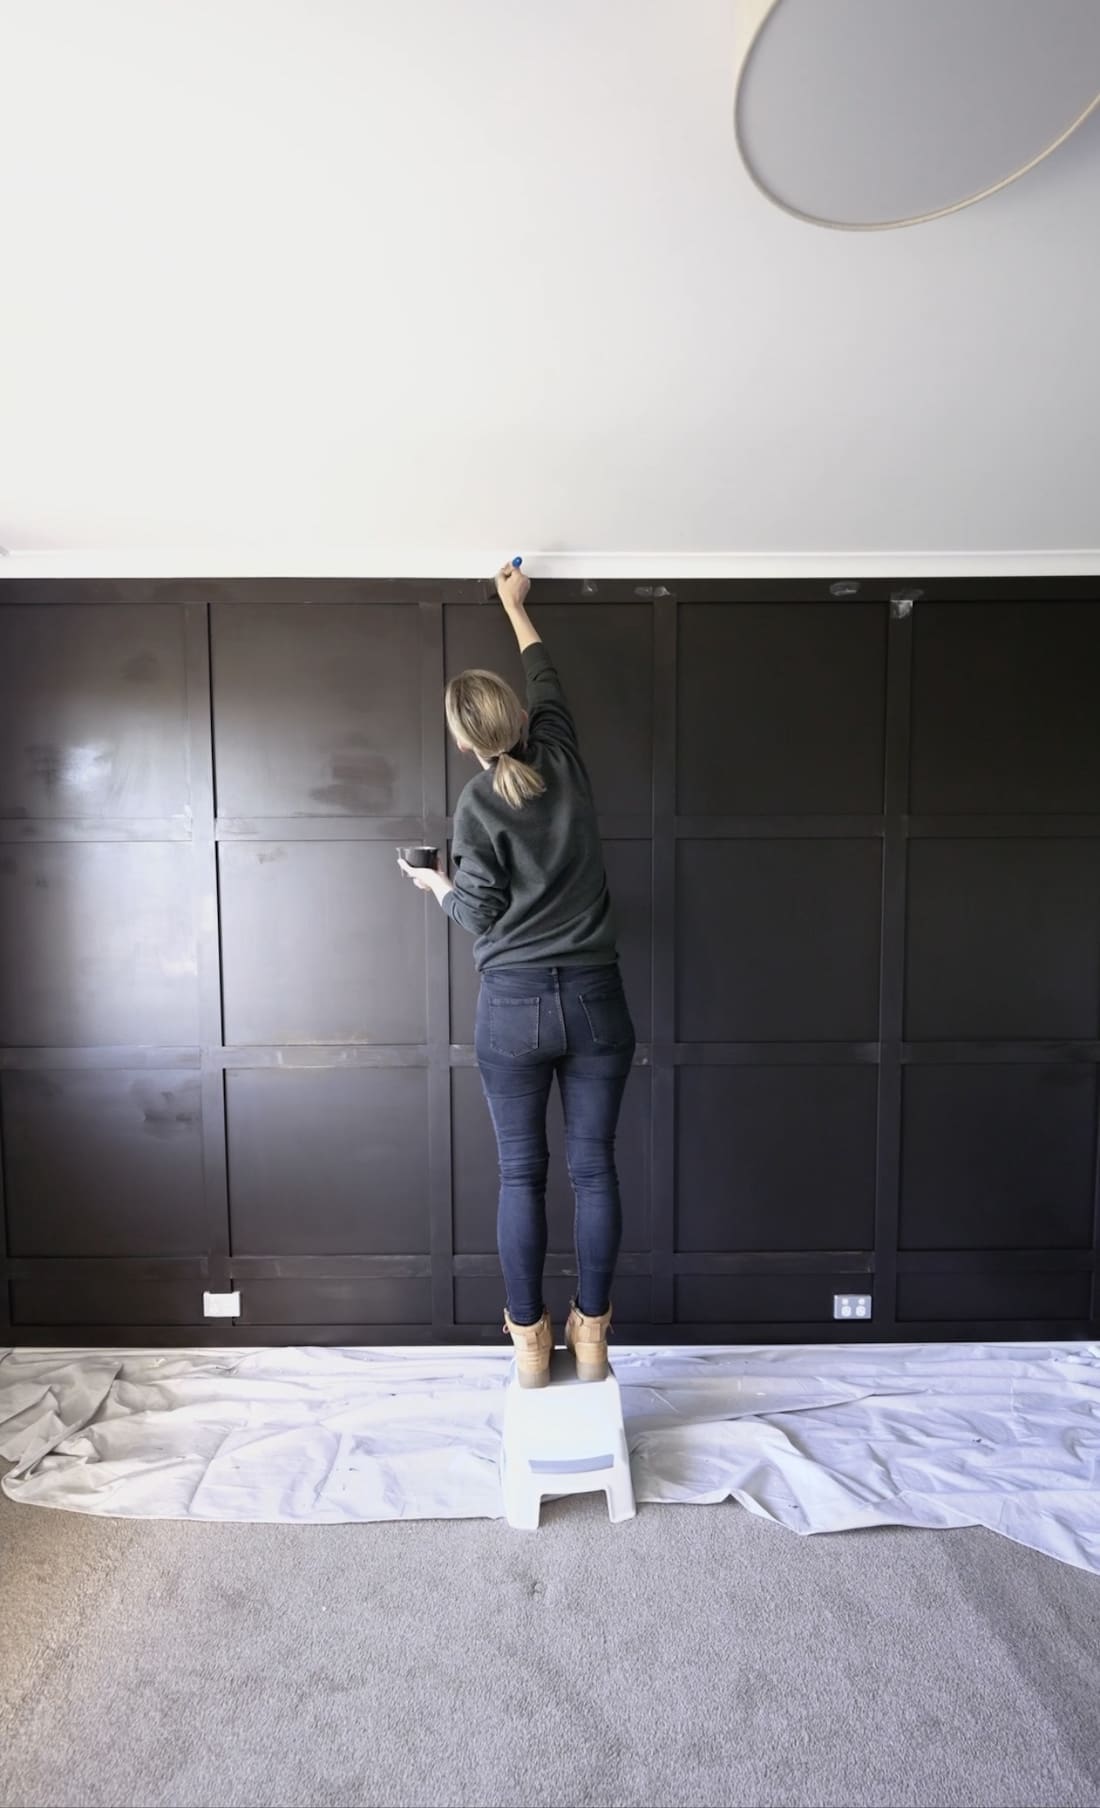
1. Start by painting the wall and all of the timber panels in your preferred colour with a roller — this will help to minimise paint brush marks. For this wall, I’ve used the paint colour ‘Black felt’ by Dulux. Check out these tips on how to paint like a pro.
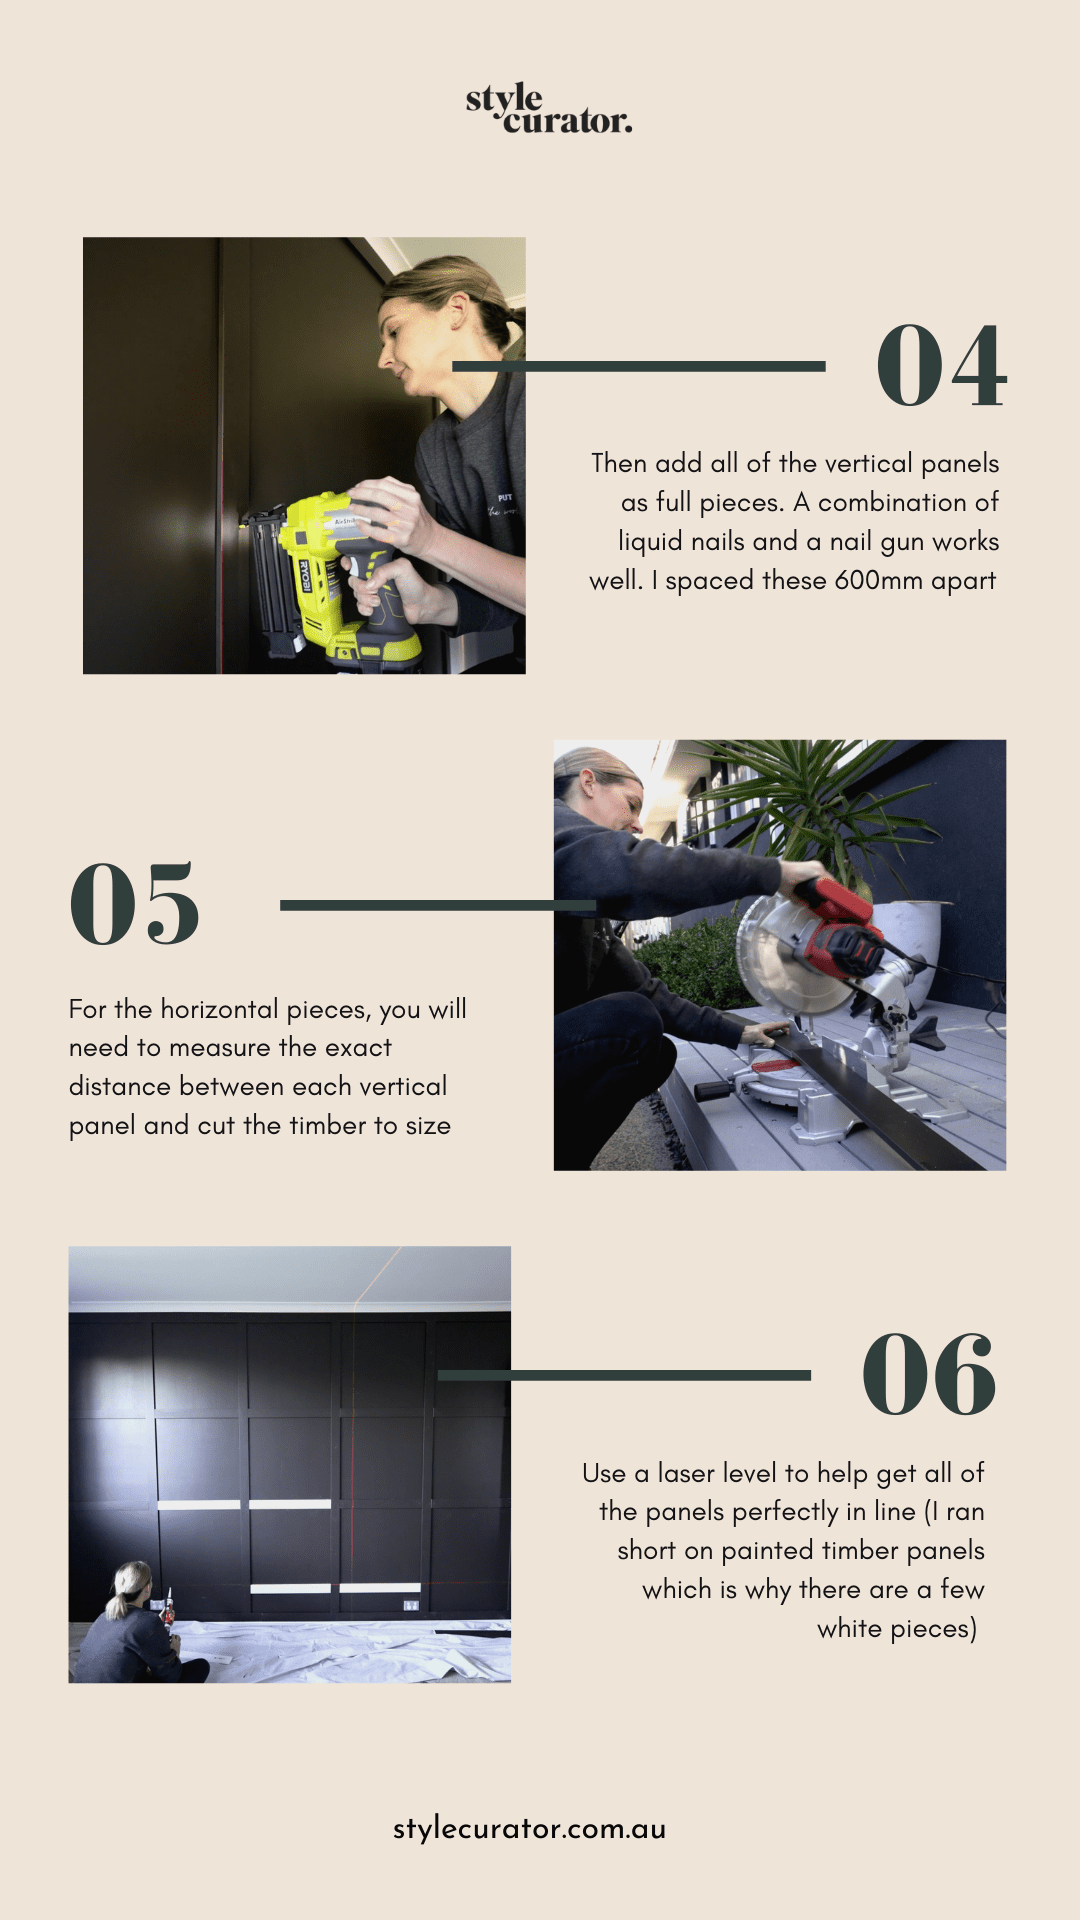
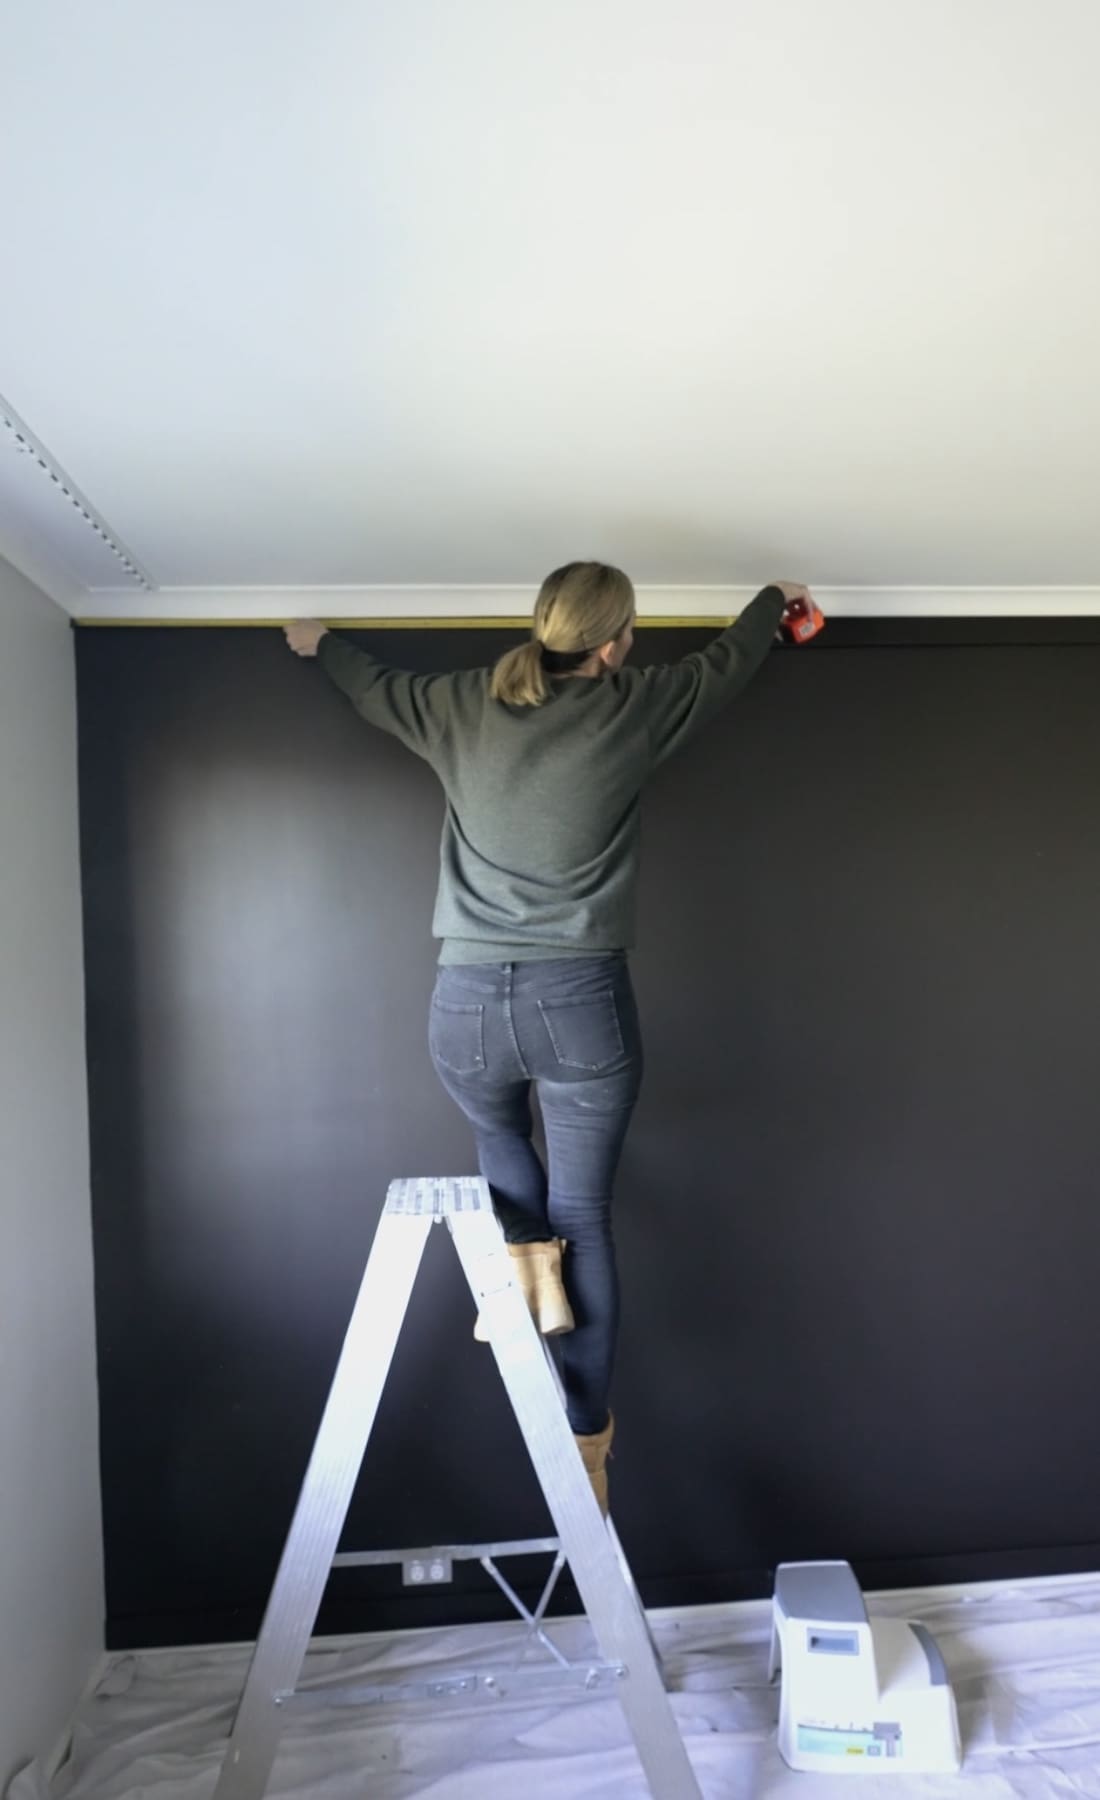
2. Then create a ‘border’ for the wall using timber panel ie add full lengths of timber along all 4 edges of the wall. It creates a cleaner result and is especially important if you have cornices to prevent weird shadows.
To get a perfect result, measure and label each piece, carefully cutting to the exact millimetre. I used a drop saw for this which was a pretty scary tool (perhaps only less so than a durable chainsaw!). Be sure to follow all safety precautions like wearing safety goggles and work boots.
Tip:
Use liquid nails and a nail gun to secure the timber panels in place.
3. Add all of the vertical panels as full lengths. I spaced these out 600mm apart but you may want to adjust the width to suit your wall so you aren’t left with a narrow panel at one end.
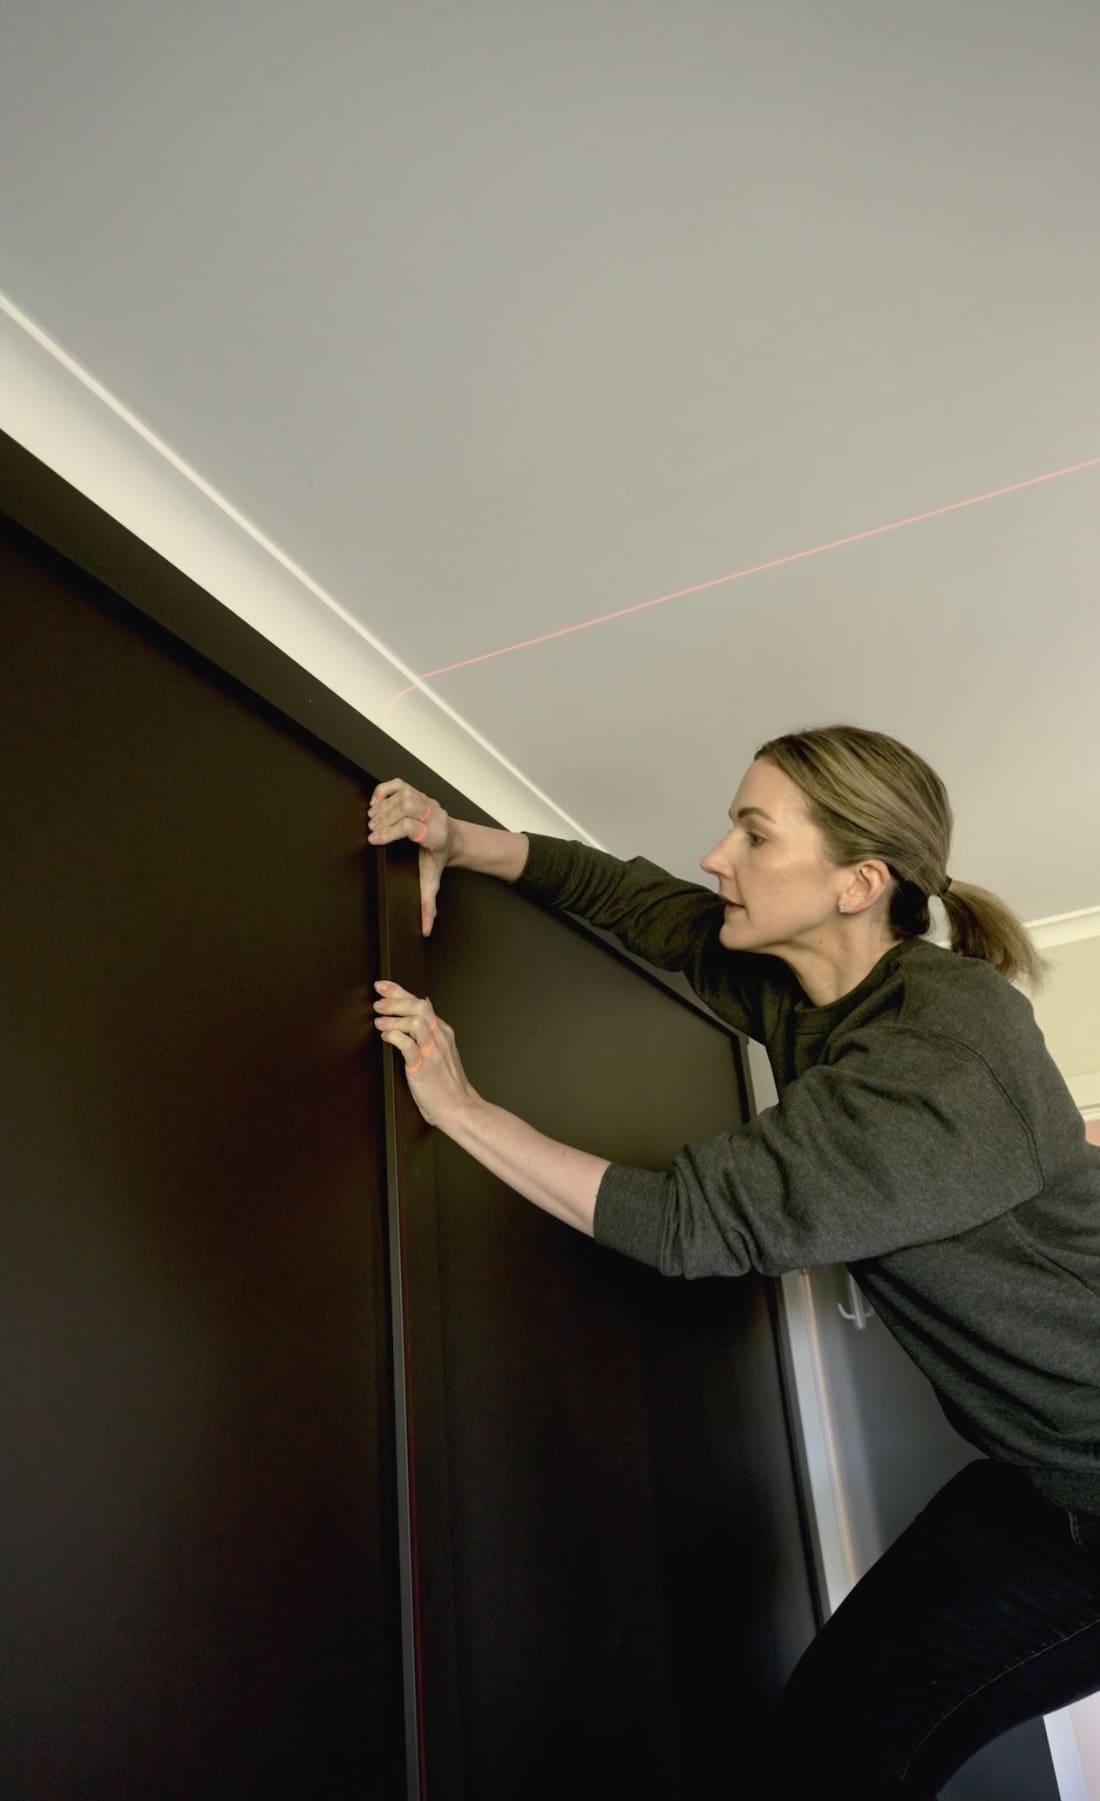
4. Once you’ve done all the vertical pieces, it’s time to do the horizontal slats. These are smaller cuts of timber that sit between the vertical panels. A laser level really helps here to get things perfectly in line.
Tip
Measure the exact distance between each panel. I numbered these 1, 2, 3 etc. as you may find the distances between the vertical panels vary by a couple of millimetres.
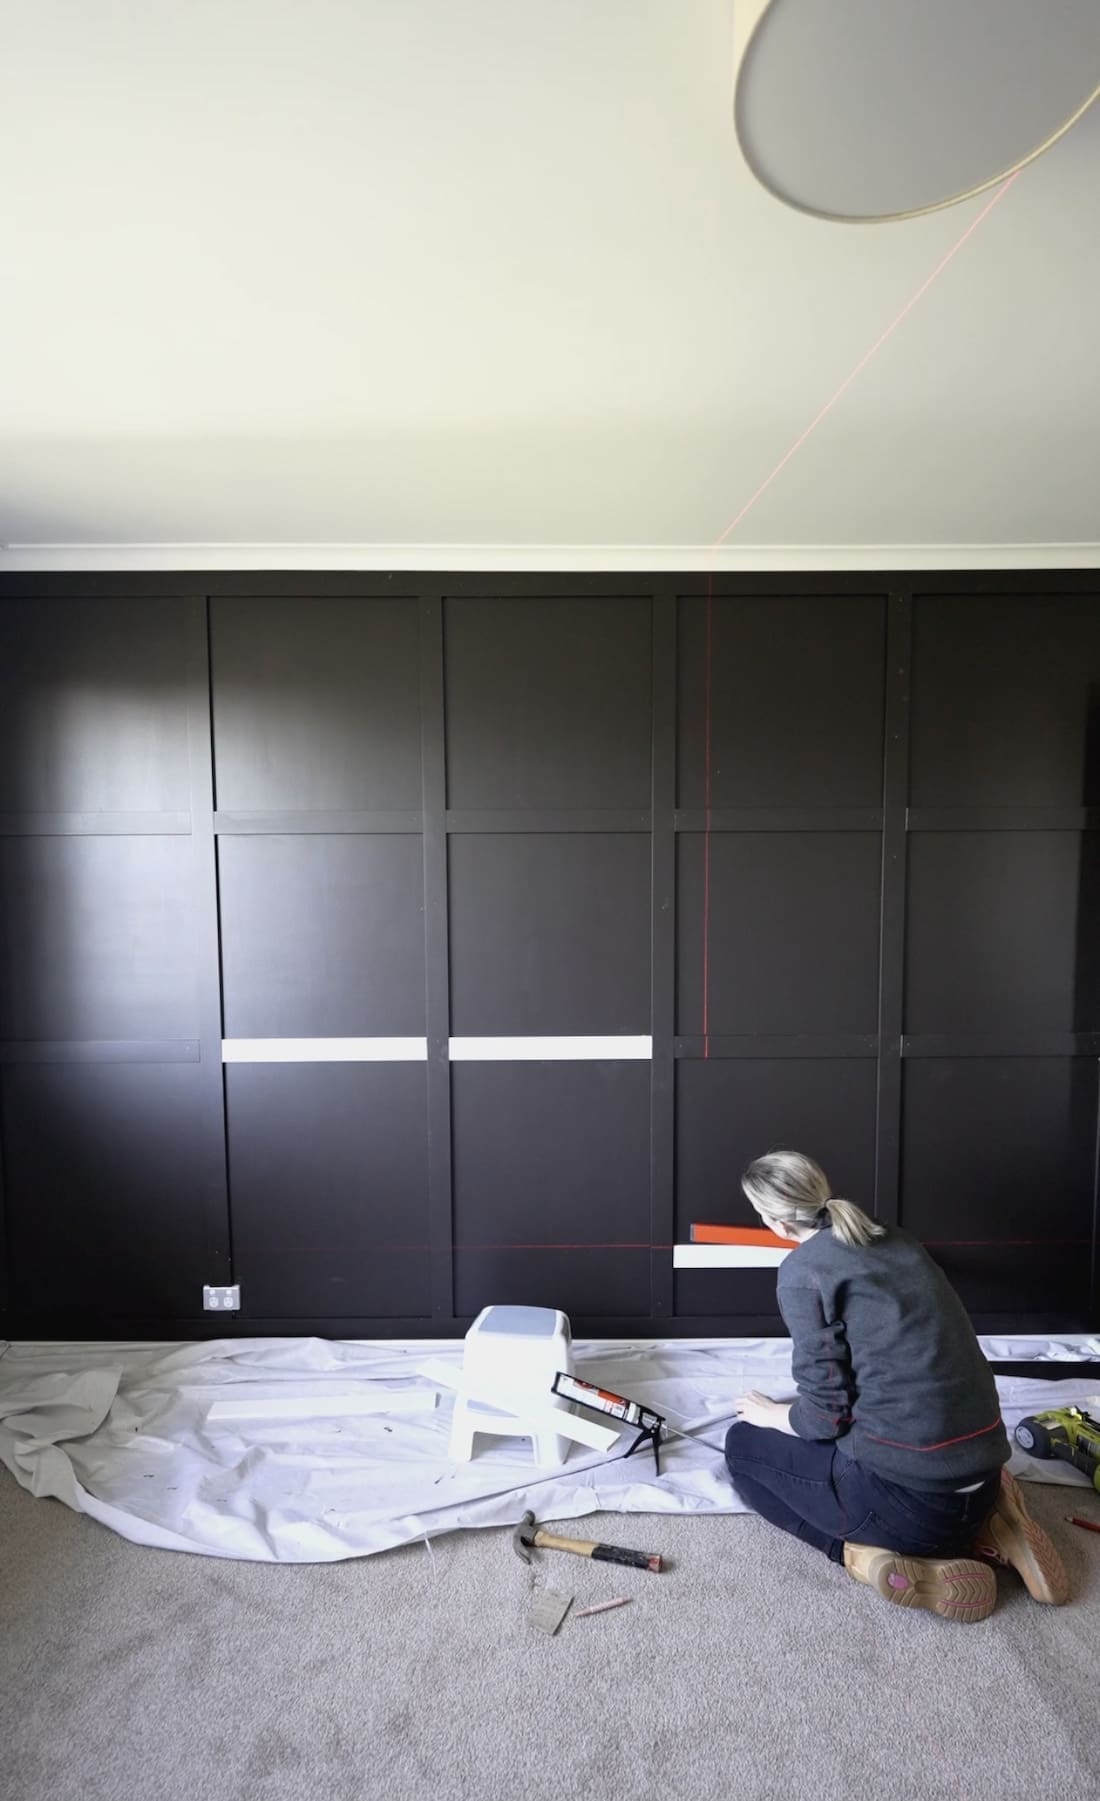
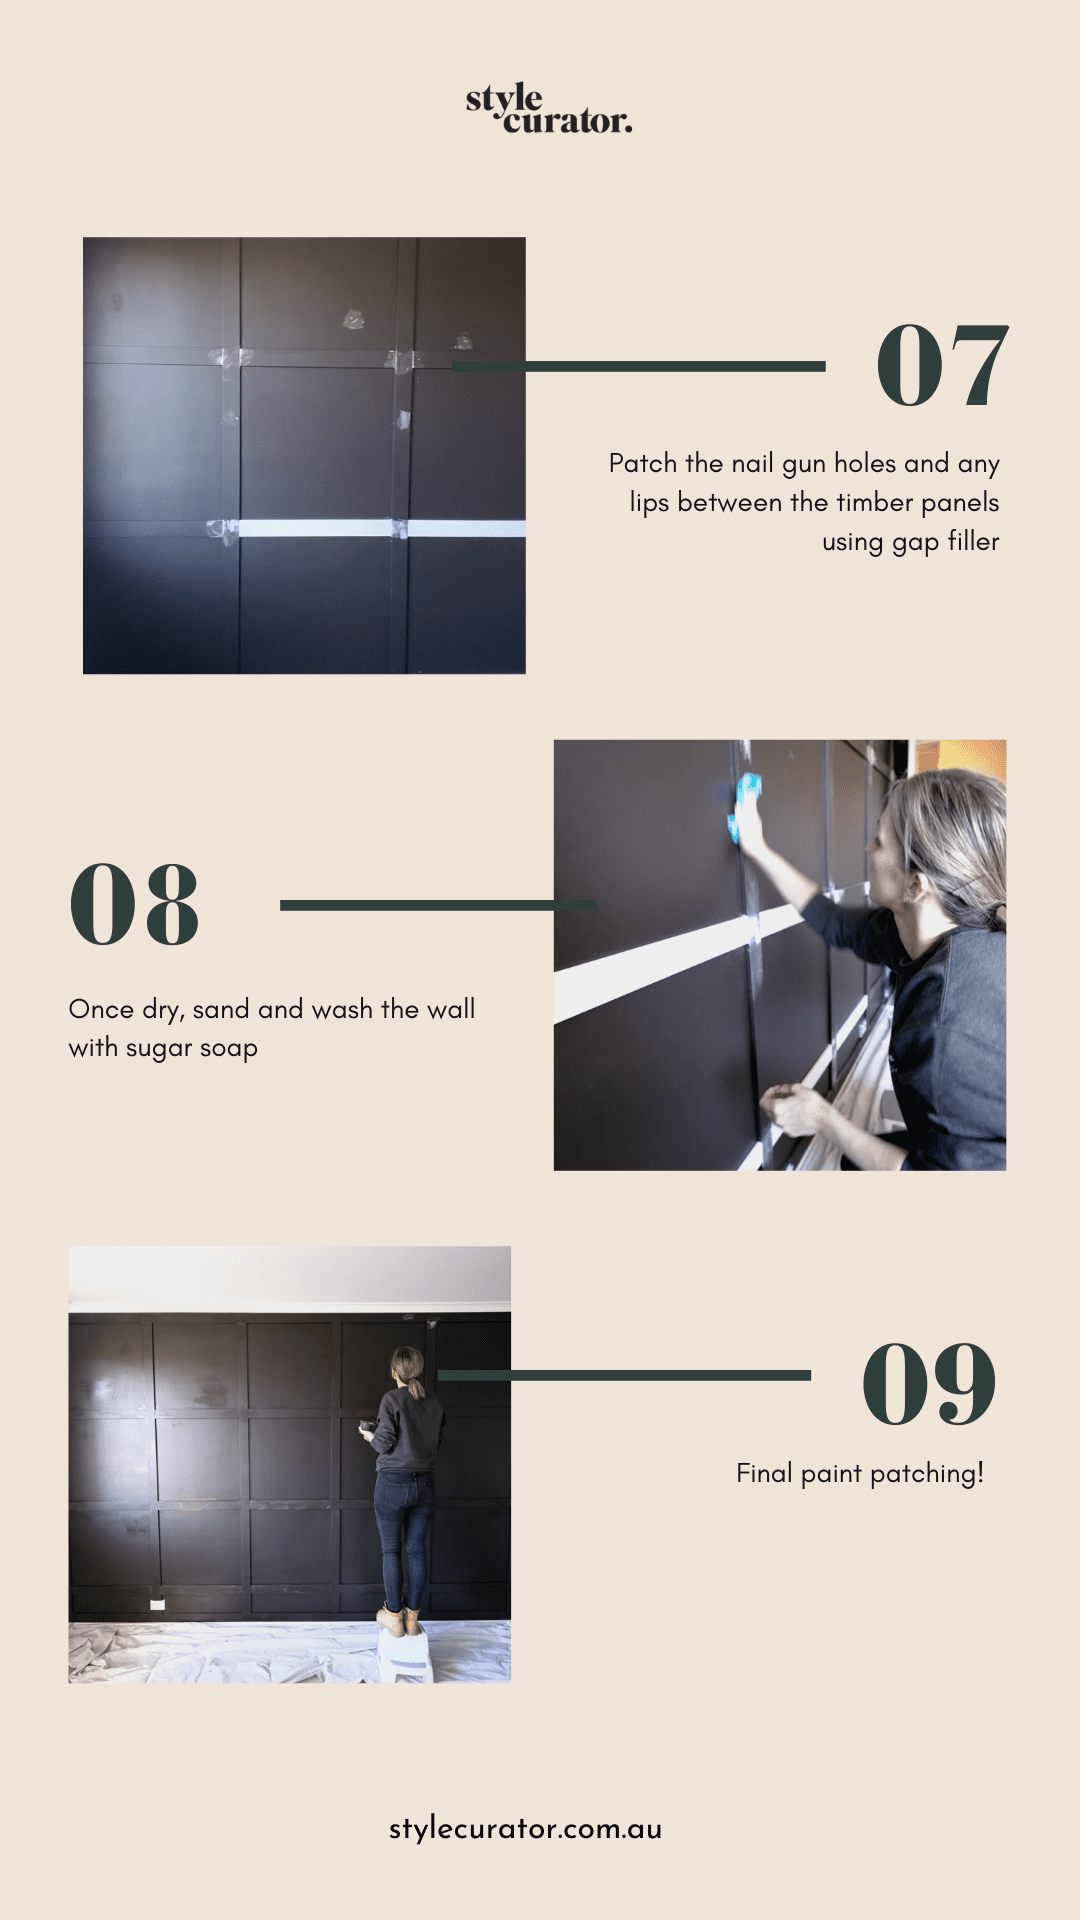
5. Then it’s time to patch any holes from the nail gun or lips in the timber using gap filler.
6. Finish by sanding to smooth out these areas and do final touch up painting.
Will you give this square panel feature wall tutorial a go? I’d love to see pics of your space! Tag me when you post them online or email them to hello@stylecurator.com.au.
More DIY reno ideas