
Is your backyard looking a little worse for wear? Whether you’re dealing with patchy grass, bare dirt or a lawn that’s seen better days, laying fresh turf is one of the quickest ways to give your outdoor space a makeover. And the best part? It’s a DIY project that’s achievable in a weekend, even if you’re not particularly handy!
Unlike growing a lawn from seed, which can take weeks or even months to establish, laying turf gives you an almost instant transformation. One day you’ve got a dusty, tired-looking backyard and the next, a lush green lawn.
The secret to success is all in the preparation. Get the groundwork right, choose a grass variety that suits your space and give your new lawn a little TLC in those first few weeks. Ready to roll up your sleeves and get your gardening boots on? Here’s our step-by-step guide to laying turf yourself, including a few common mistakes to avoid.
Related article: How to affordably landscape your garden: Wow factor on a budget
Related article: Garden design ideas: How to plan your dream garden using smart visualisation tools
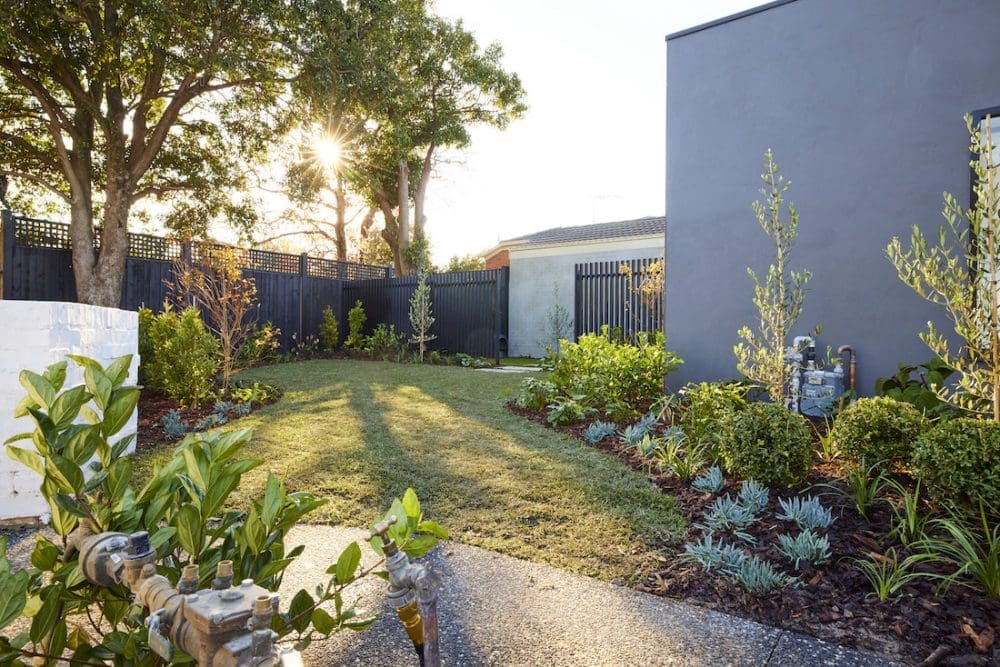
Why choose turf over grass seed?
If you’re planning a lawn makeover, one of the first decisions you’ll need to make is whether to lay turf (rolls of grass) or grow grass from seed.
While grass seed is generally the more affordable option upfront, it requires patience. You’ll need to wait for germination, keep the soil consistently moist and protect the area from foot traffic while the grass establishes. This isn’t always practical if you have a pet in the backyard or don’t have an irrigation system that can be programmed to keep the area moist. There’s also the risk of patchy growth, particularly if birds, heavy rain or weeds interfere with the process.
Turf, on the other hand, offers that instant makeover we all love! Because it’s already been grown and established on a turf farm, you’re essentially transplanting mature grass into your backyard. While the roots still need time to establish in their new home, you’ll have the look of a finished lawn from day one.
Step 1: Measure your space and choose the right turf
Before ordering your turf, you’ll need to work out how much you need. For a simple rectangular area, multiply the length by the width to calculate the total square metres. If your backyard has curves, garden beds or an unusual shape, break it into smaller sections and add the measurements together.
It’s also worth ordering a little extra to allow for trimming and wastage, especially if your lawn has lots of curved edges.
Our tip: Don’t just choose a grass variety based on how it looks. Consider how you actually use your outdoor space.
Does your backyard get full sun or is it shaded by neighbouring homes and trees? Do you have kids or pets running around? Is your lawn purely decorative or will it need to withstand plenty of foot traffic?
Different grass varieties have different strengths. For example, some buffalo varieties are well suited to areas with partial shade, while certain couch and kikuyu varieties thrive in sunny spaces and can tolerate regular use.
If you’re unsure which turf is right for your home, speak with a specialist supplier before ordering. For people in Sydney, J&B Buffalo Turf Supplies is one of the established turf suppliers Sydney residents can consider. The family-run business has been growing turf since 1988 and offers advice on selecting a suitable variety for your outdoor space.
It’s also worth checking delivery times before you start preparing your backyard. Fresh turf is best laid as soon as possible after harvesting, so you’ll want everything ready before it arrives.

Step 2: Prepare the ground properly
We can’t stress this enough — good soil preparation is the key to a successful lawn!
It’s tempting to rush this step but taking the time to prepare your soil will give your new turf the best possible start.
Here’s what to do:
Clear the area
Remove any existing grass, weeds, rocks and debris. If you’re replacing an old lawn, a turf cutter can make the job much easier, particularly for larger areas.
Loosen the soil
Use a garden fork or rotary hoe to loosen the top 75–100mm of soil, where conditions allow. This helps create a better environment for new roots to establish.
Improve your soil if needed
Depending on your existing soil, you may need to add a quality turf underlay or soil conditioner. Heavy clay, sandy soil and poorly draining areas may need different preparation, so it’s worth getting advice for your particular site. When Gina put new turn in her backyard, she got several cubic metres of quality garden soil delivered and spread this out around 20-50mm thick across the entire area.
Level the surface
Use a lawn levelling rake to create a smooth, even finish, removing bumps and filling low spots where water could collect.
Lightly firm and moisten the soil
The surface should be firm enough that it doesn’t sink significantly underfoot, but not heavily compacted. Lightly water before laying so the soil is moist rather than muddy.
A little extra advice
Pay attention to drainage. If your backyard regularly becomes waterlogged after rain, it’s worth addressing the problem before laying turf. A beautiful new lawn won’t solve an underlying drainage issue! You may need to get a garden sump installed for excess water to drain away.
Step 3: Lay your turf as soon as it arrives
Now for the fun part! Freshly harvested turf is a living product, so you’ll want to lay it as soon as possible after delivery, ideally on the same day. Leaving rolls stacked in the sun can cause them to heat up, dry out and die.
Once your ground is prepared, follow these steps:
- Start with a straight edge. Begin along a driveway, garden path or fence line to keep your first row neat and straight.
- Stagger the joins. Lay your turf in a brick bond pattern, offsetting the joins between rows. This helps create a more seamless finish and avoids long, continuous gaps.
- Keep the edges snug. Position each piece firmly against the next without overlapping or stretching the turf. Gaps can dry out and leave visible lines in your lawn.
- Trim around obstacles. Use a sharp knife or turf-cutting tool to shape pieces around garden beds, stepping stones and curved edges.
- Take extra care on slopes. Lay turf across the slope rather than vertically where practical, and use turf pegs if needed to prevent the turf from moving before the roots establish.
Once laid, lightly press or roll the turf into contact with the soil beneath, following your supplier’s recommendations. Good soil contact helps the roots establish and reduces air pockets.
And don’t worry if the joins are visible at first. With the right care, they’ll gradually become less noticeable as the lawn grows.
Step 4: Water your new lawn thoroughly
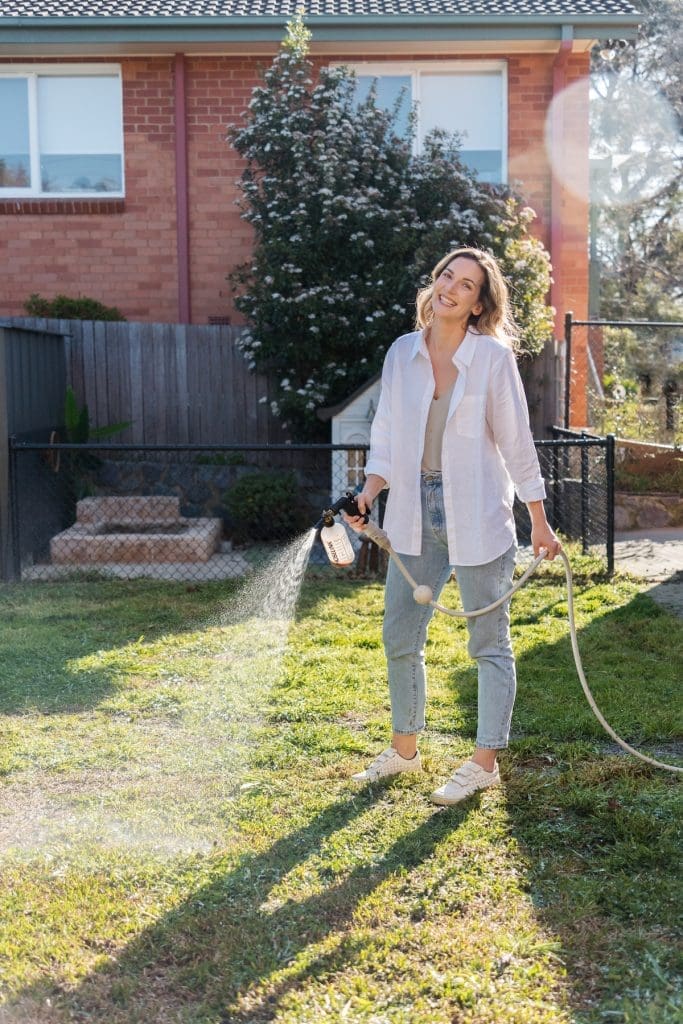
This is where your new lawn needs the most attention. Fresh turf might look established, but its roots haven’t yet grown into the soil below. Until they do, the grass is particularly vulnerable to drying out.
Water your turf immediately after laying it, making sure the moisture reaches through the turf and into the soil underneath. During the first couple of weeks, you’ll want to keep the turf and underlying soil consistently moist but not so wet that it pools with water.
A few things to remember:
- Check moisture regularly. New turf may need watering daily or more frequently during hot, dry or windy weather. Adjust based on the weather, soil conditions and your supplier’s advice.
- Pay attention to edges. The edges of turf rolls can dry out faster than the centre, so give these areas a little extra attention.
- Avoid unnecessary foot traffic. Keep kids, pets and outdoor furniture off the lawn while the roots are establishing.
- Watch for signs of stress. Curling edges, dry patches or changes in colour can indicate that your turf needs attention.
One simple way to check whether your lawn is establishing is the tug test. After about two weeks, gently lift a corner of the turf. If it resists lifting, that’s a good sign the roots are beginning to establish in the soil beneath.
Keep in mind the time it will take for your turf to establish will depending on the grass variety, weather and growing conditions.
Step 5: Give your new lawn its first mow
Once your turf has developed a healthy root system and is firmly anchored to the soil, it’s time for its first mow.
For many lawns, this will be around two to three weeks after you lay it, although it can take longer during cooler weather or periods of slower growth. The important thing is to check that the turf has rooted properly rather than mowing according to a set date.
When you’re ready:
- set your mower to a higher cutting height for the first mow
- make sure your mower blades are sharp to avoid pulling or damaging the new grass
- avoid mowing when the soil is excessively wet or soft.
For ongoing maintenance, follow a mowing and fertilising schedule suited to your particular grass variety and the season. And remember, different grasses have different ideal mowing heights, so one setting doesn’t suit every lawn!

Common DIY turf-laying mistakes to avoid
Laying turf is relatively straightforward, but there are a few common mistakes that can affect the finished result.
1. Skipping the soil preparation
We get it, preparing the ground isn’t exactly the fun part of a backyard makeover! But laying fresh turf over compacted, uneven or weed-filled soil can lead to poor root growth and patchy results. Put in the effort upfront and your lawn will thank you.
2. Choosing the wrong grass variety
That lush green lawn you’ve spotted on Pinterest might look incredible, but will the same grass thrive in your backyard? Always consider sunlight, climate, maintenance requirements and your lifestyle before choosing your turf.
3. Leaving turf sitting around too long
Fresh turf needs to be installed promptly. Avoid ordering it days before you’re ready to lay it, particularly during hot weather. If installation is unexpectedly delayed, contact your supplier for advice on how best to protect it.
4. Not watering enough while it establishes
New turf needs consistent moisture while its roots establish. Don’t assume a quick sprinkle with the hose will be enough. Check that the soil underneath is actually receiving water, while avoiding excessive watering that leaves the ground soaked.
5. Walking on the lawn too soon
We know how tempting it is to enjoy your beautiful new backyard straight away, but be patient! Too much foot traffic before the roots establish can cause movement, uneven areas and damage to your new lawn.
A beautiful lawn starts with good preparation
There’s something incredibly satisfying about a DIY project that delivers such a dramatic before and after, and laying new turf is definitely one of them!
Whether you’re giving a tired backyard a refresh, finishing off a landscaping project or creating a lush green play area for the kids, it’s a relatively achievable DIY job that can make a huge difference to how your outdoor space looks and feels.
The biggest takeaway? Don’t rush the preparation. We know we keep harping on about this but it’s what you don’t see that can make the biggest difference. Also, choosing the right grass, getting your soil in good condition and looking after your lawn during those first few weeks.
If you’re planning a lawn makeover in Sydney or the surrounding region, experienced turf suppliers Sydney such as J&B Buffalo Turf Supplies, can help with turf selection, delivery and practical advice for getting your project underway.
Then all that’s left to do is enjoy your handiwork — once your new lawn has had time to establish, of course!
Feeling inspired to tackle more outdoor projects? Explore our other gardening tips and don’t forget to subscribe to the Style Curator newsletter for fresh decorating ideas, DIY projects and home inspiration delivered straight to your inbox!