
A DIY I’ve wanted to make for years now is a timber baby play gym! I got the idea to make one when we made Patrick’s teepee clothing rack as I thought a miniature version would be ideal for hanging toys. Of course, I wasn’t the only one to get this thought! There are now dozens of tutorials to make similar play gyms.
A dear friend of mine is about to have her second bub, and I’m making this play gym for her. So thought while I was at it, I’d take photos along the way.
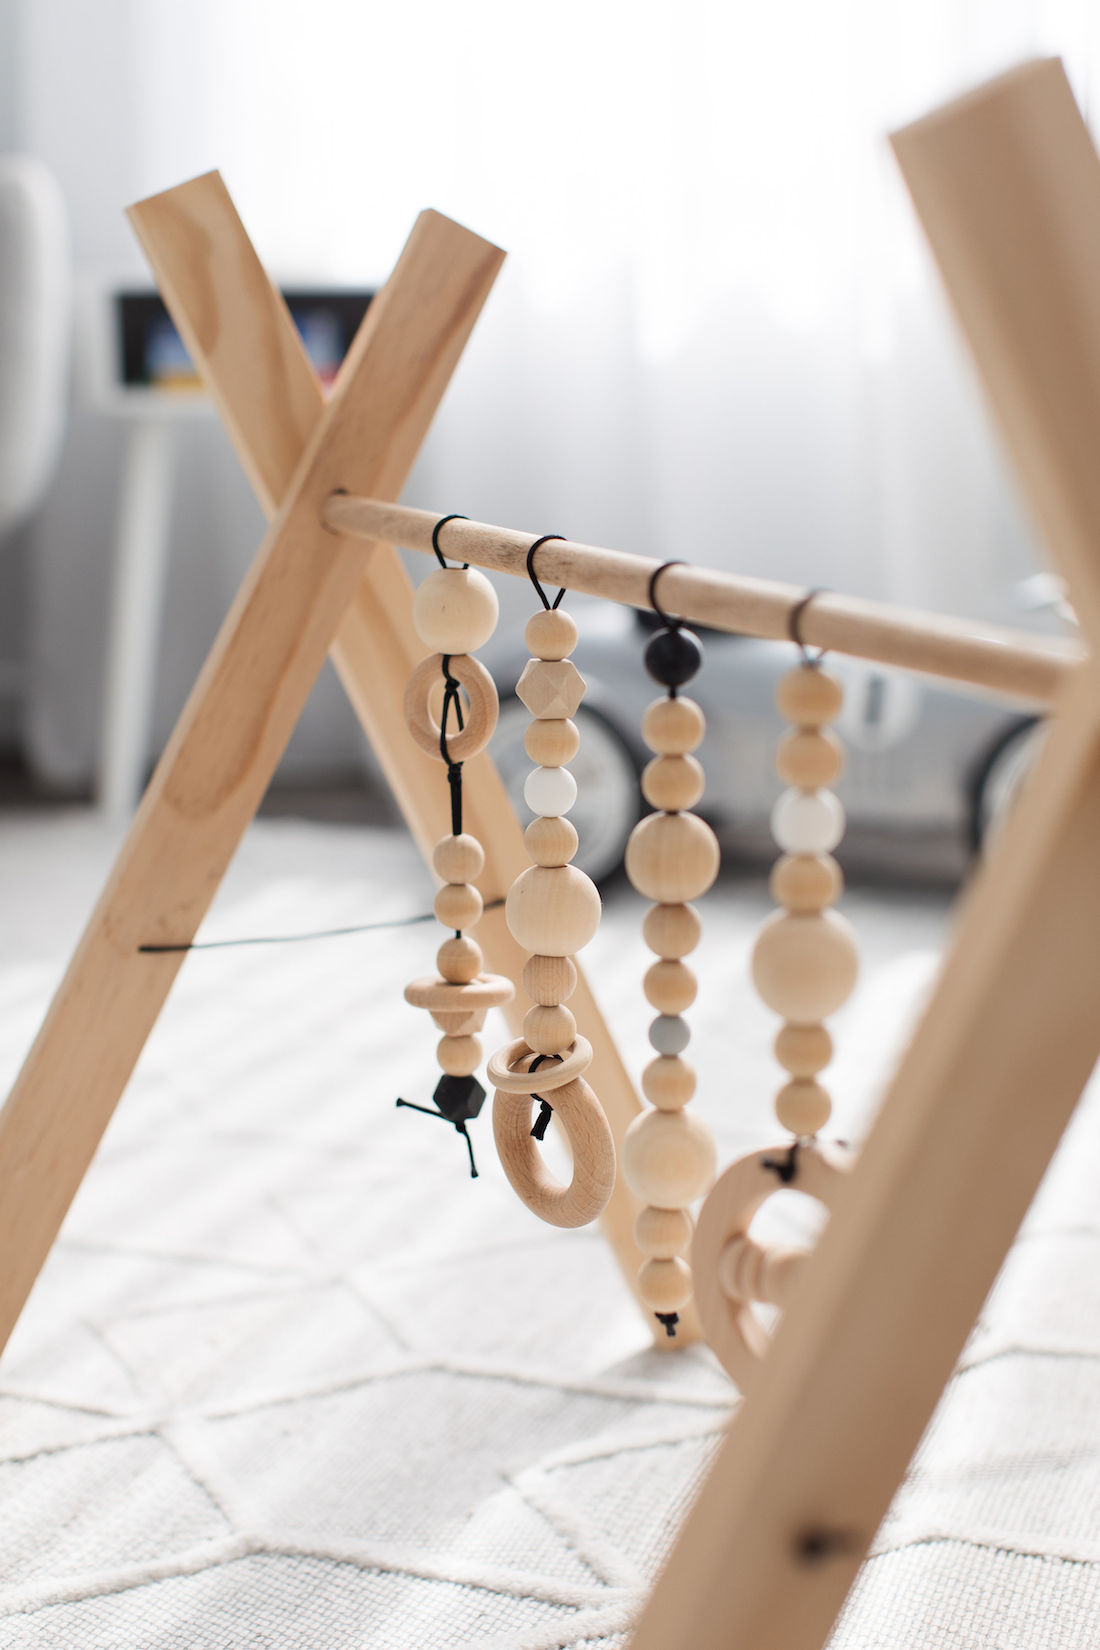
You can personalise this piece to suit your baby’s nursery. For example, by adding some coloured silicone beads from your colour palette.
Related article: DIY nursery canopy with eucalyptus garland
Related article: Creating an epic outdoor play area for your child

Note:
This design was created using advice from Australian Toy Safety guidelines. However, it has not been tested for compliance. We recommend parents use their own judgement if this design is right for them. Babies should be supervised at all times.
Items you will need:
- 2 pieces of 42mm wide x 19mm thick x 1.2m long standard grade dressed pine
- 1 piece of 70cm length dowel (I used 16mm diameter. You could use any thickness between 10mm-20mm depending on your preference)
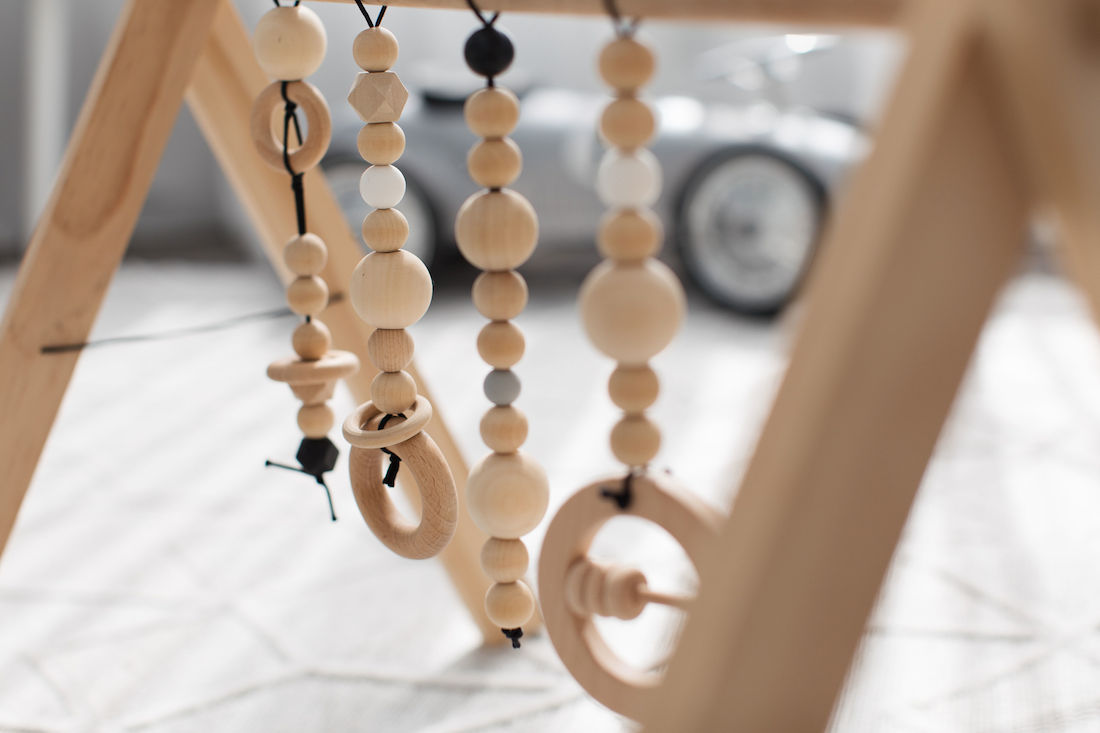
- Timber beads, we found a great selection on Etsy
- Silicone beads, we got ours from Etsy
- Saw
- Electric drill
- Spade drill bit size of dowel width
- Scissors
- Ruler
- Pencil
- Twine (I used rat tail)
- Optional paint and brush
Steps:
1. Cut the timber pieces in half and then trim the ends on a 15 degree angle. This will make them sit flush against the floor and also give the gym stability.
2. Then stand two pieces of timber and cross them at the top, creating a teepee shape. Use your pencil to mark where the timbers overlap.
3. Find the centre of the overlapped space and mark with a pencil. Pre-drill a hole with a regular drill bit. Then use the spade drill bill to drill out your hole where the dowel will feed through.
4. Repeat this step on each piece of timber.
5. Optional: You could also paint the timber pieces in white or a colour to tie into your nursery theme. Alternatively, you could use painters tape to create a clean edge and just paint the top tips of the planks. Or you could leave the gym completely natural.
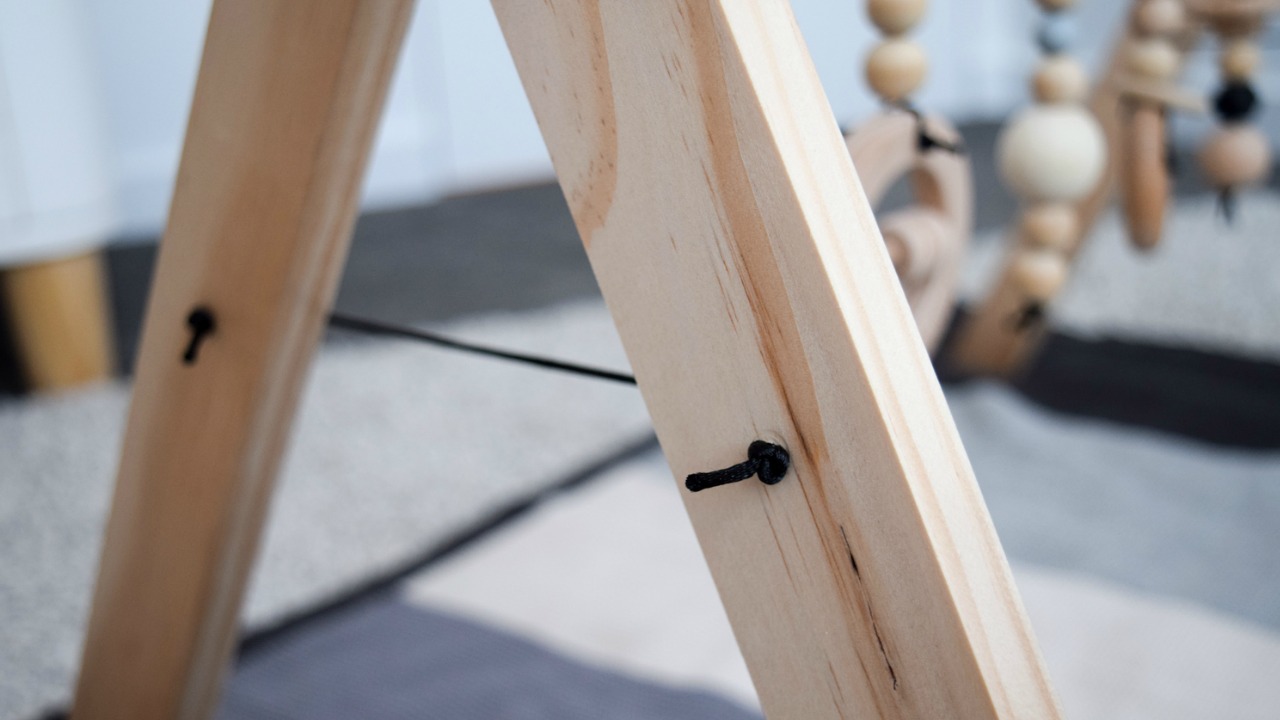
6. Drill a small hole 25cm up from the base of each timber plank where you can feed your twine through to help give the gym extra stability (this will prevent it falling on baby!).
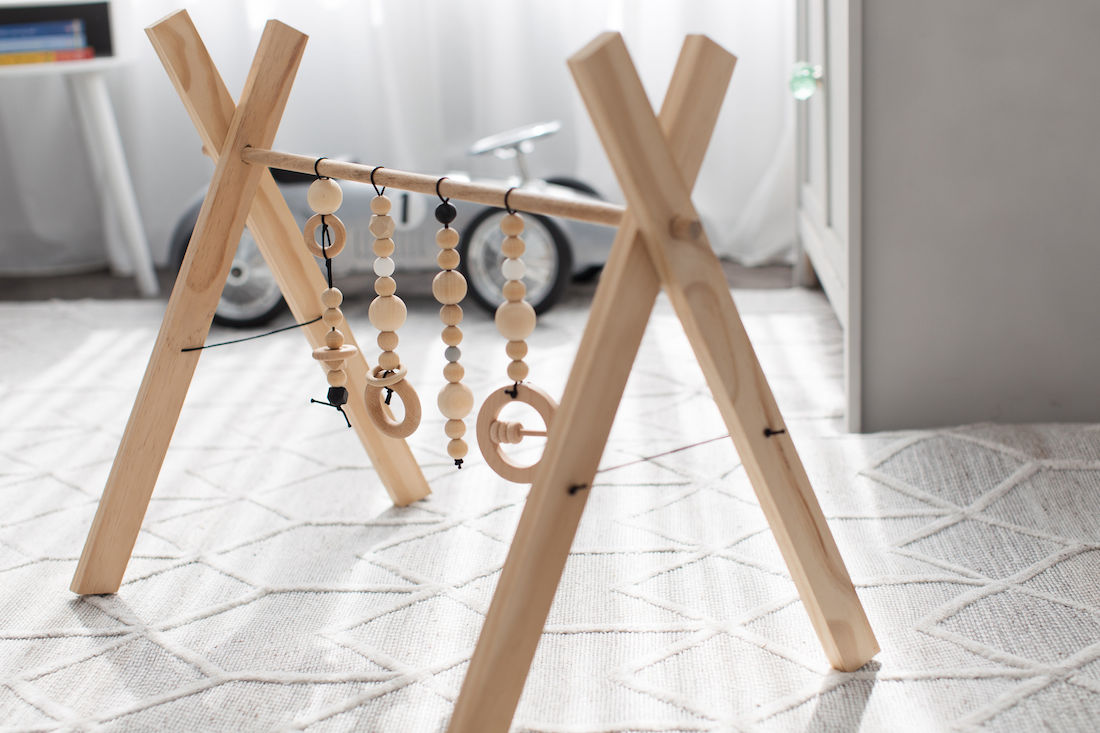
7. Construct your play gym by standing two pieces of timber at each end and feed your dowel through.
8. Feed twine between the two holes on the legs of each side of the play gym and tie a double knot to secure.
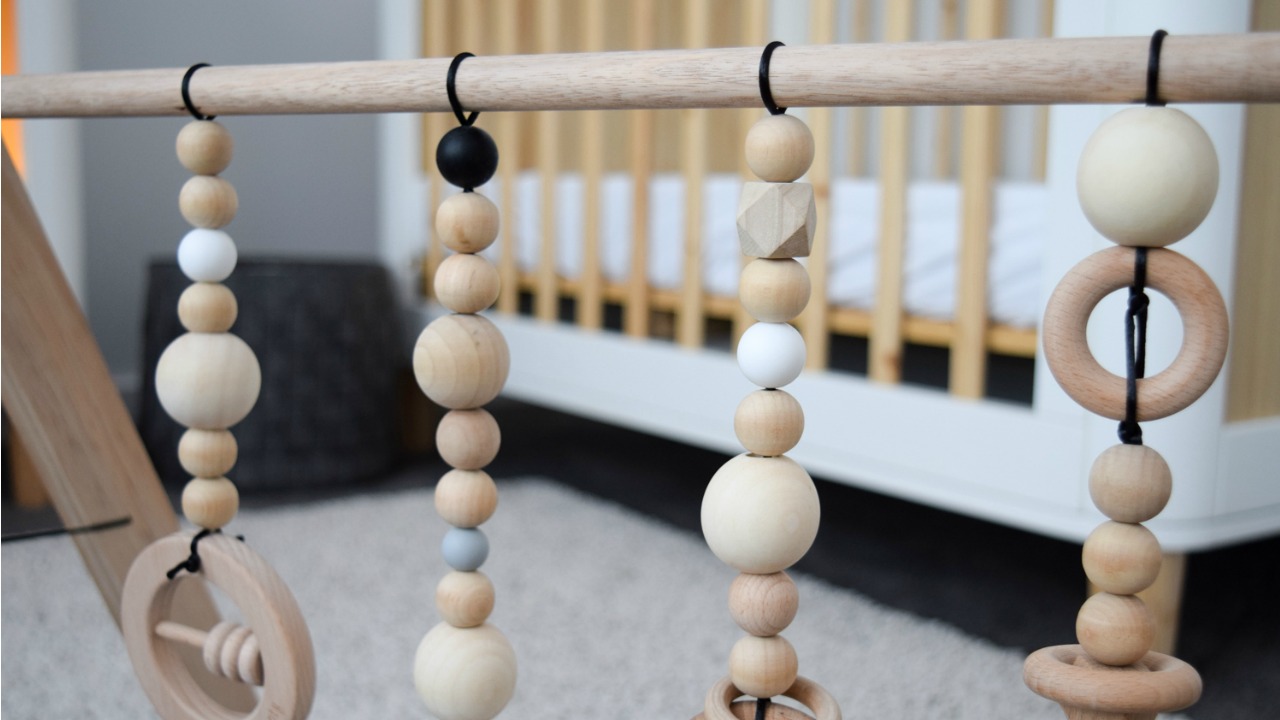
9. If your toys are on small timber hoops, you will need to add these before putting the end pieces on your gym. Alternatively, you could simply double twine over the dowel and feed beads on one by one. Finish with a double knot and leave 1cm excess twine to prevent it coming undone. Babies just love munching on the ribbon!
There you have my version of a stylish baby play gym. Will you attempt this DIY? Tell us how you’ve adapted it to suit your nursery!
Find more gorgeous nursery DIY projects here
This post was first published in August 2017. It has since been updated with new information and images.


Comments are closed.