
If you follow me on Instagram, you would have seen that we recently got the keys to a brand new SC studio! Woohoo, such an exciting time! One of the first things I needed to do was to get a large shared work desk for the team.
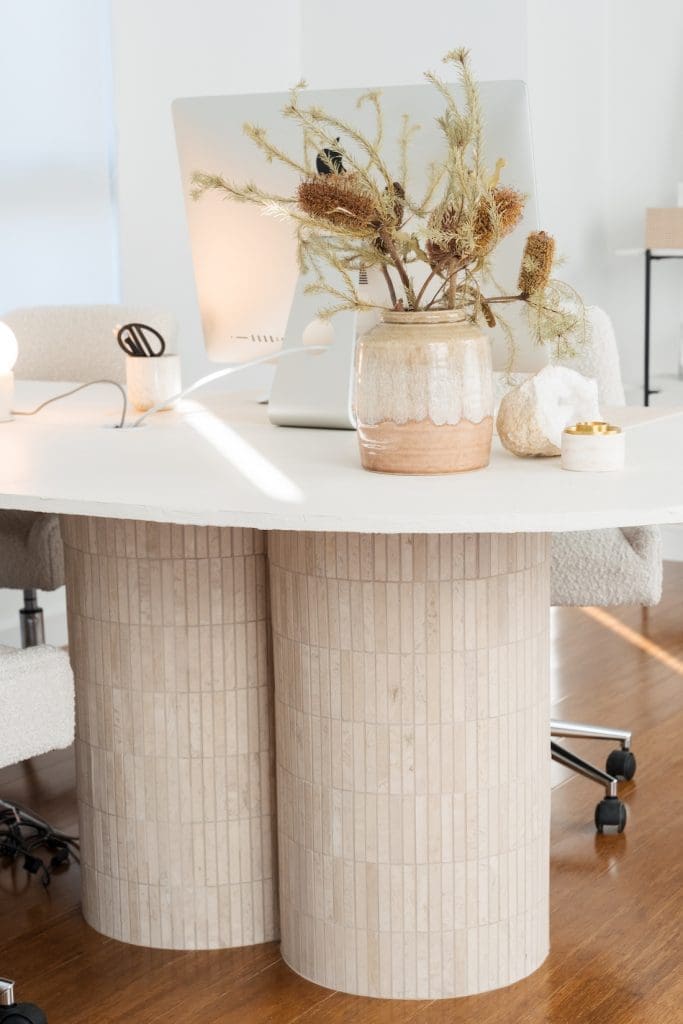
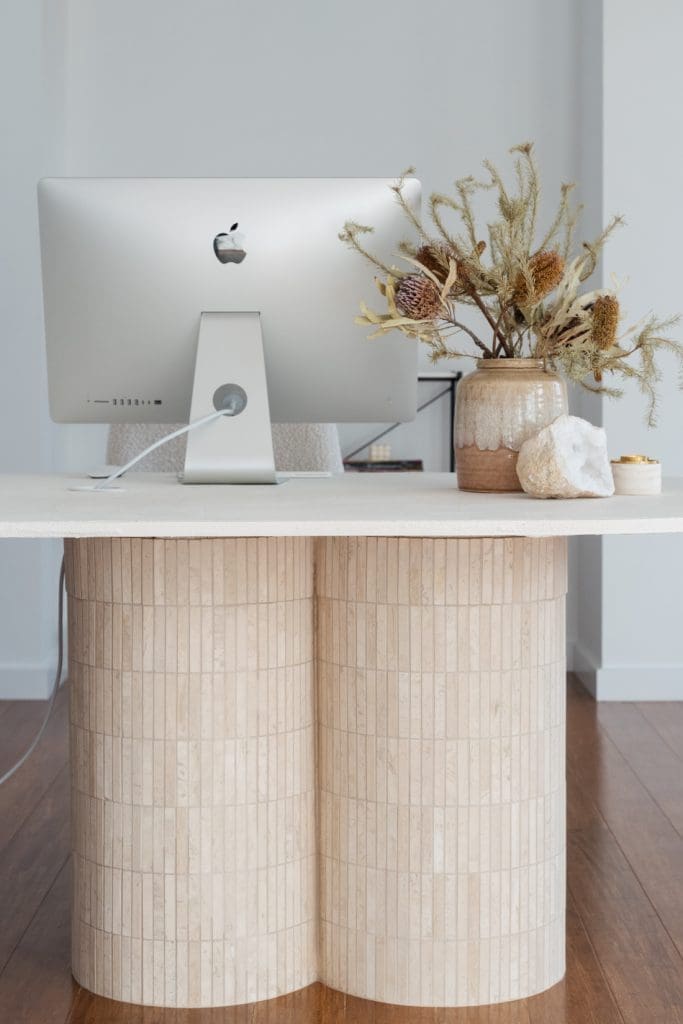
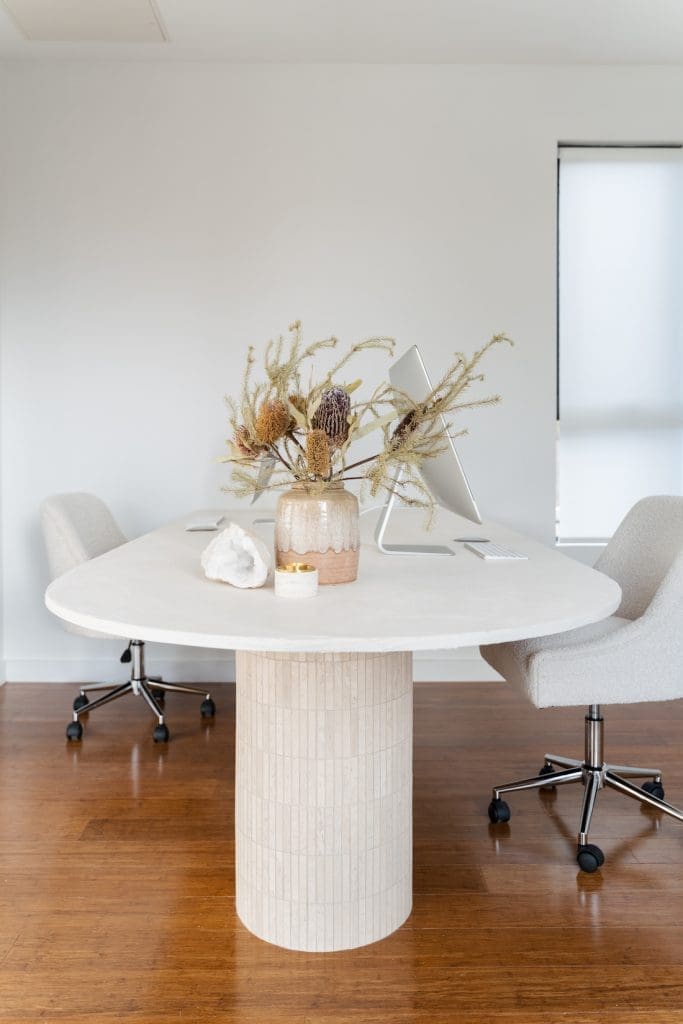
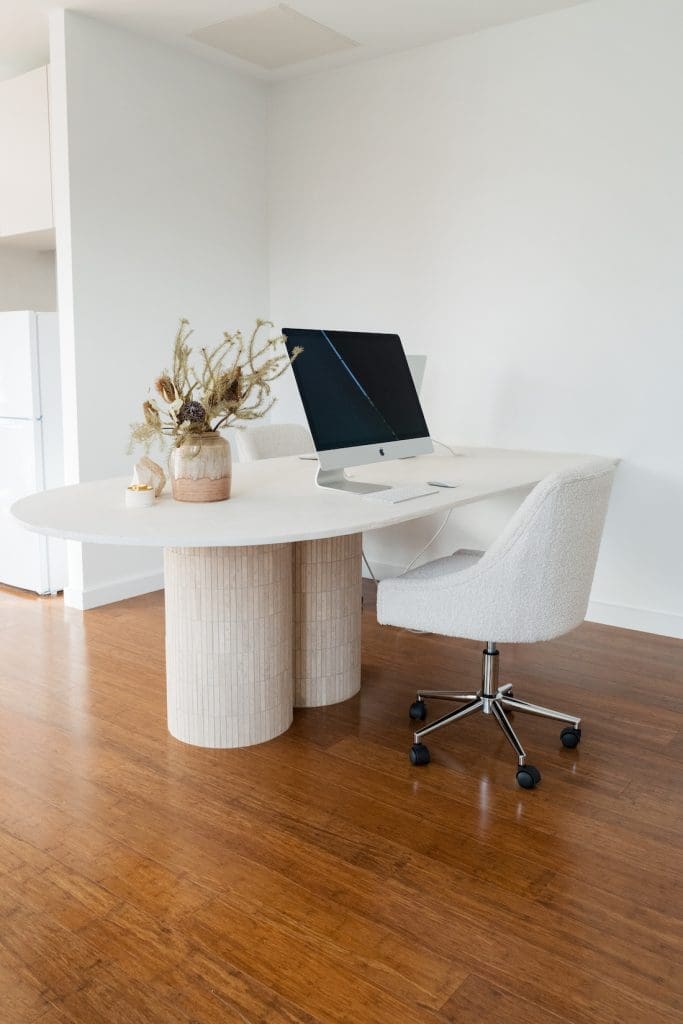
With an earthy, minimalist aesthetic in mind for the studio, I wanted the desk to feel more like a custom piece of furniture than a traditional office workstation. Naturally, I decided to DIY one, ha! The result is an oversized desk with a softly curved end, textured finish and travertine pillar legs.
Watch the video below to get a glimpse of the process or keep scrolling for all the materials and steps. I’m not going to lie, this table was a case of trial and error… but we got there in the end!
Related article: DIY outdoor dining table with tiled pillar legs
Related article: 20 easy ideas to create a stylish home office
The design brief
Most days there would be four of us working in the studio — and at times five — so my starting point was creating a generous shared workspace where everyone could comfortably set up their computer and have their own dedicated work zone.
I looked at large workstations and commercial office furniture from Rose Furniture as inspiration for the practical side of the design. It made me think beyond how I wanted the desk to look and consider functionality and ergonomics. I decided each person would need around 1200mm width for their work zone and access to power.
But aesthetically I wanted the desk to be completely bespoke and complement the luxe, earthy feel I was channeling. I settled on a 2400mm x 1200mm desk with travertine-clad pillar legs and a curved end. The curve helps soften the visual weight of such a large piece of furniture while also creating better flow around the desk.
Items you will need:
- 4 x Kmart oak look side tables (sold as a set of 2 — I used the smaller legs for this DIY and the larger legs for my outdoor table DIY)
- MDF board 2400mm long x 1200mm wide
- Honed travertine kitkat mosaics (also called finger or Twix mosaics)
- T-Rex glue
- Travertine coloured grout (and measuring jug, bucket and stirrer to mix)
- Primer
- Feather finish (initially I used render on the tabletop but this product didn’t bond as well as I would have liked so I scraped it off and re-did the tabletop in Feather Finish for a more hardwearing finish)
- Paint (Haymes ‘Organic 2’)
- 2 x travertine tile adhesive vinyl sheets from Bunnings
- 5 x framing timber offcuts (2 pieces for each pillar leg and one to secure against the wall to support the tabletop)
- 2 x cable ducts from Bunnings to allow cables to run through the table (you won’t need these if you are creating a dining table)
- Jigsaw
- Trowel
- Tile float
- Paint brush
- Measuring tape
- Pencil
Steps:
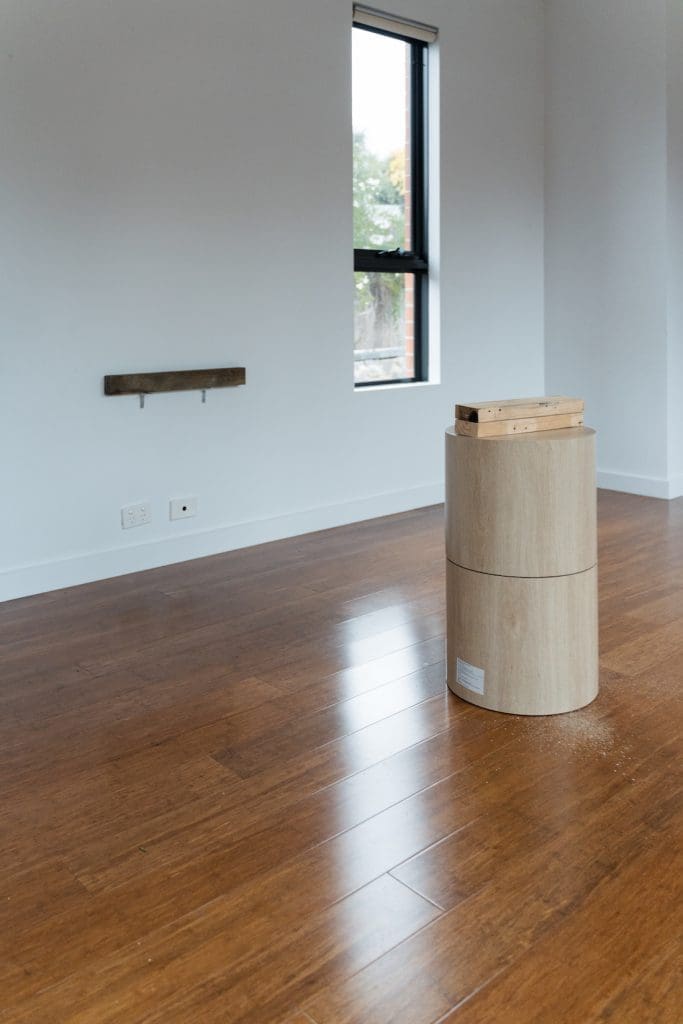
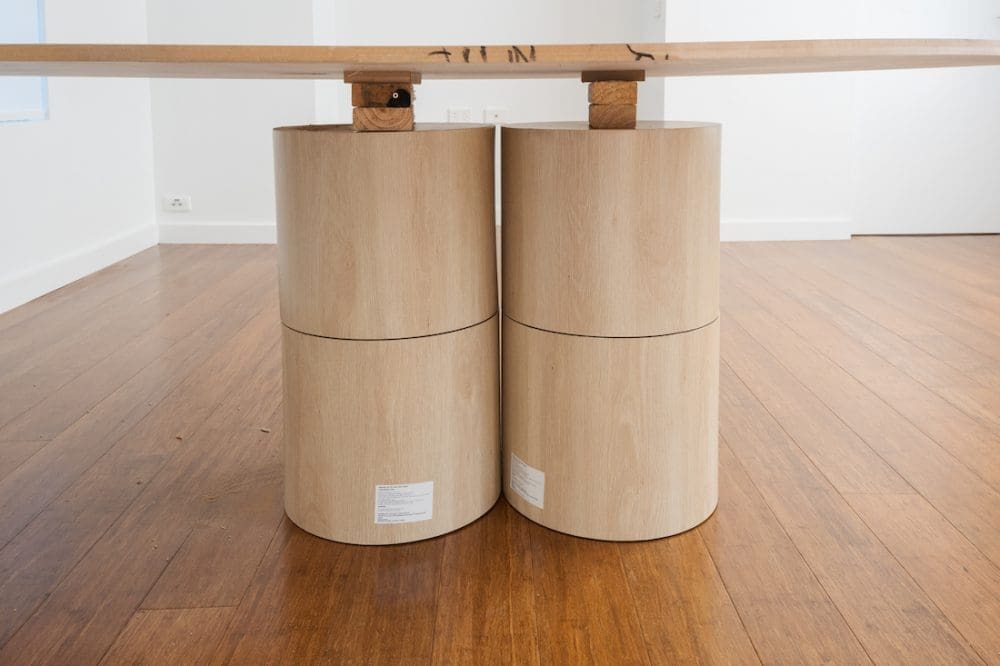
1. Glue two of the side tables on top of one another using T-Rex glue. The height of these tables was a bit low, so I used a few offcuts of timber to bring the height up to 720mm. And on the wall, I secured a piece of timber at the same height.
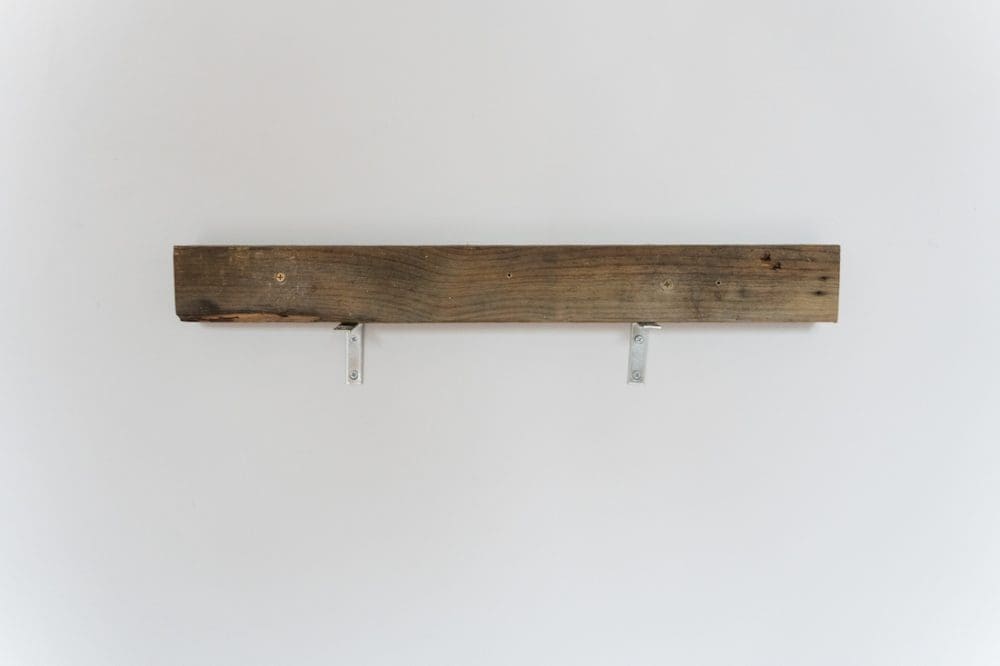
2. Place the MDF board on top of the pillar legs and wall-mounted timber. Use screws to secure it in place.
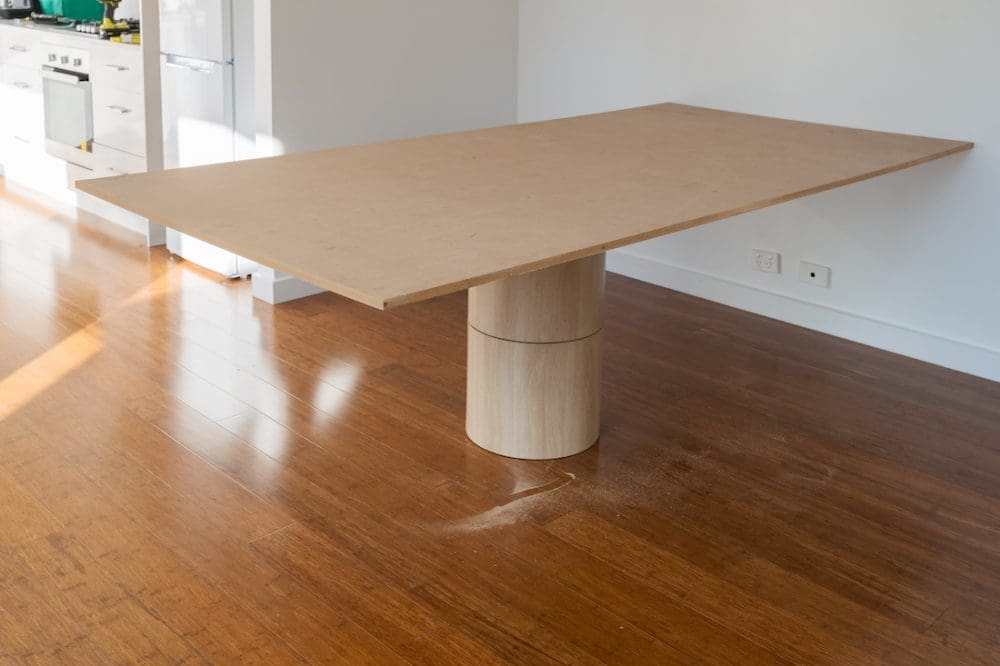
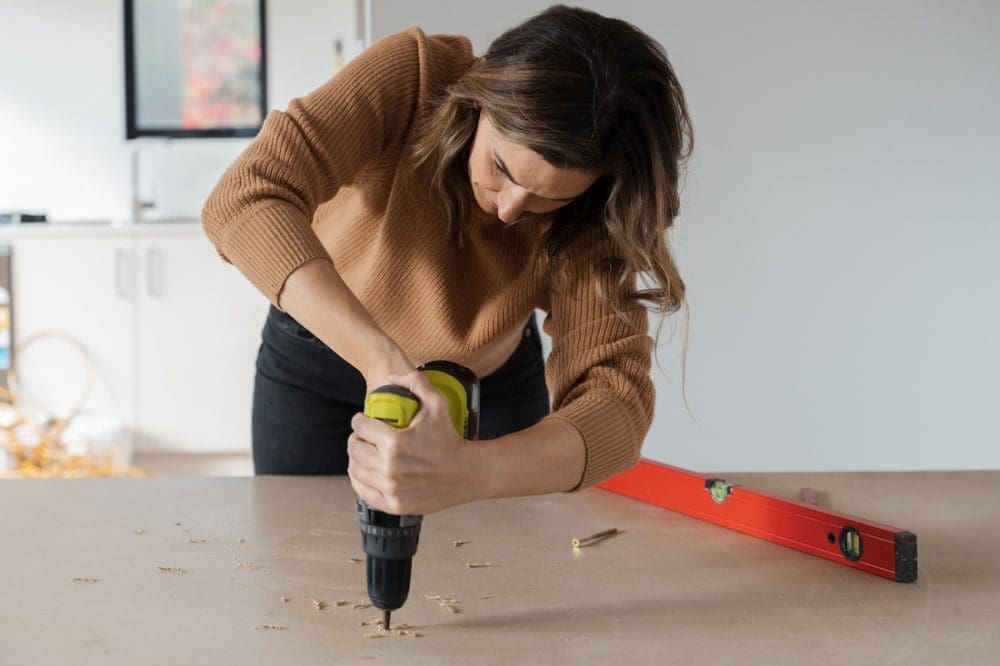
3. Then using a jigsaw I cut the end of the table into an arch. I did this by finding the centre point of the table and using a level like a giant ruler, I drew a guide line with pencil that I cut around.
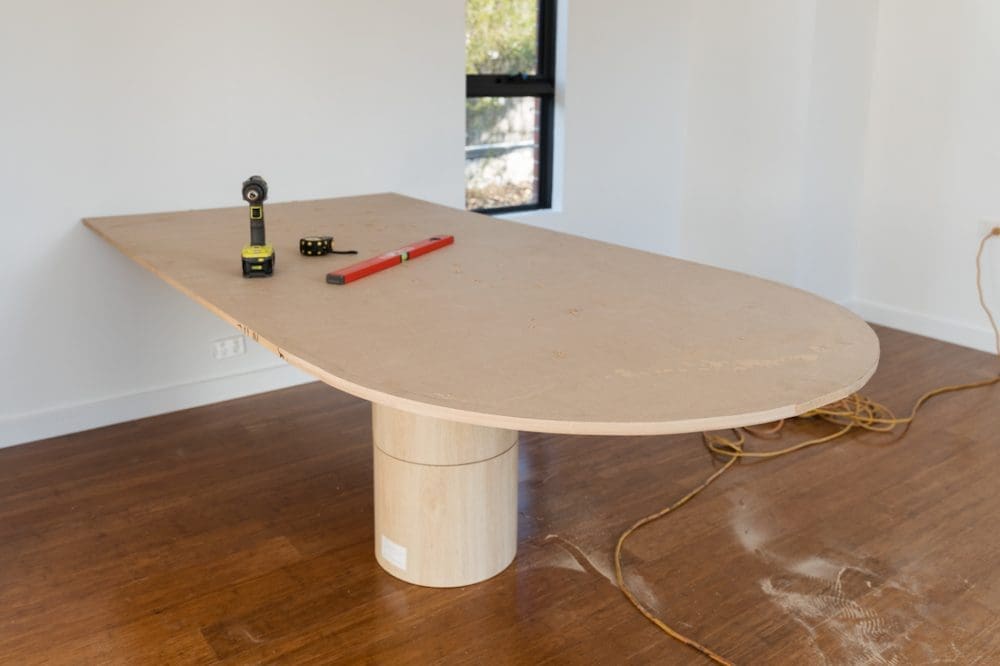
4. It was at this point that I realised a single pillar leg wasn’t going to offer enough stability for our table. It felt wobbly and as though it wouldn’t be able to hold the weight of 3-4 computers. So used another 2 Kmart tables and 2 offcuts of timber to create an identical pillar leg as Step 1 and placed this next to my first leg.
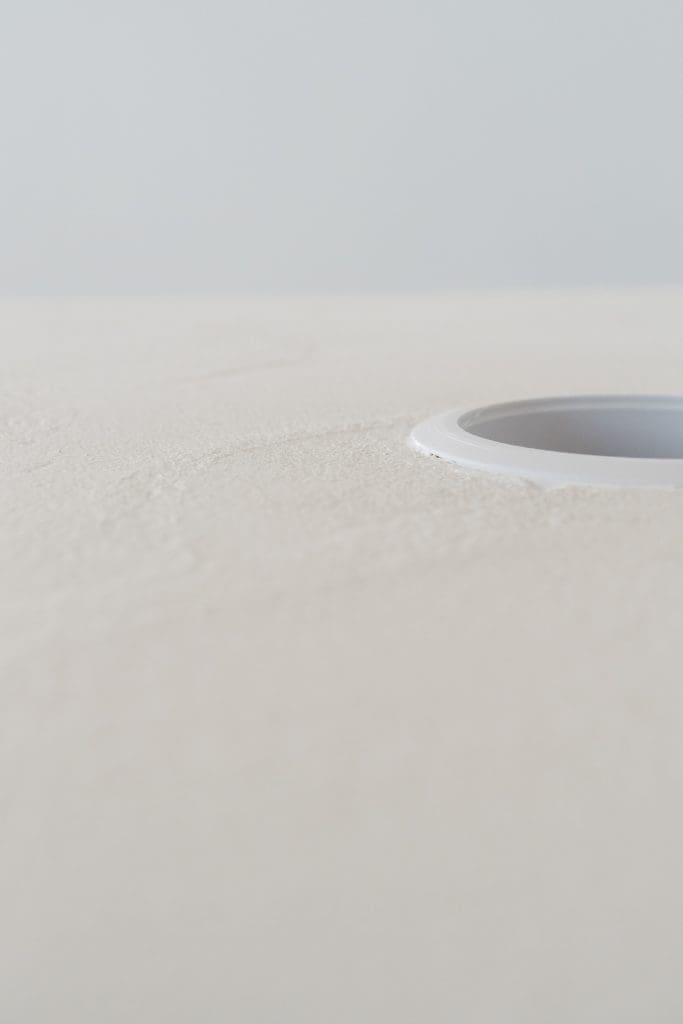
I also cut out 2 holes on the tabletop (can be seen in later images) to allow for cables to run through the table. I cut these at the size of cable ducts I bought from Bunnings by using a hole drill bit and a jigsaw.
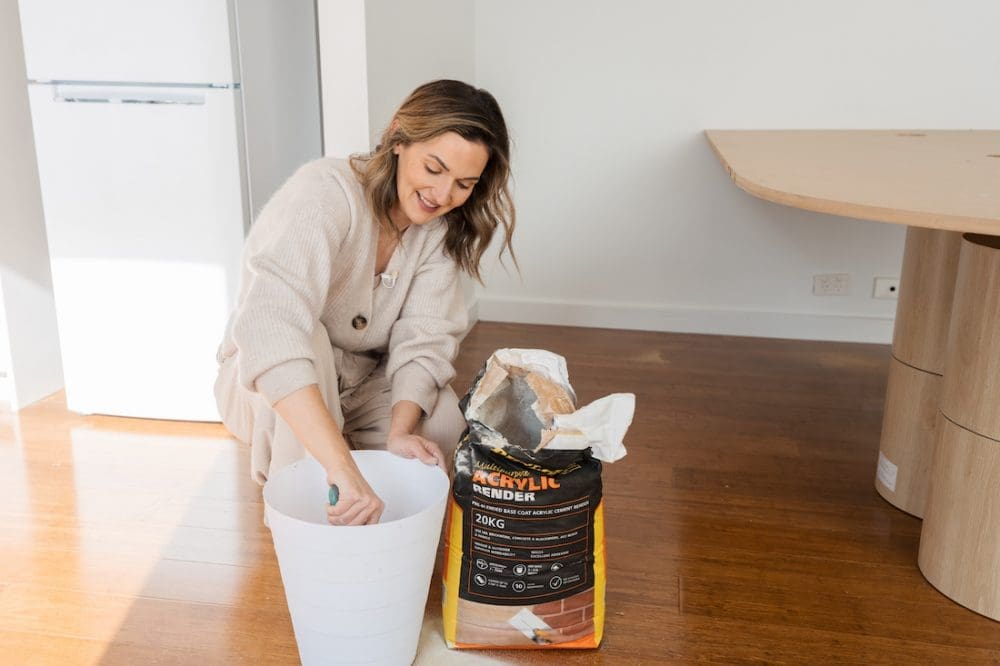
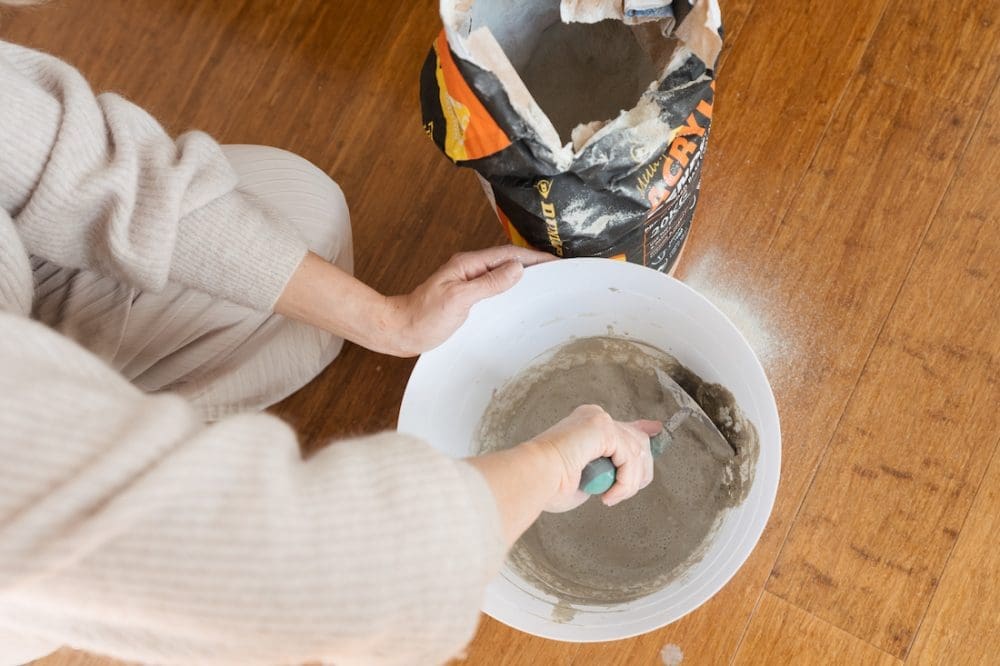
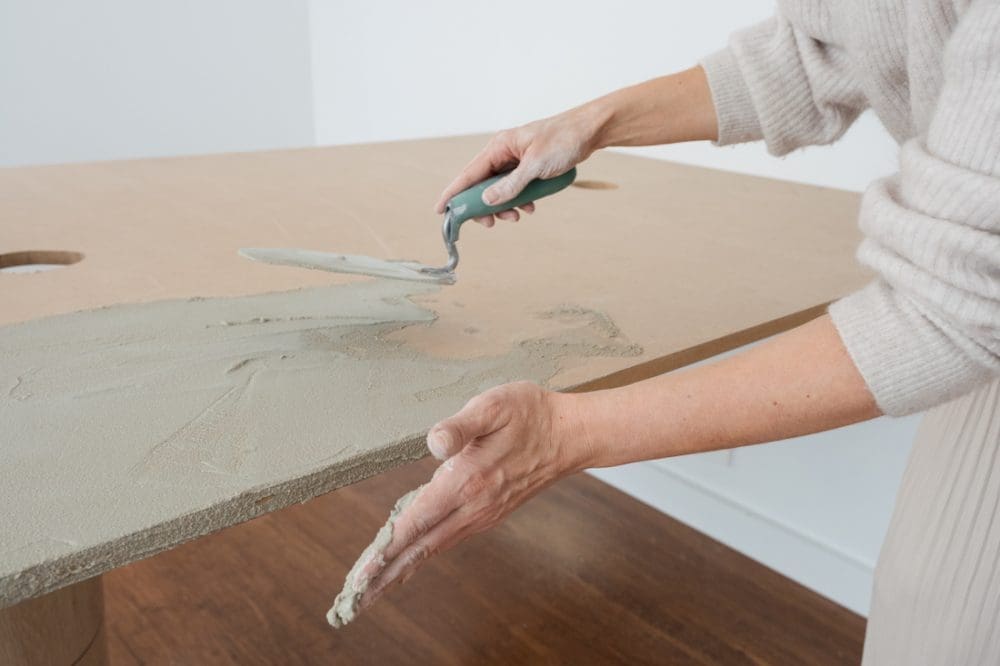
5. I wanted to give the tabletop an organic texture so I mixed up a batch of render and applied it. However, I forgot to apply primer so the render did not bond well to the tabletop. And, after a couple of weeks, I also felt that render wasn’t the best finish for a work desk so on the weekend I removed the render and refinished the table with Feather Finish instead (and was sure to add a primer, too!).
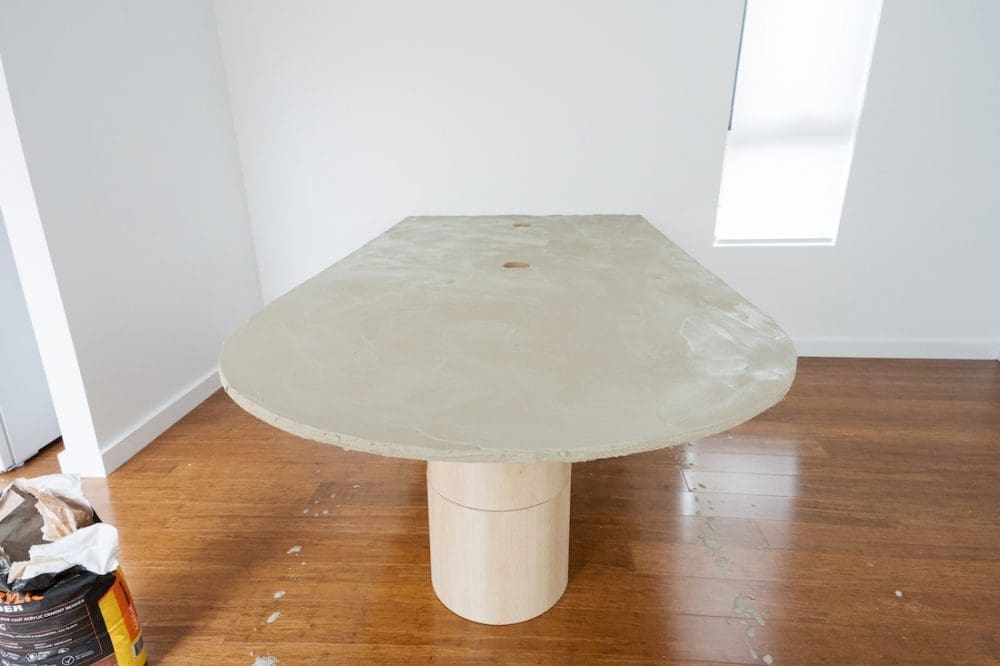
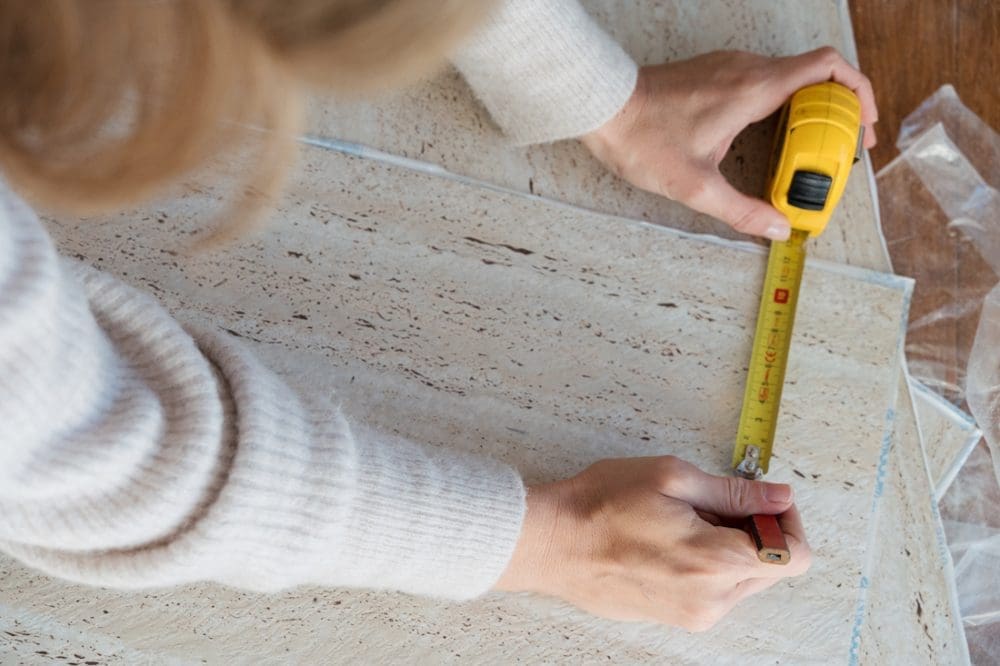
6. Next I worked on tiling the pillar legs. Because I don’t have a tile cutter in the studio and cutting natural stone is quite tricky, I decided to use full pieces of tiles only. This meant there would be a small gap at the top of each pillar leg. So to disguise this, I found travertine-look adhesive tiles in the tile section of Bunnings. I cut these to size using a Stanley knife and screwed these around the top of the legs. These worked so well to hide the timber off-cuts and create the appearance of solid travertine legs.
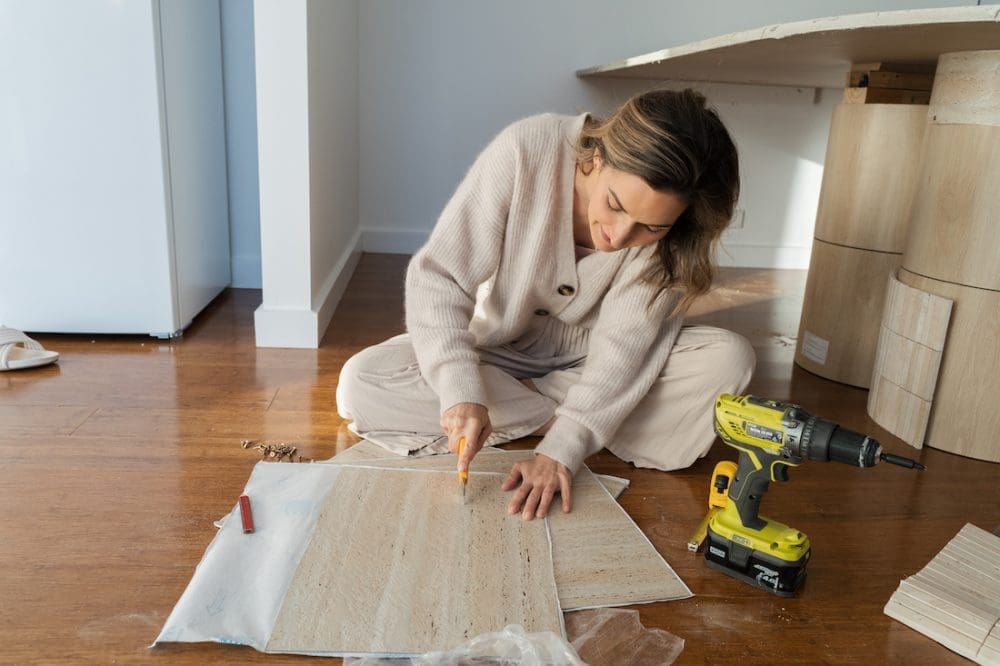
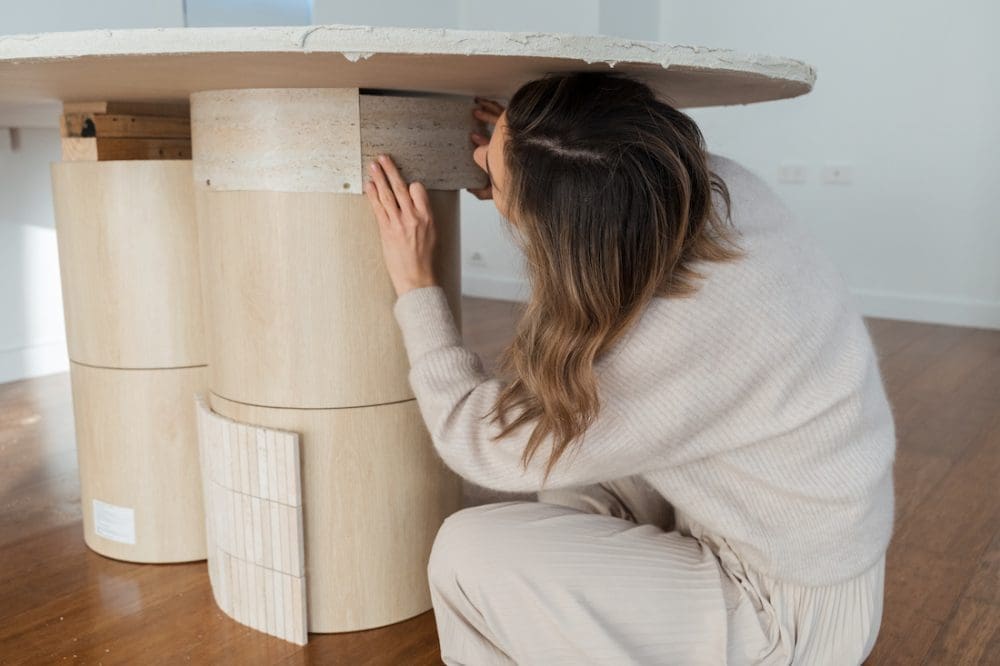
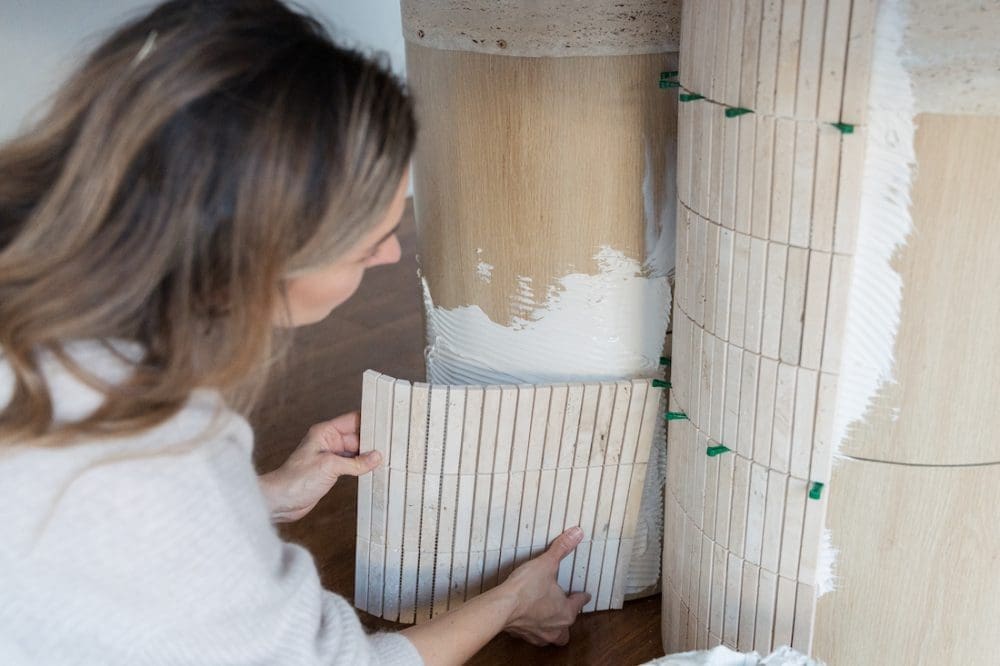
7. Then I tiled the pillar legs. To do this, I applied T-Rex glue using a trowel and placed the travertine kitkat mosaic tiles on top. Using 1mm tile spacers, I achieved consistent spacing between sheets.
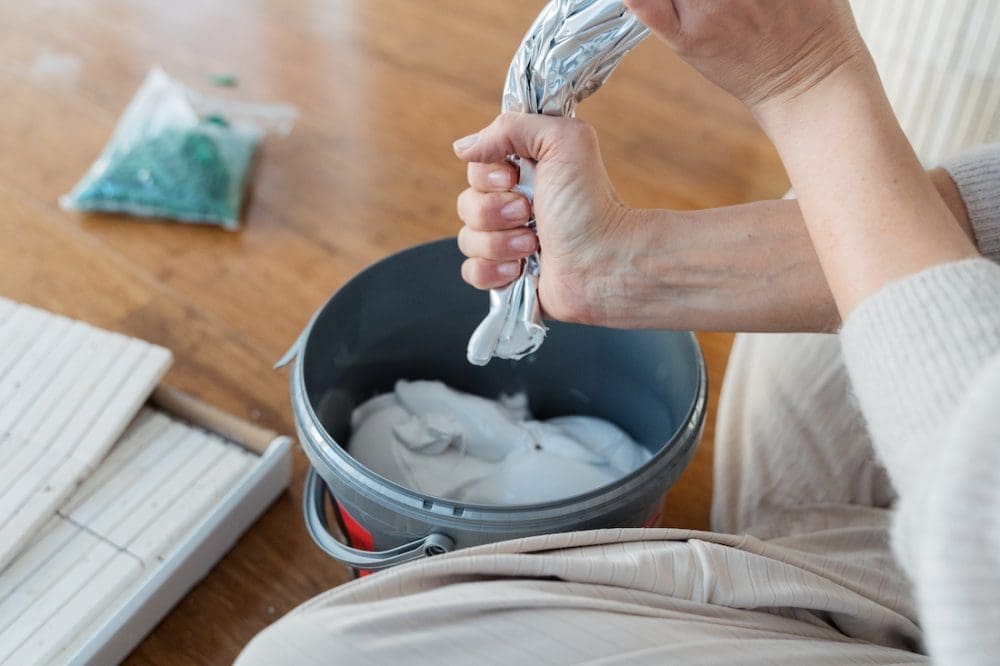
8. Once the glue was dry, I grouted the tiles using travertine coloured grout to blend seamlessly. It’s important to wipe away excess grout with a damp sponge while the grout is still wet.

9. Then, I finished the tabletop by applying a generous amount of ‘Organic 2’ paint by Haymes. It works beautifully with the tones of the travertine tile.

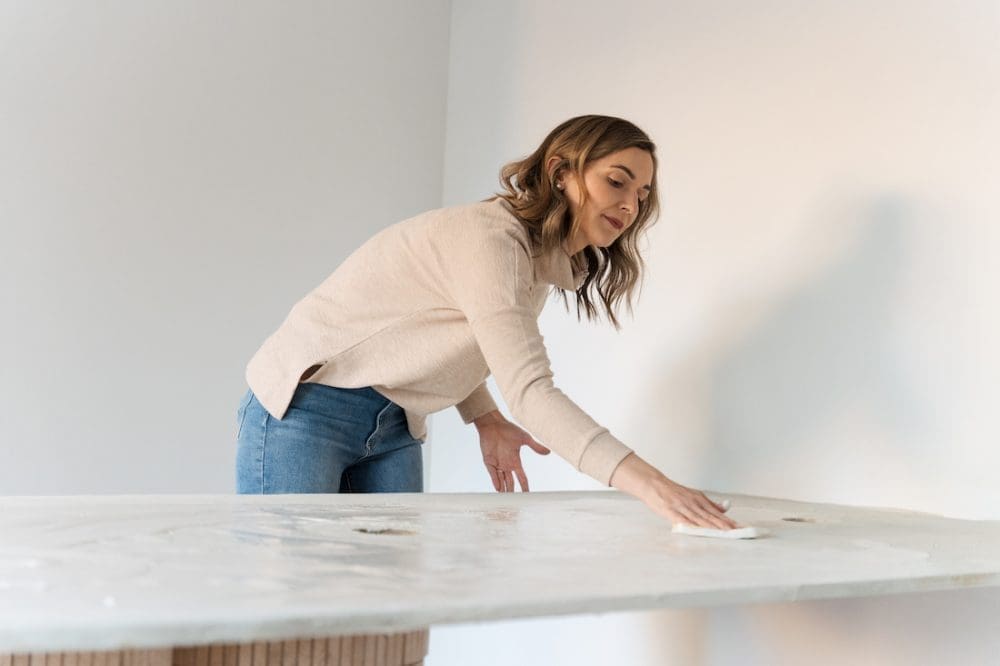
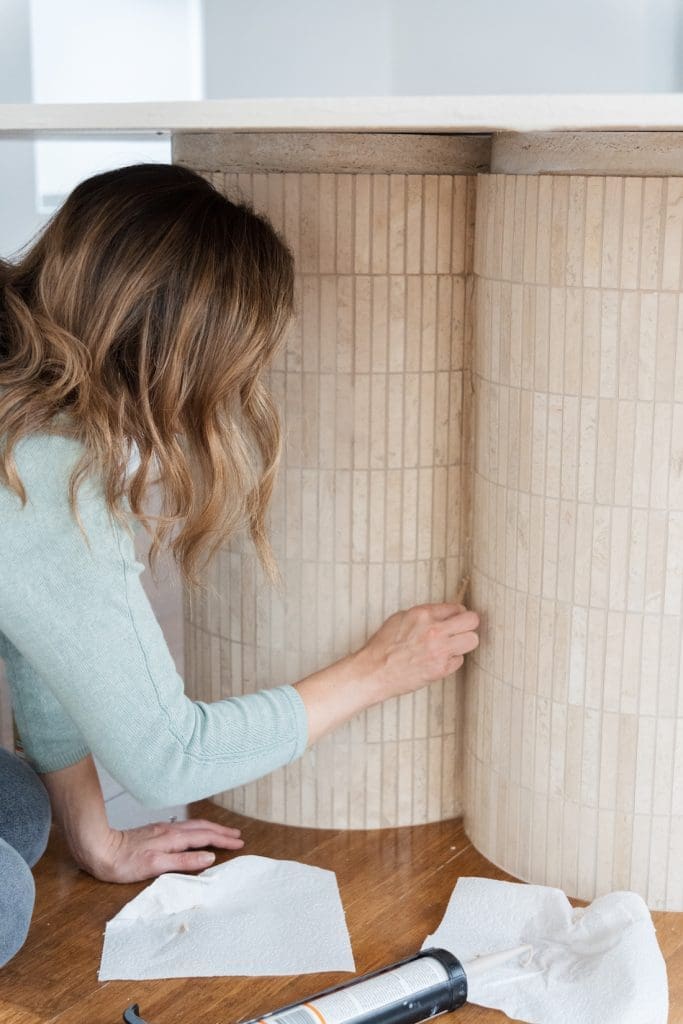
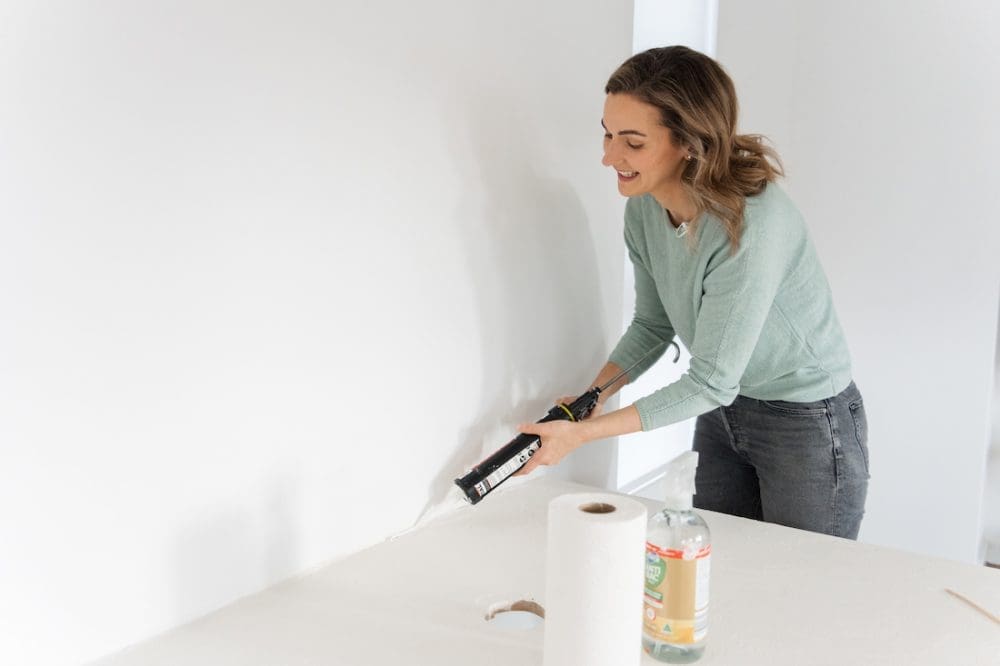
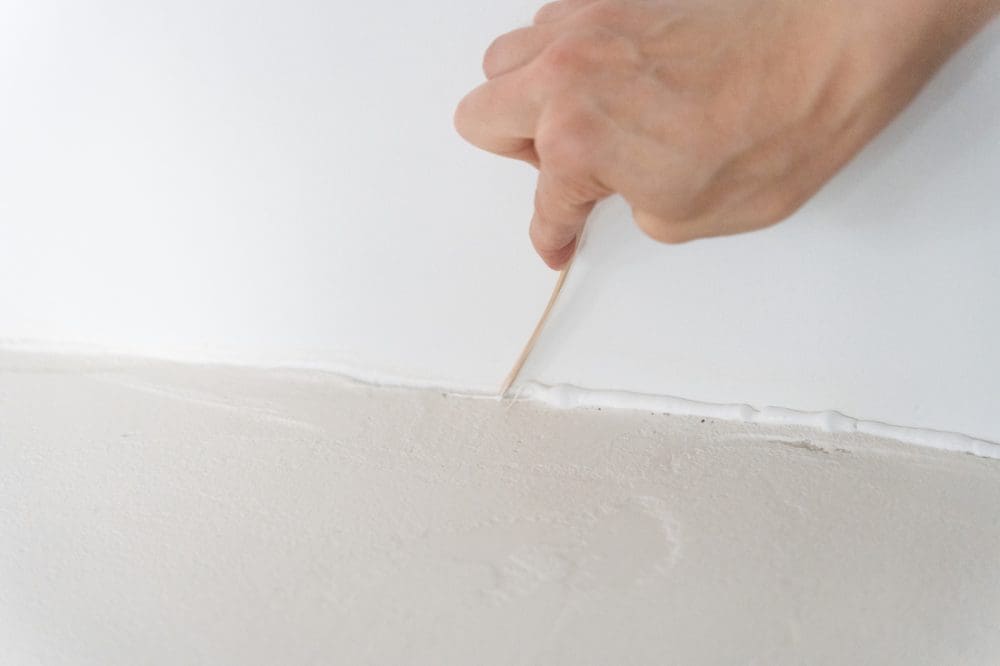
10. Lastly, I finished off the table by using travertine coloured silicone between the two pillar legs. I also used white silicone to secure the duct covers and create a neat finish between the tabletop and wall.
That’s it! I love how this table turned out. It’s such a great fit for our studio space and also cost a fraction of anything I could have bought in stores. Plus, it’s got our signature style all over it and brings something unique to the space.
Do you have any questions about how I created this DIY travertine table? Post them in the comments below and I’ll get back to you asap. Or would you like to share what you think of it? Love it or loathe it?
More DIY ideas





This article was first published in July 2022