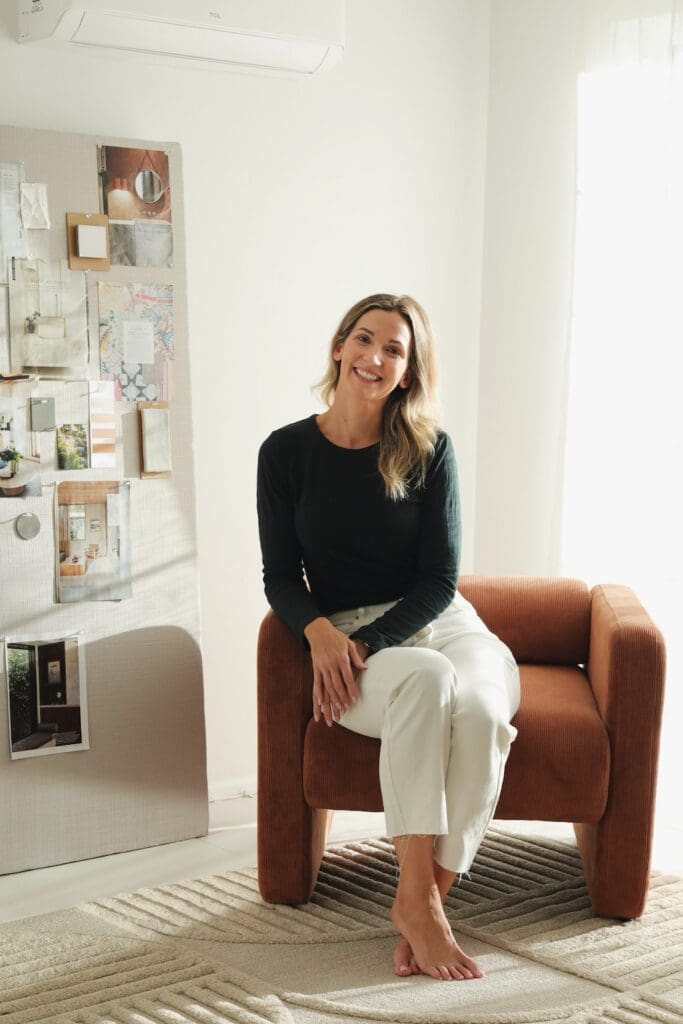
As a visual person I’ve always loved using pin boards and mood boards to display inspiration and curate my ideas. When they’re oversized, they can also double as a home decor piece in your home office, study or creative space. But buying cork board or acoustic board to use as a pinboard can cost a small fortune! When I was unpacking my new office furniture and saw the protective cardboard in the box, it sparked an idea — what if I turned it into a pinboard?! To my surprise, this project turned out better than I expected and is exactly what my new creative space needed.
This DIY is budget-friendly, renter-friendly, and totally customisable. Think different coloured fabrics, shapes or sizes. Best of all, it’s surprisingly easy to make using items you probably already have at home (and a few clever freebies).
Related article: 11 best DIY minimalist decor: Make trending home decor
Related article: DIY grid tile tissue box cover: Making flu season chic!
Why pinboards are so fab
Pinboards aren’t just pretty — they’re practical! Whether you’re a designer, a student, planning a renovation, or just someone who loves to stay organised, a pinboard is a useful tool.
Pinboards are ideal for:
- displaying inspiration: perfect for mood boards, vision boards, or creative project ideas
- keeping you organised: pin up notes, reminders, or schedules in plain sight
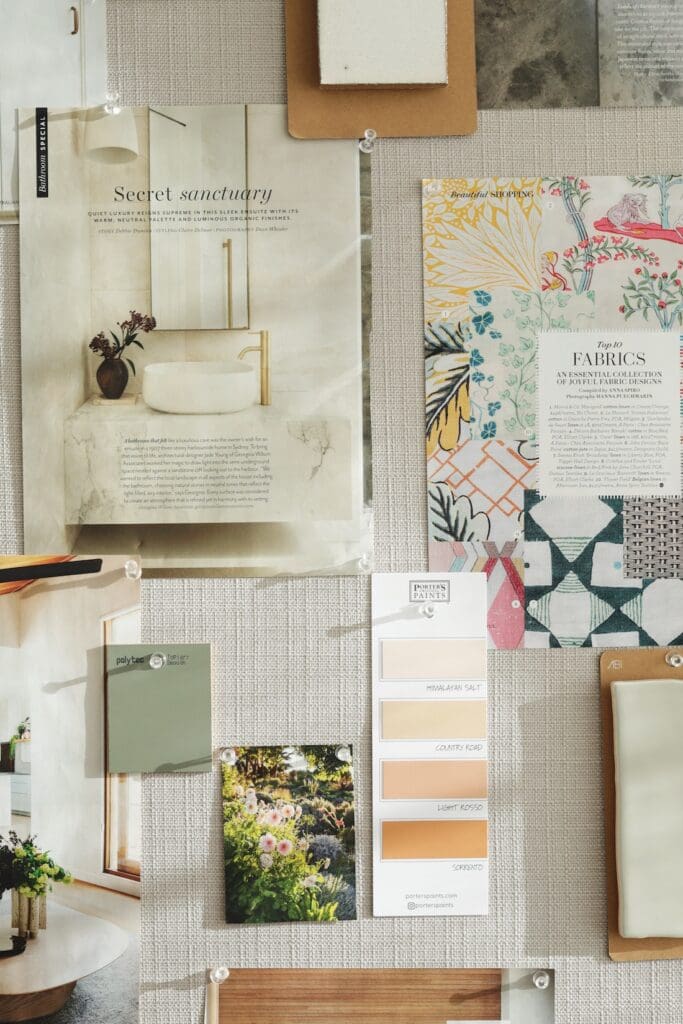
- adding personality: cover it in your favourite fabric and turn it into a beautiful feature in your room, you can also mix in photos and quotes to personalise it further
- renter-friendly solution: this freestanding pinboard means no wall damage!
Materials you’ll need:
- Large piece of cardboard (or several pieces glued together)
- Timber offcuts for support (check the trade section of your hardware store for FREE offcuts)
- Fabric of your choice (I used a beautiful linen-look fabric)
- Liquid Nails glue and caulking gun (for securing timber and fabric)
- Scissors
- Measuring tape
- Pins or tacks (for once it’s finished!)
Cost: The only thing I spent money on was the fabric — I had enough glue left over from my DIY pool noodle bedhead and everything else was free! Total = under $30.
Steps-by-step guide to make your DIY pinboard:
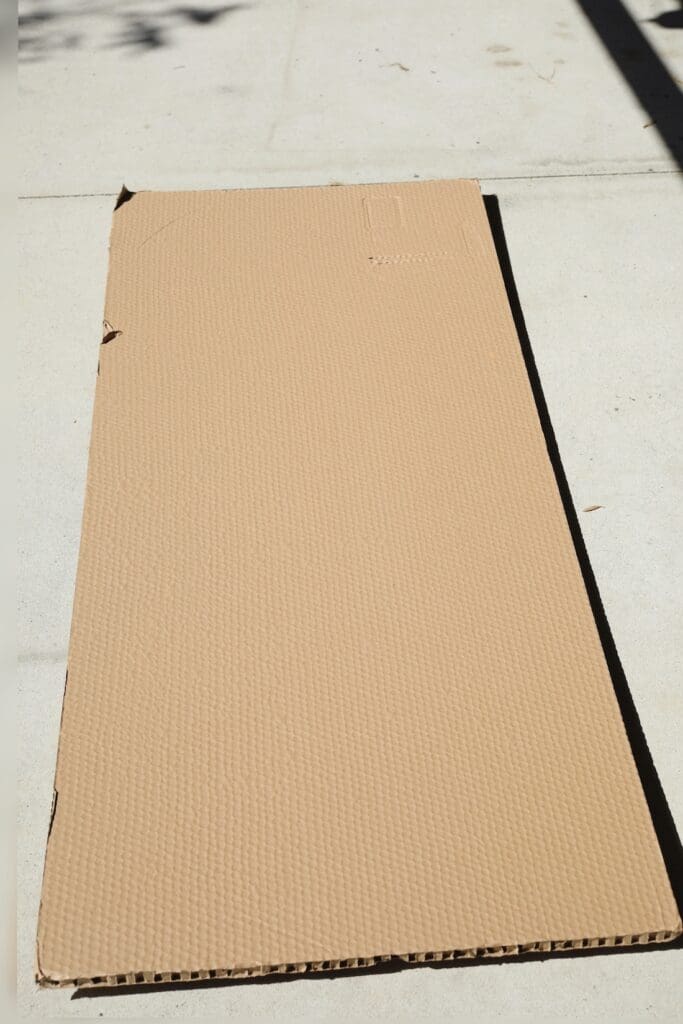
Step 1: Prepare the cardboard
Start with the largest piece of cardboard you can find. If you don’t have a single large sheet, simply glue or tape multiple pieces together until you reach your desired size and thickness (2-4cm of cardboard thickness is ideal).
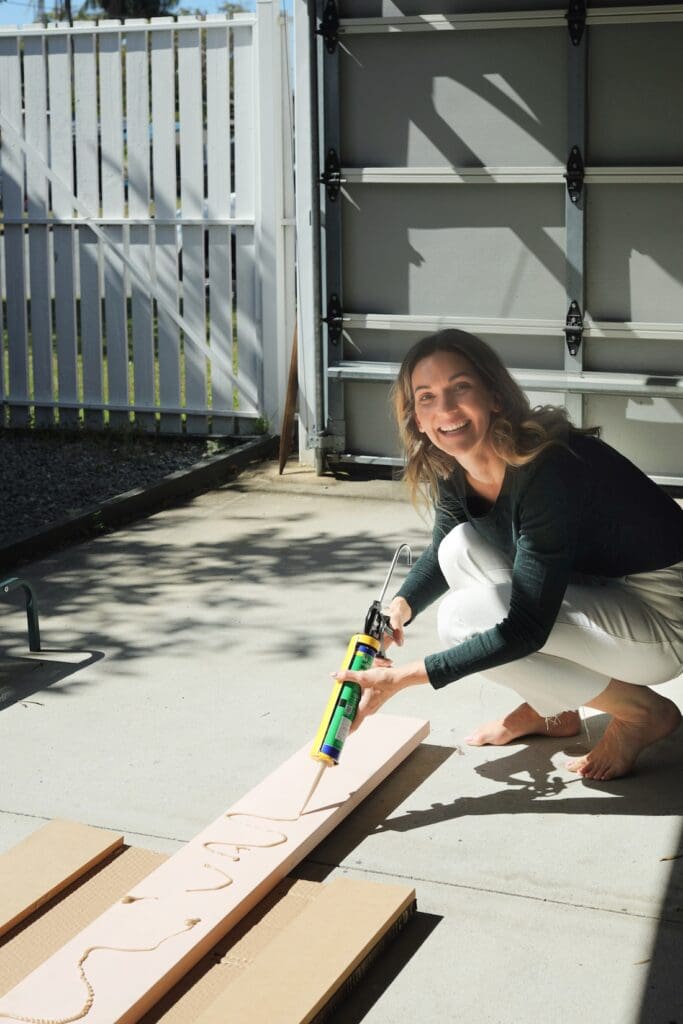
Step 2: Add timber support
Flip your cardboard over and attach timber offcuts to the back. These will give the board strength so it can stand upright without warping. I found all my timber for free in the off-cut bins in the Bunnings trade section (pro tip: always ask first!).
Step 3: Cut and wrap fabric
Cut your fabric, leaving enough overhang on all sides to wrap around the edges. Pull it tight and secure it to the back of the cardboard using Liquid Nails (or another type of superglue). The tighter the fabric, the more polished your pinboard will look.
Step 4: Make It freestanding (optional)
If you want your pinboard to stand on its own, make sure your timber backing is sturdy and wide enough. Then simply lean it against a wall for an easy, renter-friendly solution. If you own your home, you can also hang it for a permanent feature.
Step 5: Style and use
Flip your board over and start pinning! It’s strong enough to hold even heavy samples like tiles or tapware swatches, making it perfect for design projects, mood boards, or organising your goals.
Tips for best results:
- Choose the right fabric: a linen-look or textured fabric gives a designer feel. Avoid thin fabrics that might sag or tear when pinning.
- Double up on cardboard: if your board feels flimsy, layer two or three sheets together for extra strength.
- Customise the size: tailor this tutorial to fit your space — you can make it as big or small as you like!
- Play with colour: neutral fabrics look chic, but patterned or bold fabrics can make a real statement. I was so tempted to use a bold stripe pattern.
- Add a ledge or hooks: for extra function, attach a small timber ledge or some hooks for hanging accessories.
This pin board project is affordable, sustainable (hello, recycled cardboard and salvaged timber!), and looks just as good — if not better — than pricey store-bought options. Plus, it’s completely customisable to your space and style.
I hope this DIY has inspired you. Will you give it a try? Let me know in the comments below — and don’t forget to pin this post for later!
More DIYs for your home office