

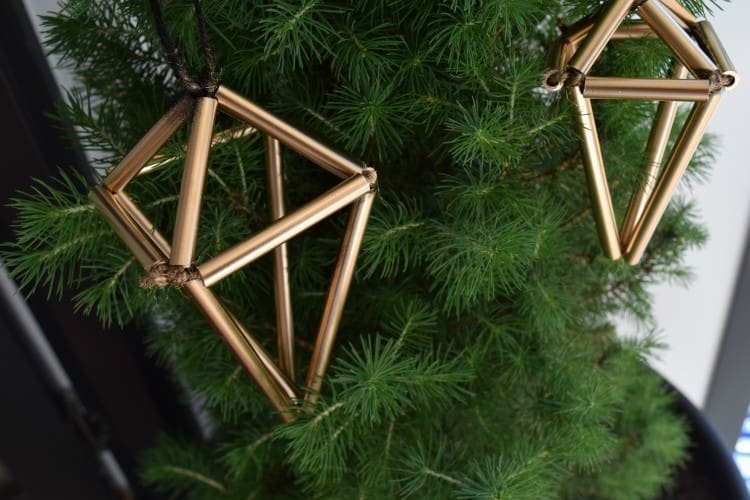
Store bought ornaments are pretty but sometimes it’s nice to add our personal style to the Christmas tree. Geometric and minimalist décor is so on trend and today we’re going to show you a DIY geometric Christmas ornament inspired by this style.
Related article: 5 festive Christmas table setting ideas
Related article: Kmart hack: DIY Christmas mat
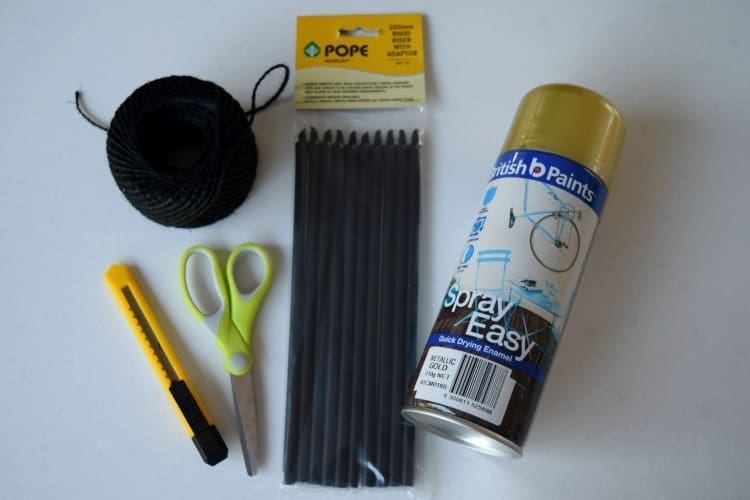
Items you will need:
- Plastic pipe (we used irrigation risers from the hardware store)
- Twine (this one’s from Typo)
- Stanley knife
- Scissors
- Spray paint
Steps:
1. Cut four lengths of plastic tube at 9cm, 5cm and 4cm.
2. Cut a 60cm length of twine and thread a 5cm, 9cm, 9cm and 5cm piece of pipe and tie a knot at the top.
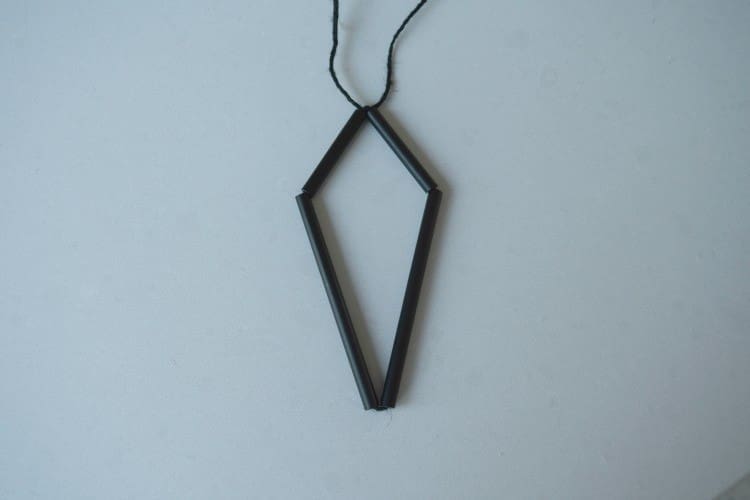
3. On the same piece of twine, thread another 5cm and 9cm piece of pipe and tie a knot at the bottom of the ornament. Add another 9cm and 5cm piece of pipe and tie a knot at the top of the ornament.
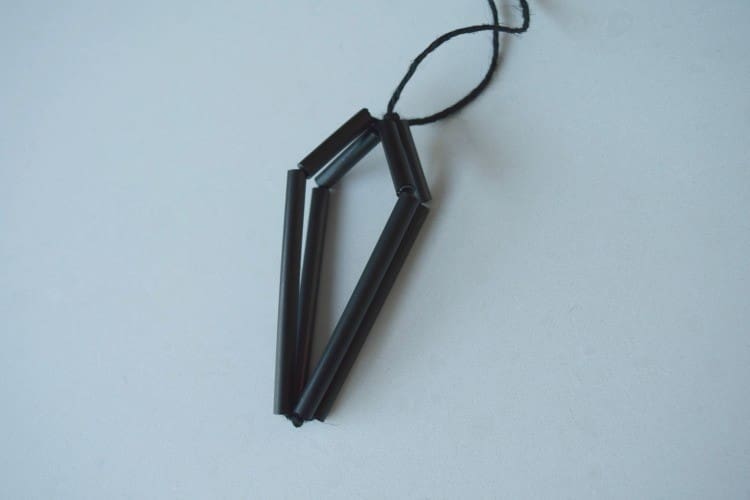
4. You should now have a rough diamond shaped ornament that we’ll give structure to by adding four pieces of pipe at each elbow to create the ridge of the diamond.
5. Cut a 40cm piece of twine and tie a knot around one of the elbows of the ornament and tread a 4cm piece of pipe. Tie a knot at the next elbow and repeat this step until all 4 edges of the ornament are secured.
Voila, you have created this beautiful diamond shaped, geometric Christmas ornament. You can either leave it black for a monochromatic look or spray paint it in your choice of colour.
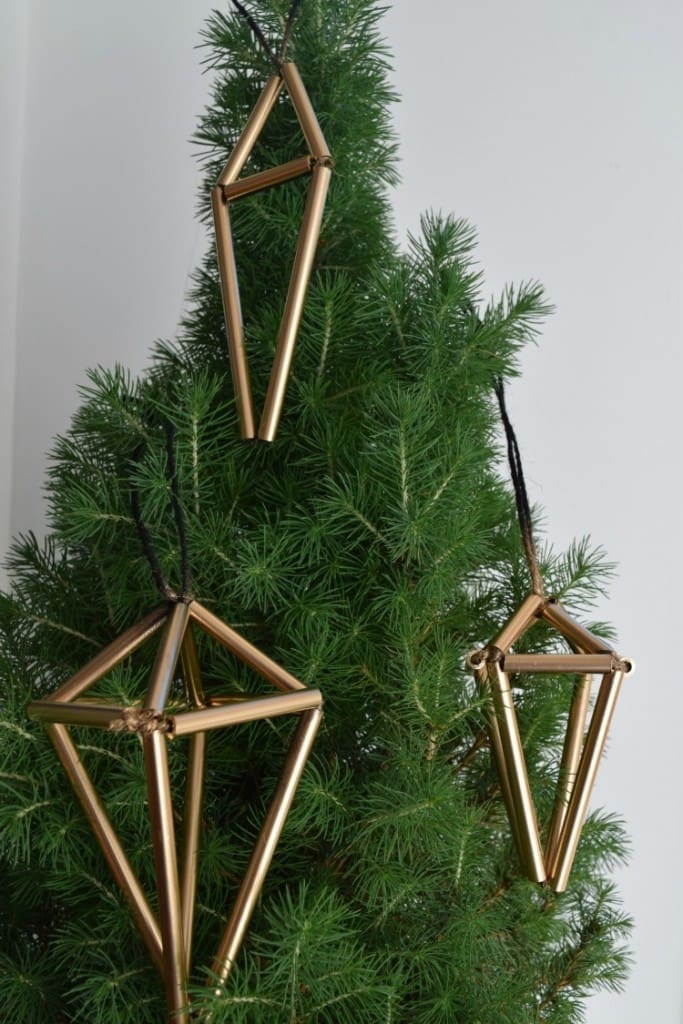
Play with pipe lengths to create several ornaments in different shapes and sizes.
Are you going to give this DIY geometric Christmas ornament a go? You may also like our Christmas clay ornament tutorial. Have you ever made your own Christmas ornaments? Tell us about your favourite Christmas ornament DIY in the comments below!


