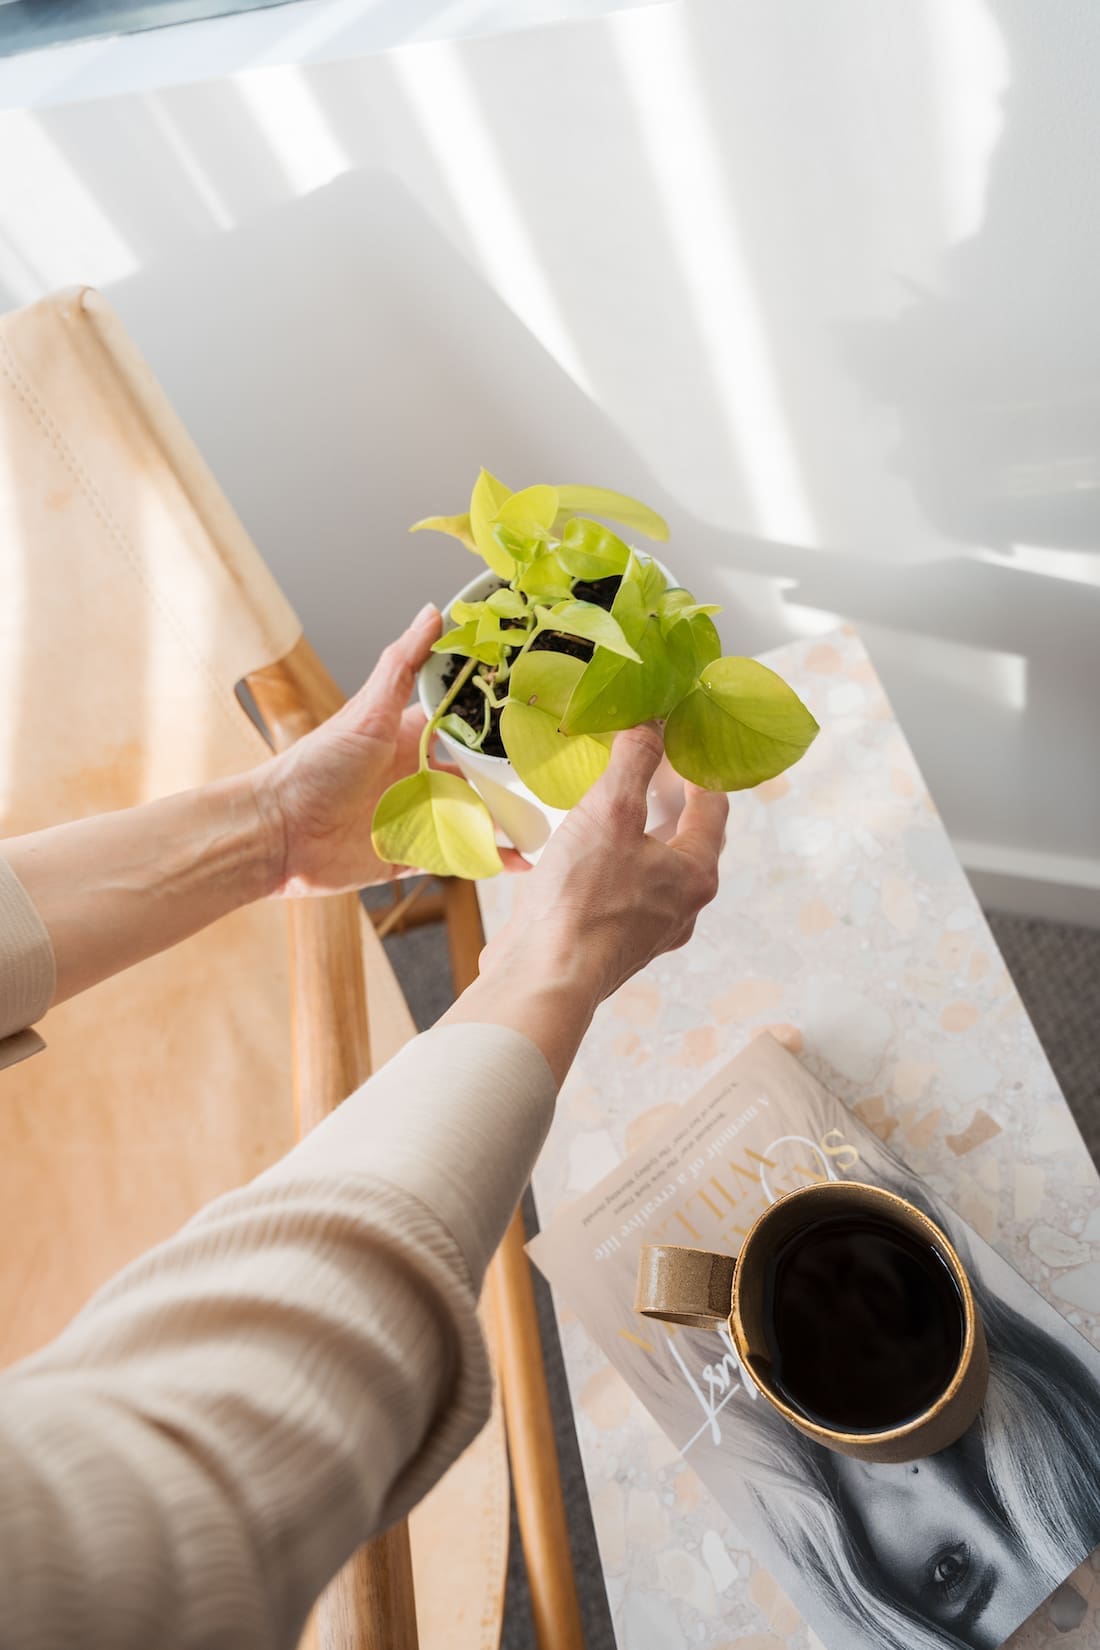
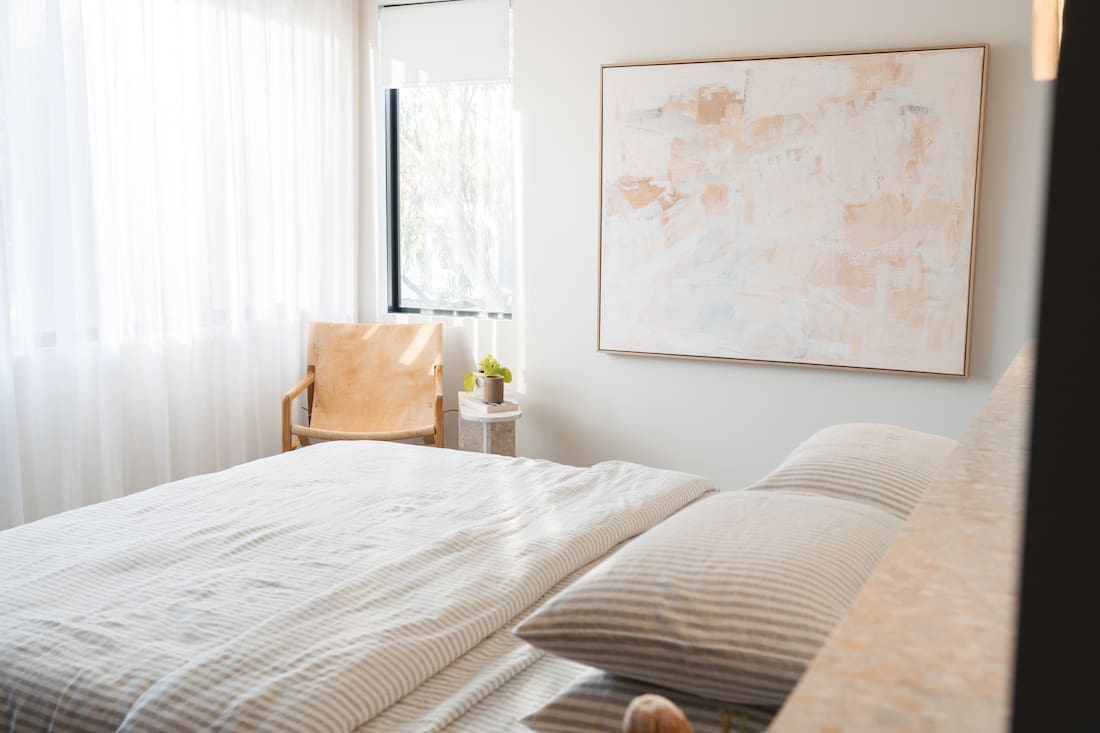
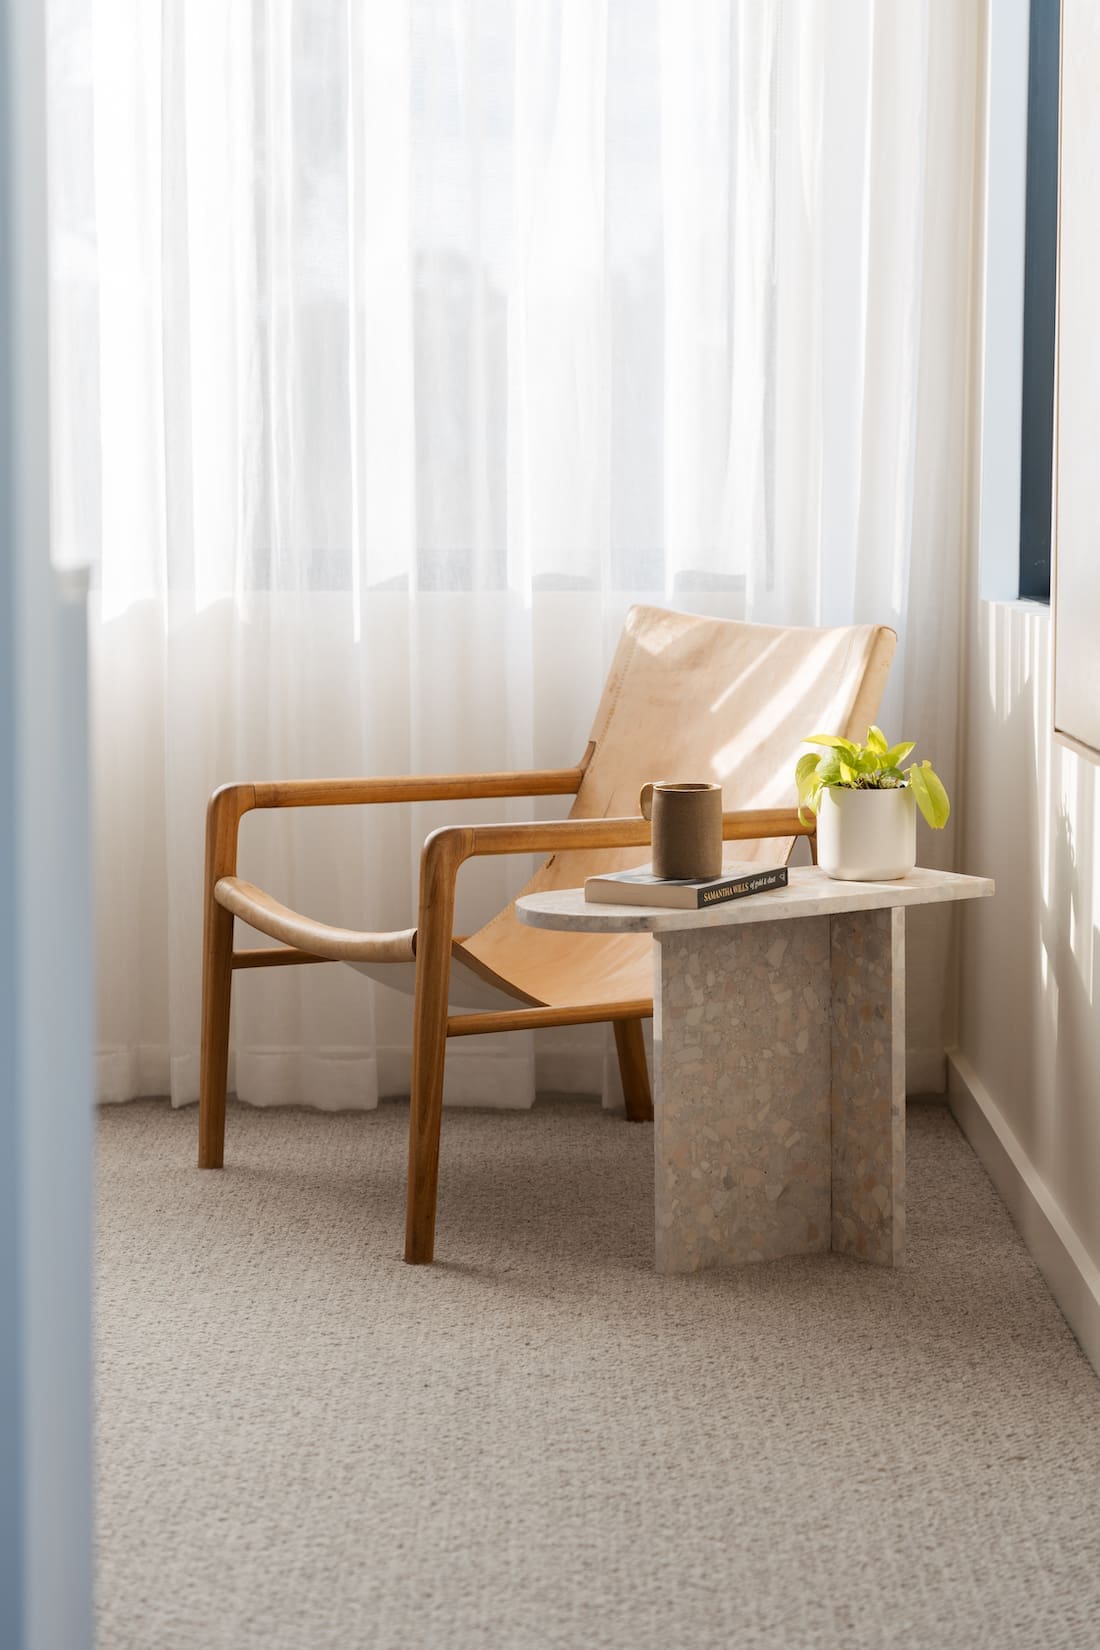
The best DIYs are often the simplest. And this DIY terrazzo side table tutorial is as simple as they come… provided you can get a hand to cut the stone. Keep on scrolling to see how I transformed a few off-cuts of natural terrazzo into a luxe stone side table for our bedroom!
Related article: How I built a ledge wall in our bedroom: Convex wall panel shelf with terrazzo top
Related article: DIY outdoor dining table with tiled pillar legs
Items you will need:
- 2 pieces of 600×600 natural terrazzo tile
- T-Rex glue (or other super strong glue suitable for stone)
- 4 x besser blocks (or other sturdy object to help with drying)
- Pencil
- Ruler
Steps:
1. Have the terrazzo tiles cut into 3 pieces. You’ll want 2 rectangular pieces that are 254mm wide x 450mm high. These will form the base. And a larger top piece of terrazzo that is 254mm x 600mm. For interest, I had one side of the rectangular top piece cut into a curve.
Natural terrazzo needs to be cut with a wet saw or angle grinder and wet sponge. I had a tiler friend cut the stone for me. However, if you don’t have one of those, you could take the tiles to a stone mason and pay a cutting fee. Or for the most precise results, you could use a water jet cutting marble and stone service.
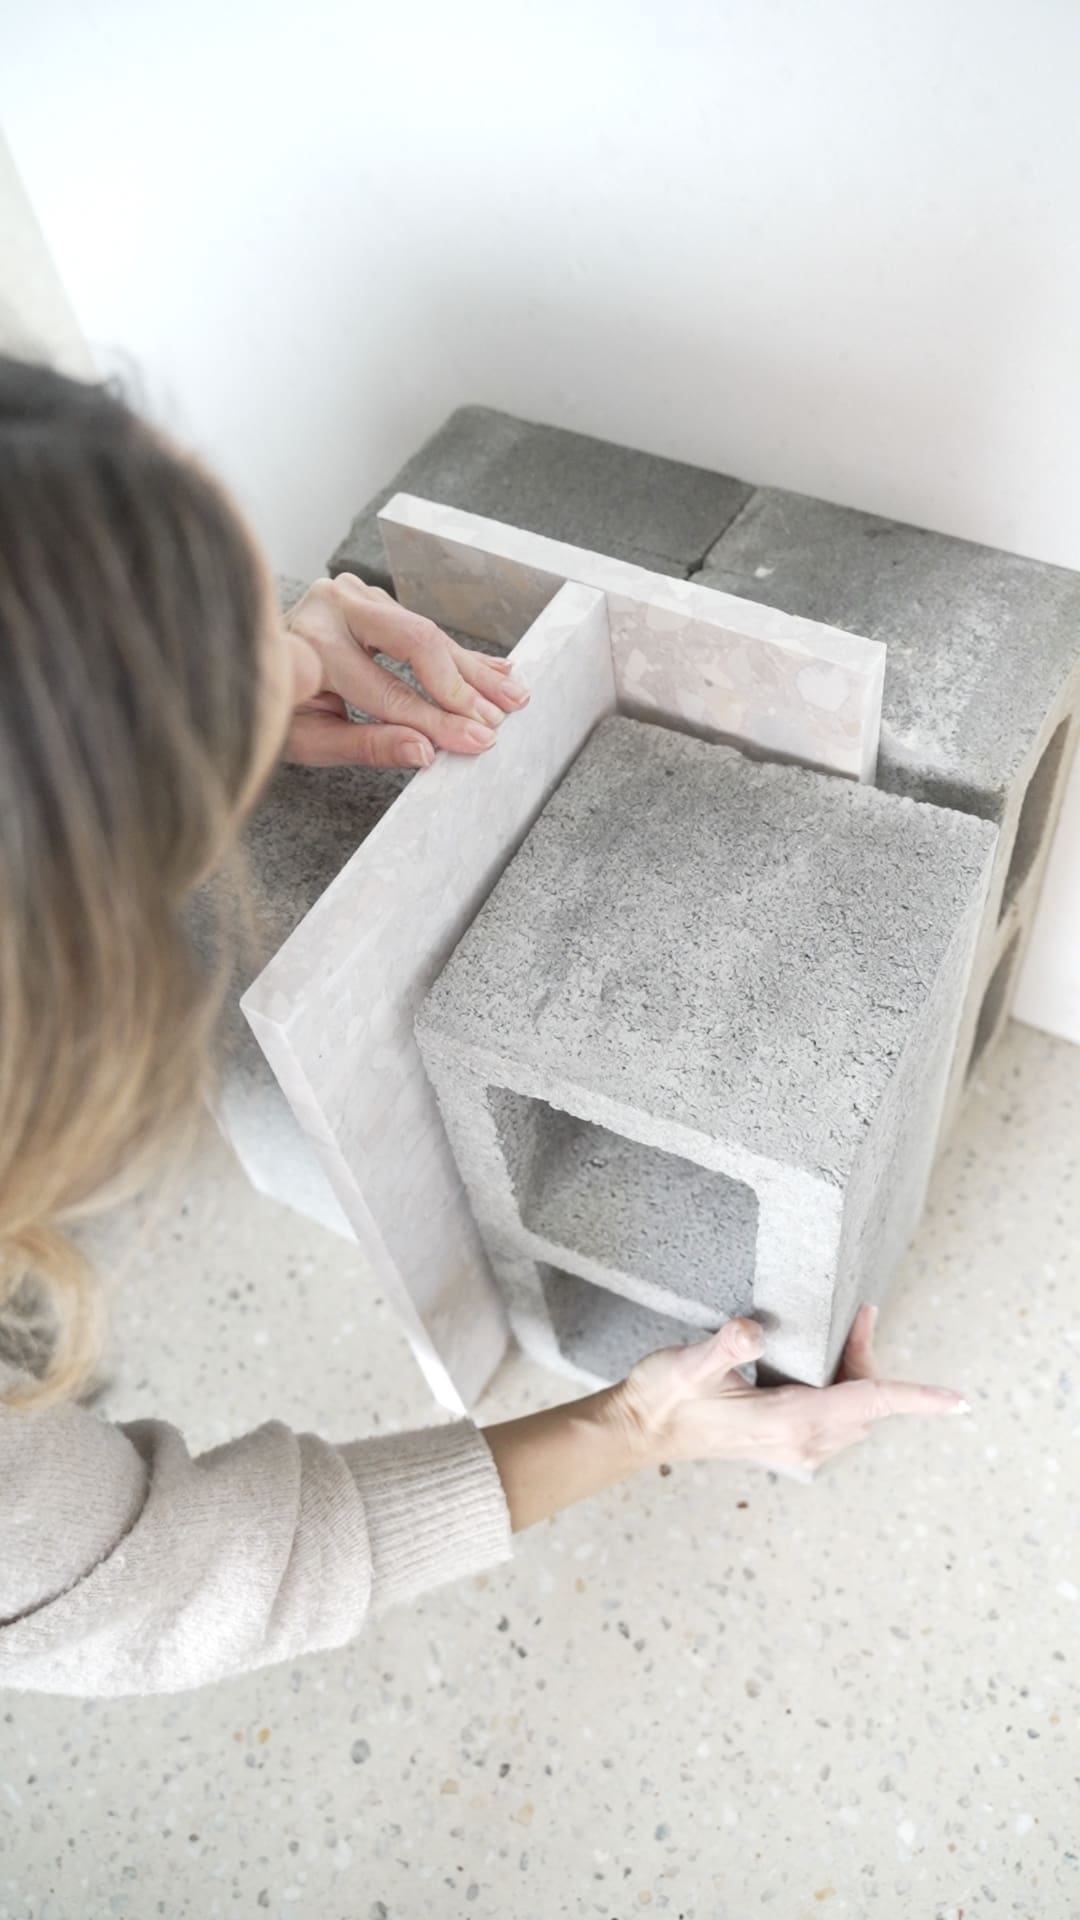
2. Start by gluing the 2 smaller pieces of stone together in a T shape. Use a ruler to find the centre point of one piece of terrazzo and glue the spine of the other tile at this point. See the image below for how I used besser blocks to hold the stone in place.
3. Then glue along the top line of the T base and place your larger (curved) piece of terrazzo on top.
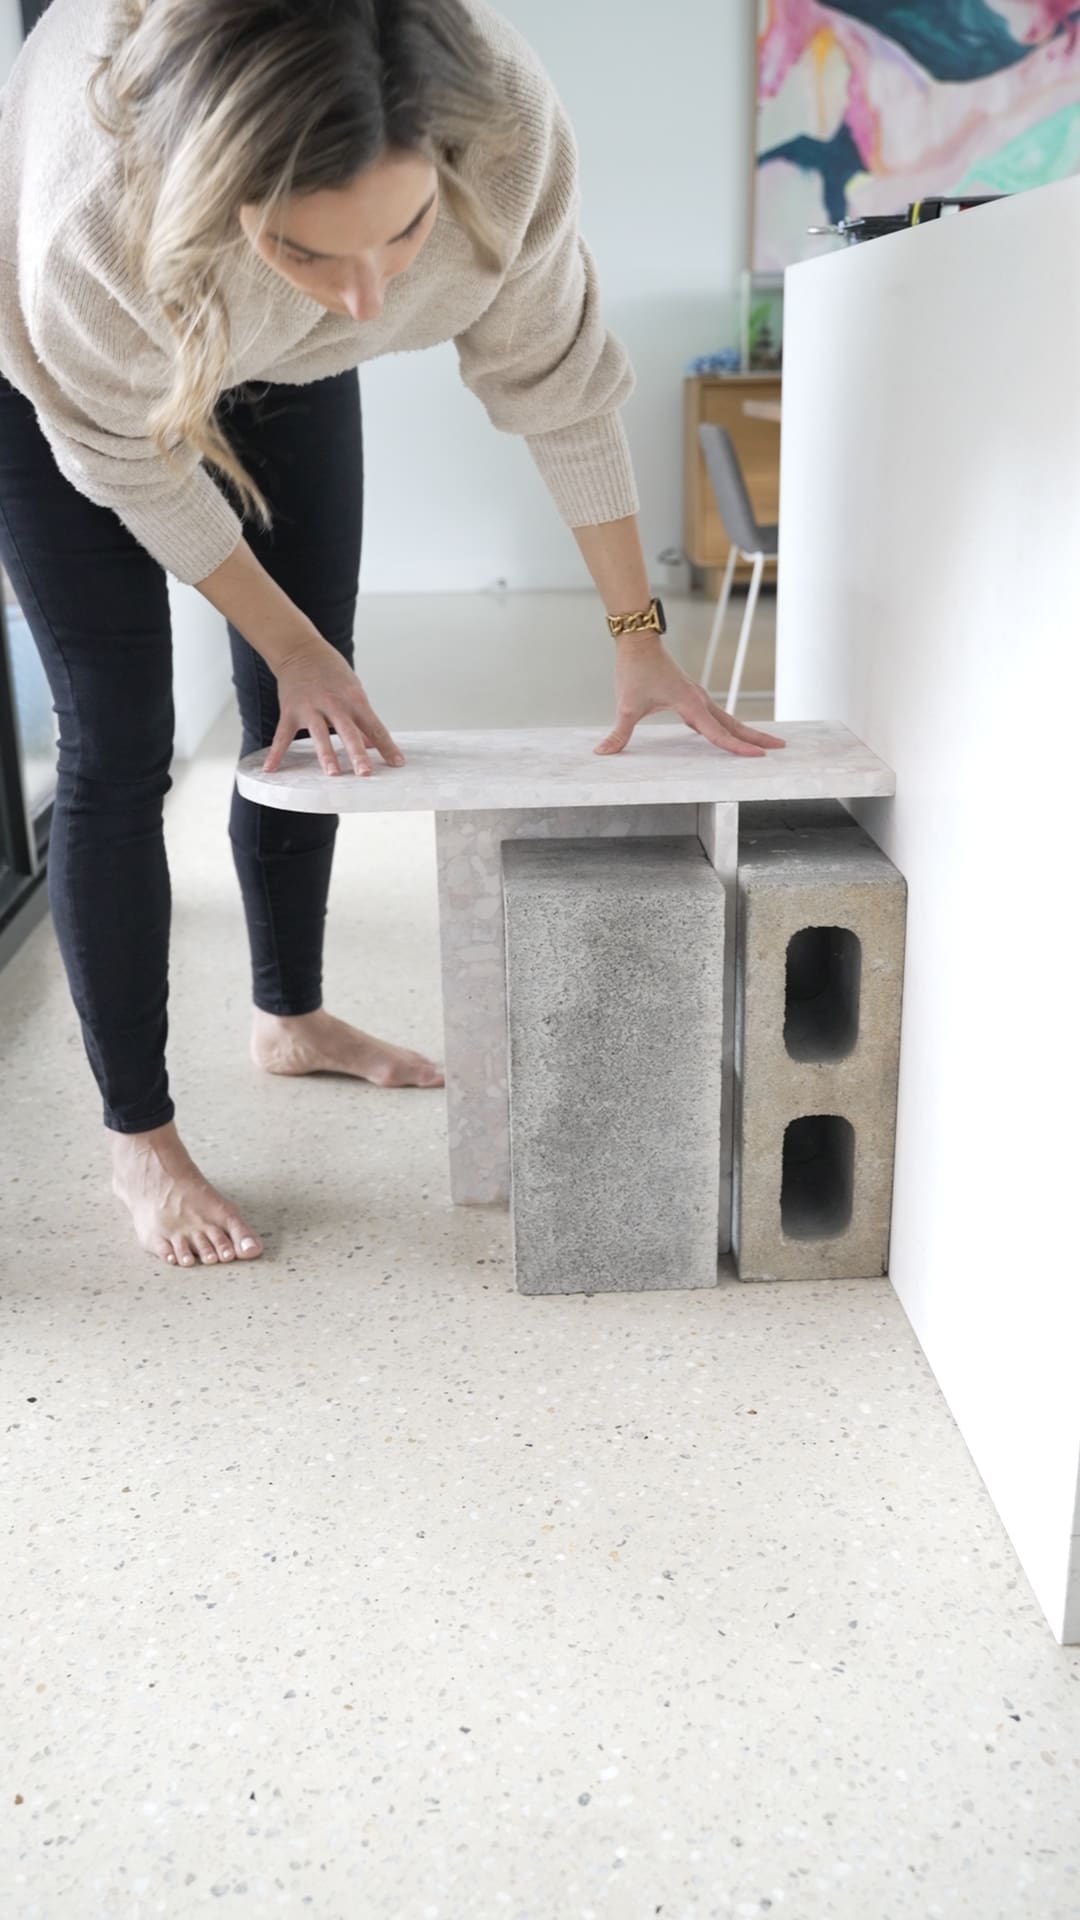
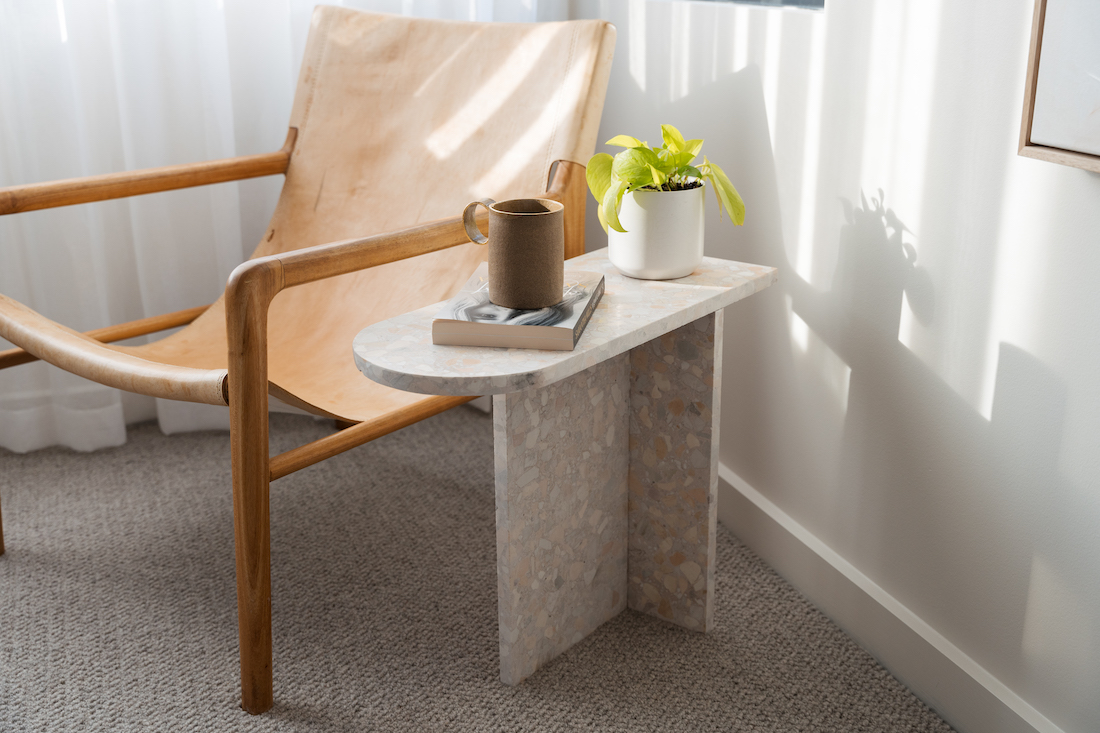
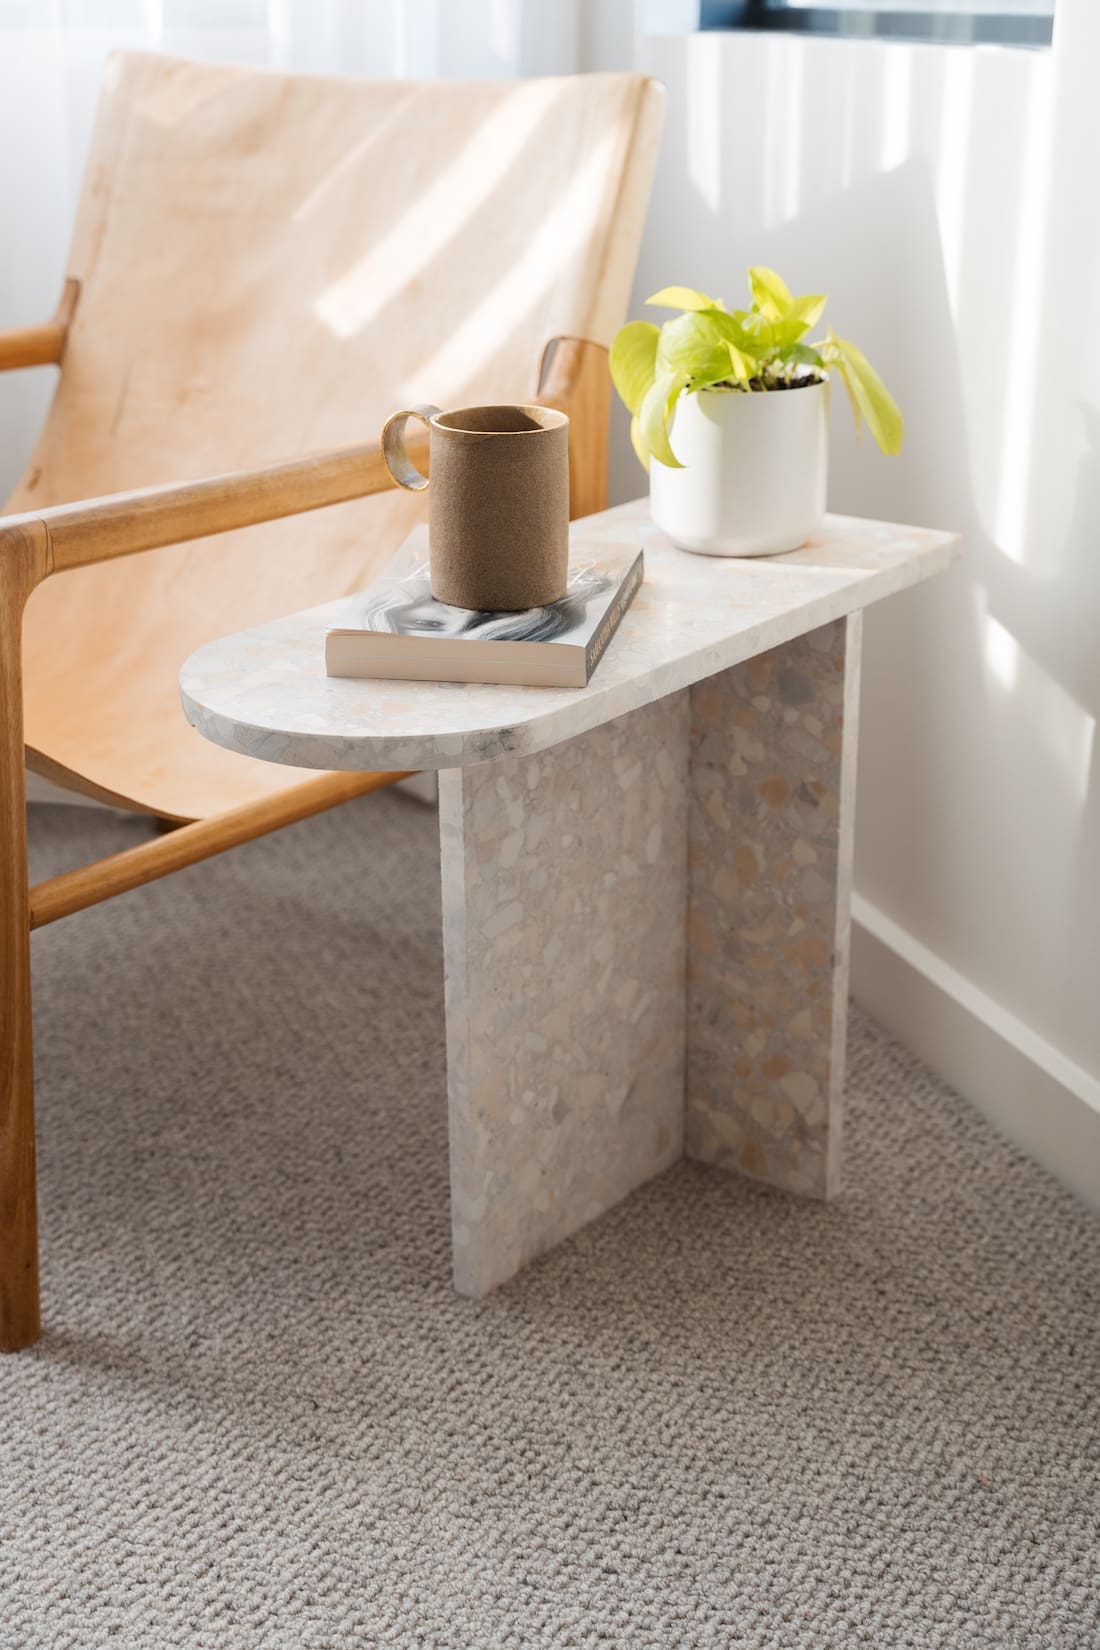
4. Allow the glue to dry for 24 hours and then your new luxe terrazzo side table is ready to use!
See, I told you this tutorial was simple 😉
Has this DIY terrazzo side table tutorial inspired you to make your own pieces of furniture? You could get really creative and make any shape you like — just keep in mind simple physics and create a sturdy base so it doesn’t tip over. Let me know what you think of this furniture tutorial in the comments below!
More DIYs for the home